---
title: Applying the PingIntelligence policy
description: Complete the following steps to attach the PingIntelligence policy to your API.
component: pingintelligence
version: 5.2
page_id: pingintelligence:pingintelligence_integrations:pingintelligence_mulesoft_applying_policy
canonical_url: https://docs.pingidentity.com/pingintelligence/5.2/pingintelligence_integrations/pingintelligence_mulesoft_applying_policy.html
revdate: April 3, 2024
section_ids:
about-this-task: About this task
steps: Steps
result: Result:
---
# Applying the PingIntelligence policy
Complete the following steps to attach the PingIntelligence policy to your API.
## About this task
| | |
| - | ---------------------------------------------------------------------------------------------------------------------------------------------------------------------------------------------------------------------------------------------------------------------------------------------------------------------------------------------------------- |
| | If you are applying the PingIntelligence policy in MuleSoft 3.9 and there is an earlier version of the policy already applied to your API, then remove the policy before applying the PingIntelligence 4.3 policy. To remove the policy, follow the steps in [Removing an existing PingIntelligence policy](pingintelligence_mulesoft_remove_policy.html). |
## Steps
1. Sign on to your MuleSoft Anypoint account.
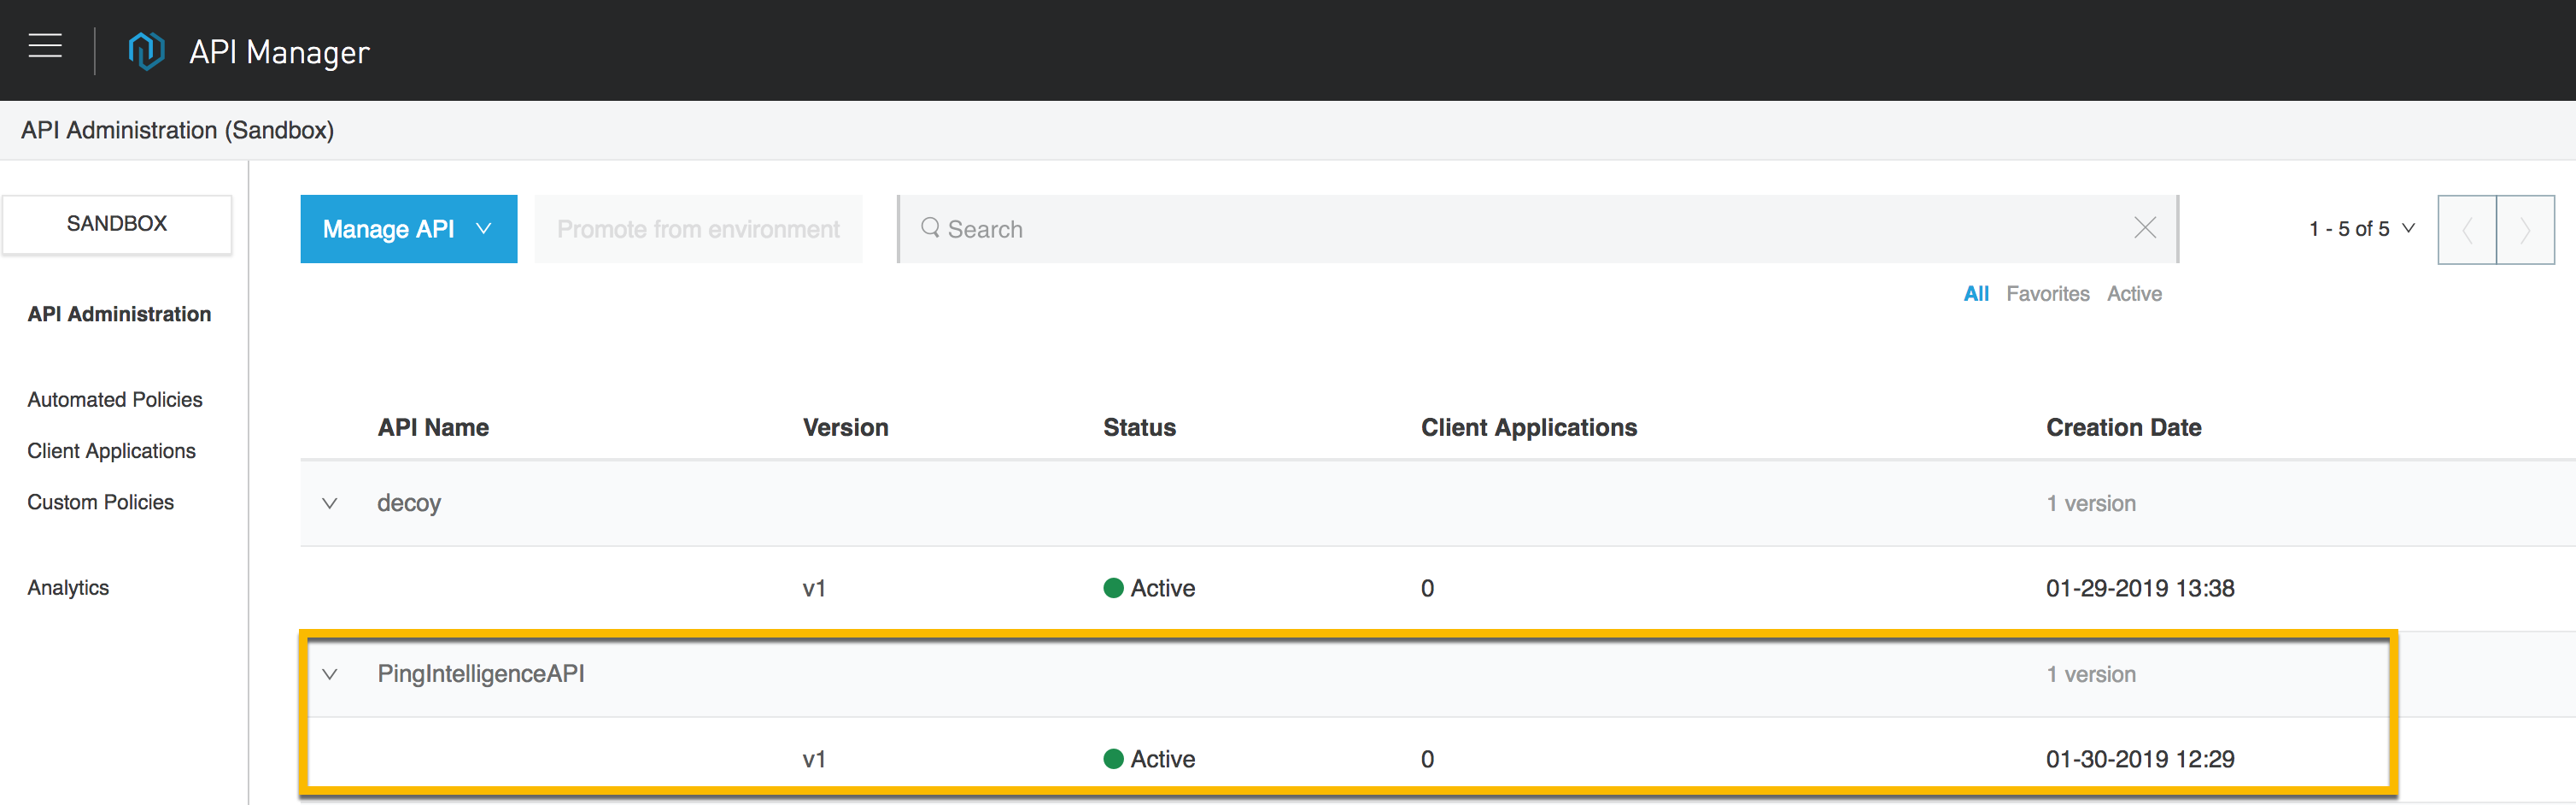
2. Navigate to the API Manager and click the **Version** of the API to which you want to attach the PingIntelligence policy.
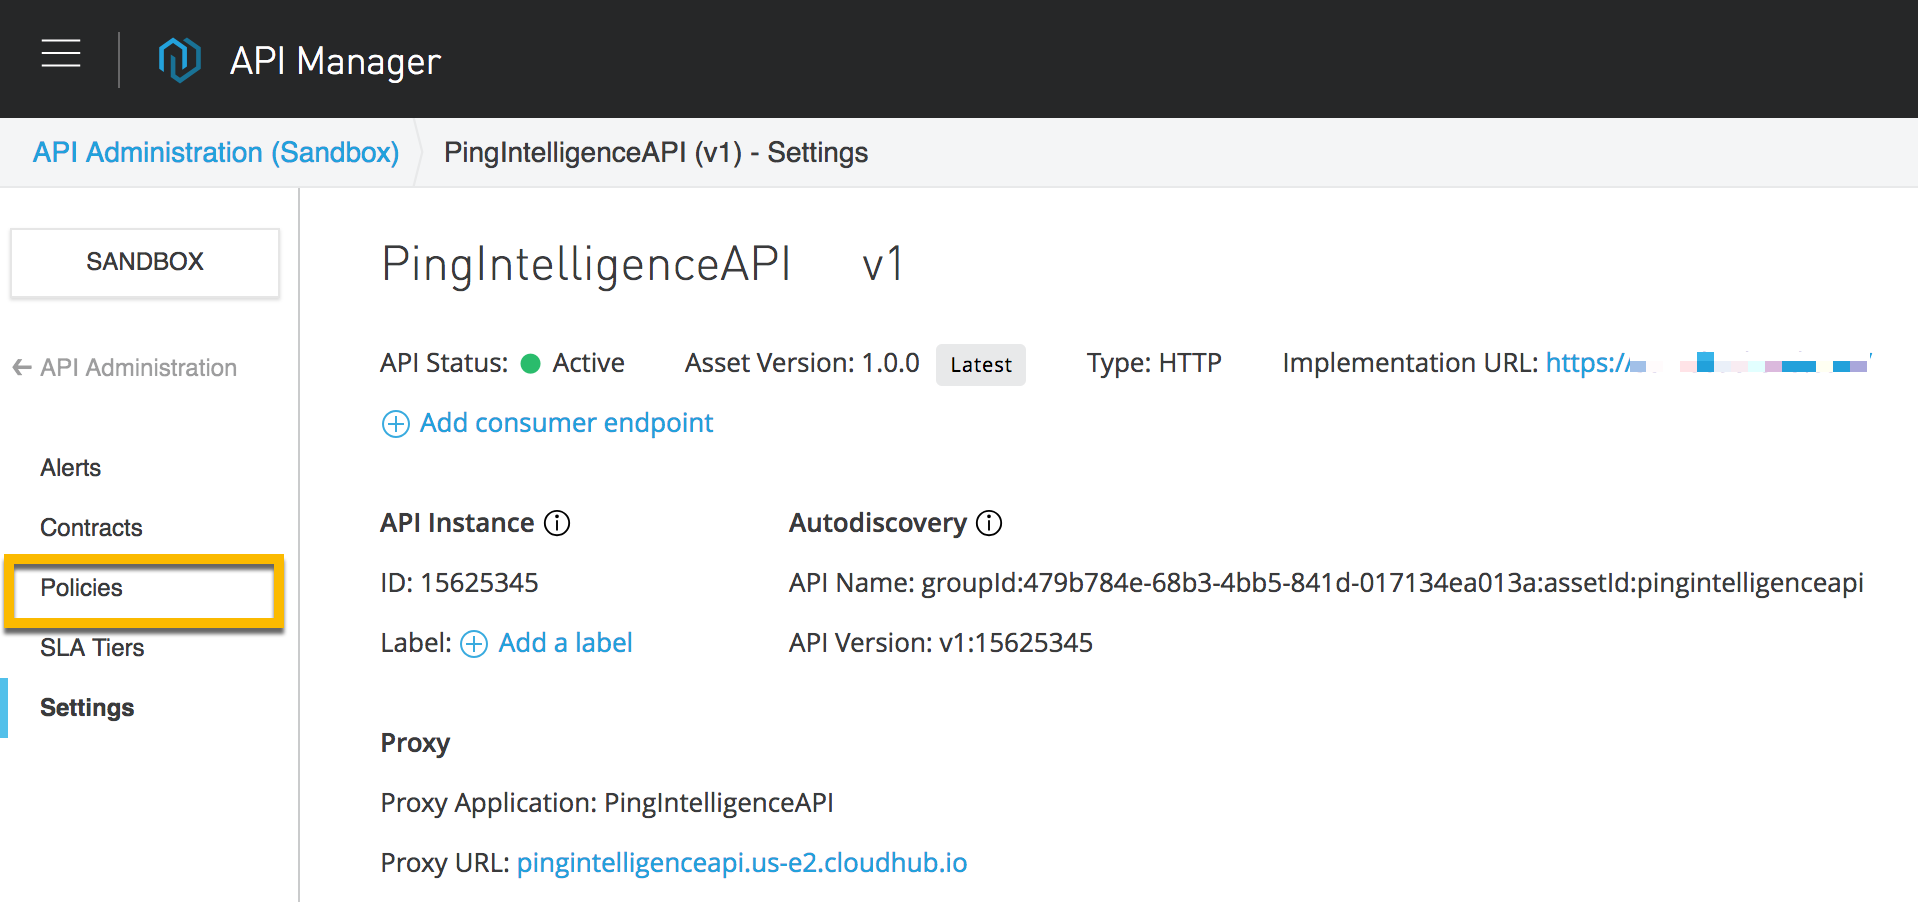
3. On the API page, click **Policies**.
The Policies page supports applying the PingIntelligence policy to the API.
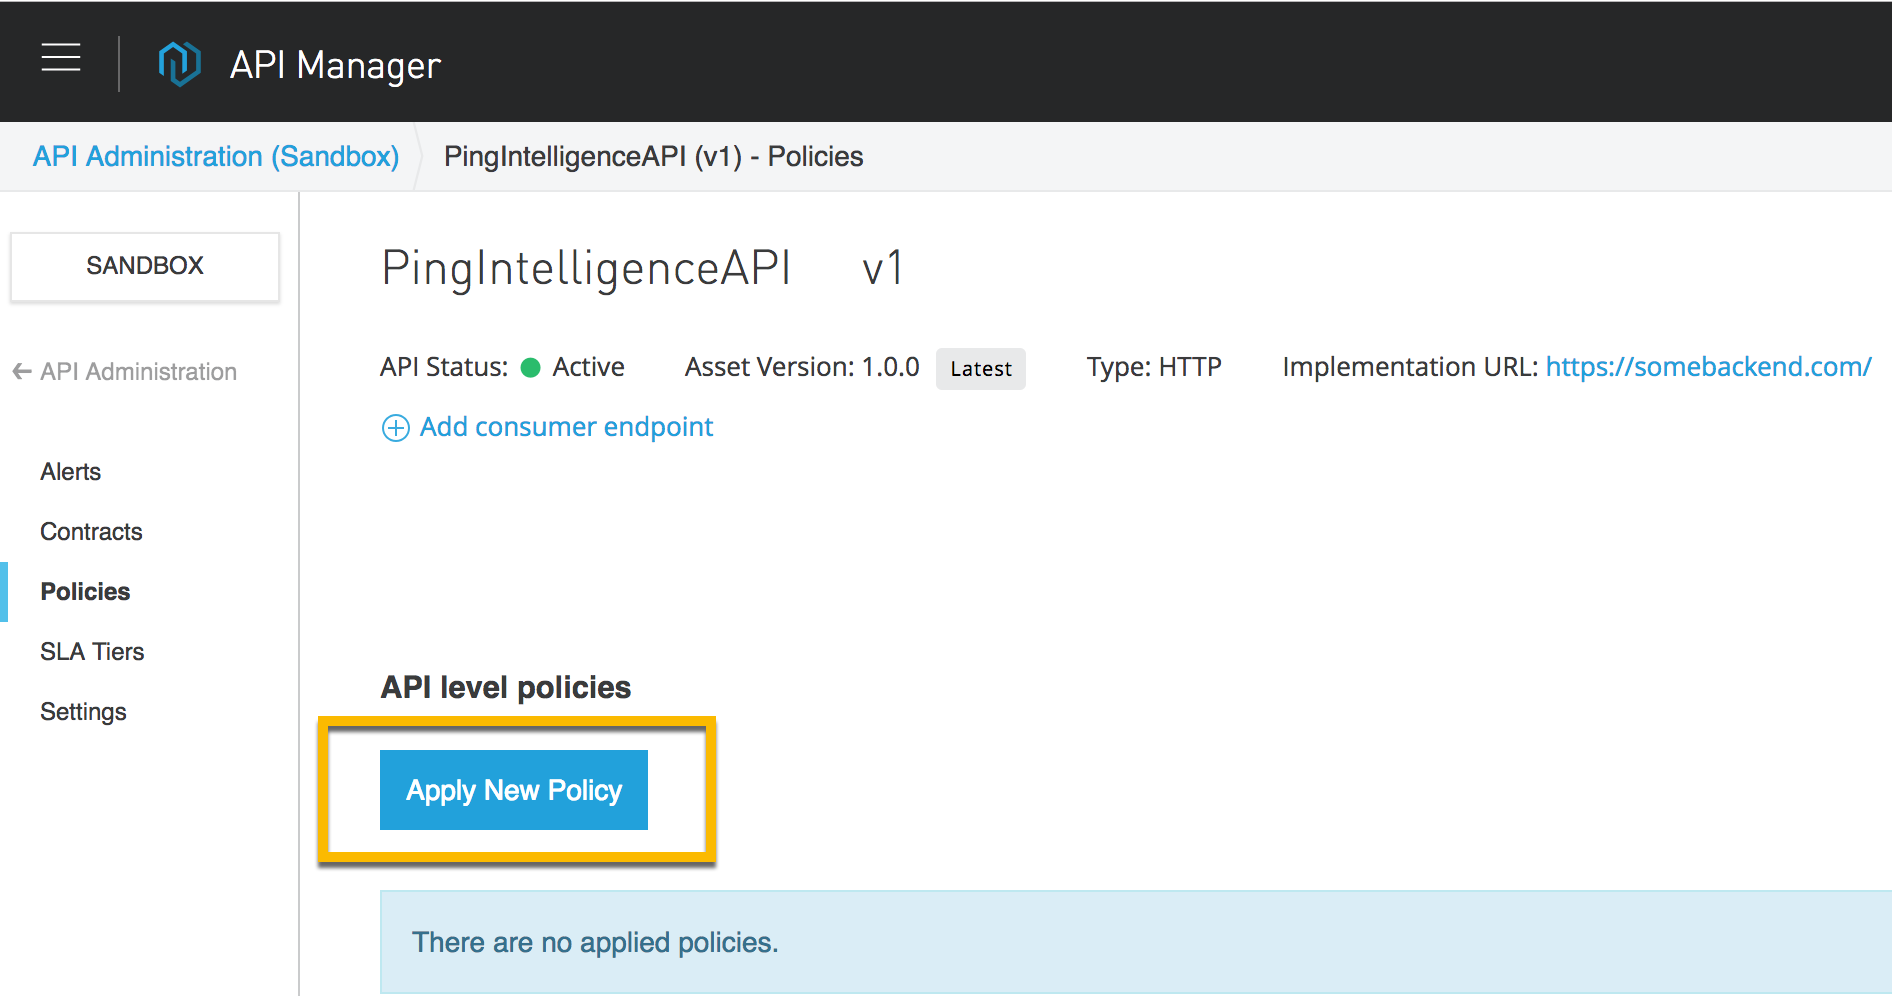
4. Click **Apply New Policy**.
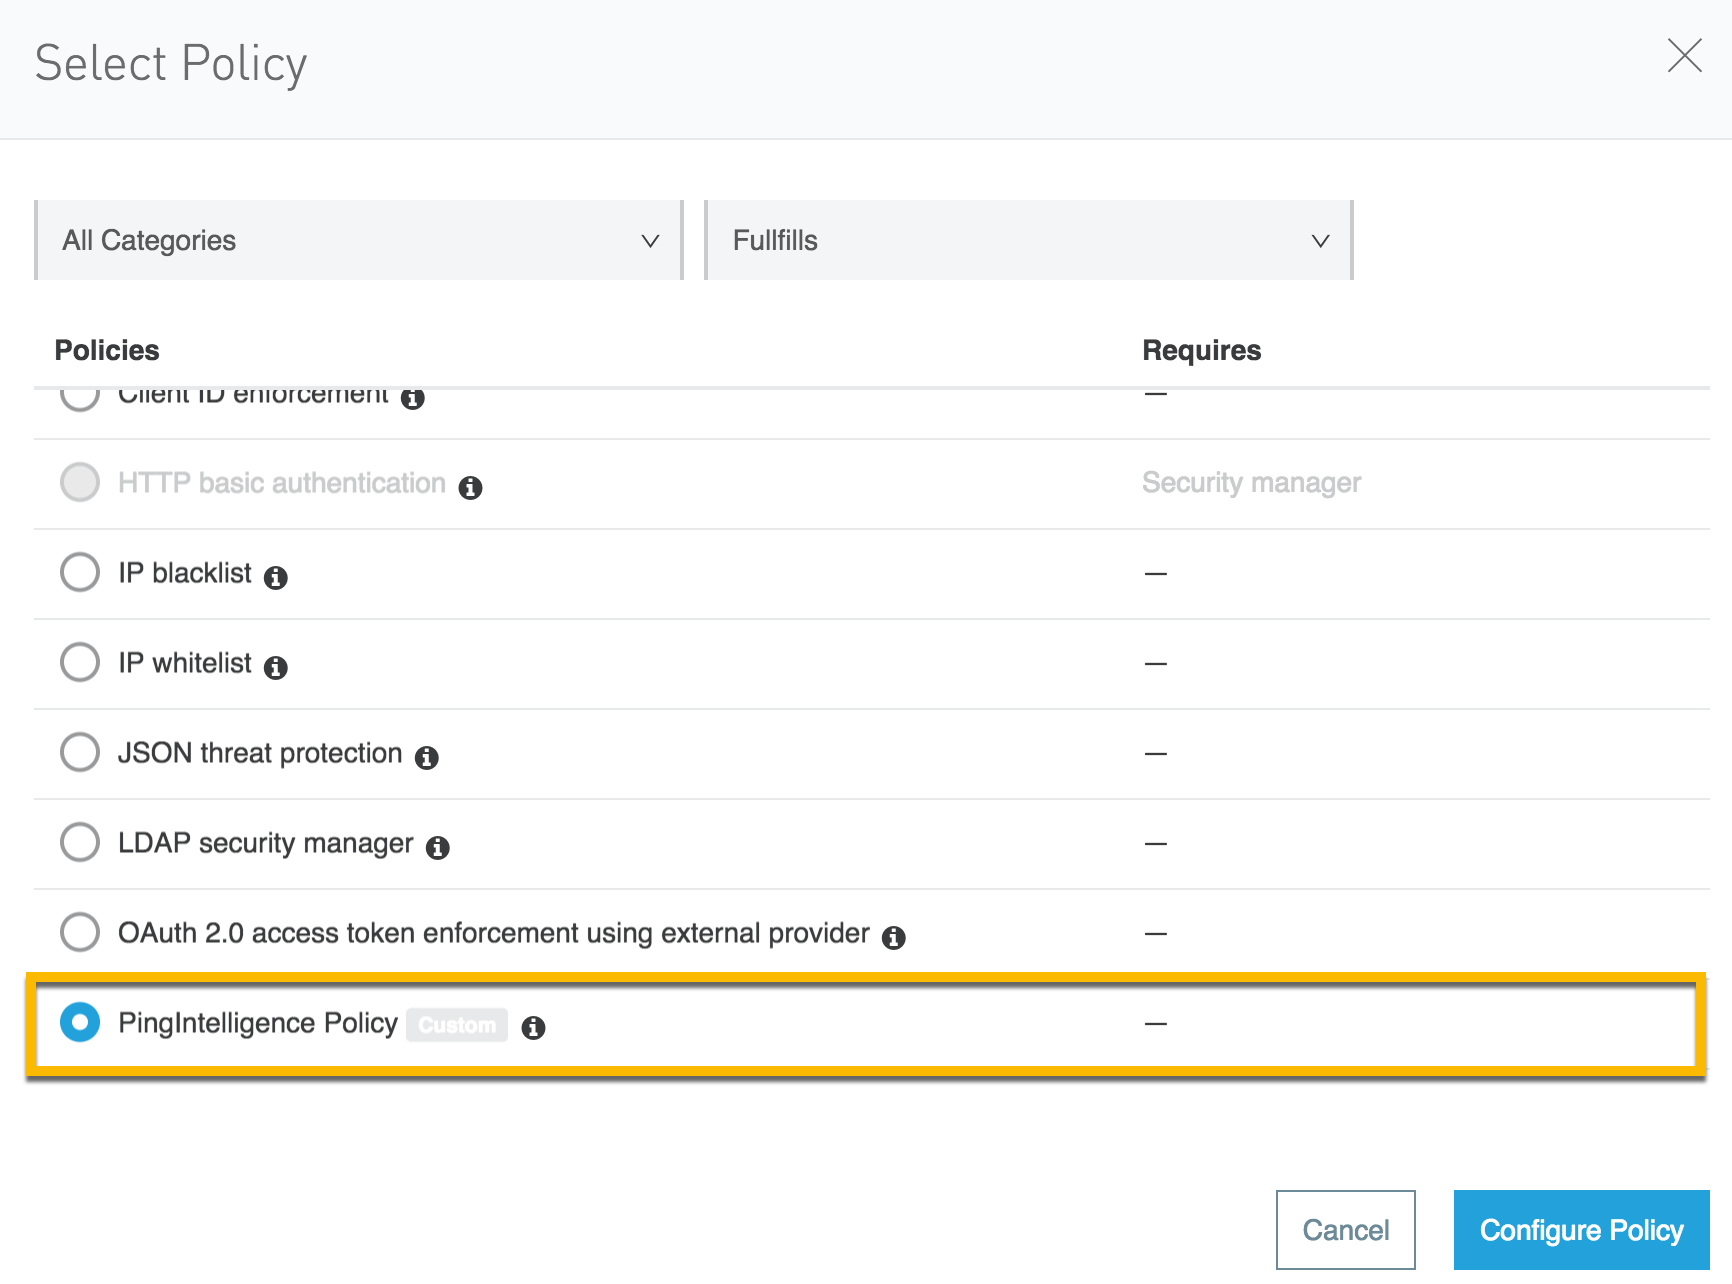
5. In the **Select Policy** pop-up window, select the PingIntelligence policy and click **Configure Policy**.
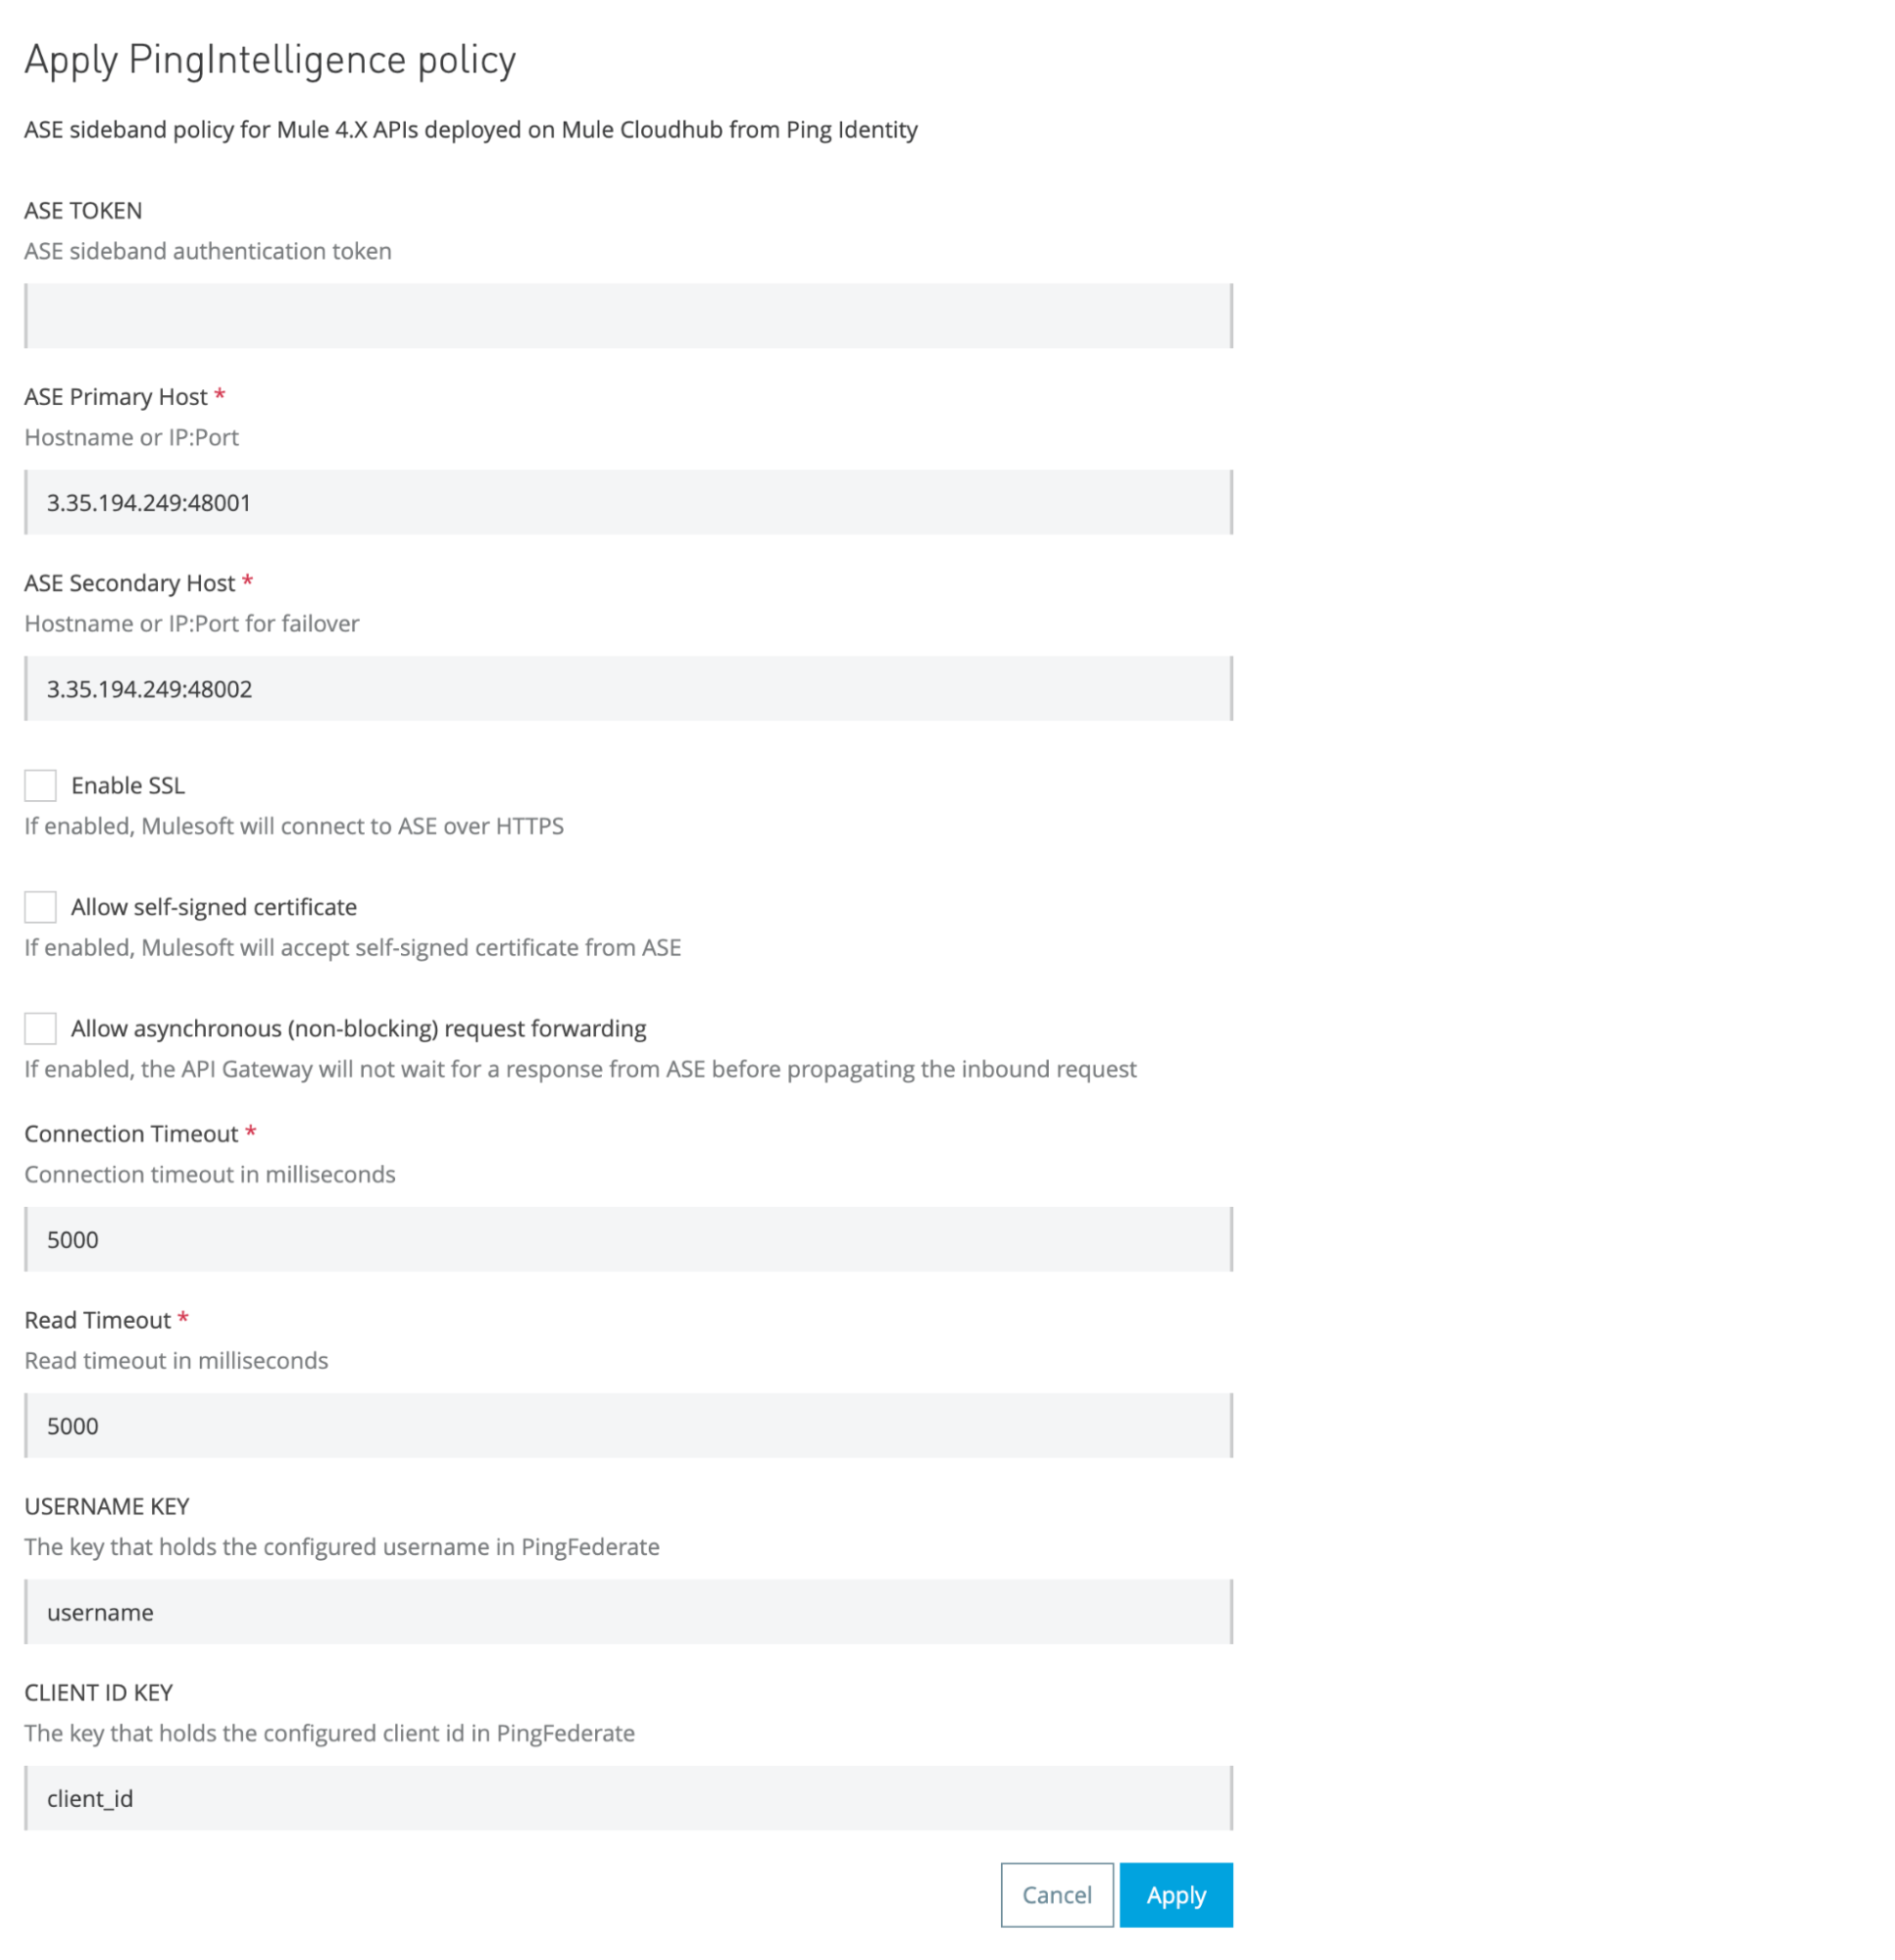
6. In the Apply policy page, enter the following values:
* ASE Token that was generated as part of [prerequisite](pingintelligence_mulesoft_prepare.html).
* ASE primary and secondary host and port. The traffic is sent to the ASE secondary host only when the primary ASE node is unreachable.
* Enable SSL for a secure HTTPS connection between Mulesoft and PingIntelligence ASE.
* Check the **Allow self-signed certificate** check-box to enable Mulesoft to accept a self-signed certificate from ASE.
* If the **Allow asynchronous (non-blocking) request forwarding** check box is selected, the API Gateway will not wait for a response from ASE before propagating the inbound request.
| | |
| - | --------------------------------------------------------------------------------------- |
| | The asynchronous option is only available in the PingIntelligence MuleSoft Java policy. |
* Configure the **Connection Timeout** and **Read Timeout**. The behavior of the API gateway is governed by Connection Timeout and Read Timeout, in the event of API Gateway not able to connect to ASE or the response from ASE is delayed.
| Timeout parameter | Description |
| ------------------ | ------------------------------------------------------------------------------------------------------------------------------------------------ |
| Connection Timeout | It governs the time the API gateway waits to establish a connection with ASE, following which it sends the client request to the backend server. |
| Read Timeout | It governs the time the API Gateway waits for ASE's response before sending the request to the backend server. |
The default value is 5000 milliseconds or 5 seconds. It is good practice to configure a small value to limit the delay in case ASE is not reachable or unresponsive.
| | |
| - | ---------------------------------------------------------------------------------------------------------------------- |
| | If there are any changes to the ASE endpoints, repeat the process explained in step 6 and re-deploy the configuration. |
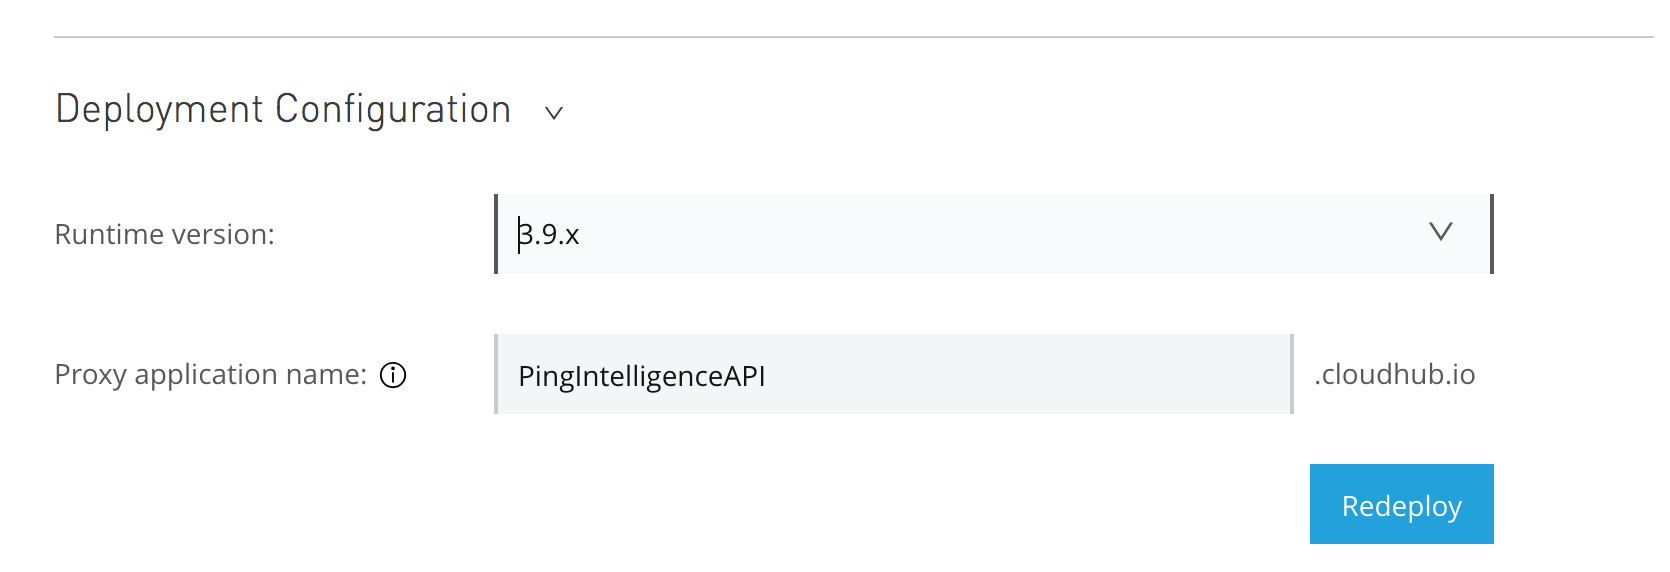
7. Navigate to your API and click the version number as described in step 1. In the API page, scroll down to the **Deployment Configuration** section and click **Redeploy**.
8. If your API is configured with Basic endpoint on MuleSoft version 3.9.x, then add the following properties in your MuleSoft application:
* `http.status`
* `http.reason`
* `content-type`
* `content-length`
You can use the `set-property` element to configure these properties in the MuleSoft application. If required, you can also set other response side headers to send more information to the PingIntelligence policy.
\+
### Result:
The following is a sample configuration of setting response side details. For more information on setting the properties in a Mule application, see [property transformer](https://docs.mulesoft.com/mule-runtime/3.9/property-transformer-reference).
```
```