Managing user groups
Adding individual users to PingCentral applications can be a time-consuming process. If you have user groups defined in your data store, you can add the groups to PingCentral so that application owners can associate them with PingCentral applications and provide application access to multiple users at once.
Start by signing on PingCentral using single sign-on (SSO). Next, add information about each group, such as the group name, display name, and description to PingCentral. Group names should match the group names in your data store and aren’t case sensitive.
If you have a large number of groups to add, you can upload the information into PingCentral in a .csv file. Then, you can add these groups of users to PingCentral applications, which provides application access to each user in the group.
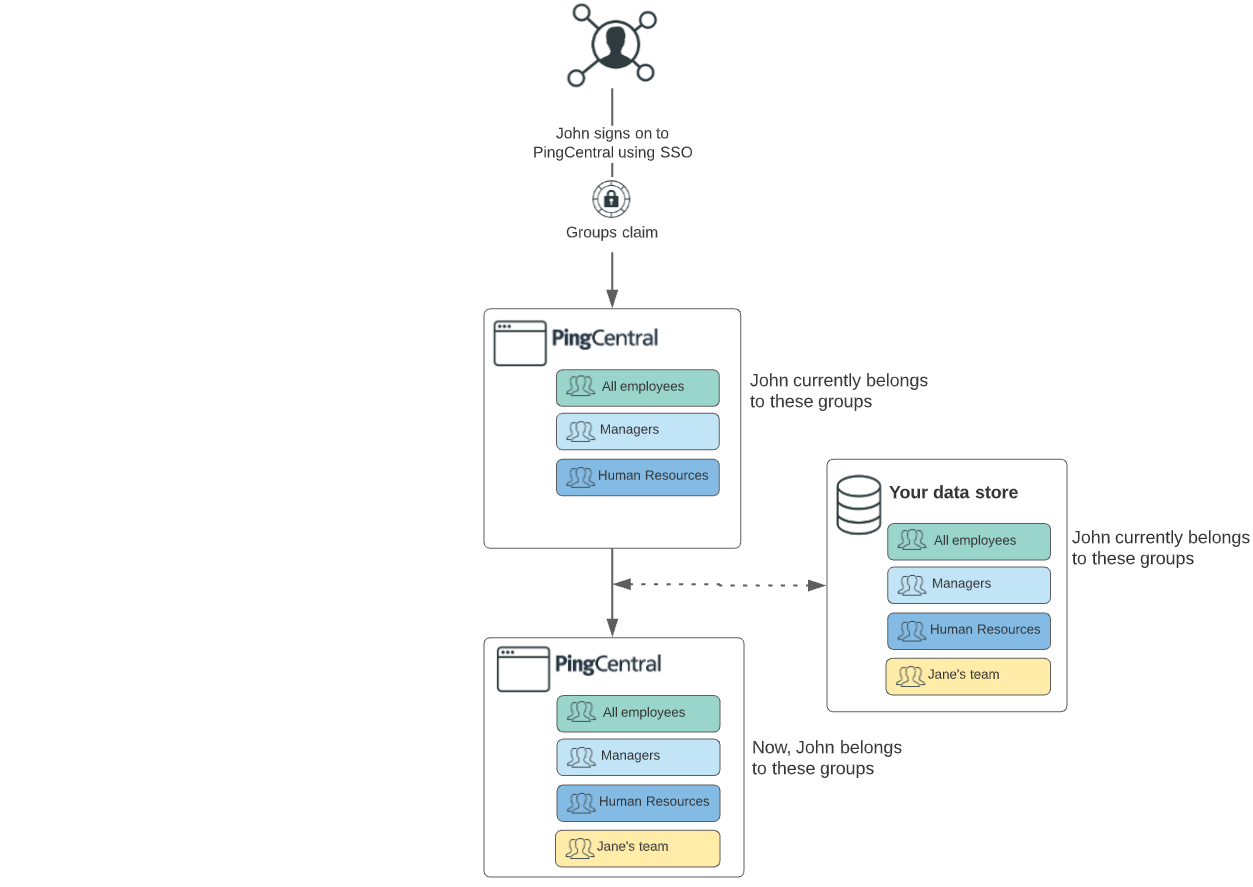
Identities, user groups, and group membership information are managed in your data store. When a user signs on to PingCentral, the groups to which the user belongs are sent as part of the groups claim. PingCentral not only updates its existing group information with information from the data store, but if the claim contains new groups, it adds those groups to PingCentral, as shown in this diagram. It also updates the user profile to reflect current group memberships.

Adding user groups
After adding groups to PingCentral, associate them with PingCentral applications and provide application access to many users at once. Add groups one by one or import group information in a .csv file.
Steps
-
Sign on to PingCentral using SSO.
Group functionality is only available if you sign on using SSO.
-
To add groups of users one by one:
-
On the Groups tab, click Add Group.
-
On the Add Group page, complete these fields:
-
Group Name: Enter the group name. Group names should match the group names in your data store and are not case sensitive.
-
Display Name (Optional): Enter the name to display in PingCentral.
-
Description (Optional): Enter a description of the user group to display in PingCentral.
-
-
Click Save and Close.
Result:
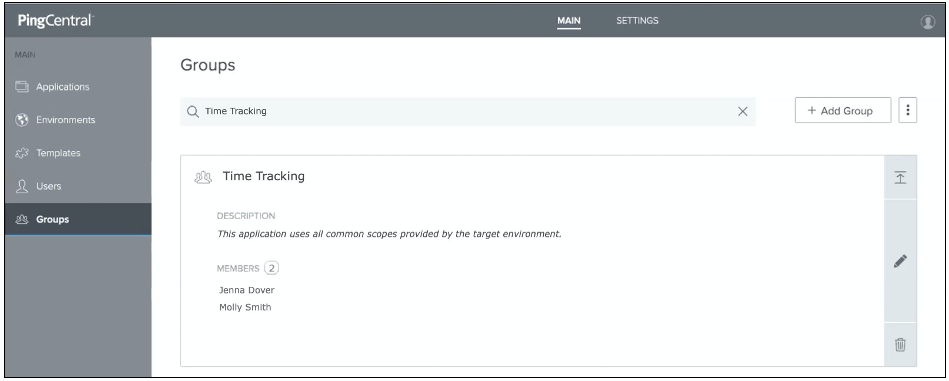
The new group displays at the top of the Groups list. Click the Expand icon to see information about the groups and its members. Use the filter to locate specific groups.

-
-
To import information about a group of users:
-
On the Groups tab, click Import Groups.
-
On the Upload File page, click Choose.
-
Select the
.csvfiles that you want to import and click Open and click Next. -
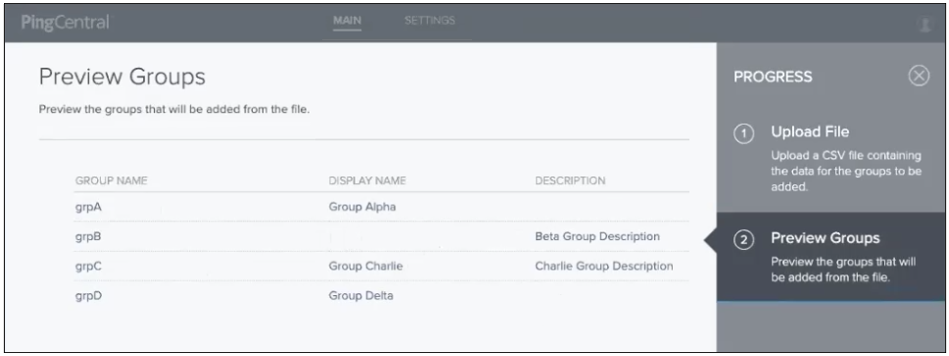
On the Preview Groups page, review the group names, display names, and descriptions, and ensure they are accurate. If not, correct the
.csvfile and import it again.The Name field is required, but the Display Name and Description fields are optional.

-
Click Save and Close.
Result:
The new group displays at the top of the Groups list. Click the Expand icon to see information about the groups and its members. Use the filter to locate specific members or groups.
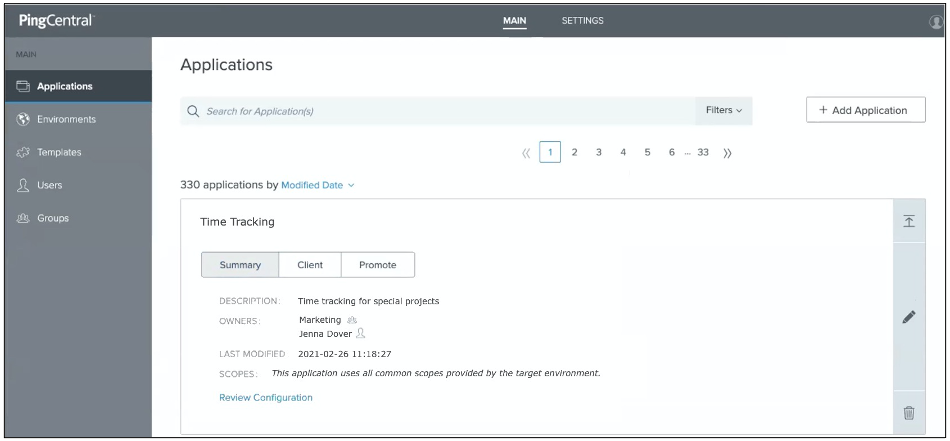
After application owners associate users or groups of users with their applications, the ownership information also displays when you select the application.

-
Updating user groups
You can update the name, display name, and description for a user group.
Steps
-
To update user group information, click the Expand icon associated with the group that you want to update and then click the Pencil icon.
Result:
All of the editable information displays on the page.
-
Update the information in the Name, Display Name, and Description fields as needed, and click Save and Close.
If the group name is updated in PingCentral but not in your data store, the groups will be out of sync, which might cause users to lose access to their applications.