Getting started
This guide introduces the dynamic authorization features of the PingAuthorize Policy Editor. It shows you how to create attribute-based access control policies that reflect your business requirements. It also provides a tour of the various concepts involved in modeling policies in the Policy Editor.
About this task
To get started with the Policy Editor, complete the following tasks:
Steps
-
Sign on to the Policy Editor.
In demo environments, you can use the default credentials:
-
Username:
admin -
Password:
password123
-
-
Create a branch.
This branch stores your policies and other entities.
-
Define the Trust Framework.
This allows you to define the elements that will form the building blocks of your policies—the who, what, when, where, and why.
-
Define your policies and policy sets.
Build your policies to reflect your business needs.
-
Test policies and policy sets.
Verify that your policies correctly implement your business rules.
-
This creates a commit, which is an immutable representation of the Trust Framework and Policies at a point in time.
-
This creates a file that you can deploy to PingAuthorize Server instances across multiple environments.
Next steps
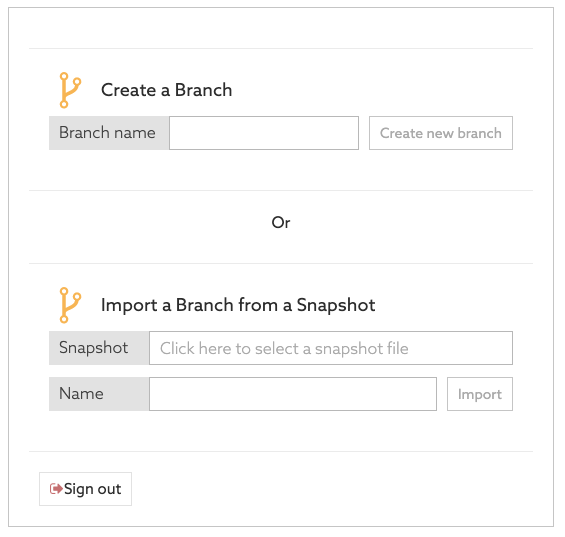
After you sign on to the Policy Editor, the system prompts you to set the branch on which to work. You can create a new (empty) branch, select an existing branch, or import a branch from a snapshot file.
The PingAuthorize Policy Editor embraces similar principles to general software source control. When you first deploy the Policy Editor, the Branches repository is empty, and the system prompts you to create or import a branch. You must complete one of these actions to continue using the product.
