UI customization
The PingOne Recognize SDK can be customized to provide a more familiar UX when integrated into your app.
SDK v5
Theme
The SDK theme can be customized to dark, light, or system.
PingOne Recognize uses the system theme by default.
Android
Keyless.UI.Color.sdkTheme = SdkTheme.SYSTEM

// default theme is SYSTEM
public enum class SdkTheme {
    DARK,
    LIGHT,
    SYSTEM
}Colors
You can customize the following colors:
-
primary color: appears most frequently across screens and components.
-
onPrimary color: used for content shown on top of primary color.
-
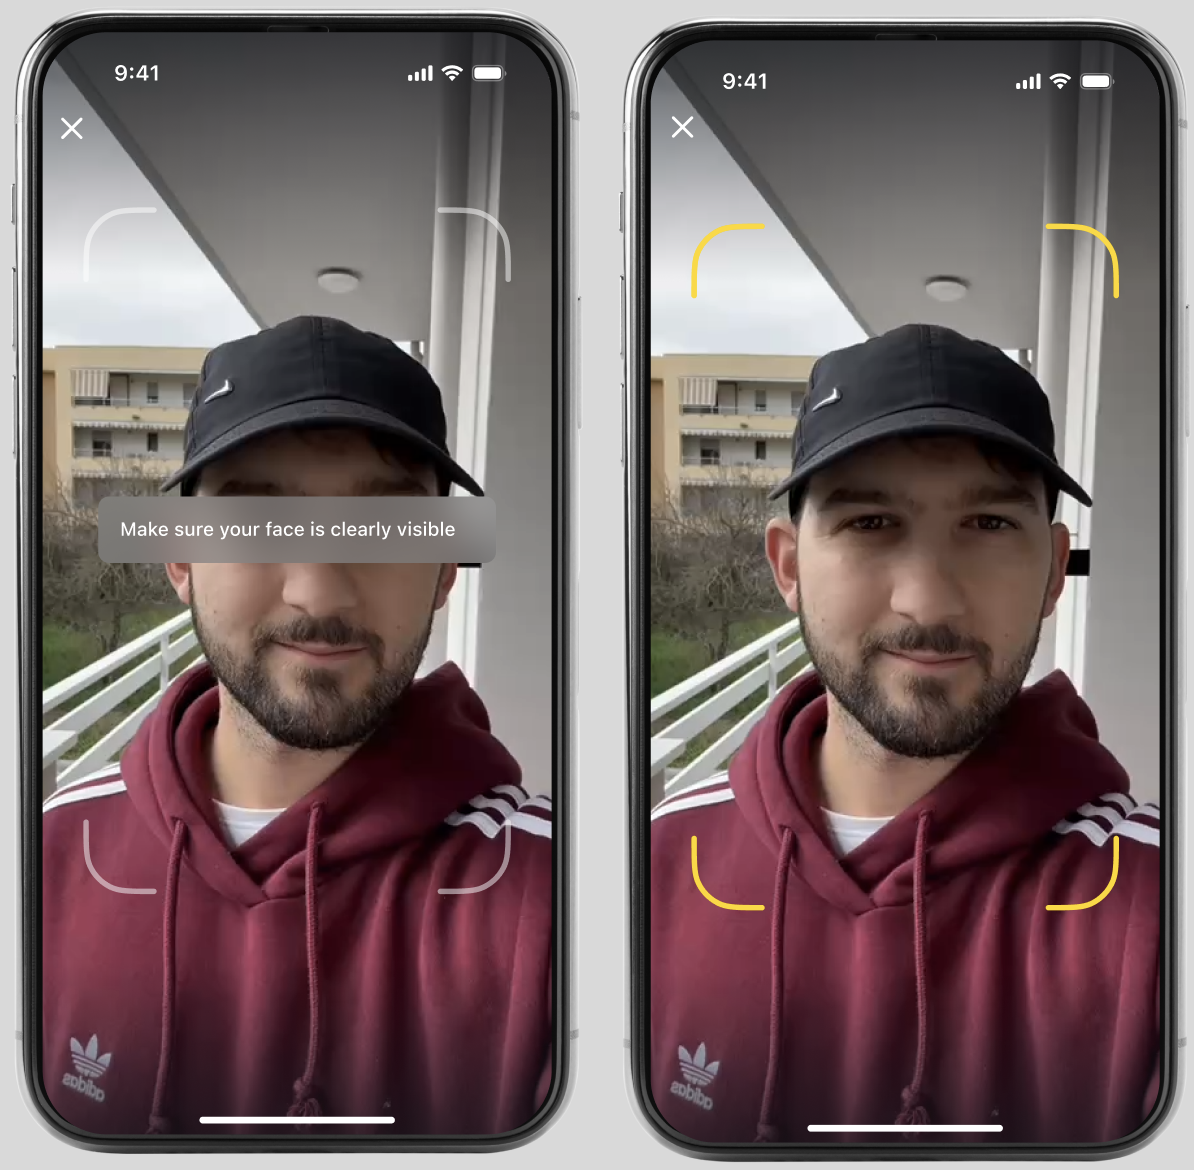
accent color: used for smaller UI details (for example, camera frame borders).
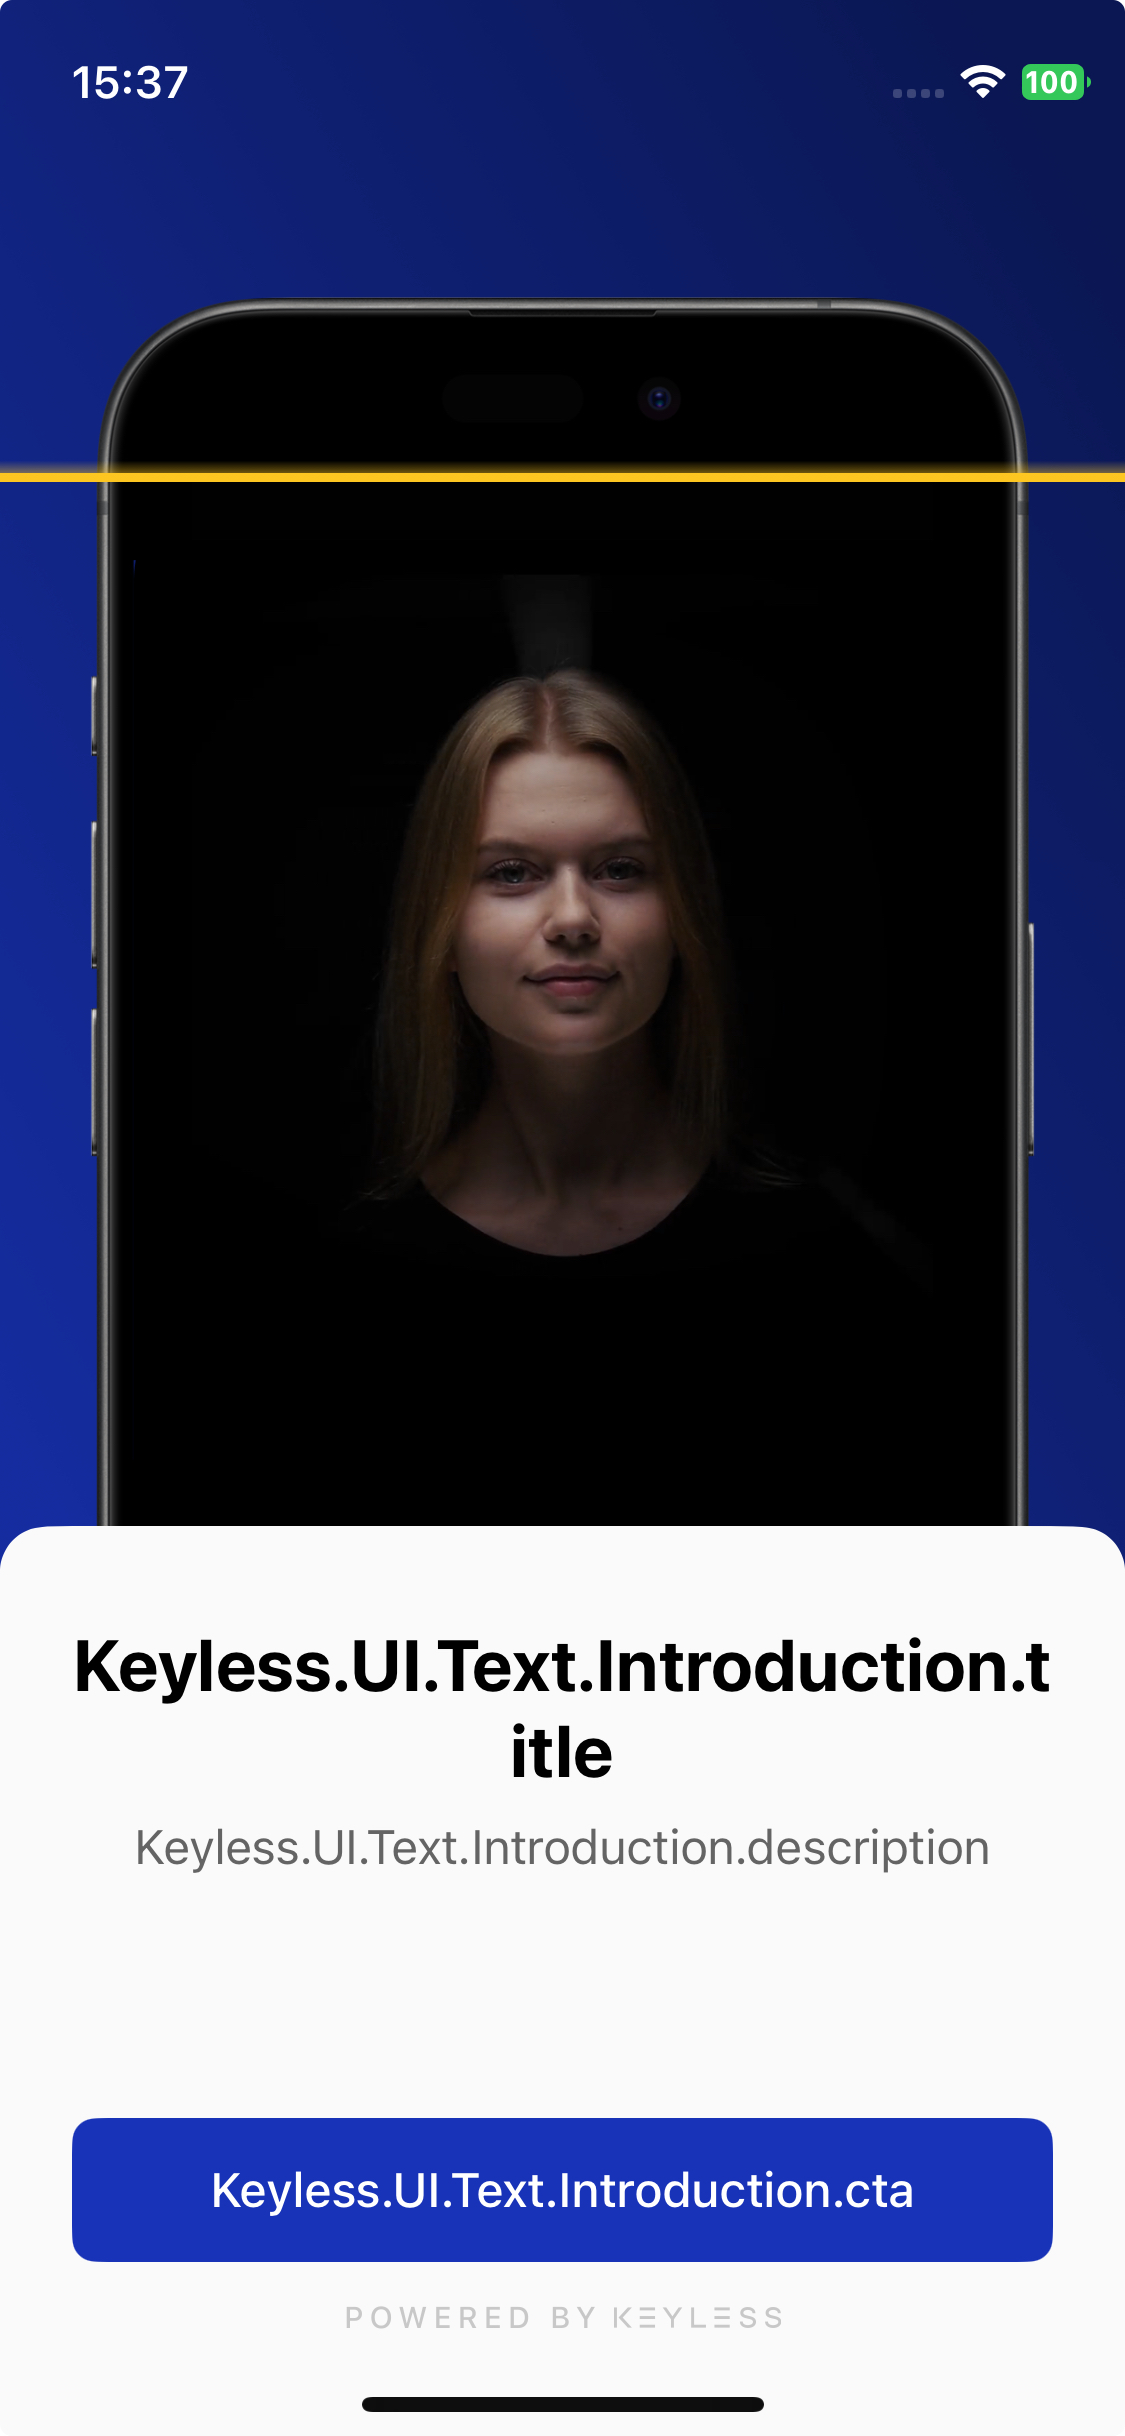
Text
You can customize text across introduction, enrollment, authentication, error, success, and dynamic linking screens.
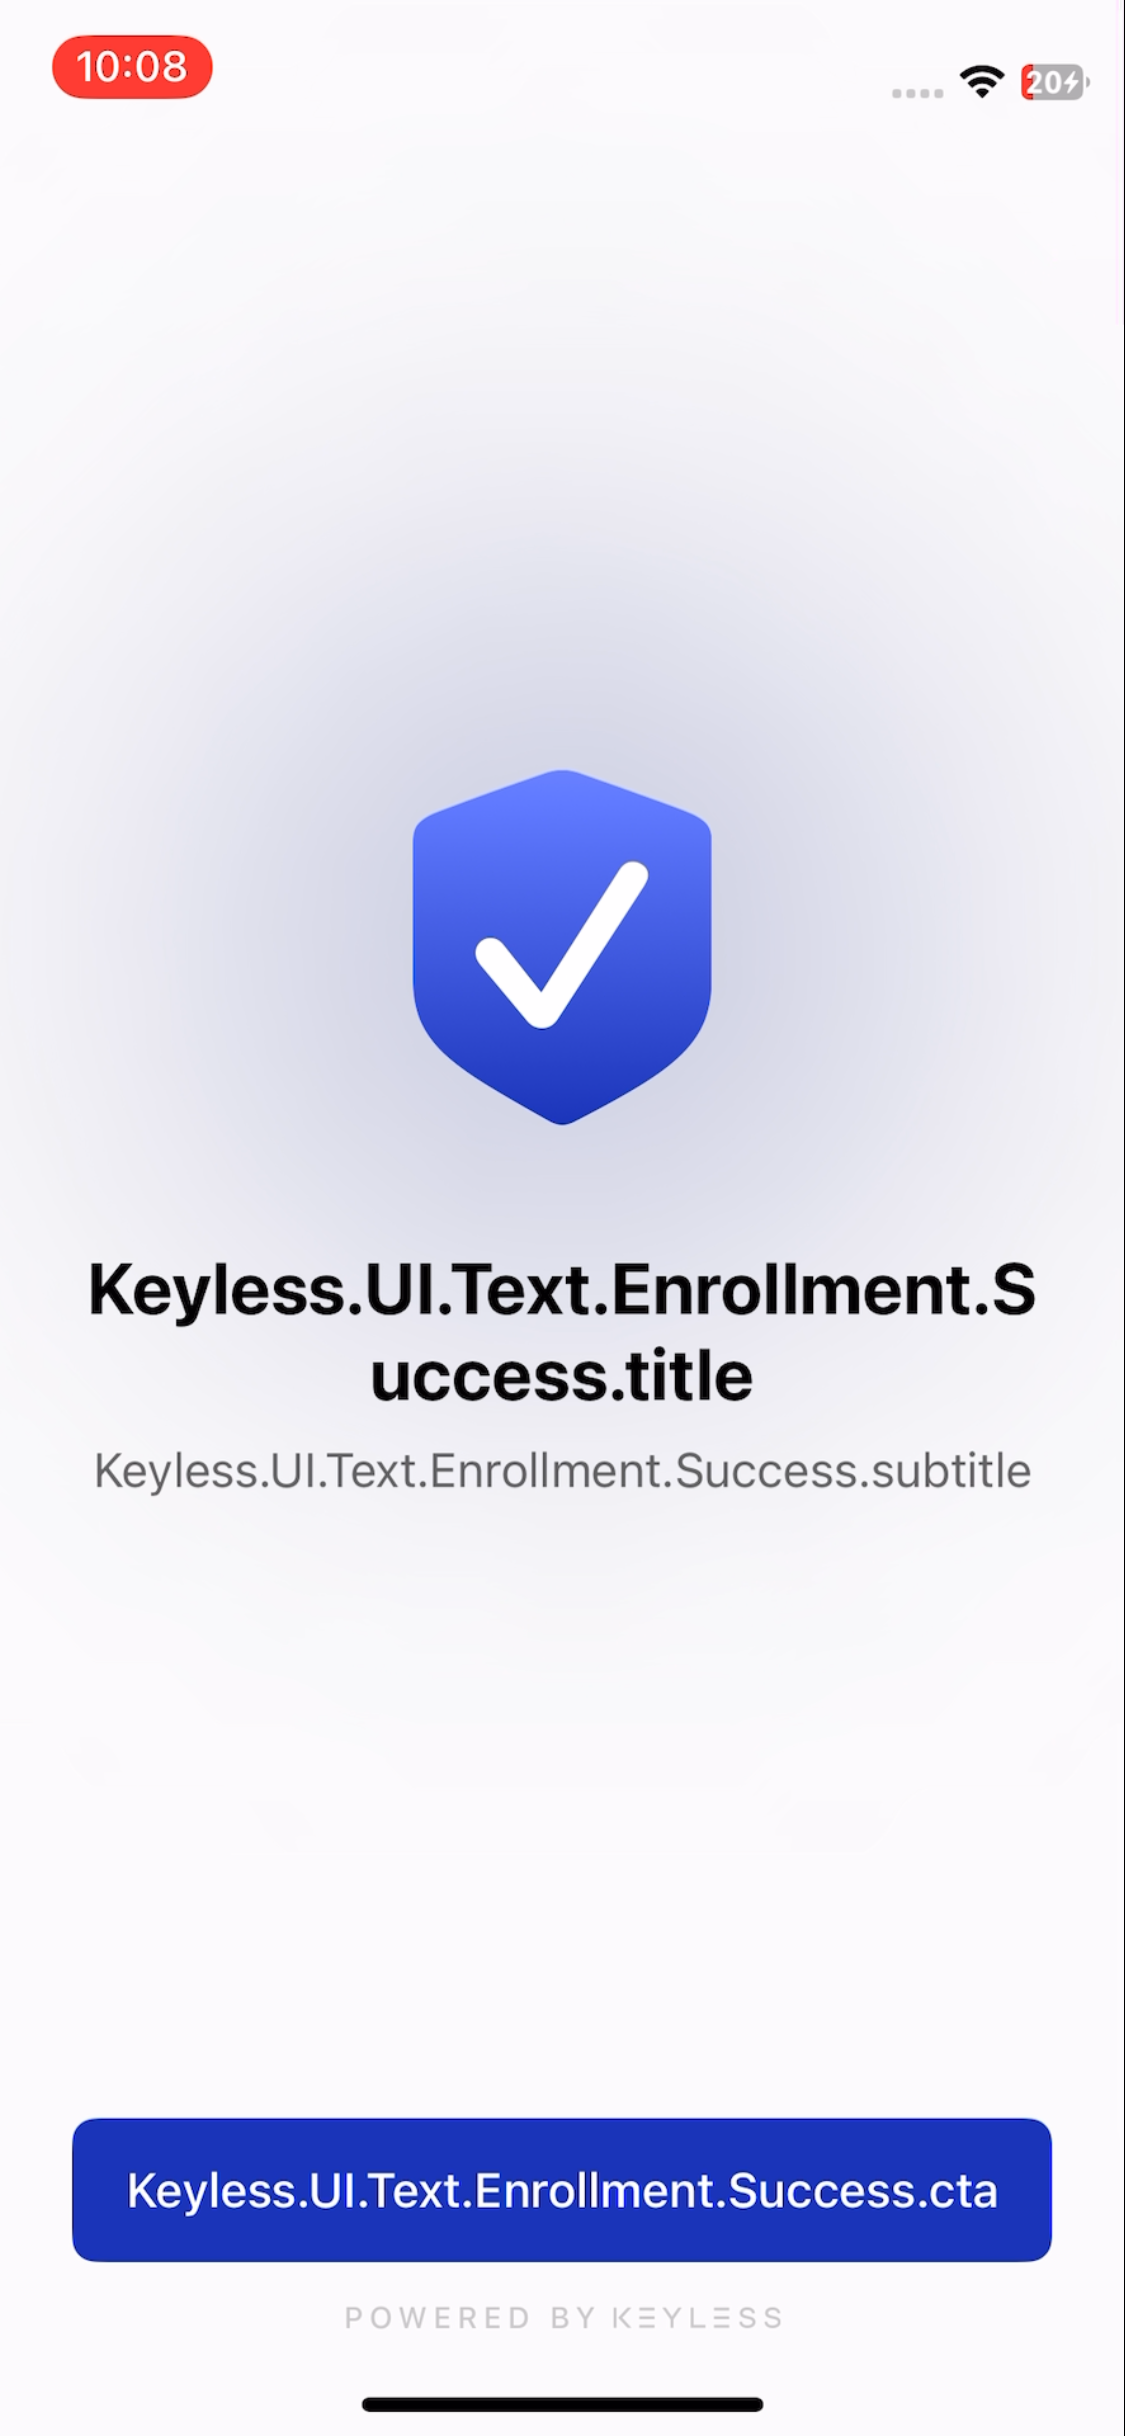
Enrollment
Use concise content (ideally up to three lines).
-
Instruction (
title,subtitle,tip1,tip2,tip3,continueCta) -
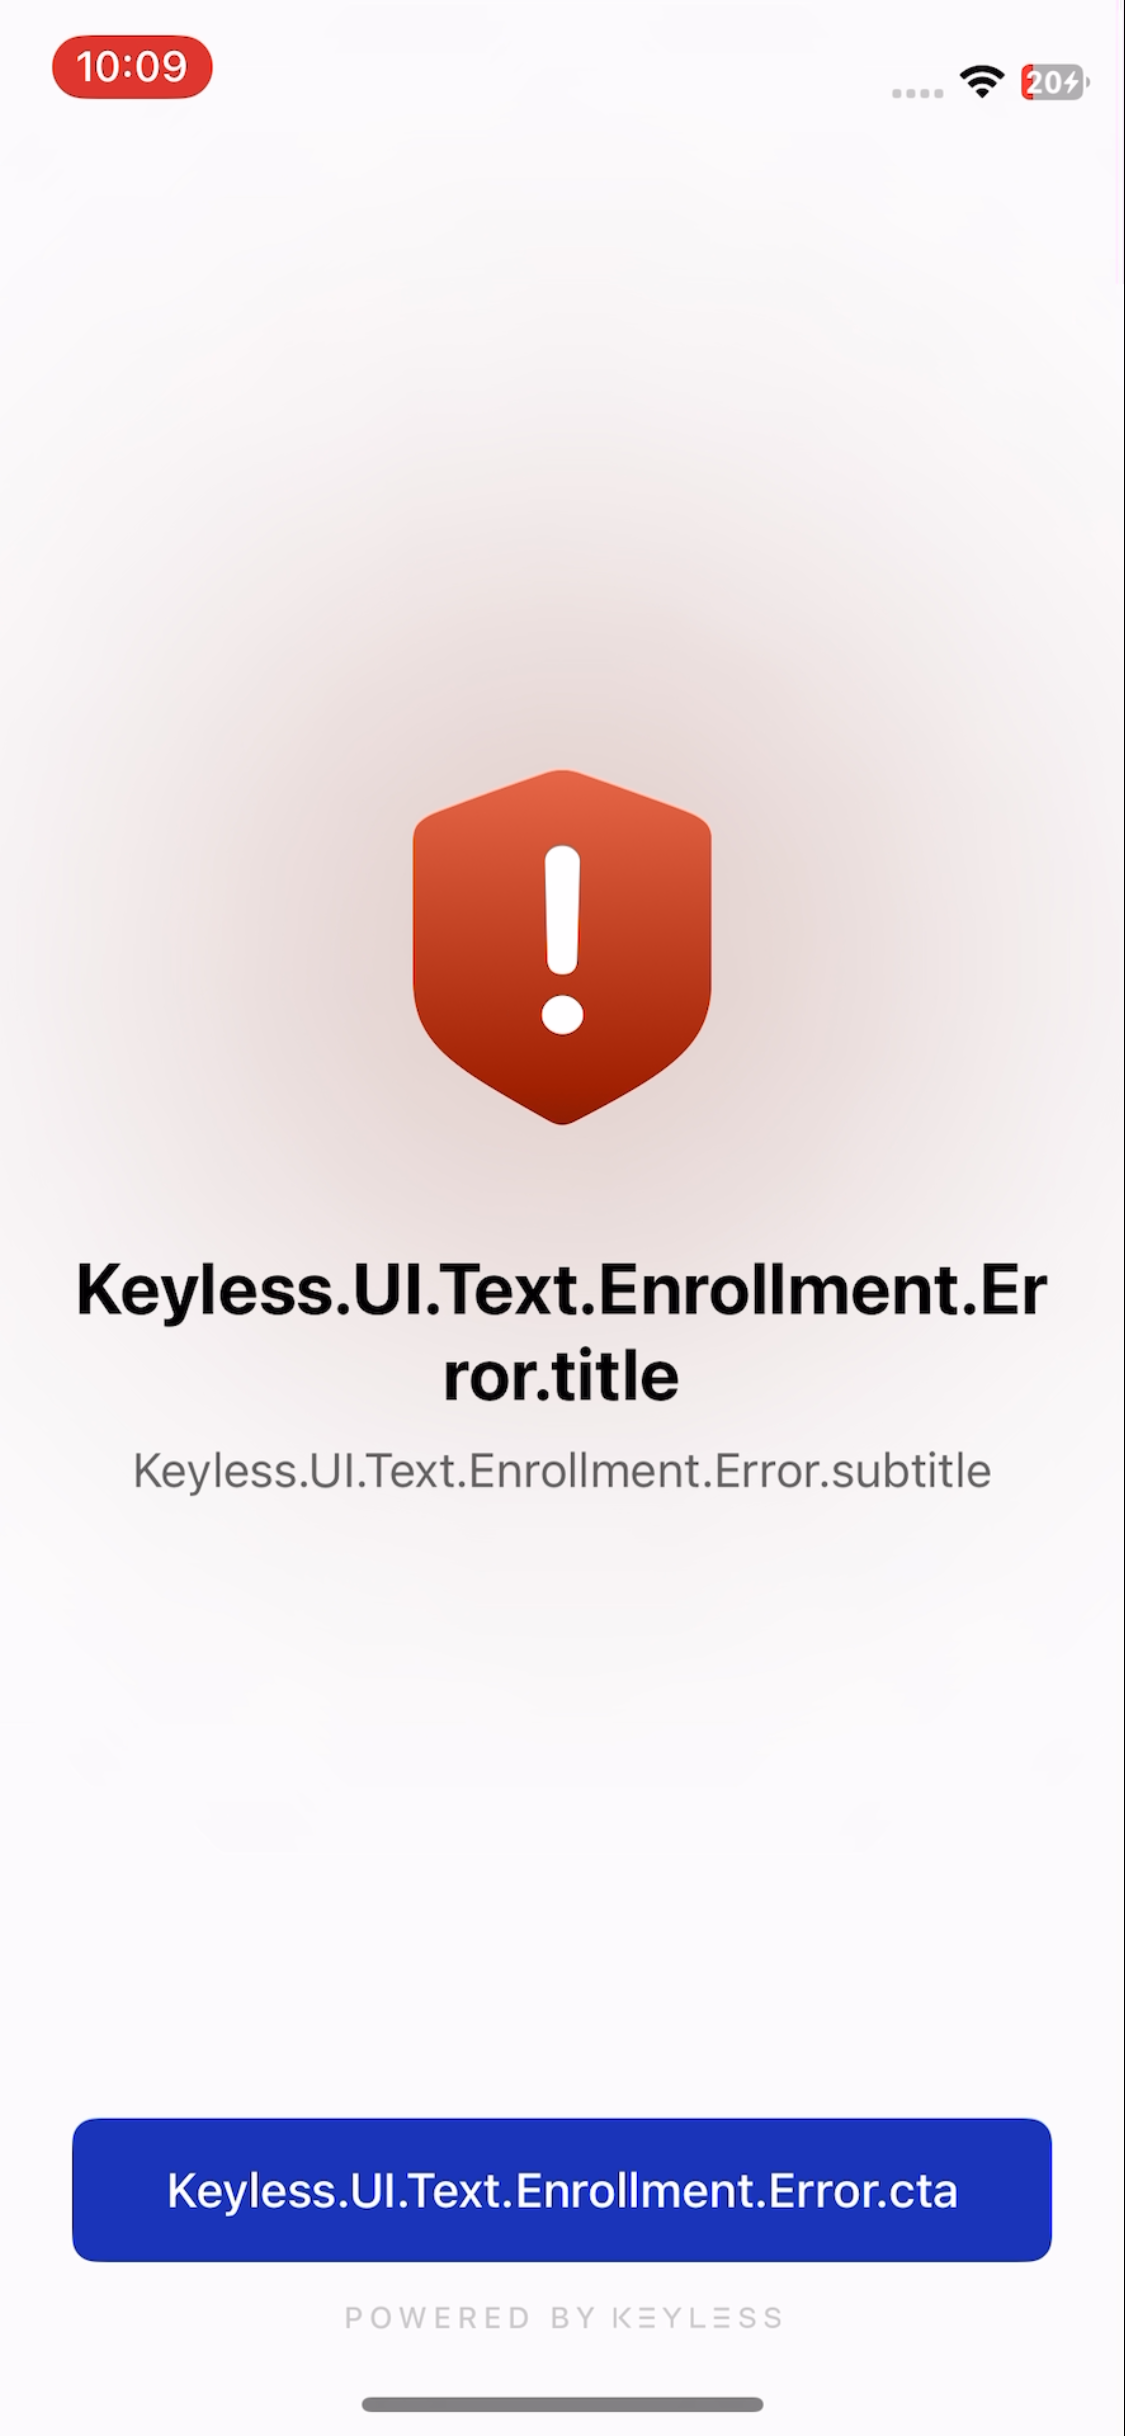
Error (
title,subtitle,cta) -
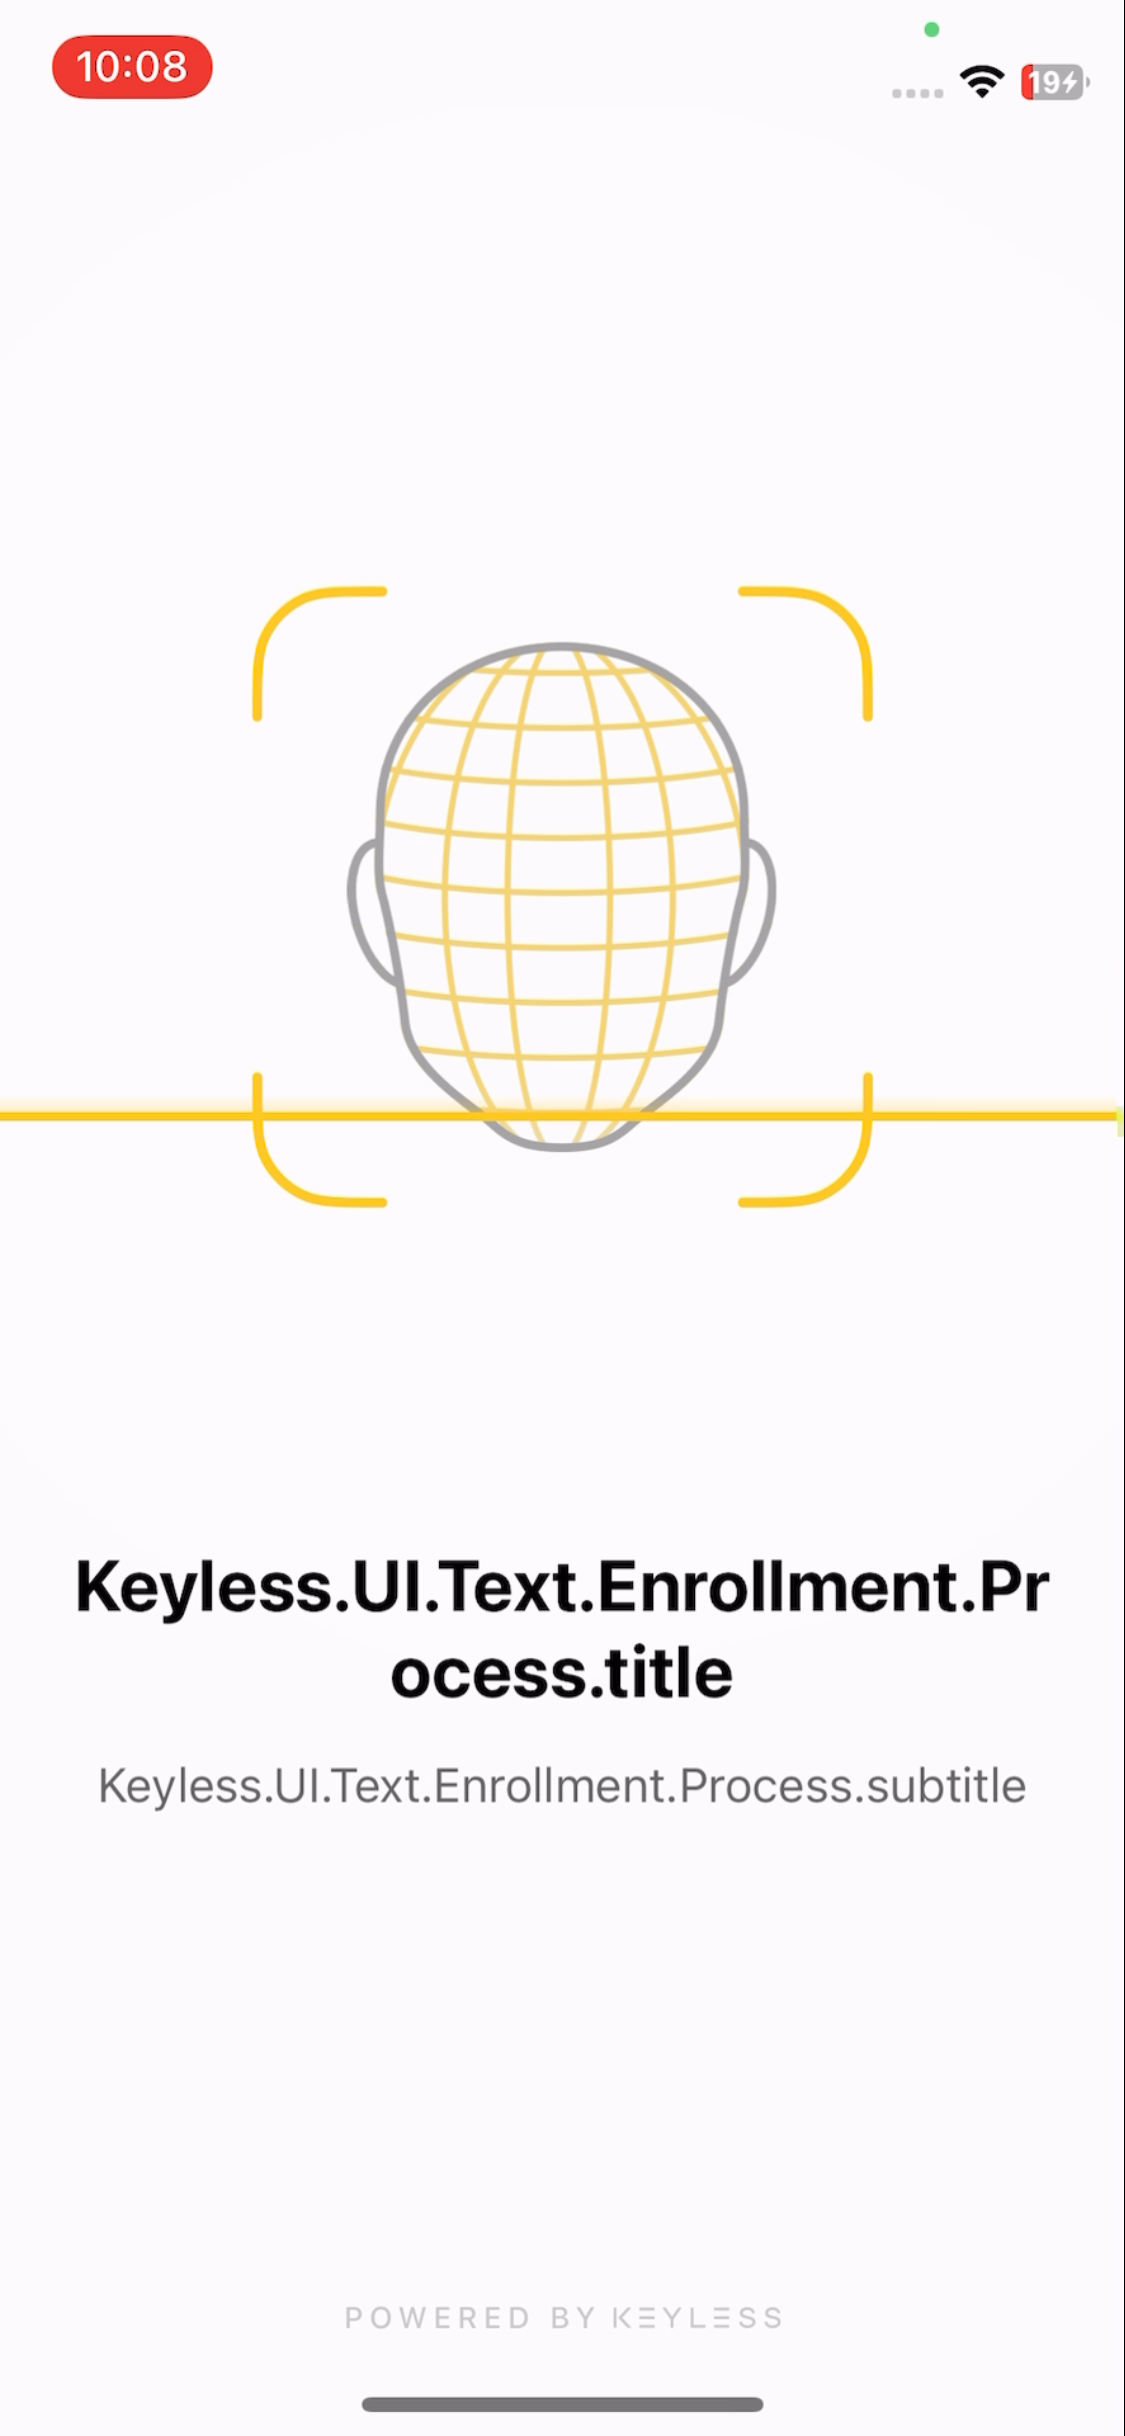
Process (
title,subtitle) -
Success (
title,subtitle,cta)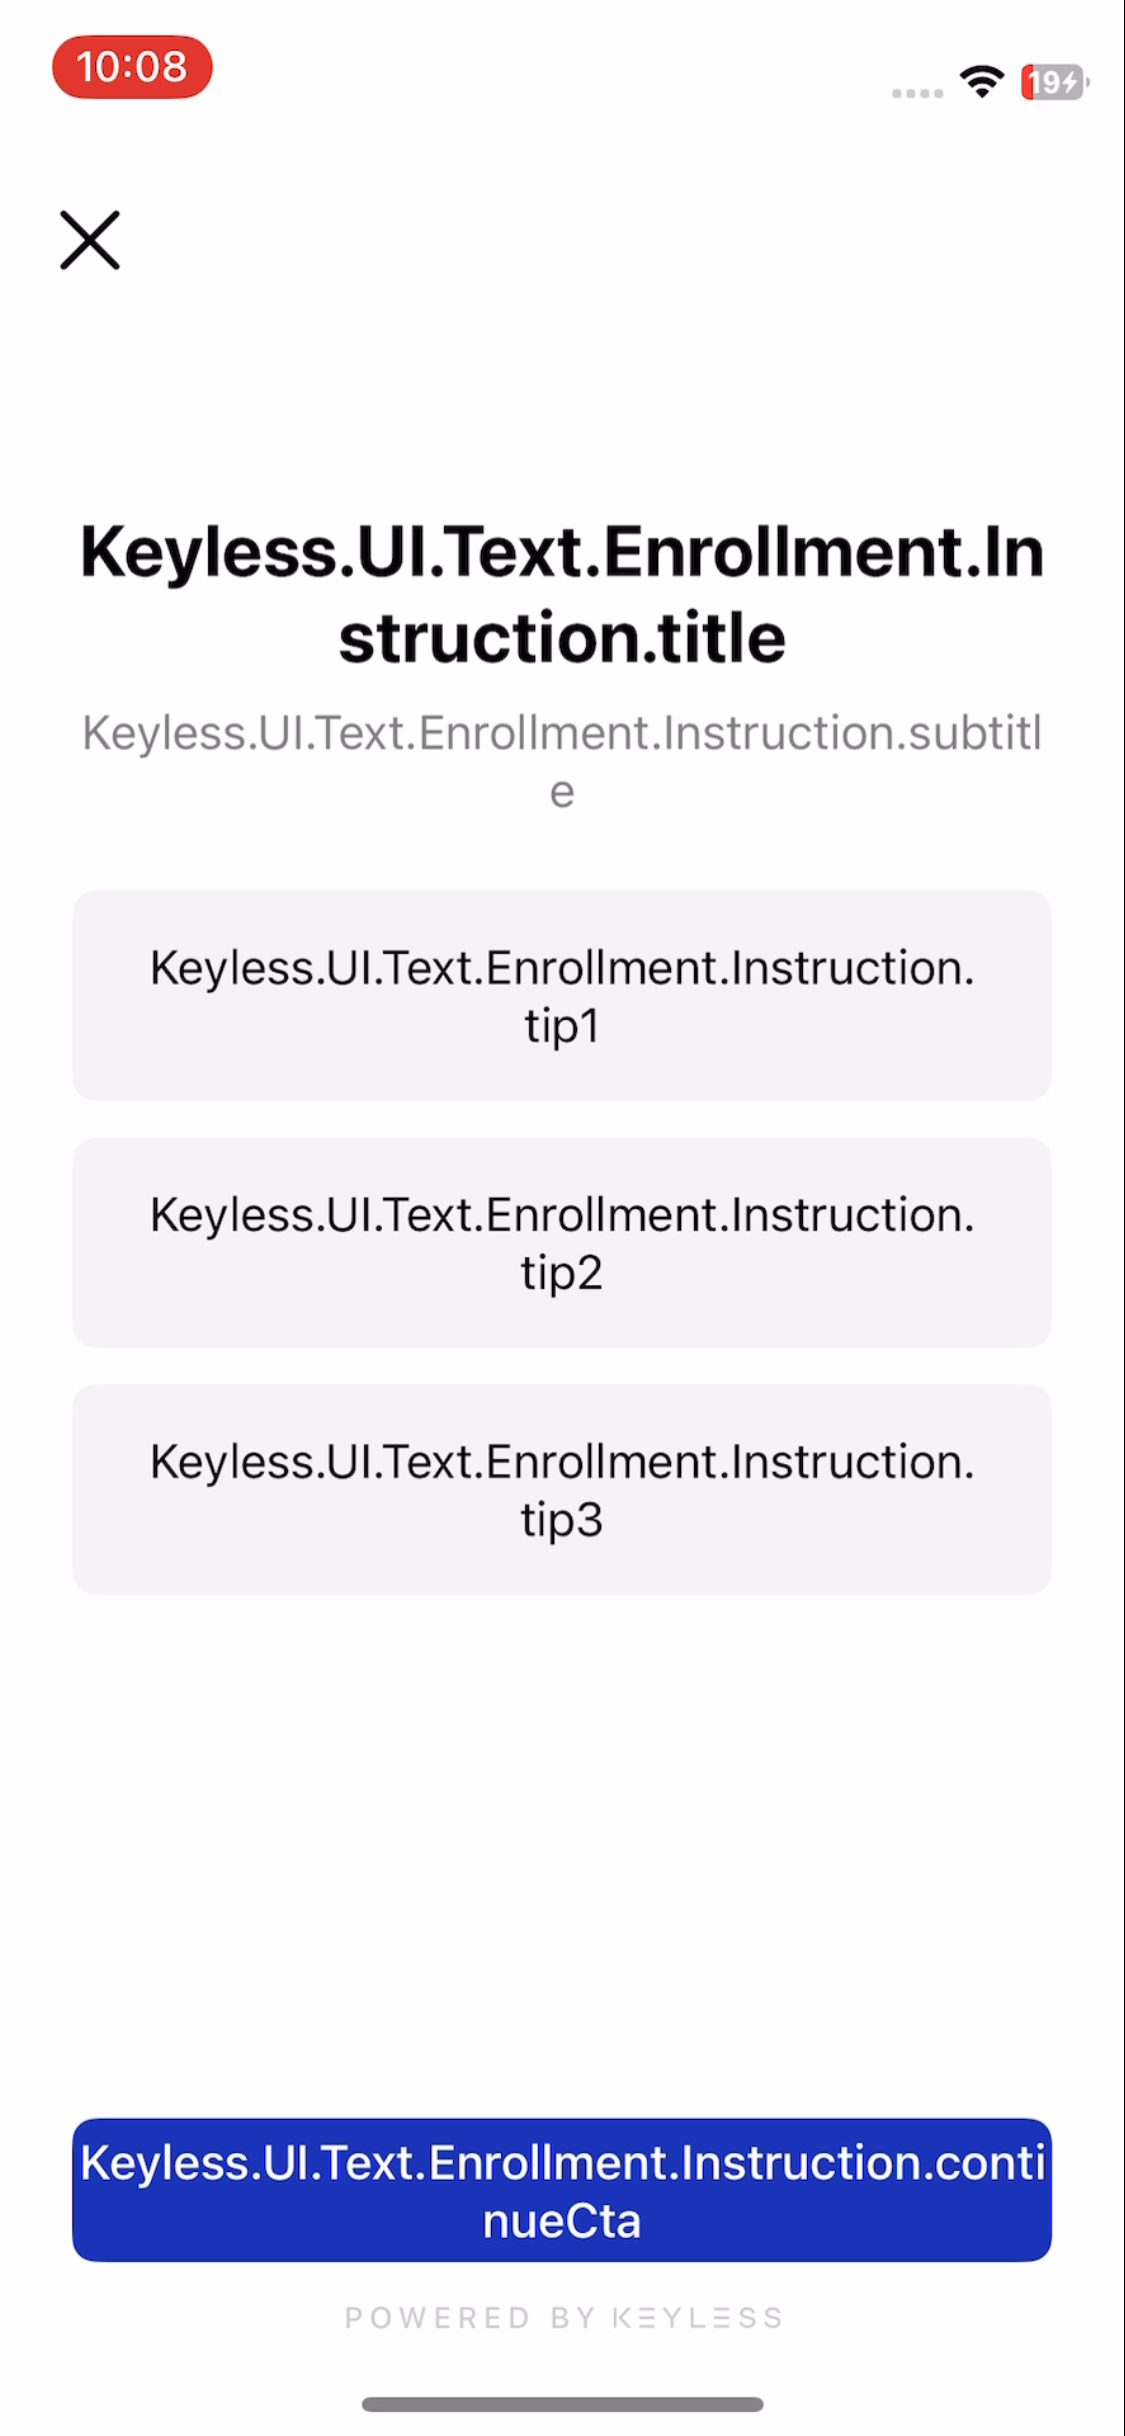

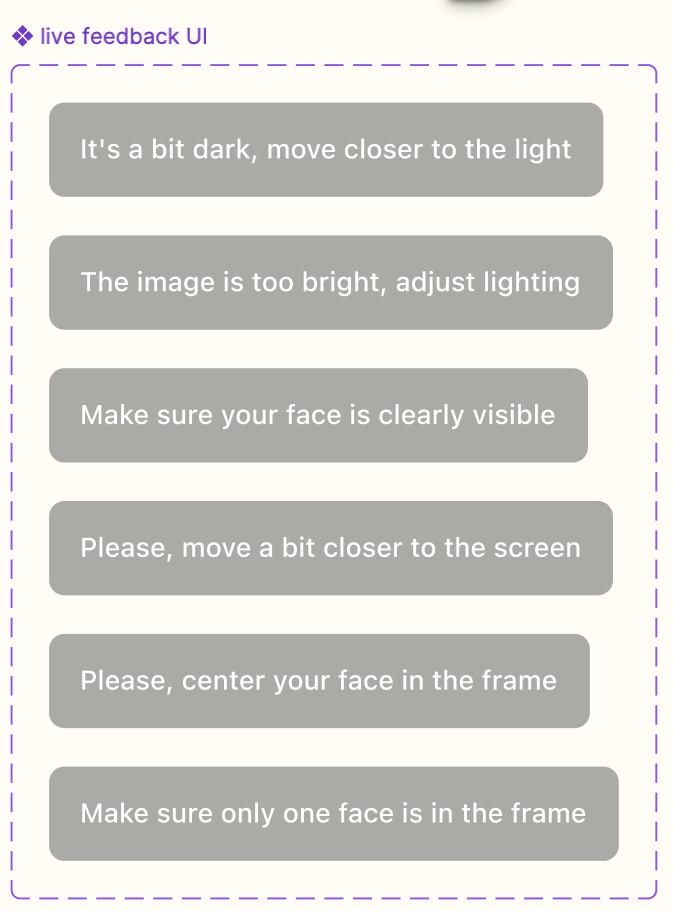
Live filters
Live filters are dynamic camera guidance messages and aren’t individually configurable. Localization is supported.
Text example
Android
// Custom text for introduction
Keyless.UI.Text.Introduction.title = "(custom) {p1recognize} Secure Authentication"
Keyless.UI.Text.Introduction.description = "(custom) Hereon, you will start face scanning..."
Keyless.UI.Text.Introduction.cta = "(custom) Continue"
// Custom text for enrollment
Keyless.UI.Text.Enrollment.Instruction.title = "(custom) Enroll your face"
Keyless.UI.Text.Enrollment.Instruction.description = "(custom) On the next screen, we will take a photo of your face to create your account."
Keyless.UI.Text.Enrollment.Instruction.tip1 = "(custom) Center your face in the frame"
Keyless.UI.Text.Enrollment.Instruction.tip2 = "(custom) Look directly at the screen"
Keyless.UI.Text.Enrollment.Instruction.tip3 = "(custom) Ensure you are in a well-lit area"
Keyless.UI.Text.Enrollment.Instruction.continueCta = "(custom) Continue"
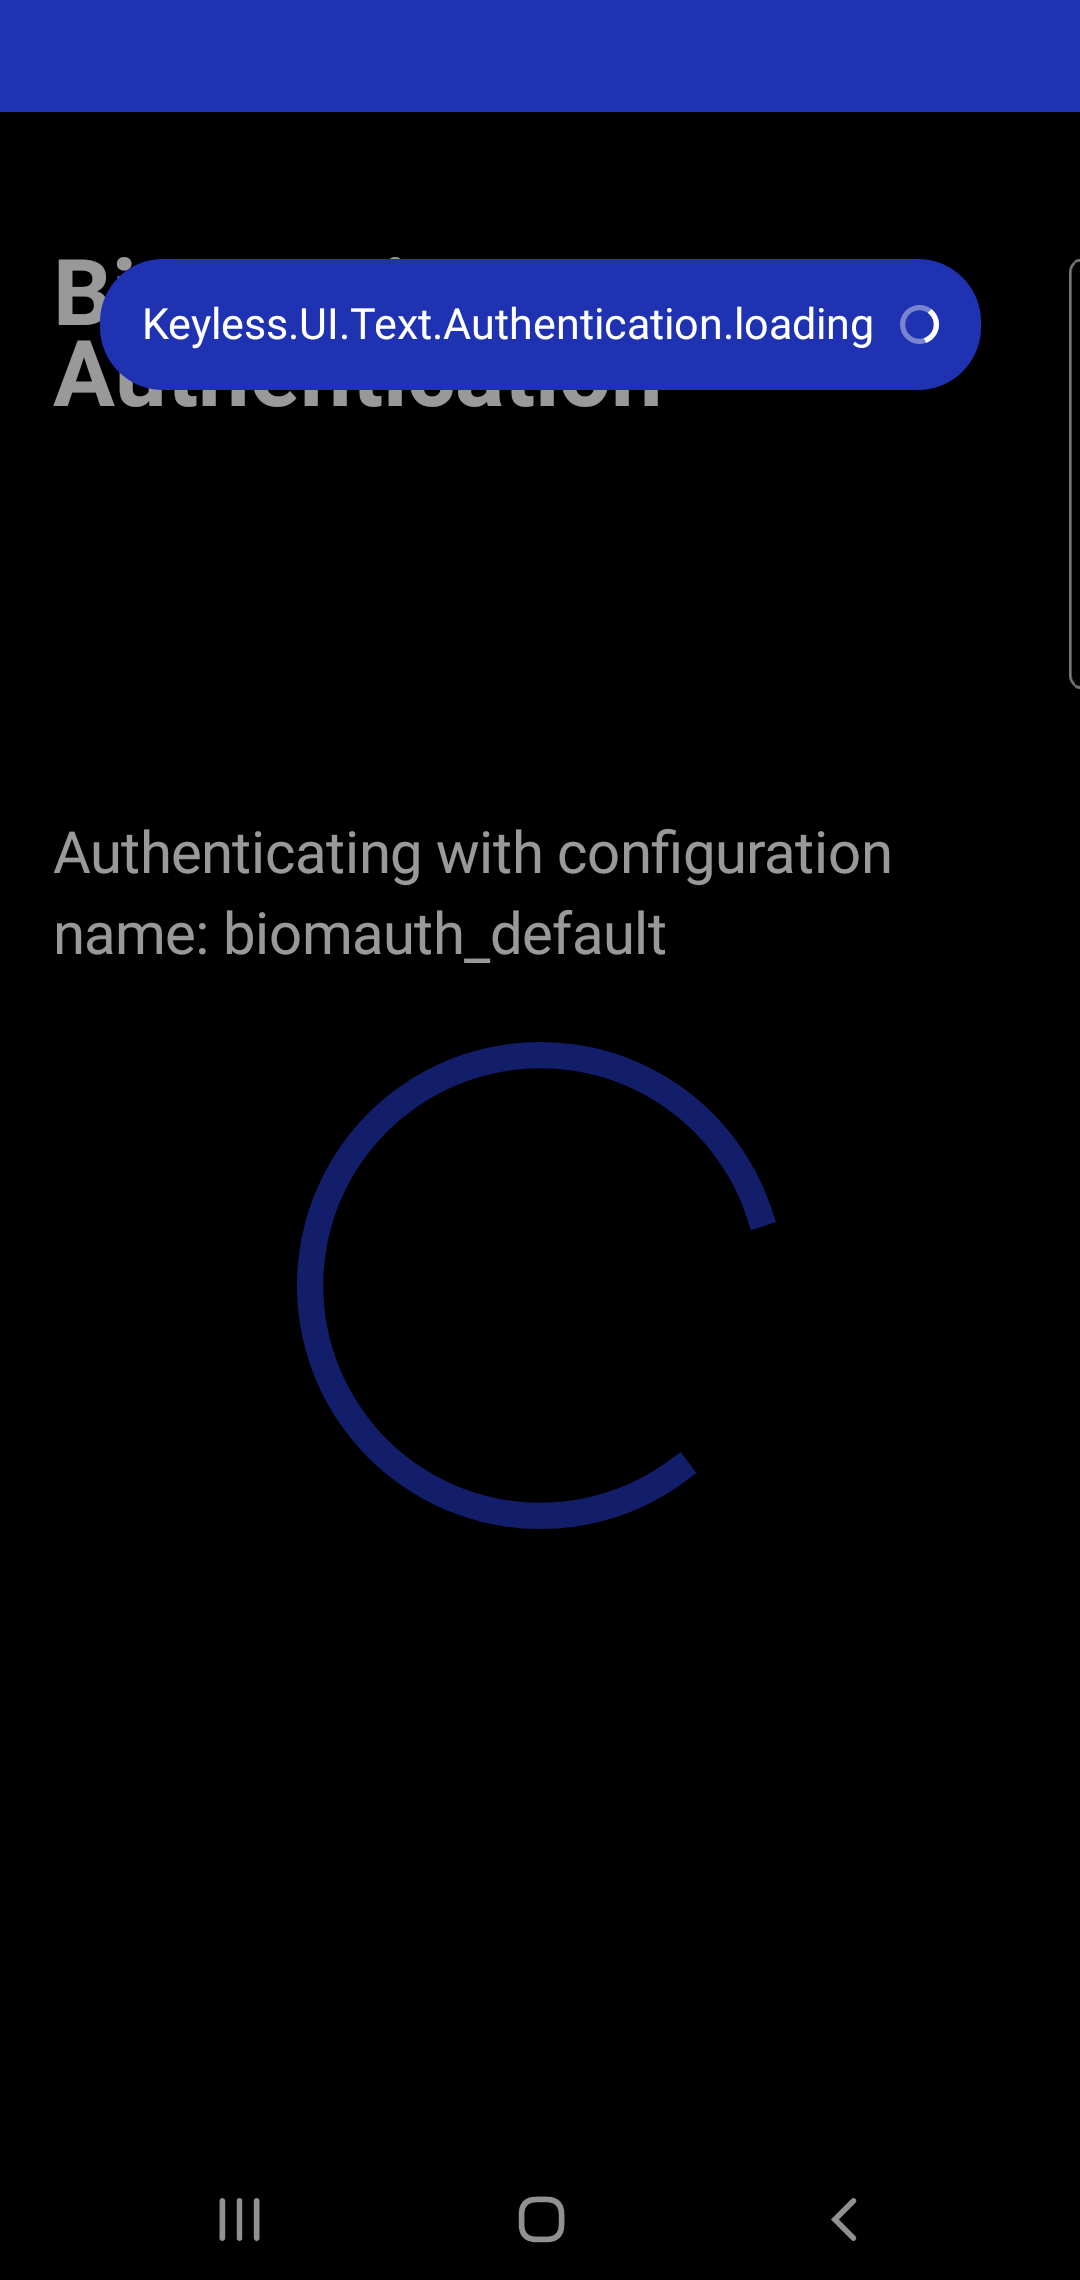
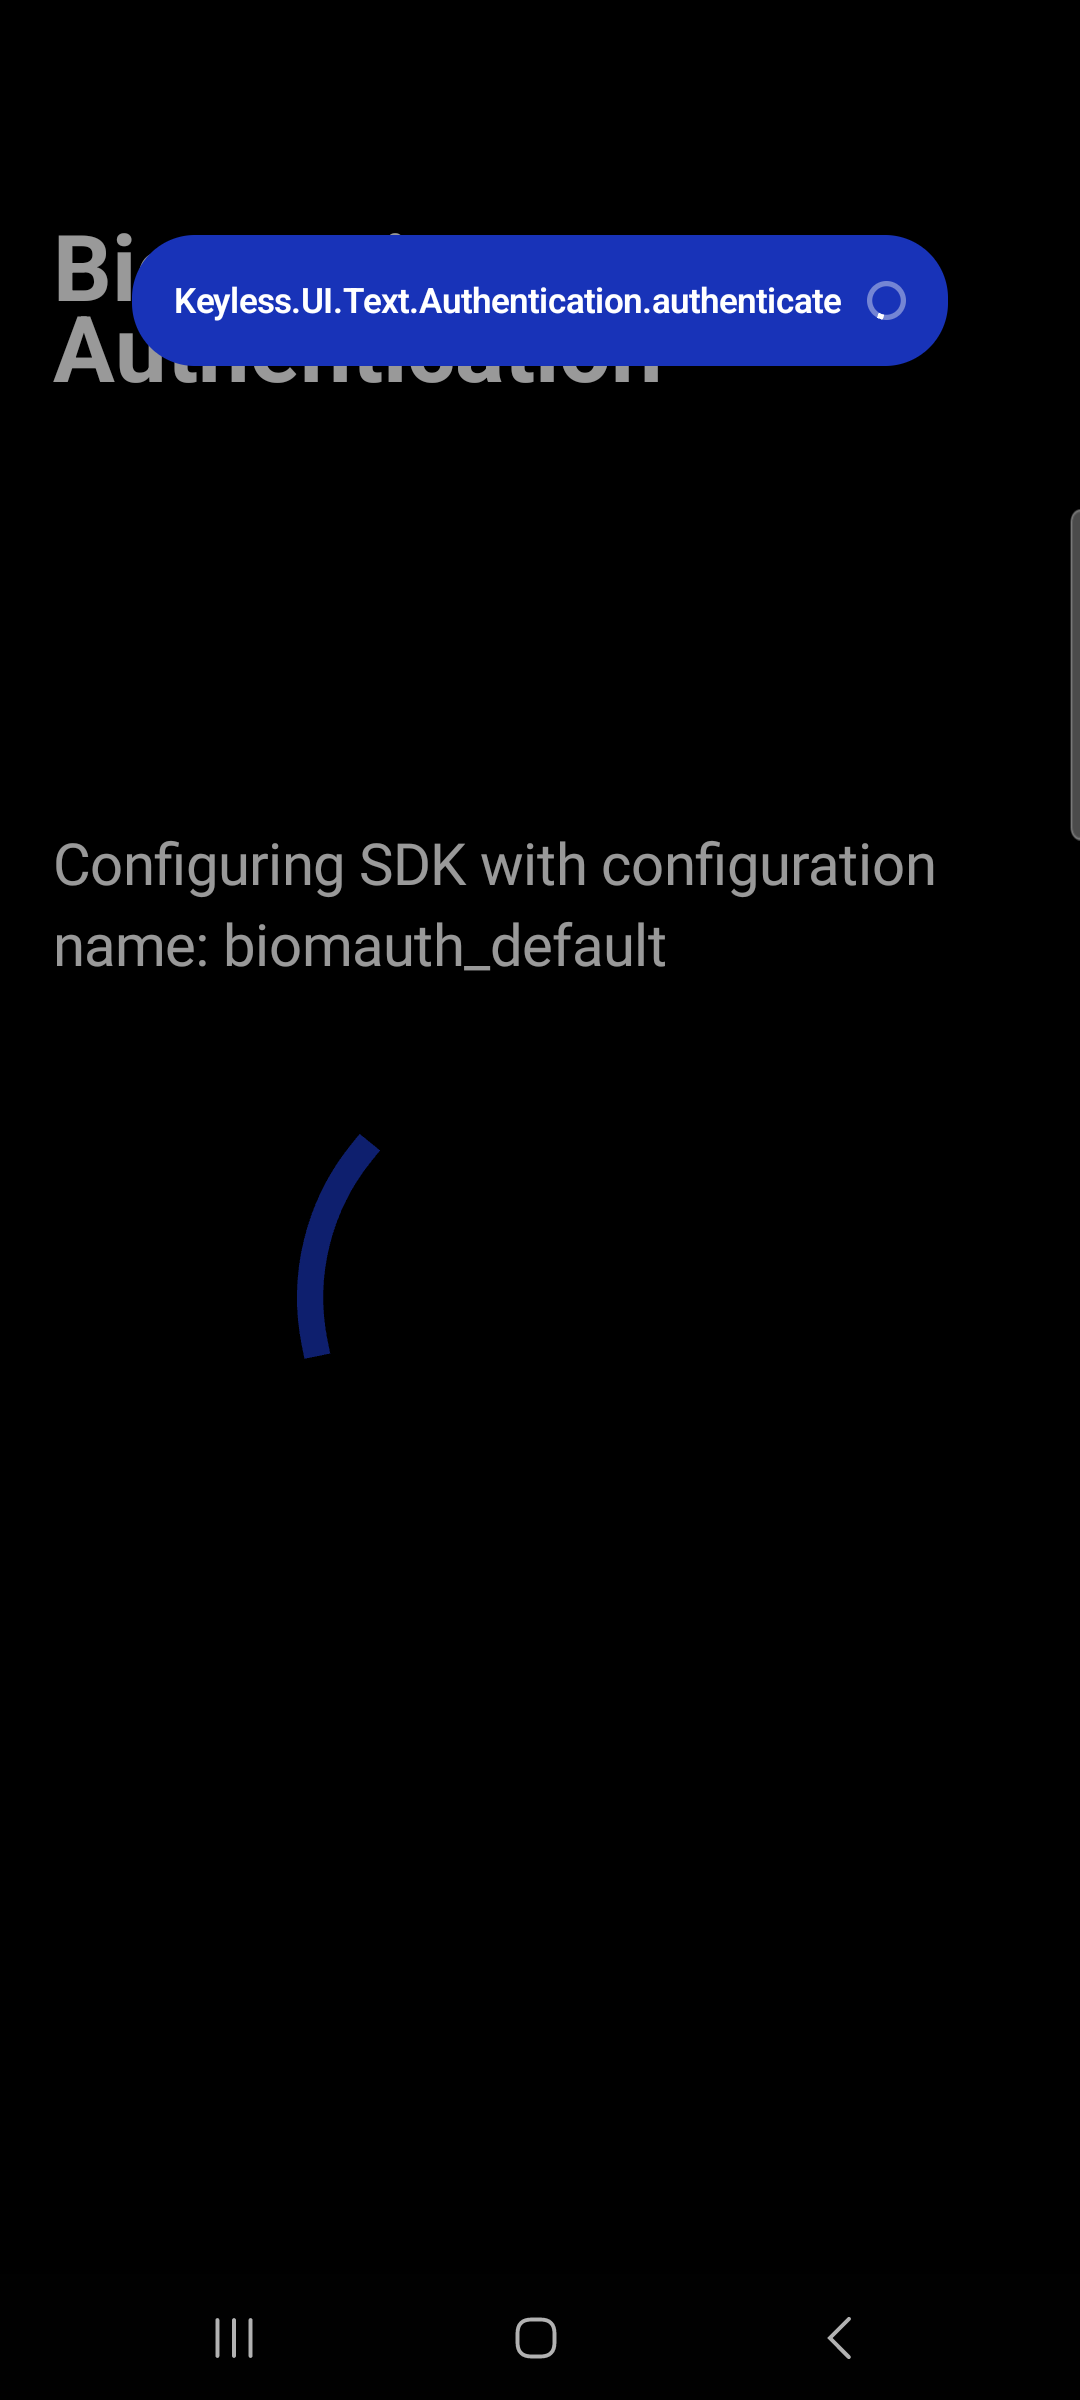
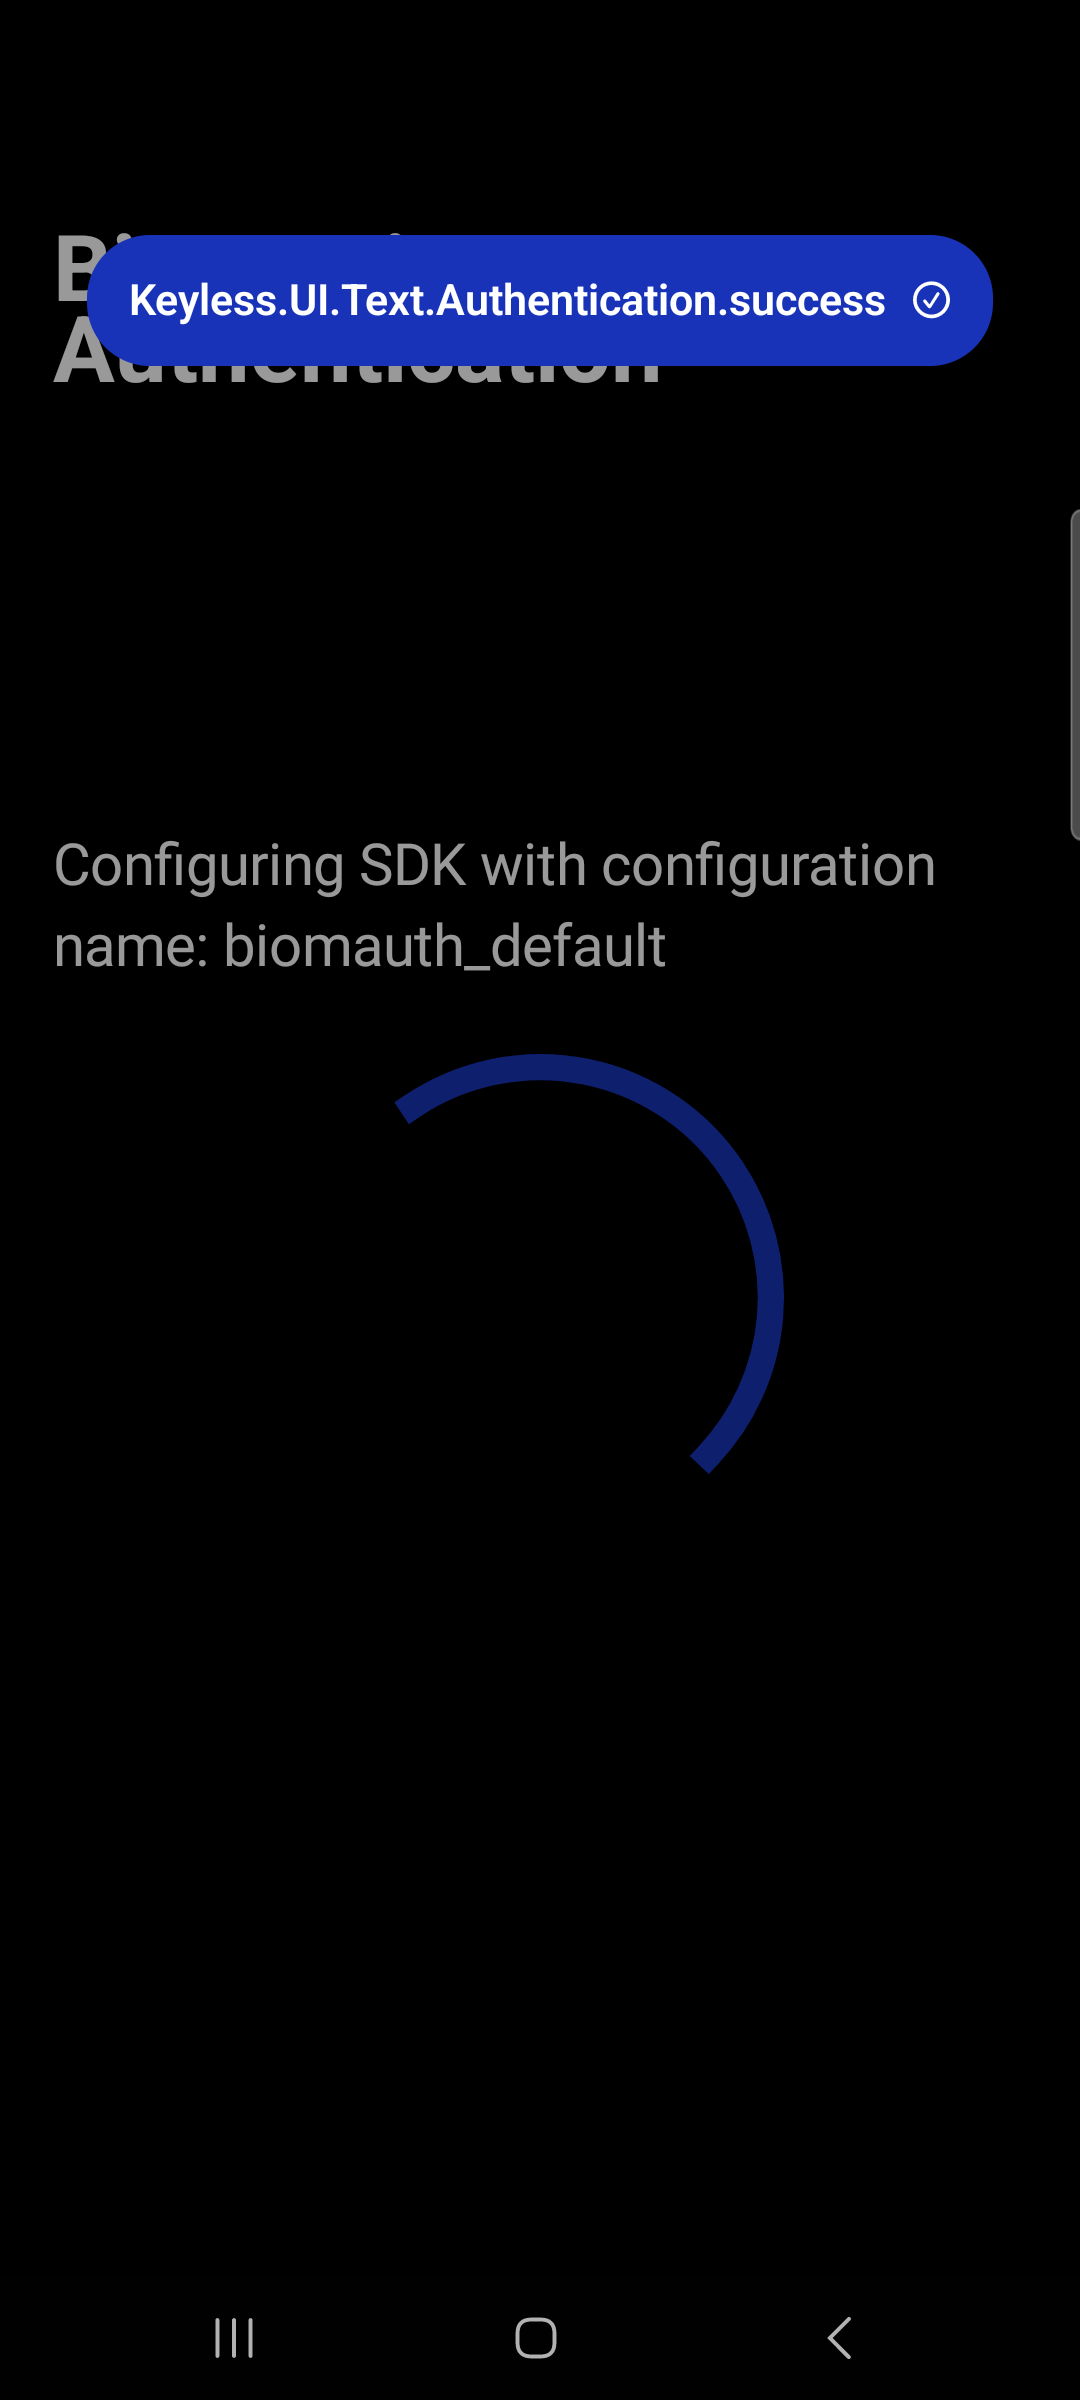
// Custom text for authentication
Keyless.UI.Text.Authentication.Step1.text1 = "(custom) Please look into the camera"
Keyless.UI.Text.Authentication.Step2.text1 = "(custom) Communicating with the {p1recognize} network"
Keyless.UI.Text.Authentication.Step3.text1 = "(custom) Approved"
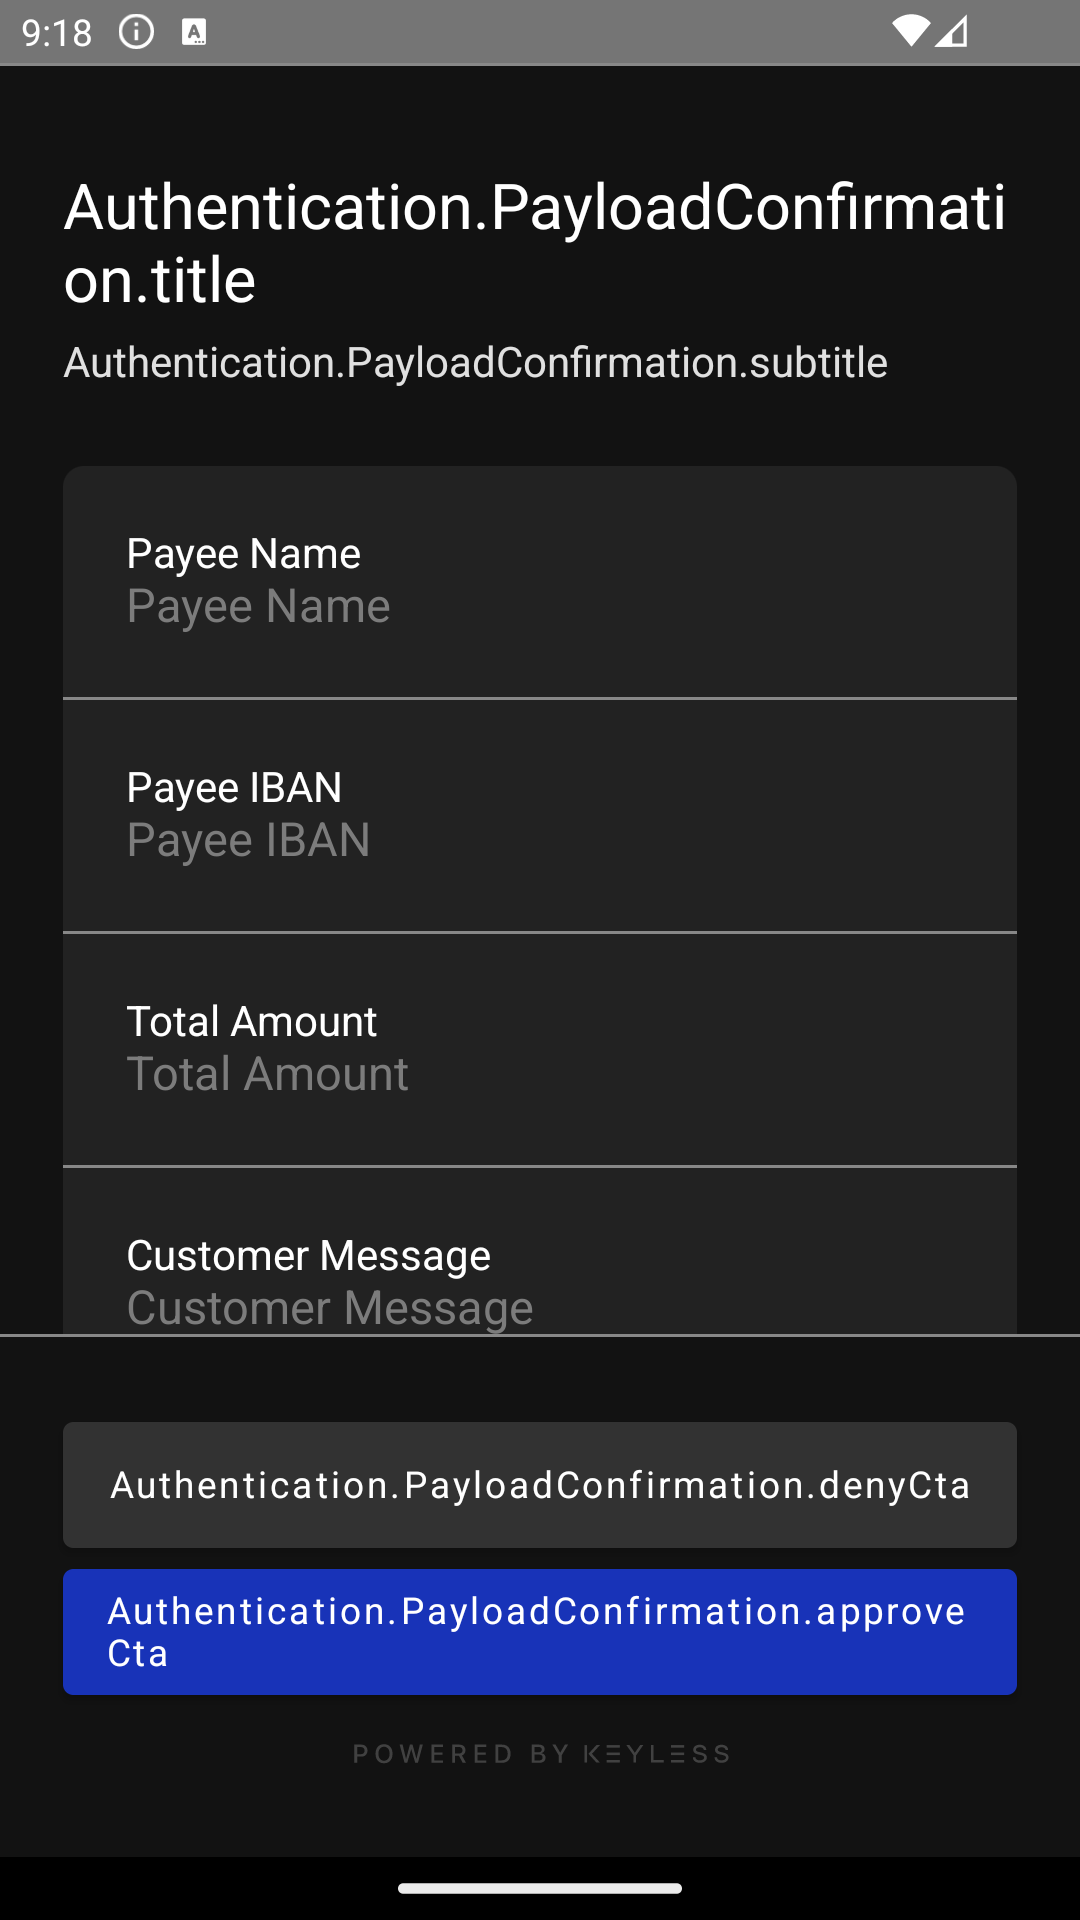
// Custom text for dynamic linking
Keyless.UI.Text.Authentication.PayloadConfirmation.title = "(custom) Authentication request"
Keyless.UI.Text.Authentication.PayloadConfirmation.subtitle = "(custom) Please, approve the payment to complete the process"
Keyless.UI.Text.Authentication.PayloadConfirmation.denyCta = "(custom) Deny"
Keyless.UI.Text.Authentication.PayloadConfirmation.approveCta = "(custom) Approve"iOS
Keyless.UI.Text.Introduction.title = "(custom) {p1recognize} Secure Authentication"
Keyless.UI.Text.Introduction.description = "(custom) Hereon, you will start face scanning..."
Keyless.UI.Text.Introduction.cta = "(custom) Continue"

Keyless.UI.Text.Enrollment.Instruction.title = "(custom) Enroll your face"
Keyless.UI.Text.Enrollment.Instruction.description = "(custom) On the next screen, we will take a photo of your face to create your account."
Keyless.UI.Text.Enrollment.Instruction.tip1 = "(custom) Center your face in the frame"
Keyless.UI.Text.Enrollment.Instruction.tip2 = "(custom) Look directly at the screen"
Keyless.UI.Text.Enrollment.Instruction.tip3 = "(custom) Ensure you are in a well-lit area"
Keyless.UI.Text.Enrollment.Instruction.continueCta = "(custom) Continue"

Keyless.UI.Text.Authentication.Step1.text1 = "(custom) Please look into the camera"
Keyless.UI.Text.Authentication.Step2.text1 = "(custom) Communicating with the {p1recognize} network"
Keyless.UI.Text.Authentication.Step3.text1 = "(custom) Approved"
React native
import Keyless from '@react-native-keyless/sdk';
const ui = new Keyless.UI();
ui.text.introduction.title = '(custom) {p1recognize} Secure Authentication';
ui.text.introduction.description = '(custom) Hereon, you will start face scanning...';
ui.text.introduction.cta = '(custom) Continue';
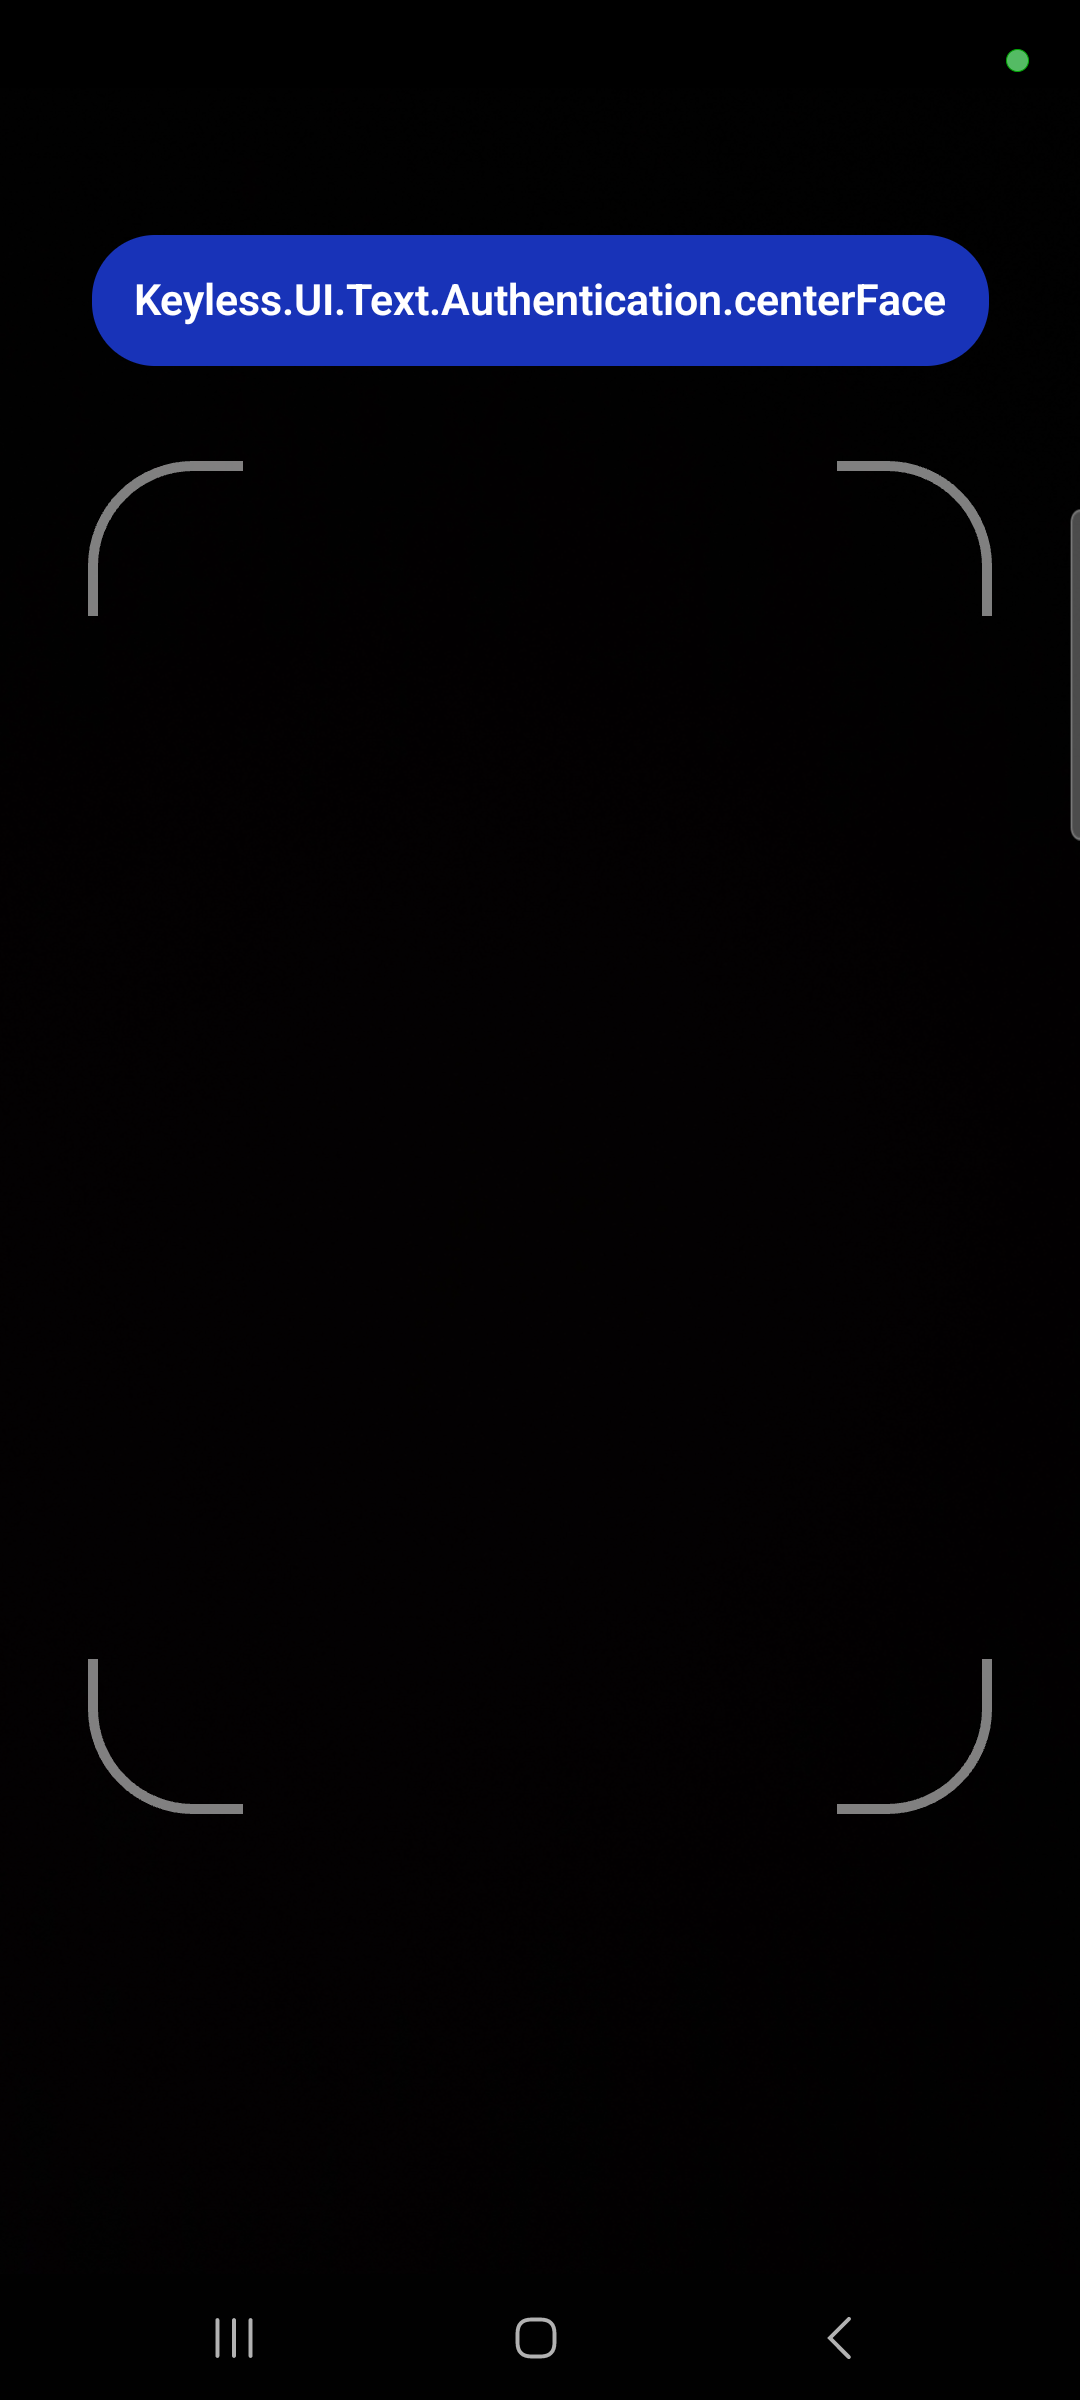
ui.text.authentication.centerFace = '(custom) Please look into the camera';
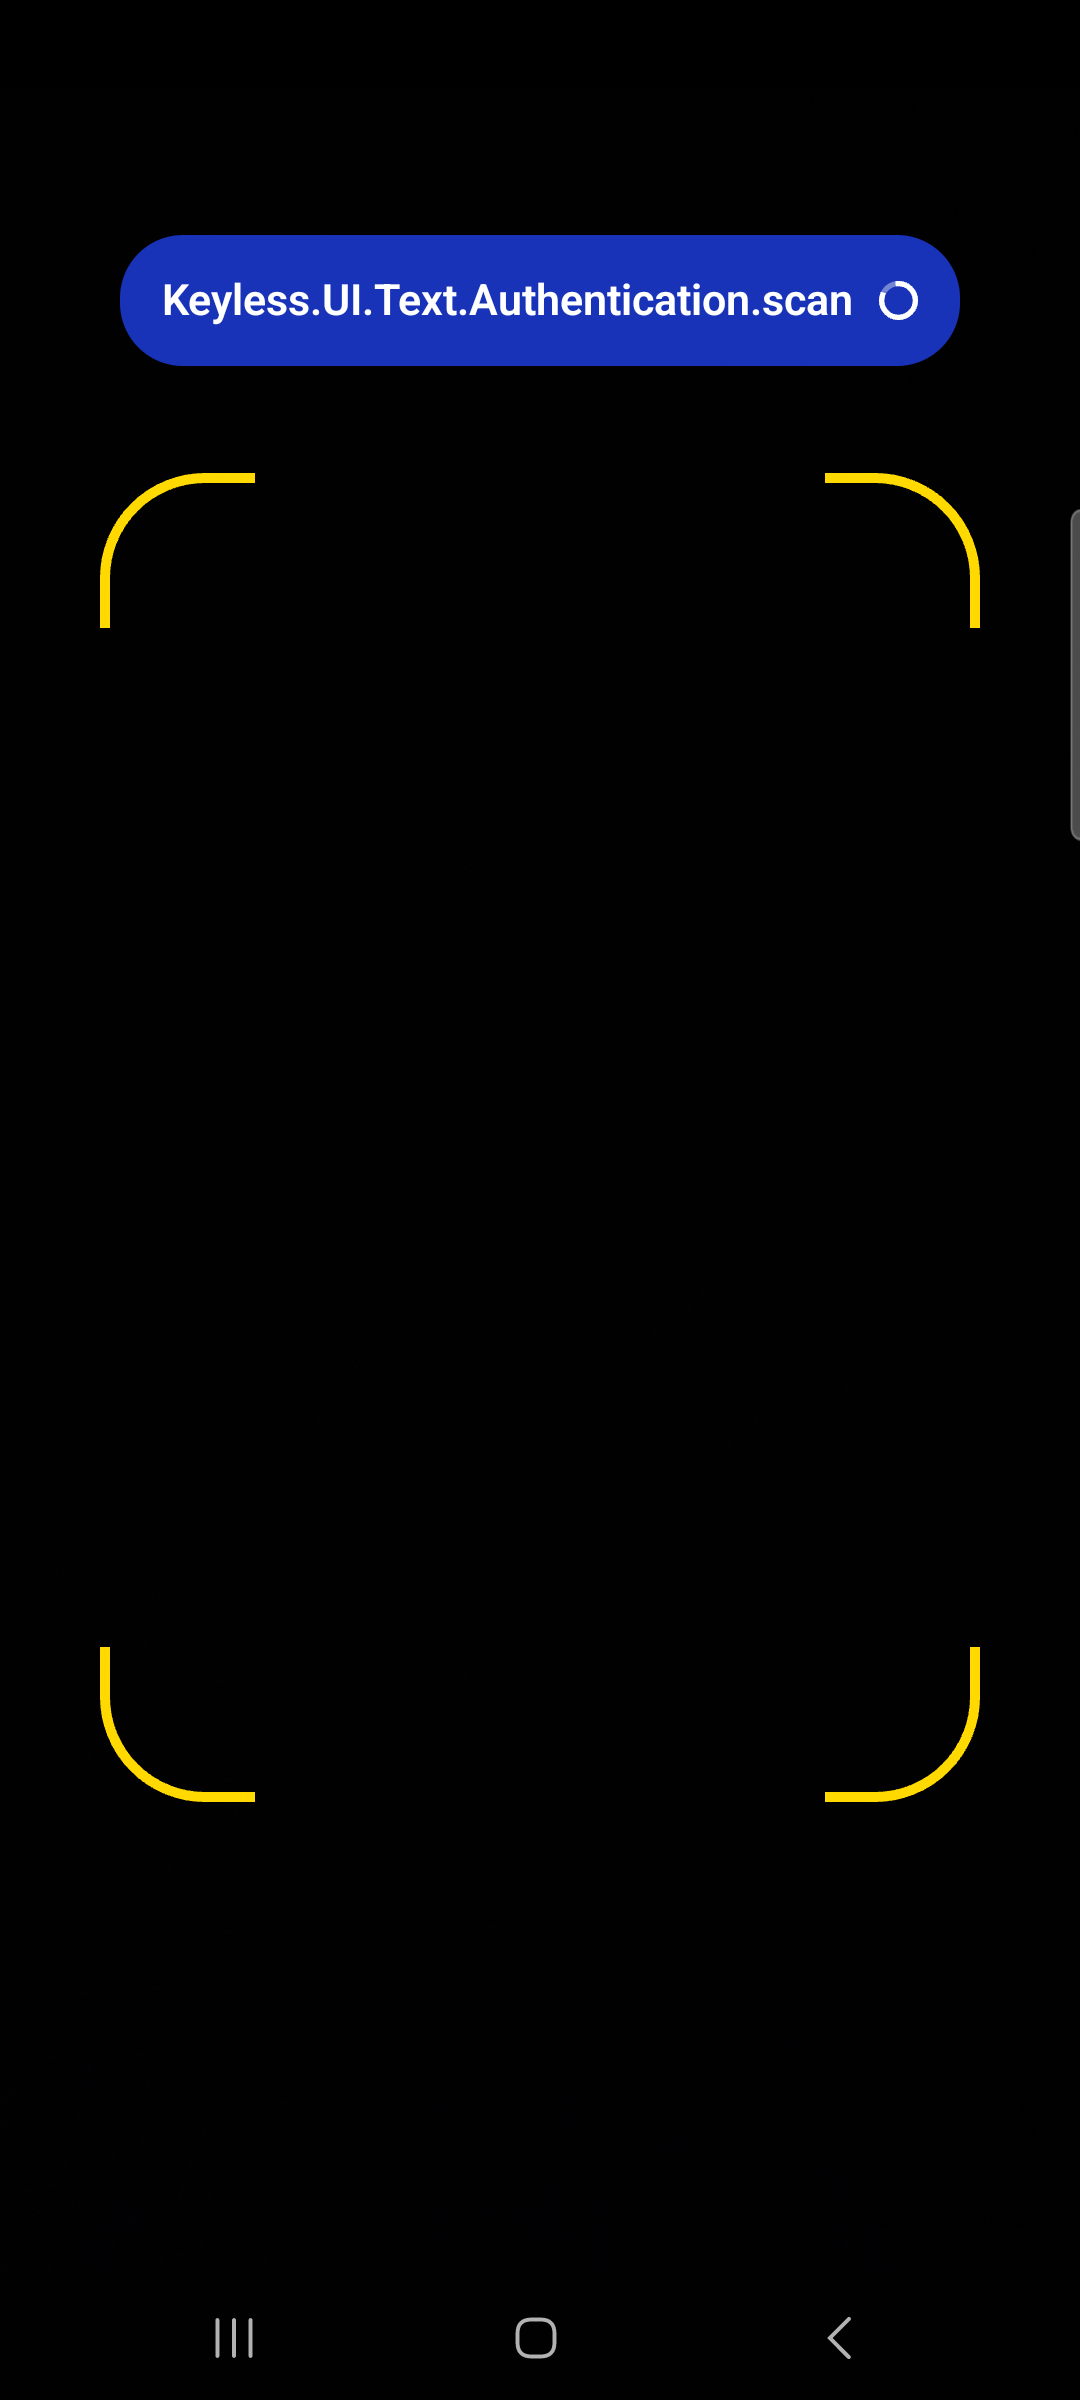
ui.text.authentication.scan = '(custom) Communicating with the {p1recognize} network';
ui.text.authentication.success = '(custom) Approved';
await Keyless.updateUI(ui);Optional screens
You can show/hide specific enrollment and authentication steps by setting the corresponding flags to false.
Default value is true for all optional screen flags.
|
Enrollment (BiomEnrollConfig)
-
showInstructionsScreen -
showSuccessFeedback -
showFailureFeedback
Android
val biomEnrollConfig = BiomEnrollConfig(
    showInstructionsScreen = false,
    showSuccessFeedback = false,
    showFailureFeedback = false
)

Keyless.enroll(
    configuration = biomEnrollConfig,
    onCompletion = { /* handle completion */ }
)Authentication (BiomAuthConfig)
-
showSuccessFeedback
Android
val biomAuthConfig = BiomAuthConfig(
    showSuccessFeedback = false
)

Keyless.authenticate(
    configuration = biomAuthConfig,
    onCompletion = { /* handle completion */ }
)SDK v4
SDK v4 supports equivalent theme, color, text, optional-screen, and font customization patterns.
For implementation details, use the same sections above and adapt to v4-specific APIs:
-
Enrollment text keys under
Keyless.UI.Text.Enrollment.Step0/1/2/3 -
Authentication text keys under
Keyless.UI.Text.Authentication.Step1/2/3 -
Optional screen flags:
-
Enrollment:
showScreenInstructions,showScreenSuccessFaceCapture,showScreenSuccessFlow -
Authentication:
showScreenSuccessFlow
-
If you are maintaining v4 integrations, keep API naming aligned with your SDK version.