Adding user groups
After adding groups to PingCentral, associate them with PingCentral applications and provide application access to many users at once. Add groups one by one or import group information in a .csv file.
Steps
-
Sign on to PingCentral using SSO.
Group functionality is only available if you sign on using SSO.
-
To add groups of users one by one:
-
On the Groups tab, click Add Group.
-
On the Add Group page, complete these fields:
-
Group Name: Enter the group name. Group names should match the group names in your data store and are not case sensitive.
-
Display Name (Optional): Enter the name to display in PingCentral.
-
Description (Optional): Enter a description of the user group to display in PingCentral.
-
-
Click Save and Close.
Result:
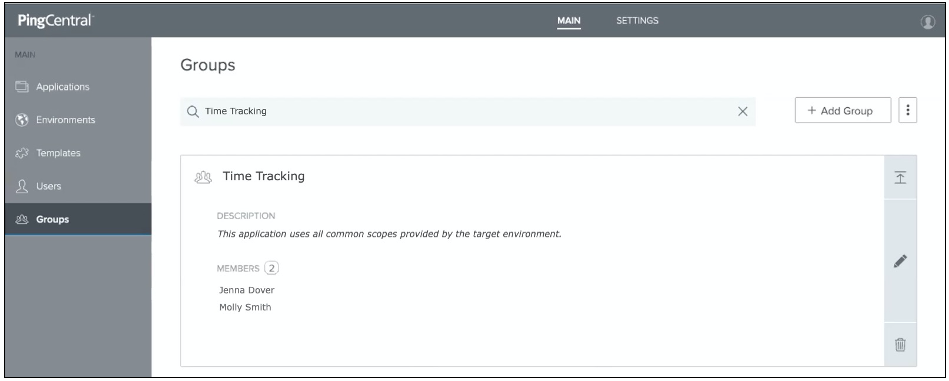
The new group displays at the top of the Groups list. Click the Expand icon to see information about the groups and its members. Use the filter to locate specific groups.

-
-
To import information about a group of users:
-
On the Groups tab, click Import Groups.
-
On the Upload File page, click Choose.
-
Select the
.csvfiles that you want to import and click Open and click Next. -
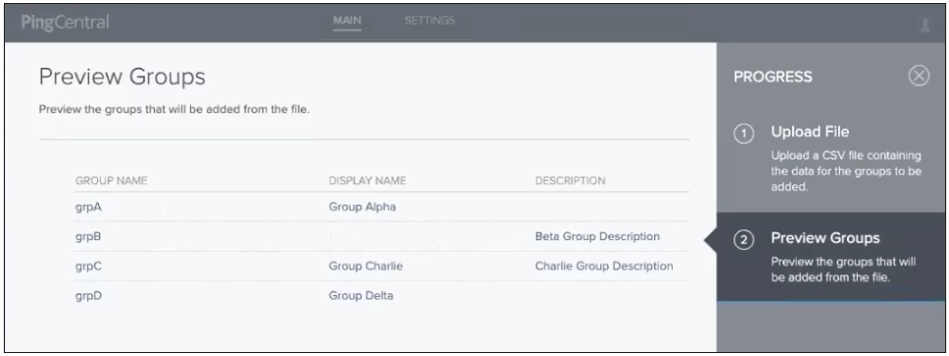
On the Preview Groups page, review the group names, display names, and descriptions, and ensure they are accurate. If not, correct the
.csvfile and import it again. .The Name field is required, but the Display Name and Description fields are optional.

-
Click Save and Close.
Result:
The new group displays at the top of the Groups list. Click the Expand icon to see information about the groups and its members. Use the filter to locate specific members or groups.
After application owners associate users or groups of users with their applications, the ownership information also displays when you select the application.
+ image::fhs1617035391927.png[alt="A screen capture showing the Applications page and the owners assigned to the new application.",role="border-no-padding"]
-