Adding environments
Use the wizard to add PingFederate and PingAccess environments to PingCentral.
Before you begin
Ensure that PingFederate is configured as a token provider for PingAccess.
For more information, see Configuring PingFederate as a PingAccess token provider.
Steps
-
On the Environments page, click Add Environment.
-
On the Connect to Instances page, connect to a PingFederate or PingAccess environment:
Choose from:
-
To connect to a PingFederate environment, complete the PingFederate Admin, PingFederate Admin Username, and PingFederate Admin Password fields with your authentication information.
-
To connect to a PingAccess environment, complete the PingAccess Admin, PingAccess Admin Username, and PingAccess Admin Password fields with your authentication information.
If this is the first time that you have set up this environment, and the initial validation fails, you see a Skip Verification option. If you select this option, it allows you to skip the validation process. However, if you set it up correctly, you won’t see this option.
-
-
Click Next.
-
On the Name Environment page, complete the Name, Short Code, and Description fields.
-
Optional: To configure whether non-administrators need approval for promoting an application to an environment, select an option from the Approval Type list:
Choose from:
-
Select No Approval to allow non-administrators to promote applications to the environment freely.
-
Select Approval Required to indicate that application promotion requires approval.
-
Select Require Approval If Any Expression Fails and proceed to the next step to configure an Approval Expression.
-
Select Require Approval If Any Expression Succeeds and proceed to the next step to configure an Approval Expression.
-
-
Optional: If you selected Require Approval If Any Expression Fails or Require Approval If Any Expression Succeeds, you must configure a Spring Expression Language (SpEL) expression in the Approval Expression field.
You can use SpEL expressions to determine whether an application requires approval or not. For more information, go to Creating and testing approval expressions on this page.
For more information on SpEL, see Spring Expression Language (SpEL) in the Spring Framework documentation.
-
Optional: To enforce random secret generation and restrict non-administrators from creating their own, select the Generate Client Secret on Promotion check box.
PingCentral will generate random client secrets.
-
Optional: To add an identity provider (IdP) certificate, select the appropriate certificate in the Signing Certificate list or to upload your own certificate, click Choose and enter the certificate password in the appropriate field. Click Save and Close.
Result:
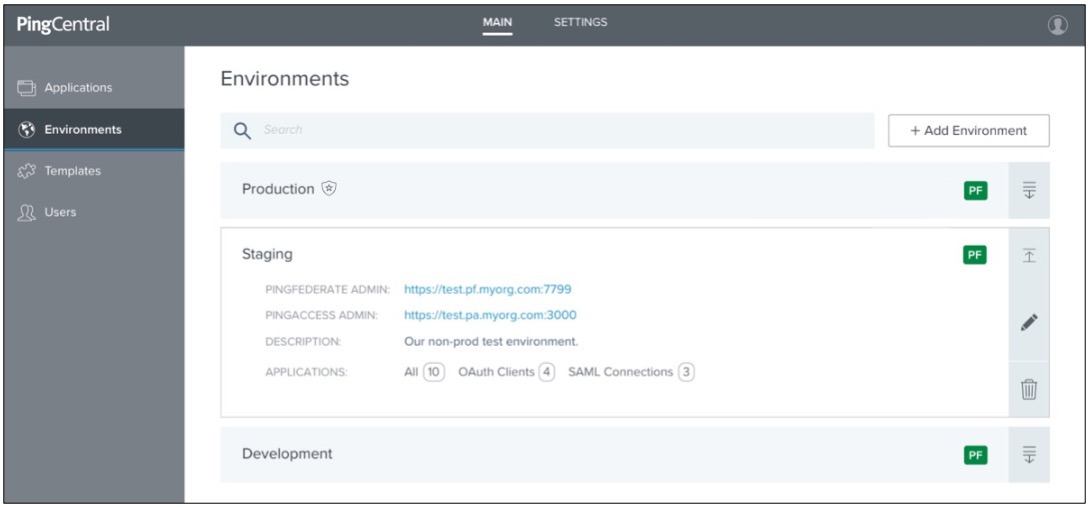
The environment is displayed on the Environments page. If you chose to protect the environment, you see a shield icon next to its name. Depending on the type of environment, you also see a PF or PA icon. The color of this icon represents the status of the environment. A green icon indicates that the environment is verified while a red icon indicates that the environment isn’t verified.
-
Click Save and Continue.
-
Click the expandable icon associated with the environment to view environment details.

Environment details include:
-
A link to PingFederate.
-
A link to PingAccess.
-
A description of the environment.
-
The total number of applications hosted on this environment and a breakdown of OAuth or OpenID Connect (OIDC) clients, Security Assertion Markup Language (SAML) service provider (SP) connections, and PingAccess applications. Click these links to access filtered lists of these applications on the Applications page.
If an environment is unavailable, applications in that environment don’t display on the Applications page.
-