Install Enterprise Connect Windows RADIUS proxy
Install the RADIUS proxy using an intuitive installation wizard that guides you through the process. You must complete the prerequisites before following the steps:
-
Right-click on the
Ping Identity Radius Agent.exefile and select Run as administrator.
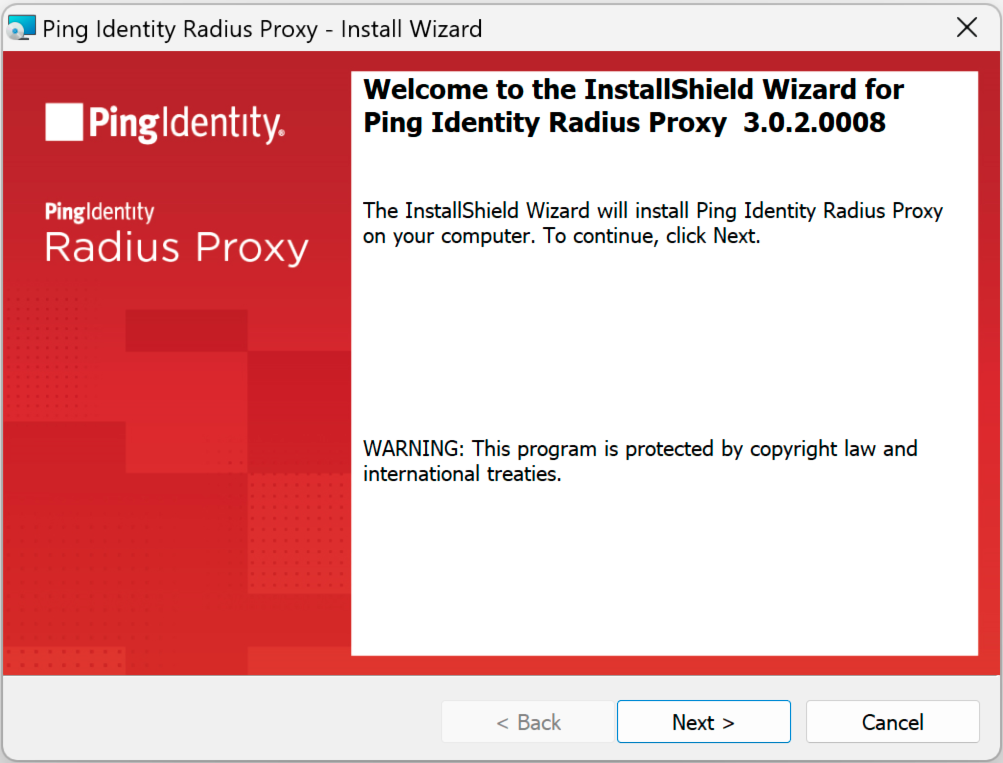
The installation wizard opens.
The download might use a different file name for the RADIUS proxy. If you don’t run the executable as an administrator, the installation fails.
-
On the Welcome screen, click Next.
-
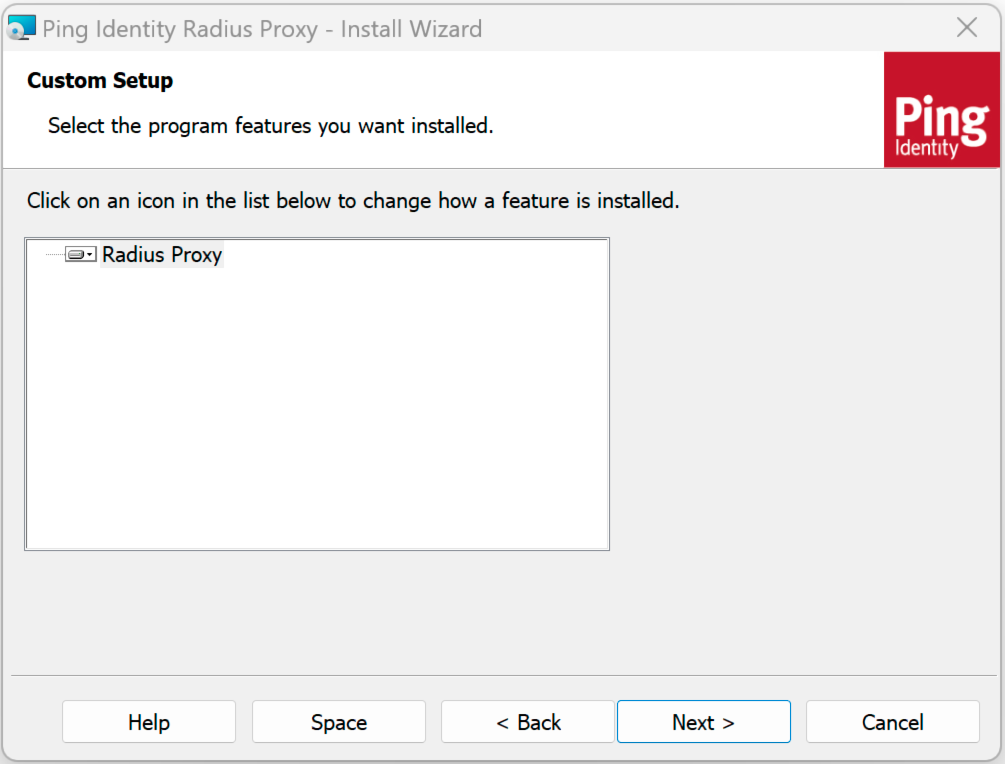
On the Custom Setup screen, click Next.
-
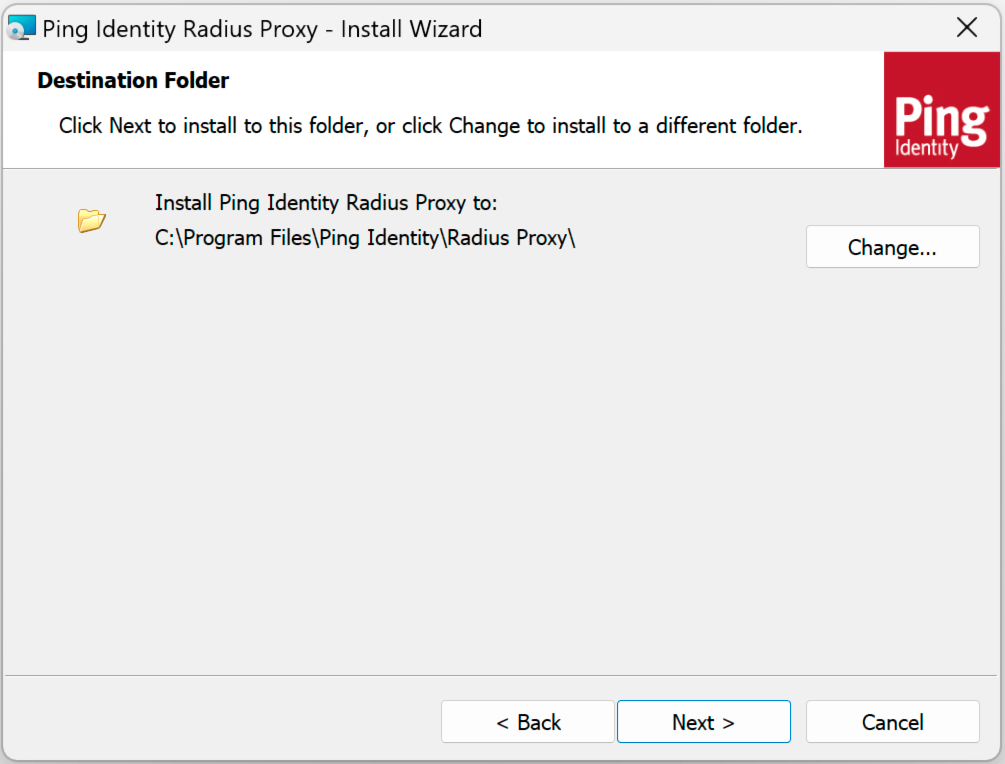
On the Destination Folder screen, click Next.
-
On the Logon Information screen, enter the service account user credentials for the service account using the Ping Identity RADIUS service. Make sure the syntax for the username is Domain\Username. Learn more in prerequisites.
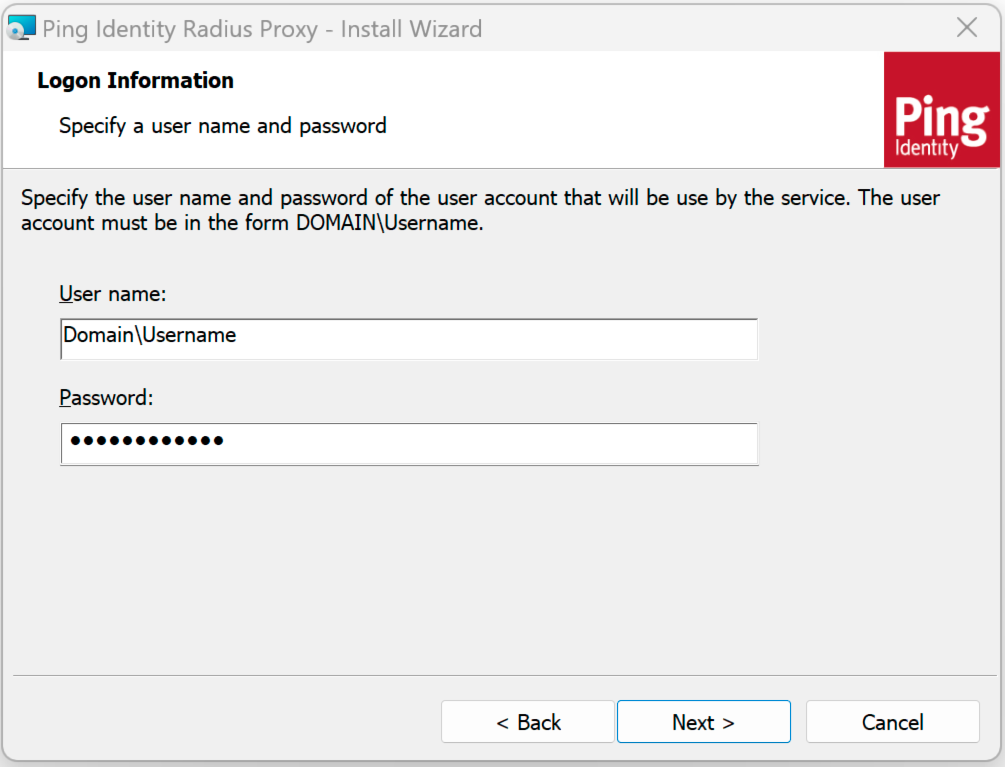
If the machine isn’t a part of a domain, use the machine name as the domain for the service account user.
-
On the Agent Parameters page, configure the required settings:
-
Enter the relevant URL. For example,
https://<tenant-env-fqdn>/openam. -
Enter the relevant Realm. For example,
/alpha. -
Enter the Journey field for the selected authentication method:
-
Push (for example,
push-radius)For an example of a push journey (used with the PingID mobile app), learn more in Example of a push journey.
-
Time-based one-time password (TOTP) (for example,
otp-radius)For an example of a TOTP or open authentication (OATH) journey (used with the PingID mobile app), learn more in Example of a TOTP/OATH journey.
For the TOTP (OATH) method to work, configure your RADIUS client to support exchanging TOTPs between the RADIUS proxy and the RADIUS client in both directions.
-
Simple (for example,
simple-radius)Example of simple journey in PingOne Advanced Identity Cloud
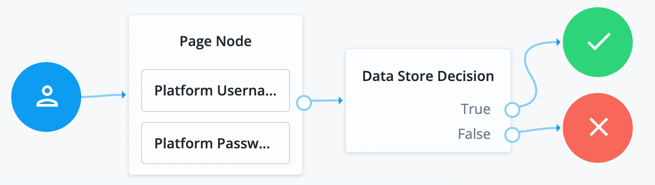 Figure 1. Simple authentication journey in PingOne Advanced Identity Cloud
Example of simple journey in PingAM
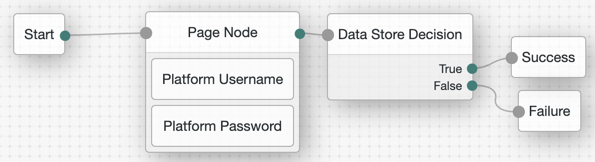 Figure 2. Simple authentication journey in PingAM
-
-
| You can only configure one journey and one authenticator method. The journey entered will correspond to the authenticator method selected in subsequent steps. |

-
Review the default values in the Radius Server section of the Agent Parameters screen, and if necessary, change them.
-
IP Address: Enter the IP address of the interface the RADIUS Proxy communicates on. If you use the default value (127.0.0.1), RADIUS Proxy only communicates with traffic from the local machine.
Change the IP Address to
0.0.0.0to allow the Enterprise Connect Windows RADIUS proxy to listen on all interfaces. -
The Port defaults to
1812using user datagram protocol (UDP). Change if necessary. -
Input a value into the Secret field that’s strong and complex. Take note of the secret. You might need it when configuring your RADIUS client to the RADIUS proxy. The installer displays a pre-populated value in the Secret value, but it doesn’t actually set a secret.
Ensure that the RADIUS client you’re configuring with the Enterprise Connect Windows RADIUS proxy allows the characters in the Secret field. For instance, some RADIUS clients can’t process special characters.
-
-
Review the settings in the Authenticator section of the Agent Parameters screen. Verify that they match the authenticator type and method you configured. If necessary, correct the Authenticator configuration by selecting the correct settings from the lists.
-
To begin the installation, click Install.
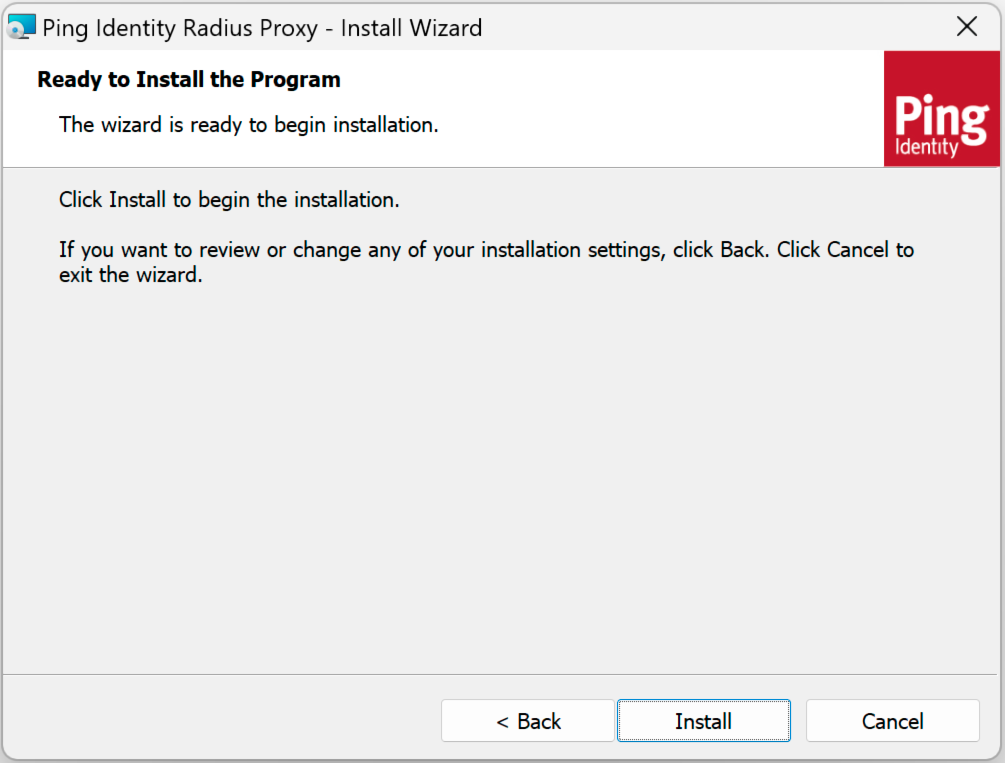
The installer displays a status bar during the installation process.
-
To exit the installation wizard, click Finish.
After you have completed the installation of the RADIUS proxy, proceed to the post-installation steps.