Installing and configuring the Splunk Universal Forwarder
Install and configure the Splunk Universal Forwarder to collect attack data and forward it to the Splunk server.
About this task
To install and configure Splunk Universal Forwarder:
Steps
-
Download Splunk Universal Forwarder 8.0.0. For more information, see Splunk® Universal Forwarder Manual.
-
Install the Splunk Universal Forwarder by entering the following command:
[root@ABS]# tar -xvf splunkforwarder-8.0.0-8c86330ac18-Linux-x86_64.tgz
splunkforwarder/
splunkforwarder/share/
Replace the file name given in the example command with the name of the file you downloaded in step 1.
-
Start the Splunk Universal Forwarder.
[root@ABS]# cd splunkforwarder/bin
[root@ABS]# ./splunk start --accept-license
-
Add forward server details (the receiver host and port in Splunk).
Example:
[root@dashboard]# ./splunk add forward-server ip:port

Splunk username: admin Password: Added forwarding to: 192.168.1.158:9997.
Enable the receiving port in Splunk. For example, configure port number 9997 from the previous example in your Splunk deployment.
-
Edit the
inputs.conffile on your Splunk Universal Forwarder as shown in the following example.Example:
[root@ABS]# ./splunk add monitor /opt/pingidentity/splunk/data/
Added monitor of '/opt/pingidentity/splunk/data/'.
-
Edit the
inputs.conffile on your Splunk Universal Forwarder.[root@dashboard]# cat /opt/splunkforwarder/etc/apps/search/local/inputs.conf [monitor:///opt/pingidentity/pingidentity/dataengine/logs/attack.log/] index = pi_events sourcetype=pi_events_source_type disabled = false
-
Restart the Splunk Universal Forwarder.
[root@ABS]# ./splunk restart
-
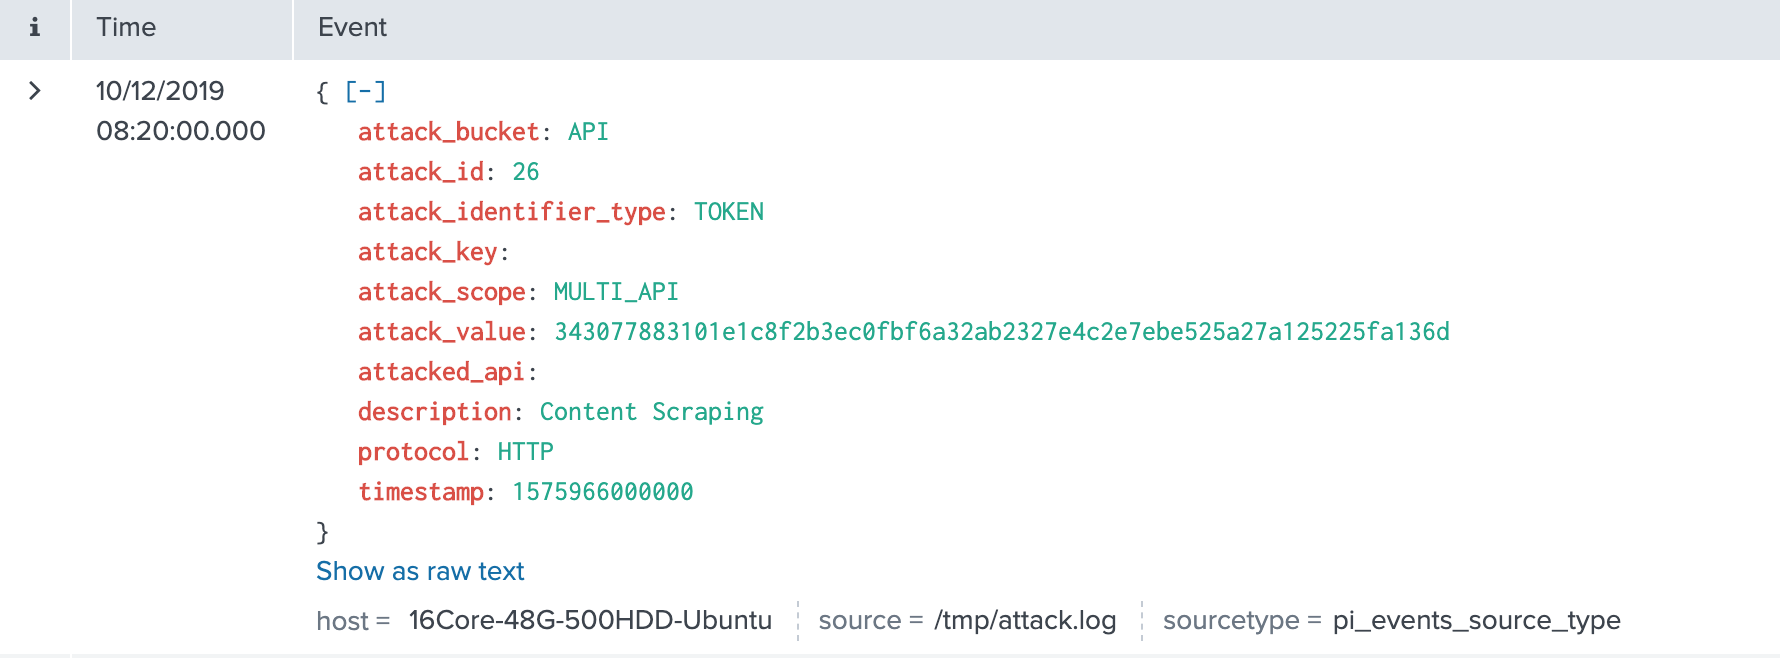
Verify if data is flowing to Splunk on the Splunk Dashboard.

Troubleshooting:
If no data is available in Splunk, check your firewall settings.