Axway Policy Studio configuration
Configure Axway Policy Studio.
About this task
To configure Axway Policy Studio:
Steps
-
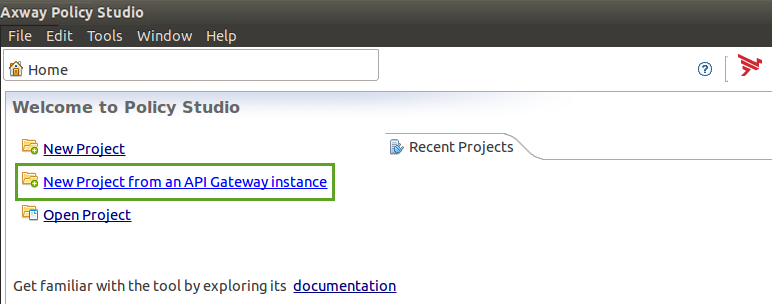
Launch Axway Policy Studio and create a new project from an API Gateway instance.
-
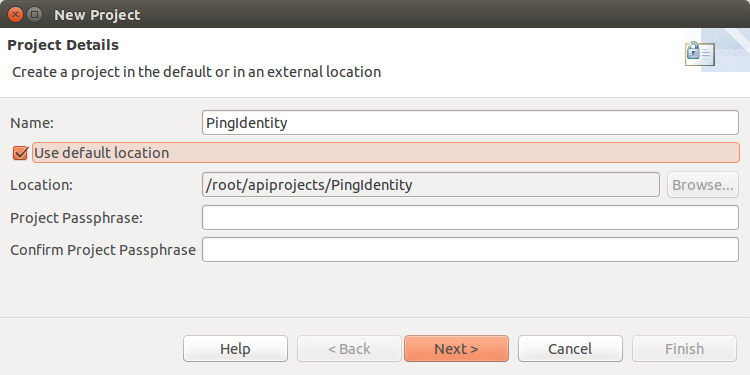
In the New Projectpop-up window, enter the details and click Next.
-
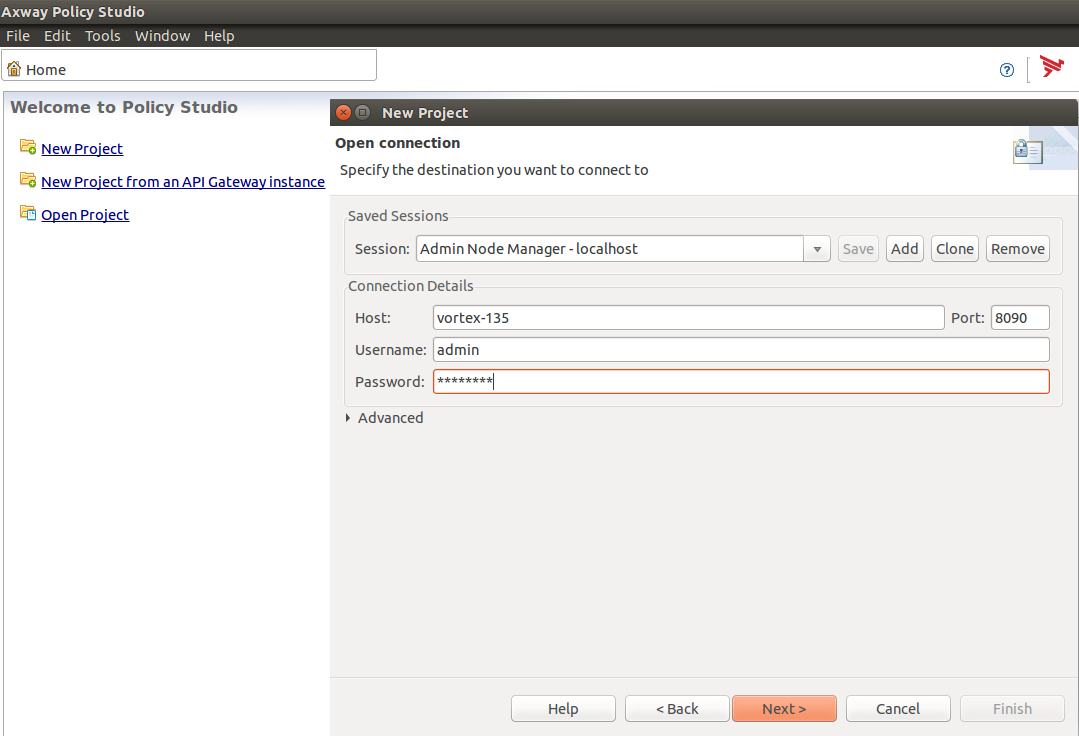
Enter Host details, Username, and Password of the API Gateway to connect and click Next.
-
Click Import configuration fragment from the File sub-menu in the menu bar.

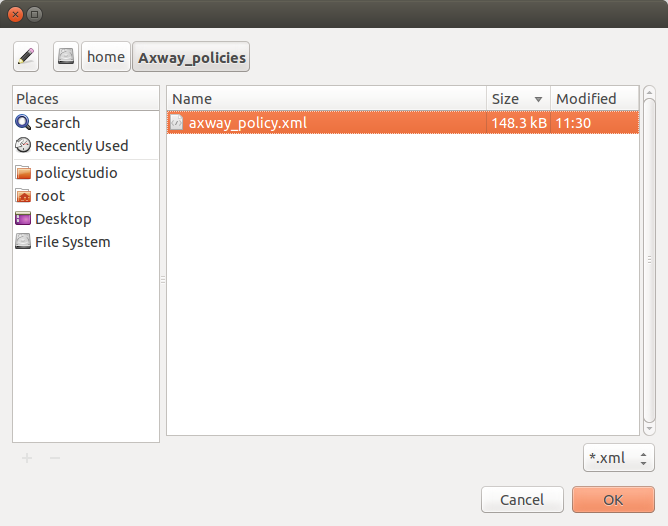
From the pop-up window, import the Axway Policy from the directory where it was saved. Select the policy and click OK.
-
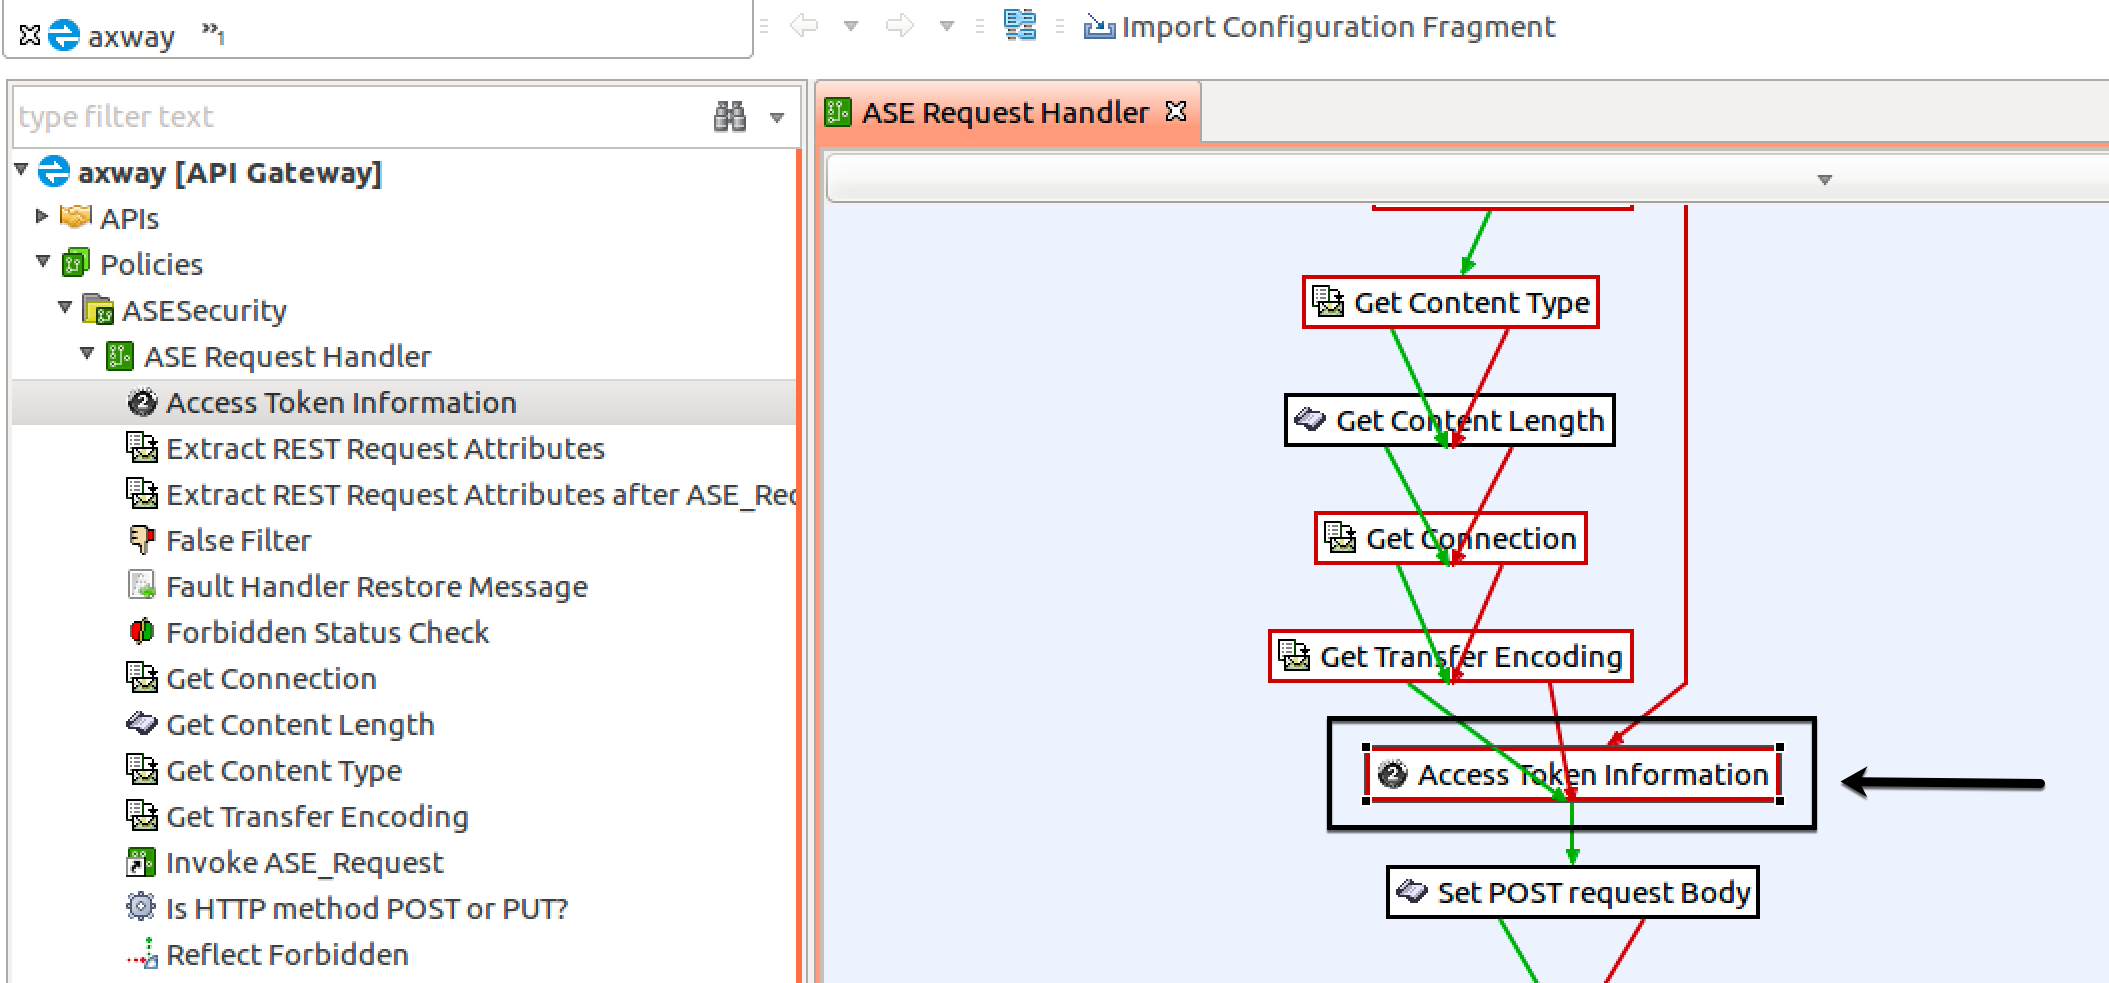
After the Axway Policy is imported, click on Policies → ASESecurity → ASE Request Handler → Access Token Information. Double click the Access Token Information box in the ASE Request Handler window.
-
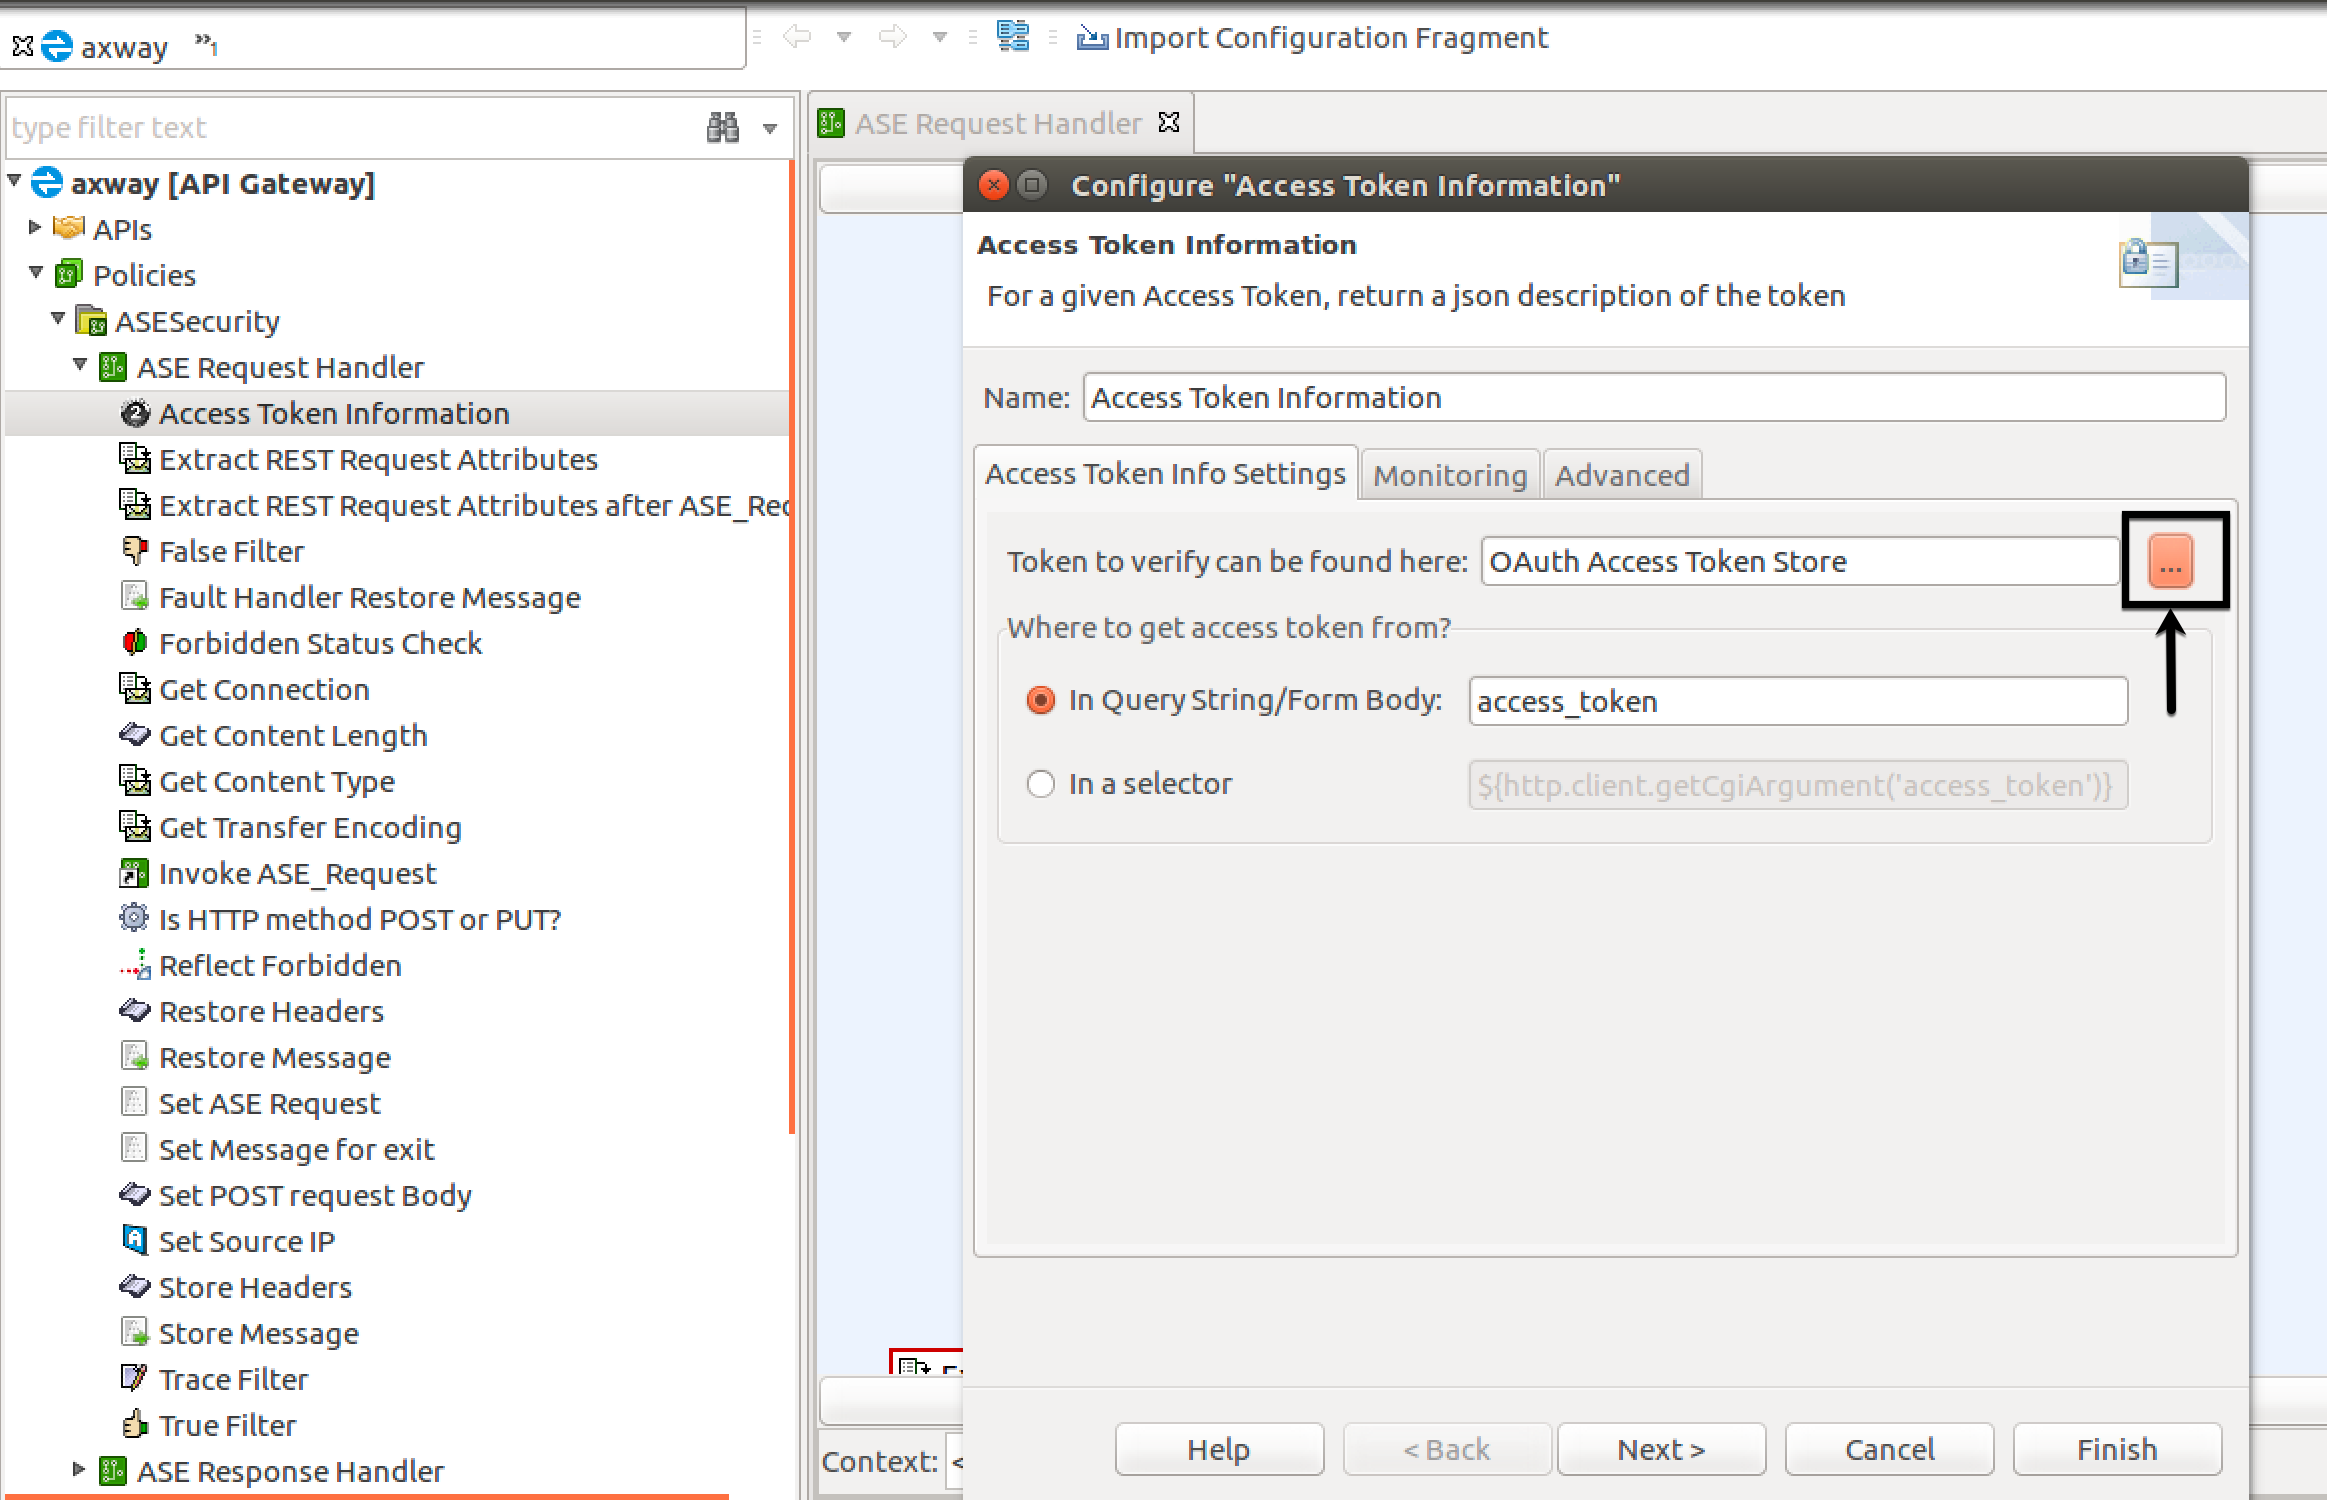
In the Configure "Access Token Information" pop-up window, enter your OAuth token store information and click the … button.
-
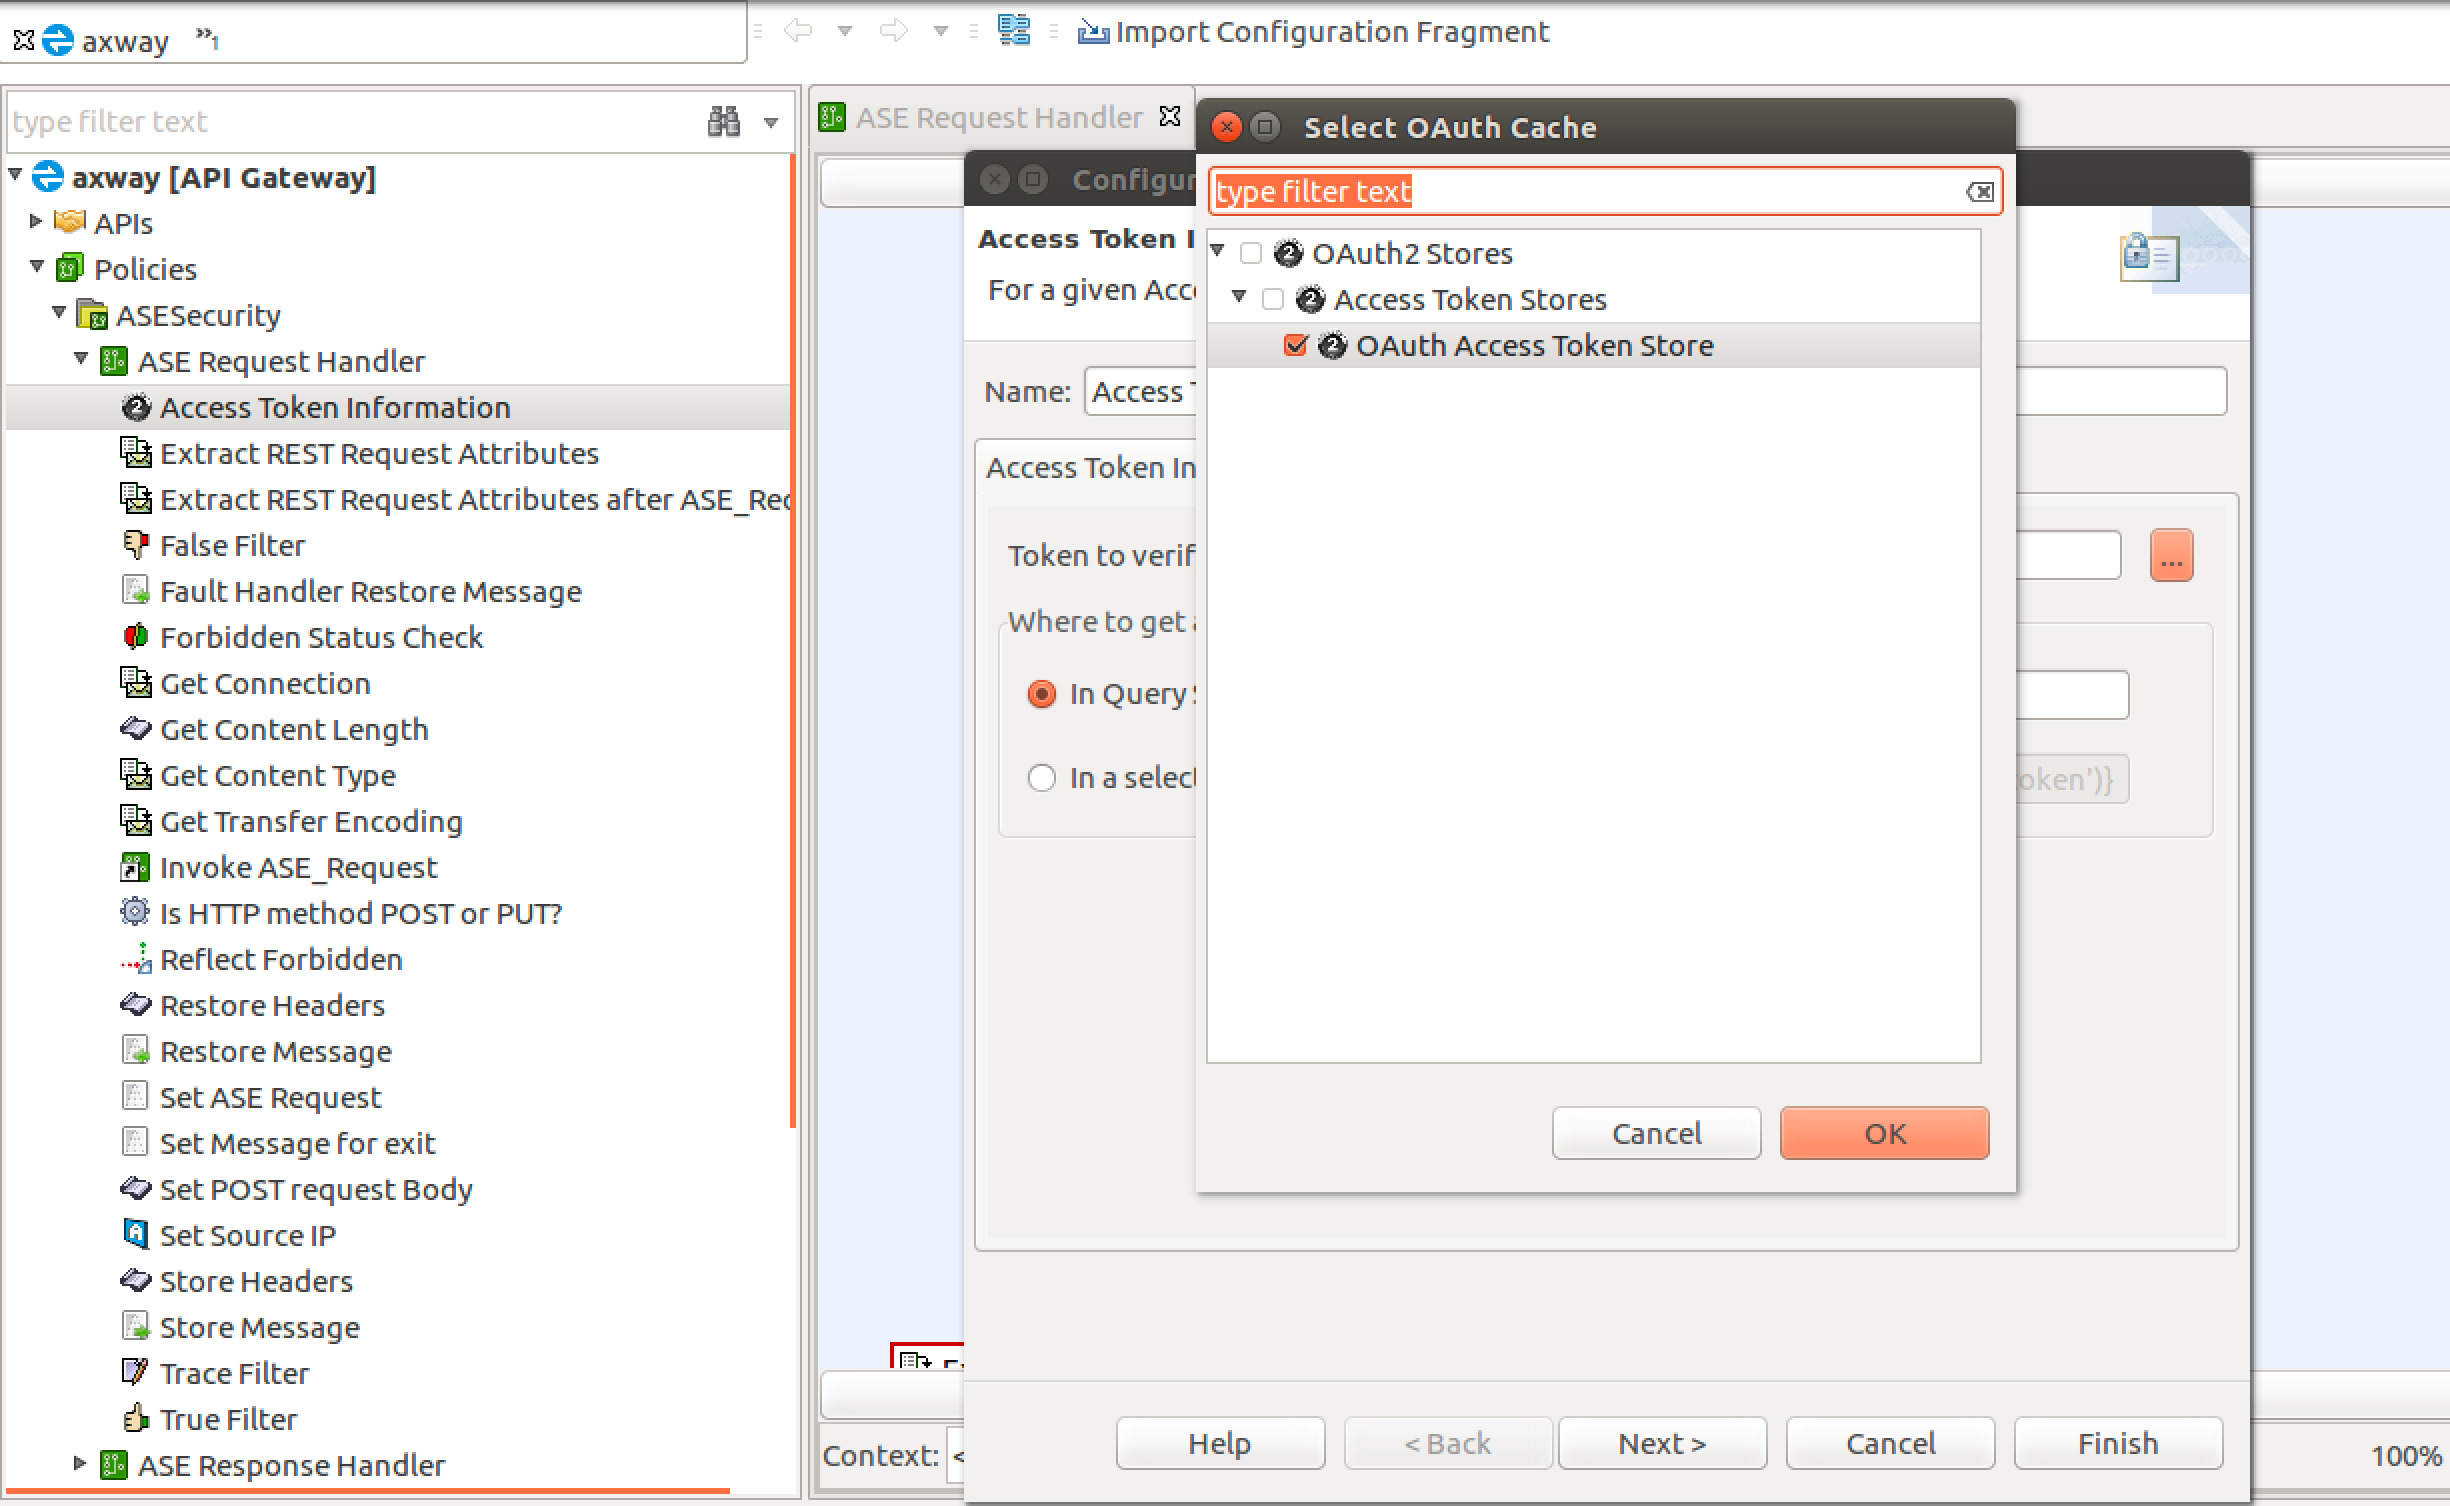
In the Select OAuth Cache pop-up window, select the OAuth token store.
-
-
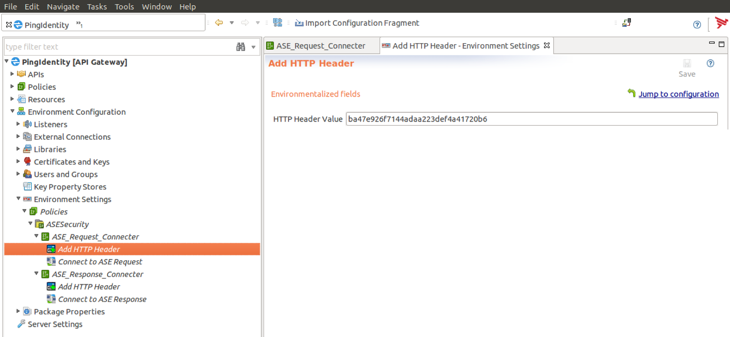
After the Axway Policy is imported, click Environment Settings in the left-hand column. Click Add HTTP Header. In the HTTP Header Value field, enter the ASE authentication token that was created.
-
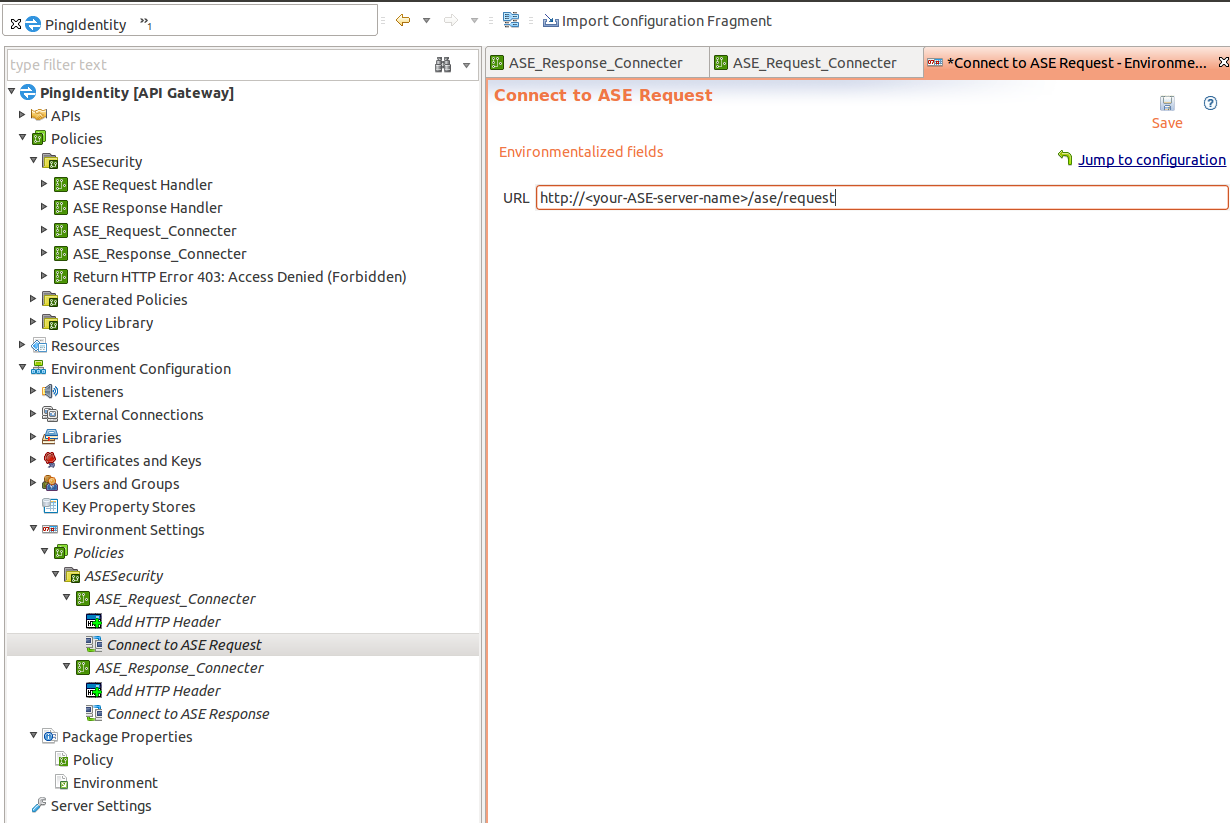
After the Axway Policy is imported, click Environment Settings in the left-hand column and click Connect to ASE Request under ASE_Request_Connector. Enter the IP address or the hostname of your ASE in the URL field as shown below:
-
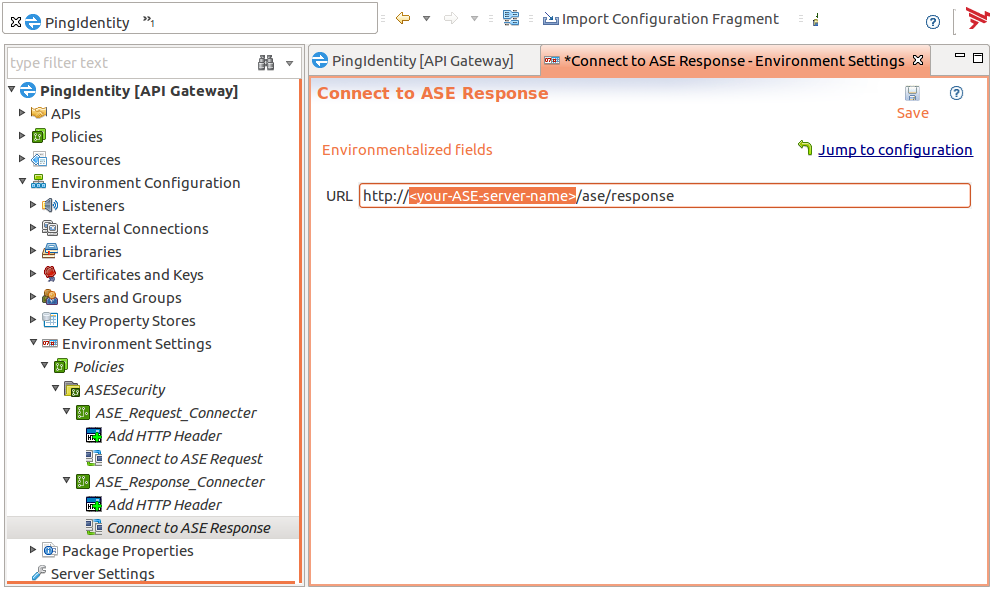
In the Environment Settings in the left-hand column, click Connect to ASE Responseunder ASE_Response_Connector.Enter the IP address or the hostname of your ASE in the URL field as shown below:
-
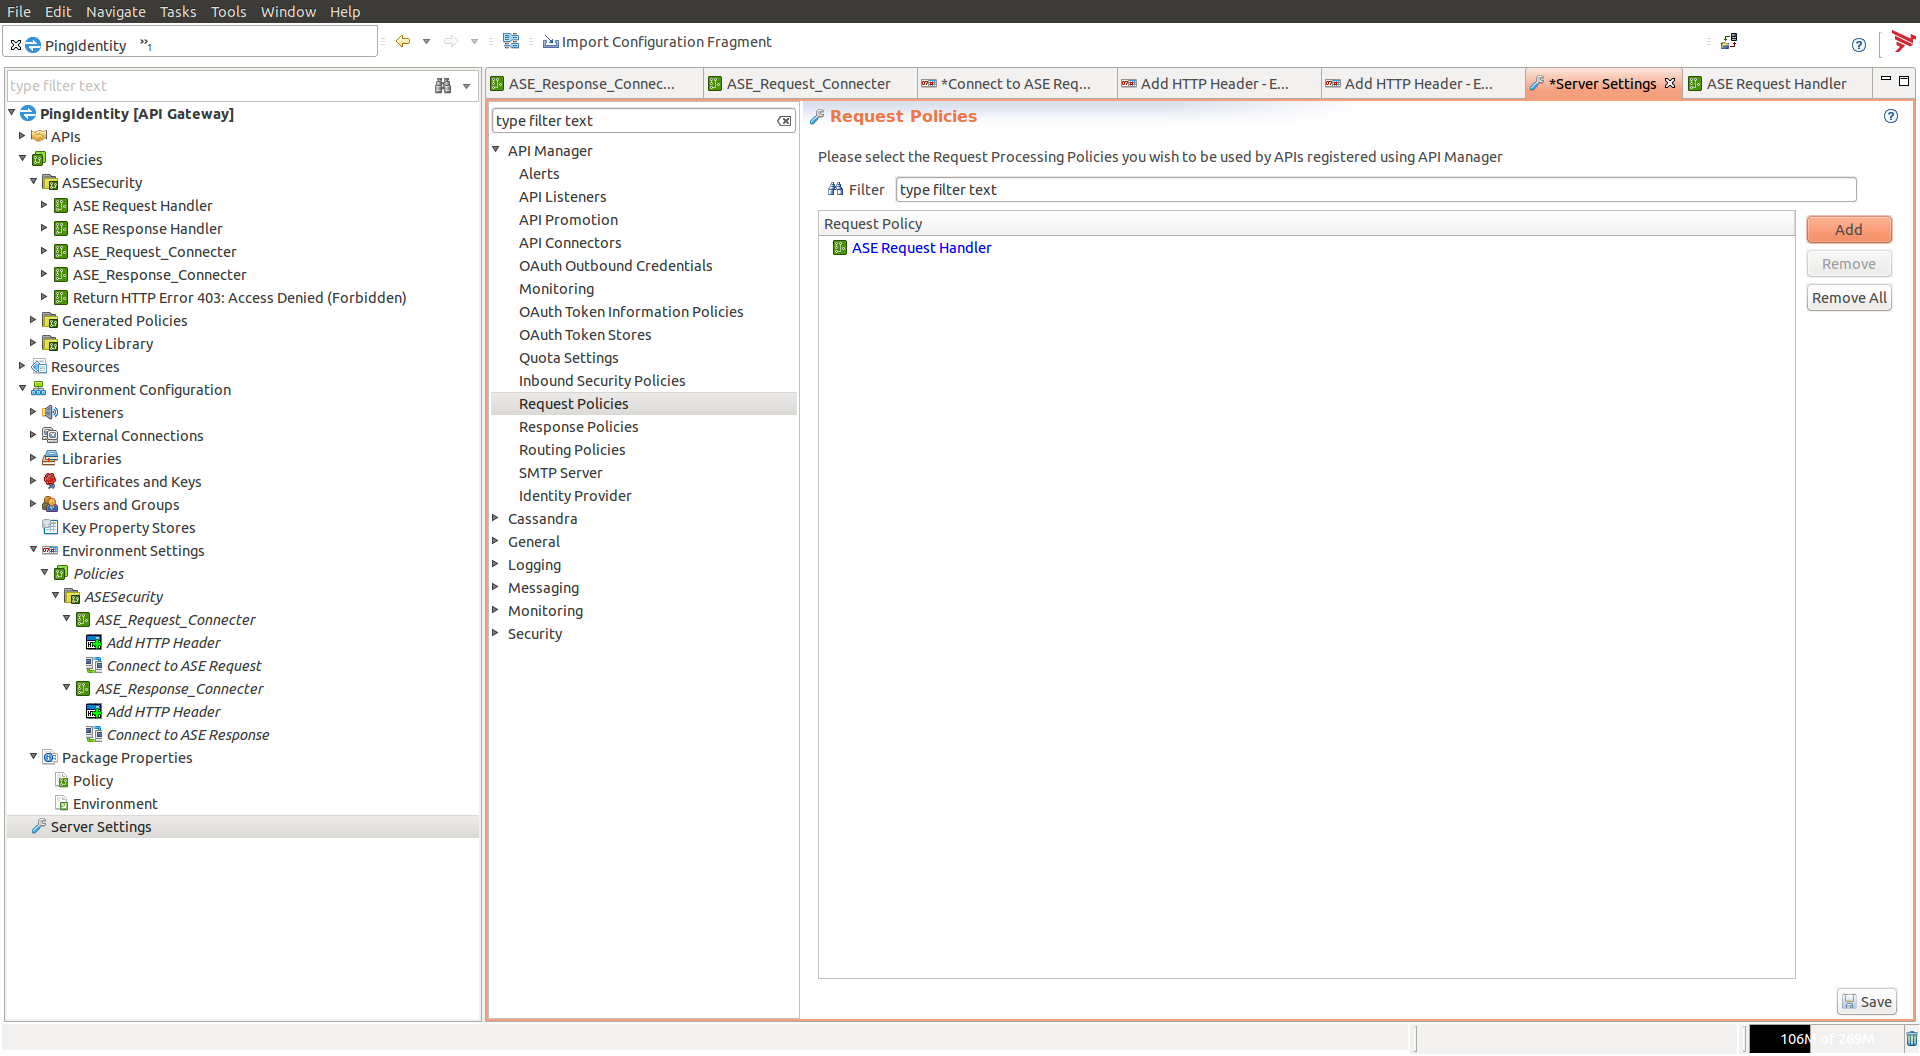
In the left pane of the window, click Server Settings.
-
In the Server Settings window, double-click Request Policies under API Manager.
-
In the Add Request Policy pop-up window, check the ASE Request Handler and click OK.

-
Click Add and then Save.
-
Repeat step 9-10 for Response Policies.
-
Deploy the policies by clicking Deploy.