Managing the PingID desktop app on Windows
Manage operations for the PingID desktop application on a Windows machine.
Updating the desktop app on Windows
Update the PingID desktop application on a Windows machine.
Before you begin
You must have administrator privileges to install PingID desktop updates on your Windows machine.
About this task
Keep the PingID desktop application updated to ensure you have access to the latest updates, security features, and fixes. When you launch the desktop application, it checks if there’s a new version of the software available. If automatic updates are enabled, your application is updated automatically. If automatic updates are not enabled, you can check for updates manually, or you will be notified that an update is available when you want to download and install the update.
|
If your organization’s policy allows it, you can choose whether updates are installed manually or automatically, otherwise the option is disabled and will not be visible to you. To activate automatic updates, launch the desktop application, and go to Help → Automatic Updates. |
Steps
-
Launch the PingID desktop application.
The application automatically checks for updates.
-
To manually check for updates, go to Menu → Help → Check for Updates…
Result:
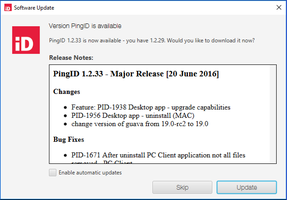
If an update is available, the Software Update window shows you the software version number and the release notes, describing details of changes and new features.
-
From the Software Update window, select from the following options.
Choose from:
-
Update: Download the update
-
Skip: Skip the update
-
Enable automatic updates (optional): Select to automatically scan for updates in the future. When an update is available, it is downloaded automatically and proceeds to the Install and Relaunch window.
-
-
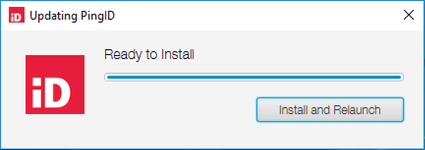
Once the update is downloaded, click Install and Relaunch.
Result:
The old version of PingID desktop app closes, and the PingID setup wizard opens.
-
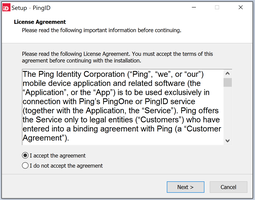
In the License Agreement window, select I accept the agreement and click Next.
Result:
A bar displays the installation progress. When the installation is complete, the desktop application reopens automatically, showing the current one-time passcode.
After a desktop application update, you might be required to create a PIN code to secure your desktop application and then enter it each time you access the application.
Enabling or disabling automatic updates on Windows
Enable or disable automatic updates on your Windows machine to determine whether PingID automatically updates to newer versions.
About this task
Whenever you launch the PingID desktop application, the application automatically checks to see if there’s a new version of the software available. If you enable automatic updates, then your application is automatically updated as soon as a new version of the software becomes available.
Steps
-
Launch the PingID desktop application.
-
Go to Help → Automatic Updates.
Choose from:
-
To enable automatic updates, select the Automatic Updates check box.
-
To disable automatic updates, clear the Automatic Updates check box.
-
Uninstalling the desktop app on Windows
Uninstall the PingID desktop application on a Windows machine.
Before you begin
You must unpair your account from the PingID desktop application before uninstalling the application from your Windows machine. For more information, see Unpairing the desktop app.
Steps
-
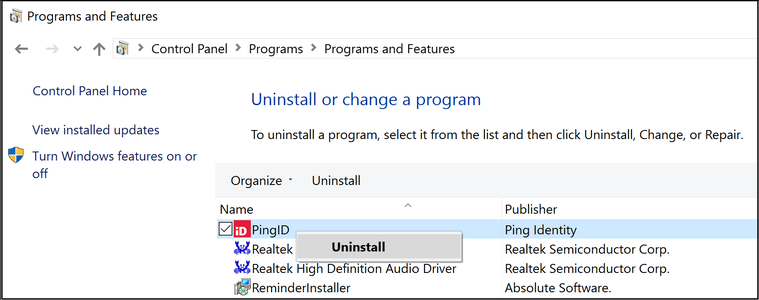
Go to Control Panel → Programs → Programs and Features.
-
Select the PingID check box, and then click Uninstall.
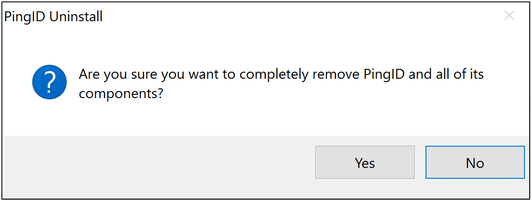
-
To confirm your selection., click Yes.
Result
A progress bar displays as PingID begins uninstalling. When the uninstall is complete, a confirmation message will display saying that PingID was successfully removed from your computer.