(Legacy) Adding and reordering authentication methods
About this task
|
This topic refers to previous versions of PingID device management. You can find instructions for how to manage multiple authentication methods using the latest versions in Adding and managing authentication methods. |
This task covers the following activities related to your list of authentication methods at authentication time:
-
Adding a device
-
Editing device details
-
Choosing a primary (default) device
-
Reordering your devices list
This section is relevant if your organization allows you to authenticate using more than one device. Adding more authentication devices is useful if your preferred device is unavailable (for example, if you left your mobile device at home). When prompted to authenticate, you’ll be able to select a different device.
Furthermore, you can reorder your list of devices to reflect your priority. The device at the top of the list will always be used for authentication, by default.
|
The options available for adding a device are defined by your organization. When adding a FIDO2 biometrics device, or security key, the browser used to access the My Devices page must support WebAuthn platform or WebAuthn respectively. |
Steps
-
Access the Devices page either:
Choose from:
-
During authentication: When the Authentication screen opens, click Settings.
-
From your organization dock: Click the Account icon (
 ) and then click Devices.
 -
From a link provided by your IT department.
When adding a FIDO2 biometrics device (including Windows Hello or Touch ID), you must access the My Devices page from the device that you want to add.
Result:
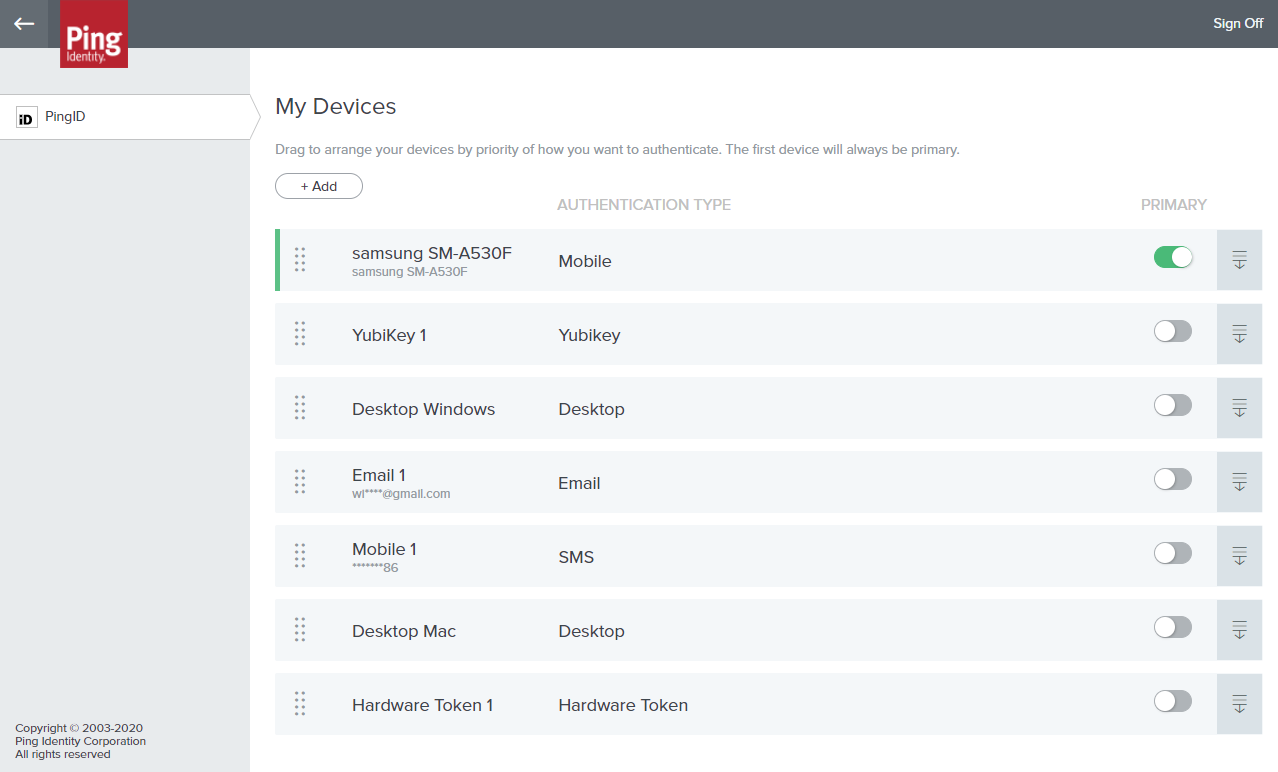
The My Devices page opens, showing the devices you currently have paired with your account. The primary device is first in the list.
-
-
Click +Add. You might be asked to authenticate using an existing authentication device.
Result:
The Add New Device window opens.
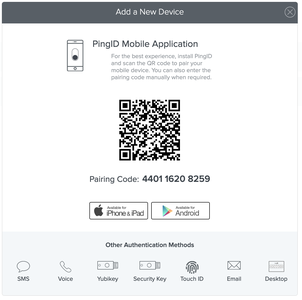
The actual list of options available is defined by your organization.
-
Select the new authentication method to add, and follow the relevant instructions (see Pairing an authentication method with PingID.
Result:
Each authentication method has its own set of instructions. Follow the instructions, download the relevant software, if required, and complete the registration and pairing of your newly added alternate authentication device.
When the system has completed pairing your new authentication device, you are redirected back to the My Devices page, displaying the new device as the last row in the listing, with its default nickname.
-
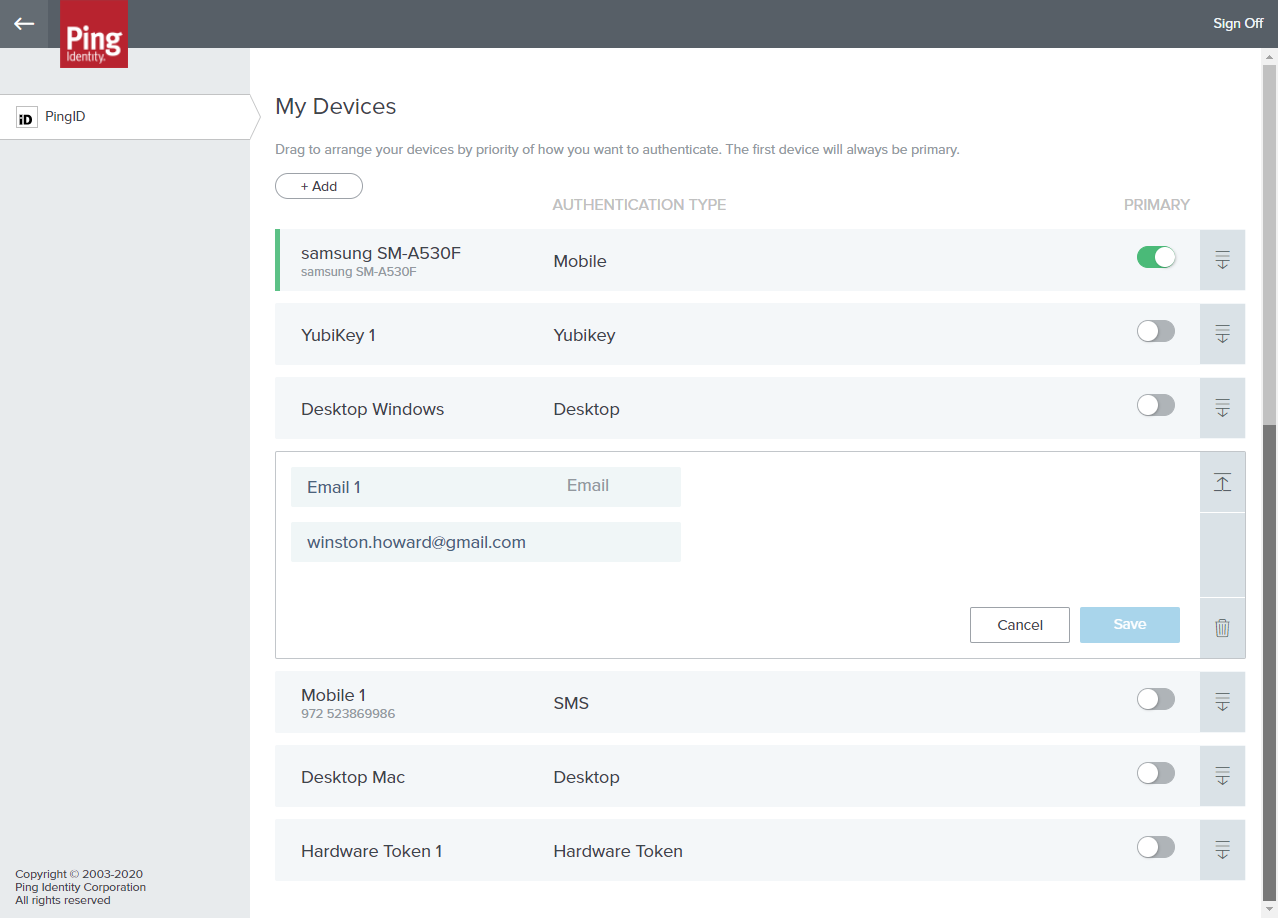
In the My Devices list, to view and edit details of a device, in the relevant row, click the Expand icon (
 ) , and edit the following details:
-
Device nickname: This is the name of the device as it will appear when you are prompted to authenticate. The marketing name of the device (for example, iPhone X) or the authentication method (for example, email) is displayed by default.
-
Device details: Details that identify the authenticating device (for example, your email address or phone number). If you choose to edit the details, you are prompted to authenticate and must make sure the new details are valid (for example, valid phone number in the correct format). To protect your privacy, this information may appear masked if you have not recently authenticated.
-
Authentication type: Type of authentication method (for example, email, SMS, or YubiKey). This information is not editable.
-
-
To make your new device (or any other) the primary (default) device, move the slider to on (green) in the Primary column. The toggled device will be moved to the top of the list.
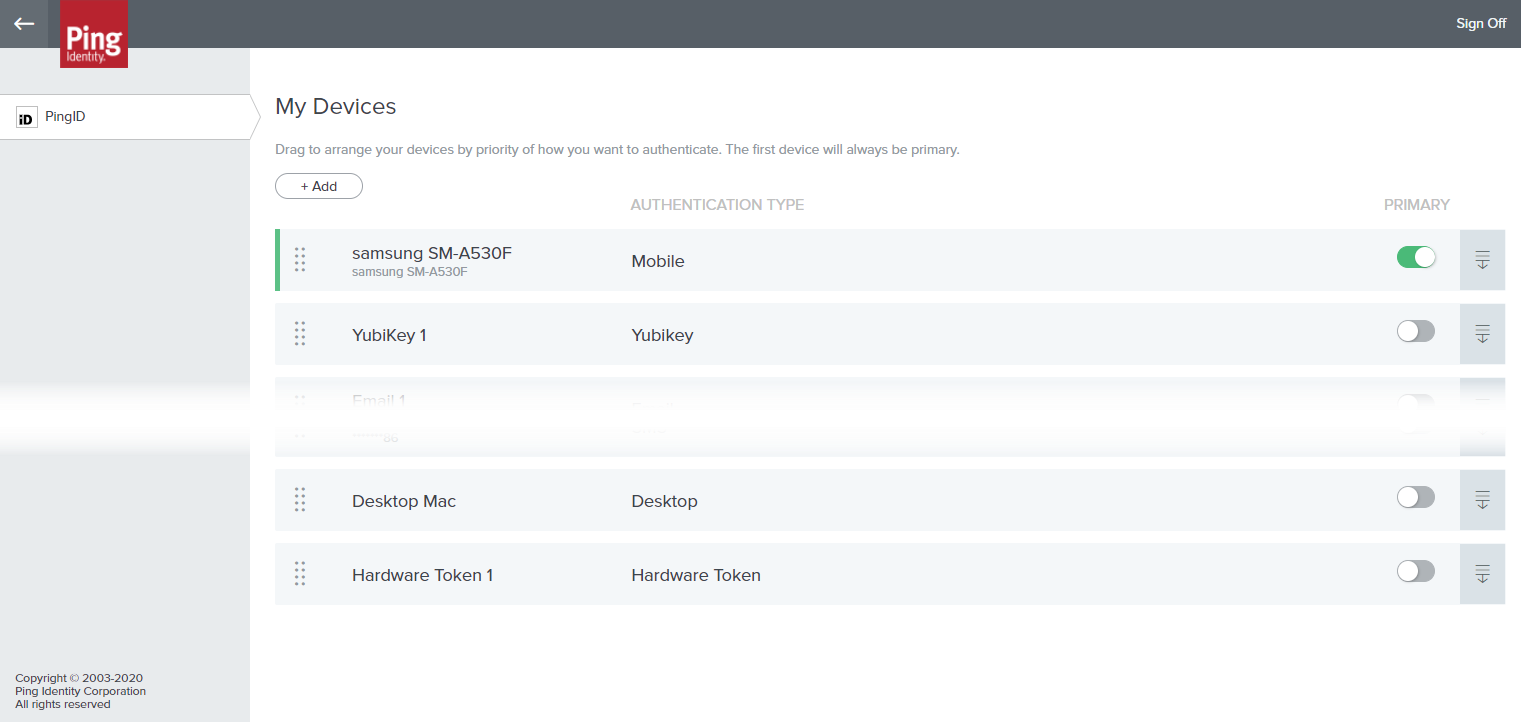
If you added a hardware token, you will see it in a window similar to this:
Click the Expand icon (
 ) to view details of a device:
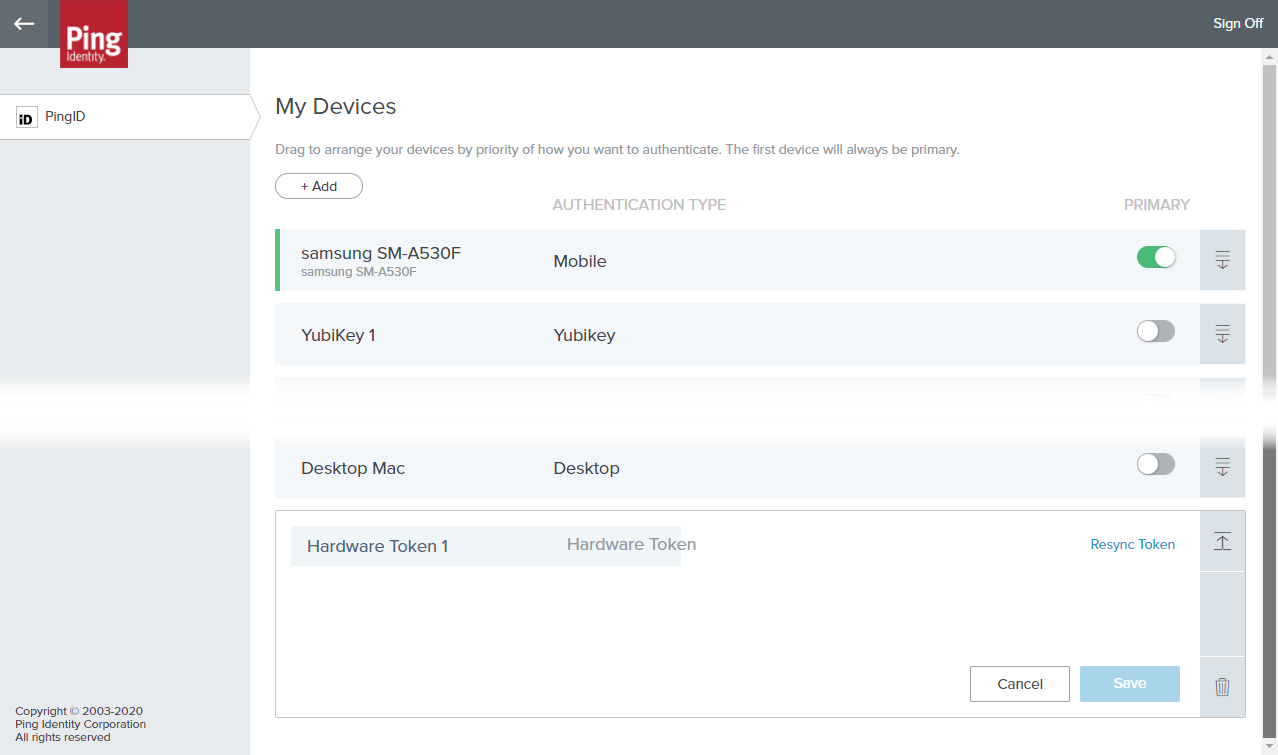
The only available edit are changing the token name and Resync. You do not need to resync unless your token goes out of sync with the OTP server. See Resynchronizing a hardware token for further details.
-
To reorder the device list, drag the devices one at a time to their new position, using the Position icon (
 ) to the left of each item in the list. You may be asked to authenticate first. Having done so, you may make multiple moves. Note you can change the primary device in this way.
The left hand Position control (
 ) icons are unavailable in edit mode.