Authenticating with PingID using Windows Hello
Authenticate using Windows Hello through PingID to access your account or app through a web browser.
Before you begin
To authenticate using the built-in biometrics in your Windows Hello machine, ensure the following:
-
You’ve paired your Windows Hello device with PingID. See Pairing your Windows Hello device.
-
You are using a browser that supports FIDO2 biometrics, such as Microsoft Edge, and that you have the latest version of the browser.
You can only use Windows Hello to authenticate when you are accessing your account or resources from your Windows Hello machine.
Use cases
The authentication process varies slightly depending on your browser and your organization’s implementation.
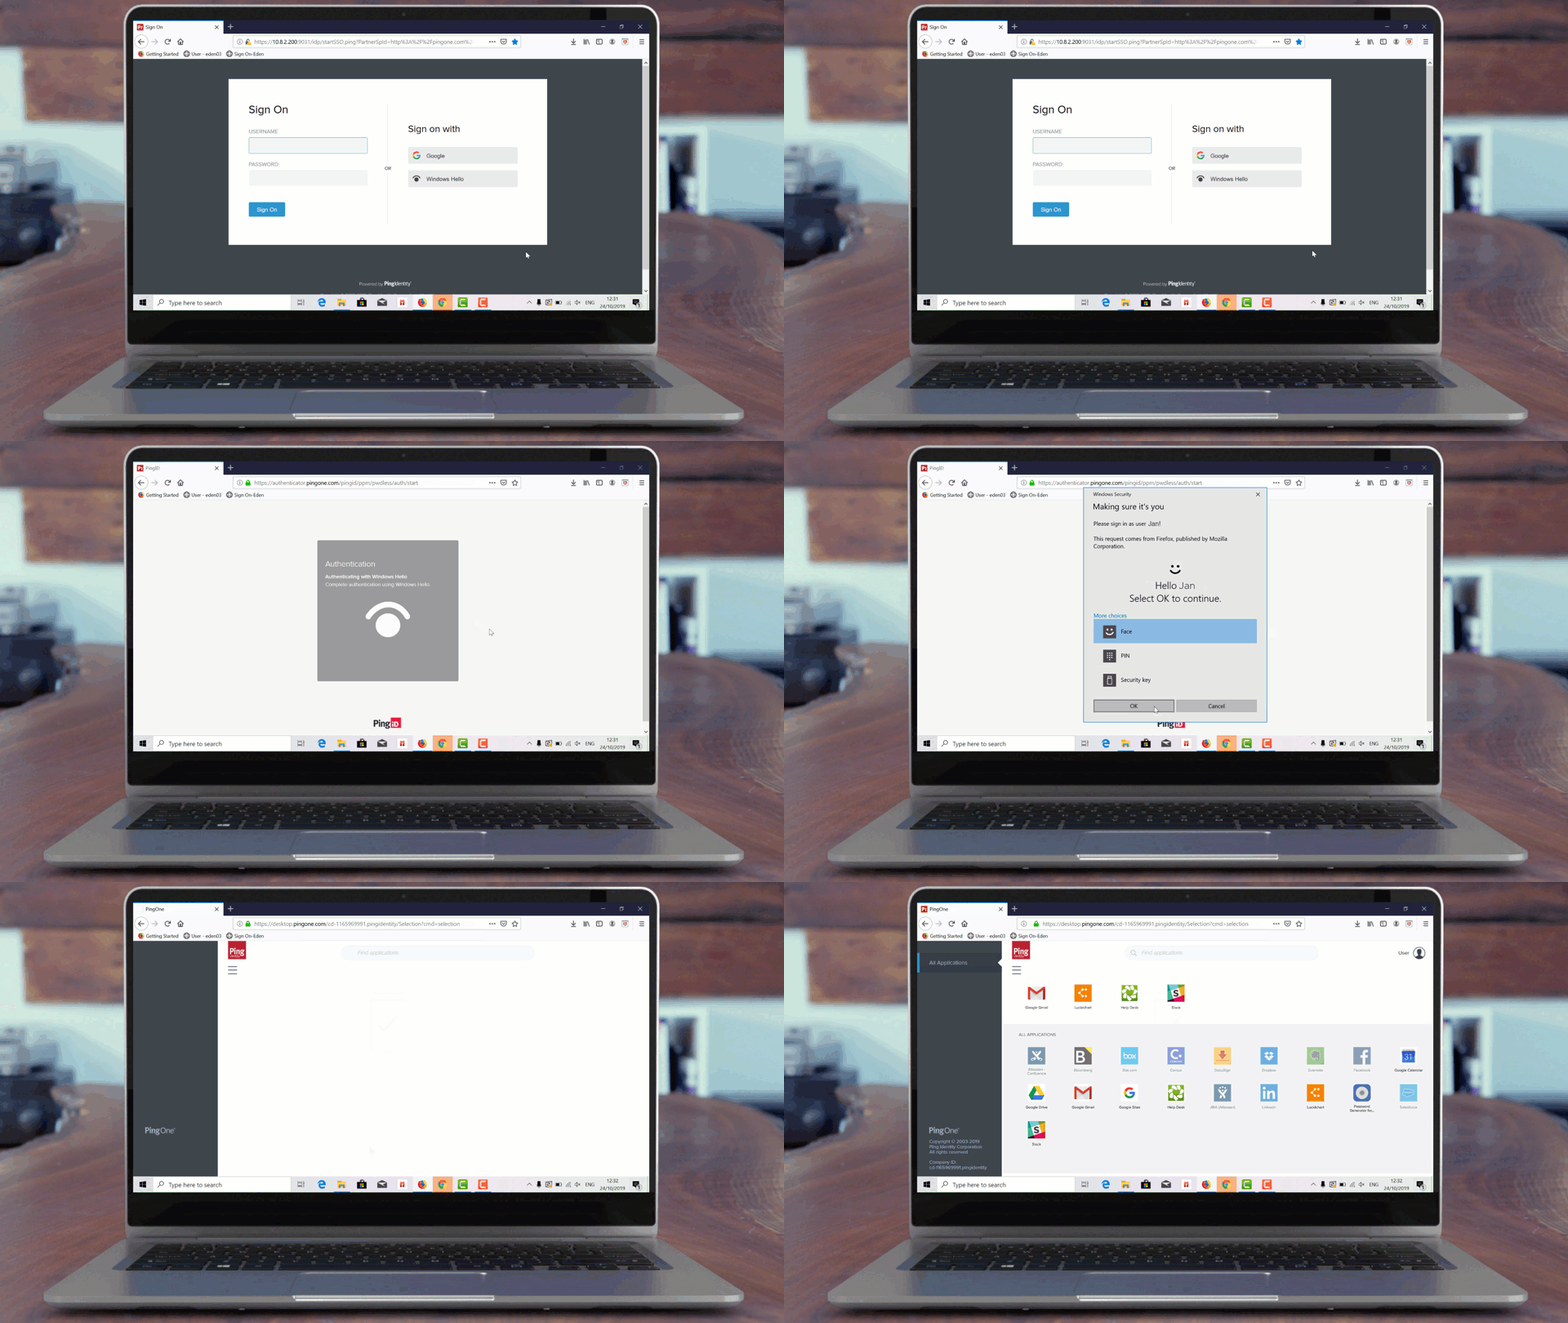
The following animations demonstrate the two most common implementations of biometrics authentication with PingID for Windows Hello:
-
Passwordless authentication: No username or password required.

-
Second factor authentication: Enter your username and password, and then authenticate with Windows Hello for a more secure sign on.

Steps
-
Sign on to your Windows Hello machine:
Choose from:
-
Open a browser window and sign on to your account.
-
Access an application that requires authentication.
You might see an additional window in your browser prompting you to authenticate. The actual appearance of this window varies depending on your browser.
-
-
In the Authentication window, authenticate using the built-in biometrics on your Windows Hello machine, for example using your fingerprint.
Ensure the browser window is the active window.
Result
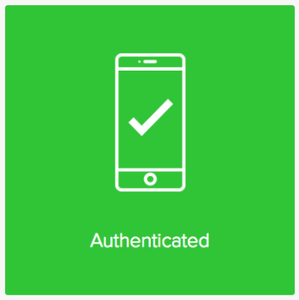
A green Authenticated message with a check mark appears, indicating authentication is successful. You are redirected to your account or app.
