Using Windows Hello for authentication with PingID
If your Windows Hello device supports FIDO2 biometrics, you can use it to authenticate with PingID for a secure sign-on experience. To set up your Windows Hello device for secure authentication with PingID, you need to register or 'pair' it with your account.
Pairing creates a trust between your Windows Hello device and your account so that you can use it to authenticate during the sign-on process. You can use Windows Hello biometrics to access your account and apps using a web browser.
|
PingID Mobile app using biometrics (fingerprint, face or, iris authentication) and Biometric web authentication with Windows Hello are different methods of authentication:
|
-
Web only
Pairing your Windows Hello device
To set up Windows Hello authentication on your Windows machine for secure authentication with PingID, you need to register or 'pair' your Windows Hello device with your account.
Before you begin
Ensure your Windows Hello device supports FIDO2 biometrics and that you are using:
-
Windows 10, OS Build 1809 or later.
-
A browser that supports the use of FIDO2 biometrics, such as Windows Edge v44.17763 or later.
-
Set up Windows Hello biometrics sign in on your machine, such as registering your fingerprints or face. Follow the manufacturer’s guidelines to do so.
About this task
|
After registering, use your Windows Hello device to authenticate with PingID for both second factor or passwordless authentication flows depending on your organization’s configuration. For more information, see Authenticating with PingID using Windows Hello. |

Steps
-
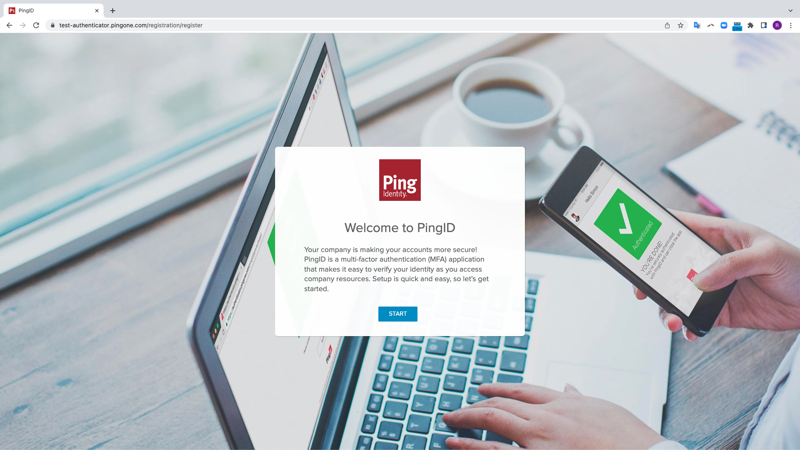
From your Windows Hello machine, sign on to your account or app and when you see the registration window, click Start.

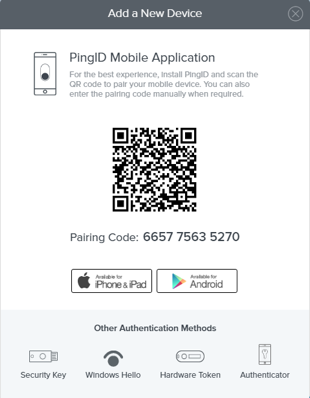
You’ll see the Add a New Device window, showing the Windows Hello icon.

-
In the Add a New Device window, click Windows Hello.
If the Authenticate using Windows Hello option does not appear in the list, see [pid_ug_setting_up_windows_hello_auth.dita].
Result:
Your application prompts you to authenticate.
-
Use your Windows Hello device to validate your identity, for example, using your fingerprint.
Ensure the Alternative Authentication browser window is the active window.
If you see a message asking if you permit your device to communicate with the biometrics device, select Allow or Yes to continue. The message can differ depending on the browser you are using.
Result:
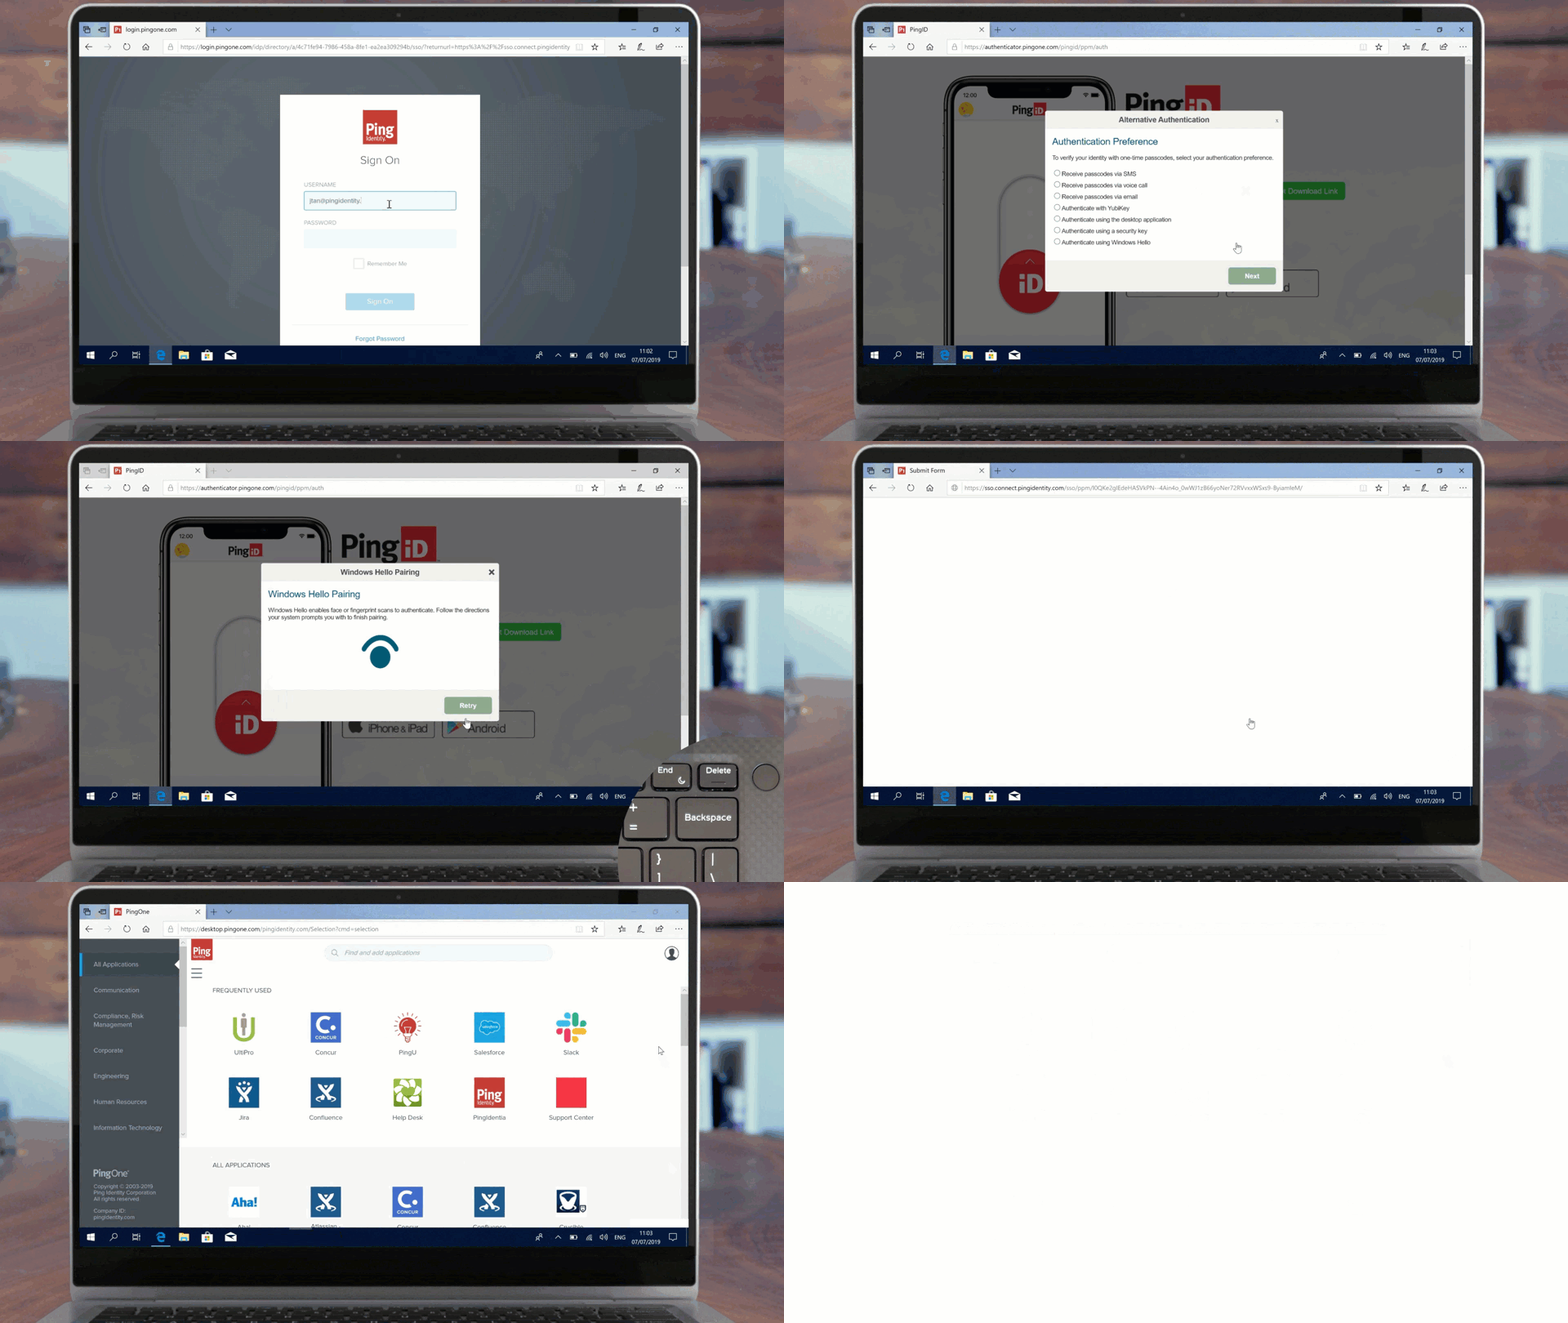
A green check mark appears with an Authenticated message, indicating authentication is successful. You are automatically signed on to your account or app.
Result
To sign on to your account or application, authentication requests prompt you to use your biometrics device. For more information, see Authenticating with PingID using Windows Hello.
For troubleshooting, see Troubleshooting FIDO2 biometrics.