HYPR Connector
The HYPR connector lets you use HYPR for passwordless authentication in your PingOne DaVinci flow.
Setup
Requirements
To use the connector, you’ll need:
-
A configured HYPR environment
-
A HYPR user account and mobile app to use for testing
Configuring the HYPR connector
Add the connector in DaVinci as shown in Adding a connector, then configure it as follows.
Connector configuration
To get your API URL and credentials, speak to a HYPR representative.
Scope
The OpenID Connect scopes to send to HYPR to customize the verification process. Separate multiple scopes with a space, such as openid email profile.
Using the connector in a flow
Authenticating users with HYPR

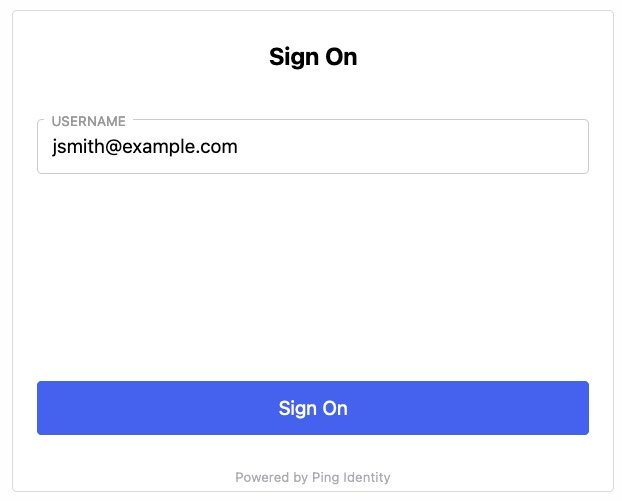
This flow asks the user to enter their username in an HTML form, redirects the user to HYPR for authentication, then shows the results on an HTML page.
-
Download the HYPR Authentication flow template. For help, see Using DaVinci flow templates.
-
(Optional) Customize the sign on form:

-
Select the Sign On Form node.
-
(Optional) Customize the Title field.
-
(Optional) Customize the Next Button Text field.
-
Click Apply.
-
-
(Optional) Show a HYPR sign-on button rather than automatically redirecting the user to HYPR:
This approach lets you include a HYPR sign-on button alongside other sign-on options in an IDP Container connector or as part of a custom HTML page using an HTTP Connector connector.
-
Select the HYPR node.
-
Turn off Skip Button Press.
-
In the Display Name field, enter the button text, such as
Sign on with HYPR. -
(Optional) In the CSS field, add CSS to customize the appearance of the prompt.
-
(Optional) Turn on Show Powered By to display Powered by Ping Identity at the bottom of the prompt page.
-
-
Test the flow:
-
Click Save, Deploy, then Run.
-
On the Sign On page, enter the username for your HYPR test user account. Click Sign On.
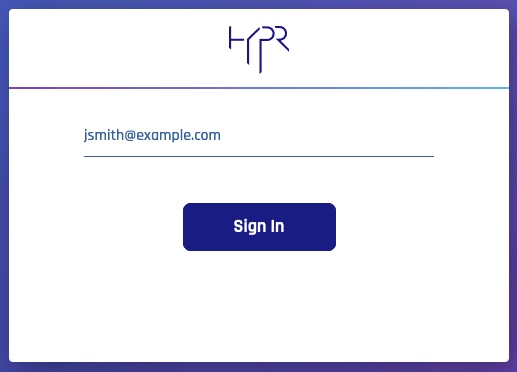
The browser redirects to the HYPR, which prompts you to authenticate.

-
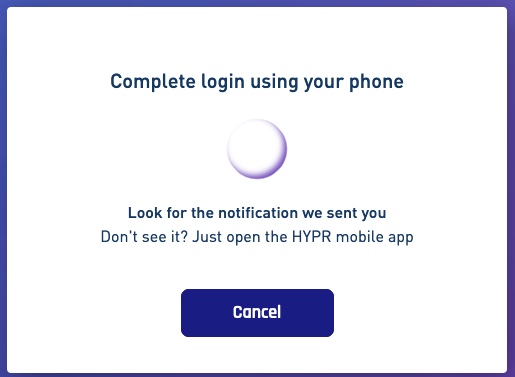
Complete the MFA process with HYPR.

HYPR shows a success message and then redirects the browser back to DaVinci.
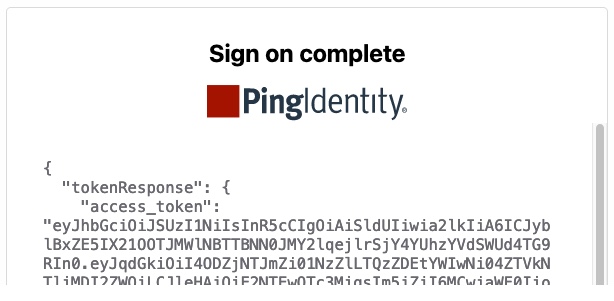
Your Custom HTML Message shows the complete response from HYPR.

-
Capabilities
Authenticate
Show details
-
Properties
-
Input Schema
-
Output Schema
- Username textField
-
The username of the authenticating user.
- Display Name button
- showPoweredBy toggleSwitch
- skipButtonPress toggleSwitch
-
default object
-
properties object
-
username string
-
clientId string required
-
clientSecret string required
-
scope string required
-
apiUrl string required
-
-
-
output object
-
statusCode integer
-
rawResponse object
-
tokenResponse object
-
id_token string
-
access_token string
-
token_type string
-
expires_in number
-
-