Pairing your hardware token (web)
Register or 'pair' your hardware token so that you can generate a one-time passcode (OTP) and use it to authenticate securely with PingID when accessing your account or app from a web browser.
About this task
|
After you have paired your device and authenticated successfully, you can also use it to authenticate for Windows login or Mac login, if required. |
Steps
-
Sign on to your account or app and when you see the registration window, click Start.

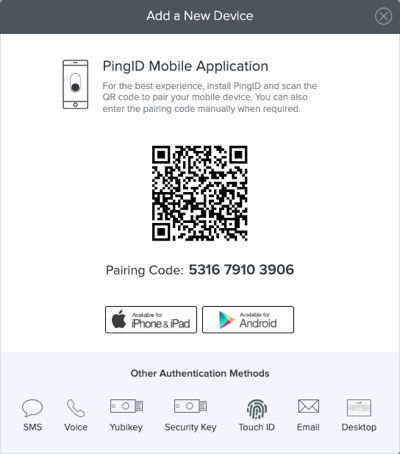
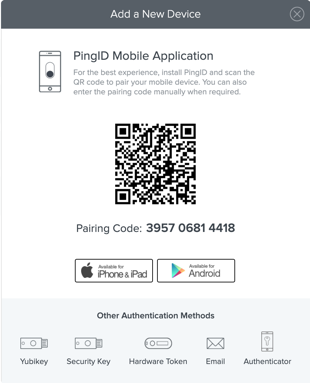
You’ll see the Add a New Device window, showing the QR code.
-
In the Add a New Device window, click Hardware Token.
Result:
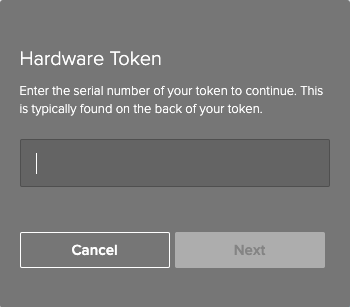
The Hardware Token Pairing window displays.
-
Enter your token serial number. Click Next.
The serial number is usually printed on the back of your token.
Result:
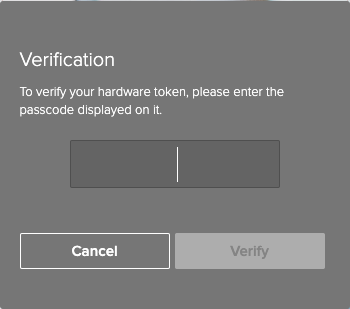
The Verification window displays.
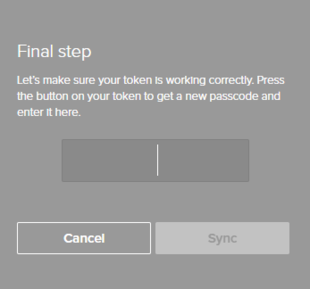
You might see the Final Step window. It indicates that you token needs to be resynchronized, if so, follow the instructions and then click Sync.
-
Enter the passcode from your hardware token. Click Verify.
Result:
A green check mark appears, indicating your device is paired successfully. You are automatically signed on to your account or app.
-
The next time you sign on to your account or application, you need to authenticate using your hardware token.
For more information, see Authenticating using a hardware token (Web).