Setting up and customizing sign-on windows in PingOne
Customize the sign-on window in PingOne to match your company’s desired branding and themes.
Before you begin
Collect any logos, background images, and specific color Hex values to match your company branding.
About this task
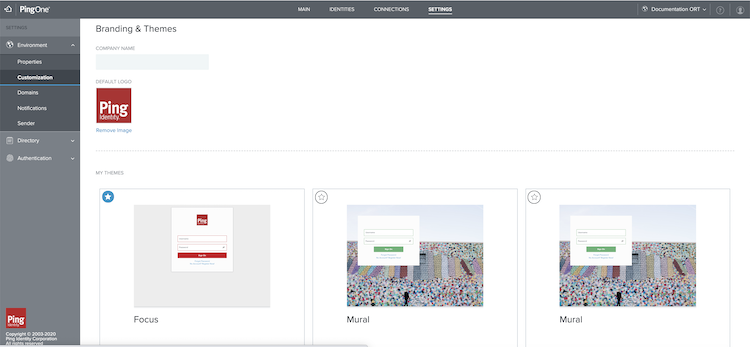
The Branding & Themes window provides the ability to customize logos, colors, and layout of all end user-facing pages.

Steps
-
In the PingOne admin console, go to Settings > Customization.
-
In the Company Name field, enter a company name.
-
Upload a desired image for your logo.
If there is already a default logo, click Remove Image before uploading a new logo.
-
In the Default Logo field, click the Plus () icon to select an image file.
-
Select the desired image and click Open.
The max size is 2.0 MB. Your image file must be a JPEG, JPG, GIF, or PNG.
-
-
For additional customization, change the theme.
-
In the My Themes section, click the Plus () icon.
-
Click to select the desired theme from the available options.
-
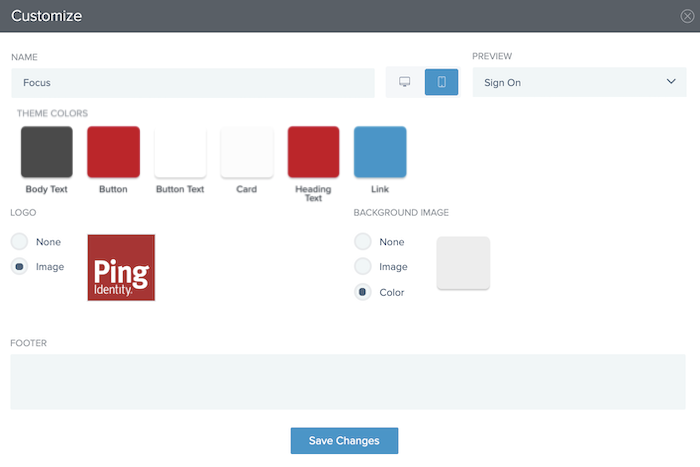
Use the editor to further customize the appearance.
All customization changes will appear in real-time.
-
-
To open the editor and customize the theme, click the desired theme.
Choose from:
-
In the Name field, enter a new name.
-
From the Preview list, select a different preview display.
-
In the Theme Colors field, select a new color for the theme.
-
In the Logo field, remove or add a new image logo.
-
In the Background Image field, remove, update, or change the color of the background image.
-
In the Footer field, enter a footer.

-
-
To toggle between the desktop and mobile view, click the Desktop () or Mobile () icon.

-
To confirm your changes, click Save Changes.
Add multiple themes as needed.
-
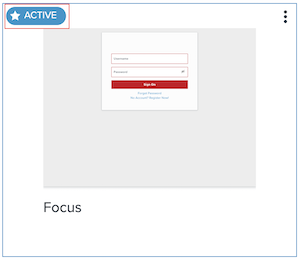
To activate a theme, click the Star () icon.
