Delegating all authentication to an external IdP
PingOne provides an authentication policy step that allows you to make an external identity provider (IdP) part of a PingOne authentication policy or delegate all authentication to that external IdP.
Before you begin
You must have:
-
An external IdP defined in your PingOne tenant
-
An authentication policy that specifies that external IdP as the only step
Configuring an external IdP
Before you begin
-
If you want to use OpenID Connect (OIDC), you must configure an OIDC client in PingFederate.
-
If you want to use SAML, you must configure a SAML service provider (SP) in PingFederate.
Steps
-
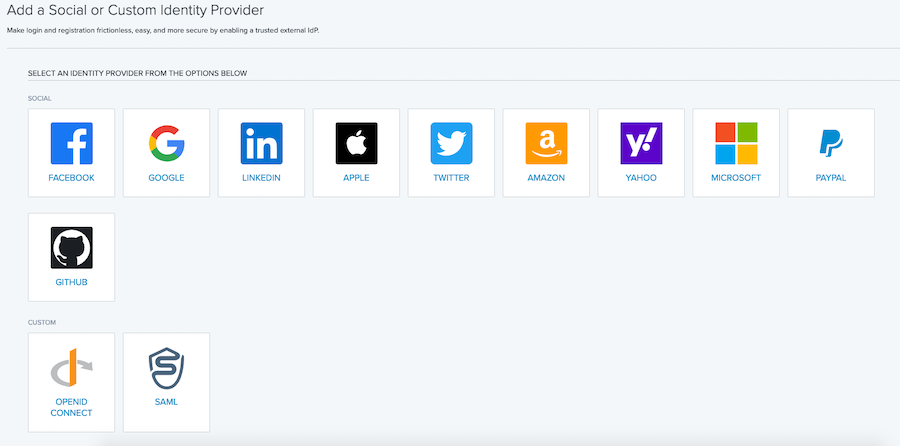
In your PingOne tenant, go to Integrations > External IdPs and click Add Provider.
-
Go to Add a Social or Custom Identity Provider > Select an Identity Provider from the Options Below > Custom and click either:
Choose from:
-
OpenID Connect
-
SAML
-
-
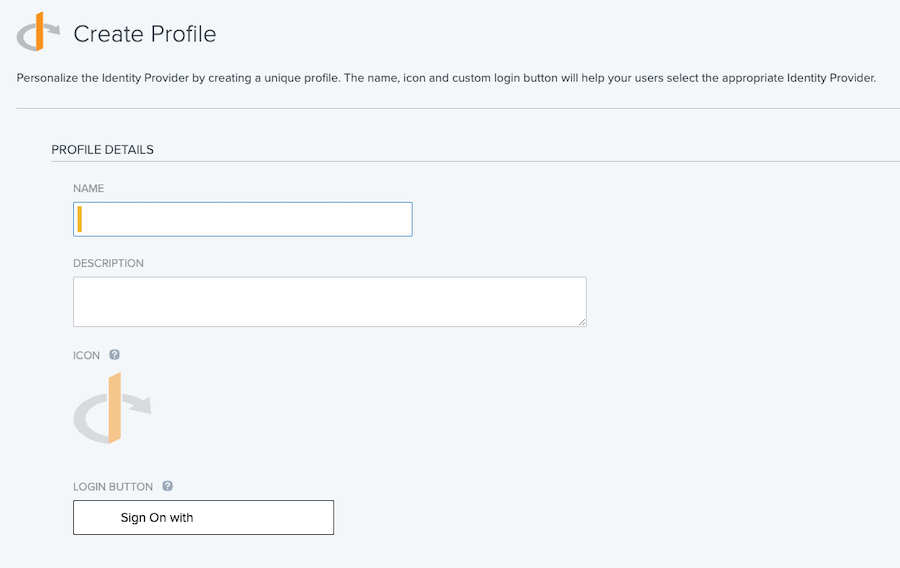
If you clicked OpenID Connect:
-
In the Create Profilewindow, in the Name field, specify a name for the IdP (used only in the PingOne console) and click Continue.
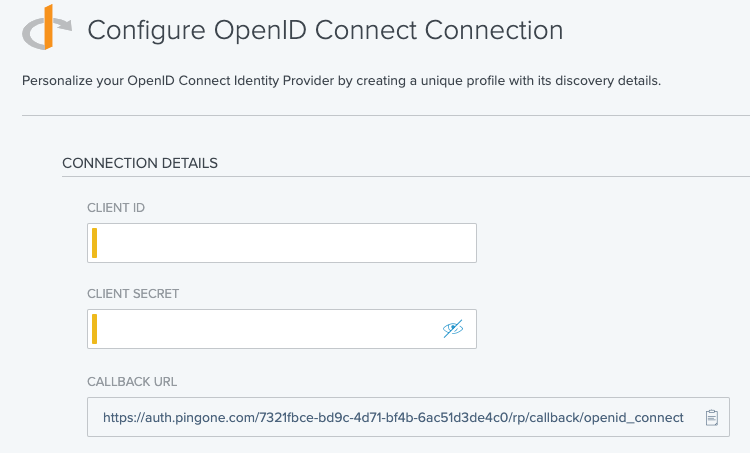
-
In the Connection Details section, in the Client ID and Client Secret fields, enter the client ID and client secret from the external IdP.
This must be an auth-code client.
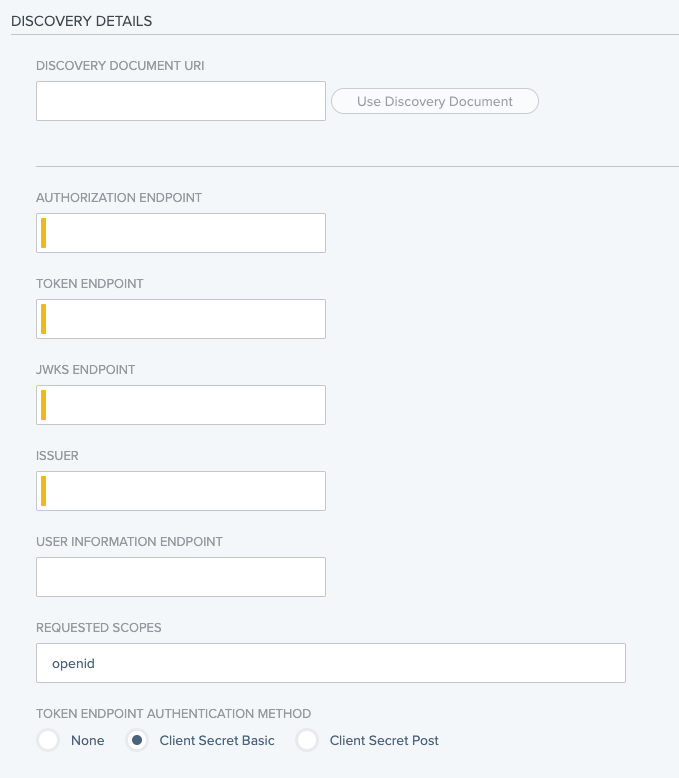
-
In the Discovery Details section, you can provide the OpenID well-known endpoint in the Discovery Document section to pre-populate all values.
If the OpenID well-known endpoint isn’t available, you must manually enter all the required values.
-
Click Save and Continue.
-
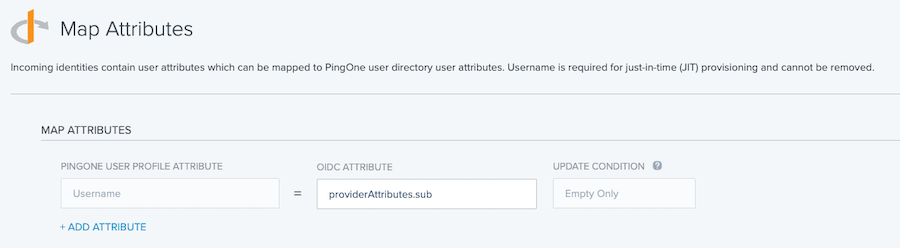
In the Map Attributes window, map incoming values as needed, and then click Save and Finish.
-
-
If you clicked SAML:
-
In the Create Profile window, in the Name field, specify a name for the IdP (used only in the PingFederate console) and click Continue.
-
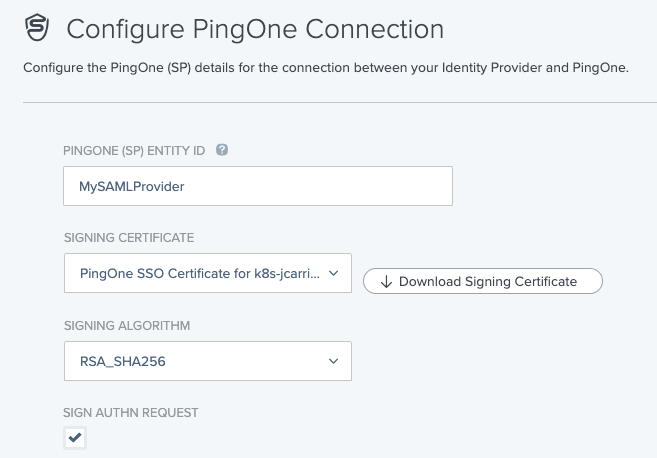
In the Configure PingOne Connection section, choose the signing certificate for SP-initiated SAML authentication requests and click Continue.
-
In the Configure IDP Connection window, import data or provide the values, and then clickSave and Continue.
-
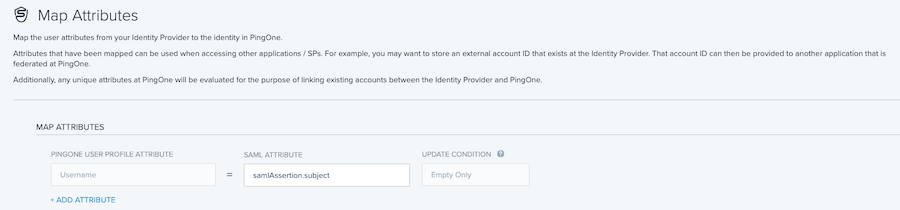
In the Map Attributes window, map incoming values as needed, and then click Save and Finish.
-
-
Optional: To support just-in-time (JIT) creation, edit the newly created external IdP:
If a user who doesn’t exist in PingOne is redirected from the external IdP, PingOne can perform a JIT creation of an account for that user in PingOne.
-
Click Registration.
-
In the Population list, select the population into which new users should be JIT provisioned.
-
Click Save.
-
-
Enable the external IdP you created.
Creating an external IdP authentication policy
Steps
-
In your PingOne tenant, go to Authentication > Authentication and click Add Policy.

-
In the Policy Name field, enter a unique policy name.
-
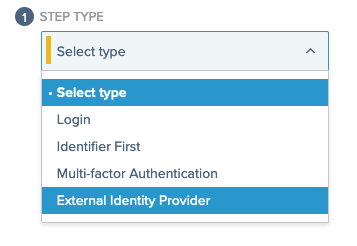
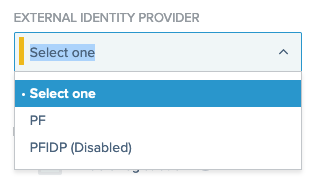
In the Step Type list, select External Identity Provider.
-
In the External Identity Provider list, select the external IdP you want to delegate to.
Disabled external IdPs are marked as such.
-
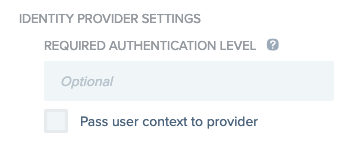
Optional: In the Required Authentication Level field, specify an authentication context to request from the IdP.
For example, if you were using PingFederate you could use a selector on the incoming context to determine authentication policy flows.
-
Click Save and Continue.
Next steps
Depending on how you want to use it, you can configure this policy as the default or assign it to specific applications. After calling an app that has this policy assigned, users are automatically sent to the external IdP for authentication.
After a successful return from the external IdP:
-
If the user doesn’t exist in PingOne, the user is created.
-
If user does exist in PingOne, the user is prompted for linking and then passed to their respective application.