Setting up and testing a custom authentication policy
Authentication policies are used in PingFederate to implement complex authentication requirements. This document explains how to create a new custom authentication policy in PingFederate, and then test the policy.
Creating a custom authentication policy in PingFederate
Build and deploy a simple example of a custom authentication policy in PingFederate when there are multiple user types that need different authentication flows.
Before you begin
Make sure you have the following:
-
PingFederate 10 or later with administrator access to web console
-
PingID for multi-factor authentication (MFA)
-
HTML Form identity provider (IdP) adapter
-
Simple password credential validator (PCV)
-
A second SimpleForm (HTML Form adapter) instead of PingID
-
IdP connection
-
Selector
About this task
Authentication policies are an optional configuration in PingFederate and help administrators implement complex authentication requirements.
A simple example of a custom authentication policy is having PingID act as a second-factor authentication event that triggers after a username and password form.
|
Consider a custom policy when there are multiple user types that need different authentication flows, or if you want to chain together two types of authenticators, such as username and password with MFA. |
Steps
-
In the PingFederate administrative console, go to Authentication > Policies > Policies.
-
In the Authentication Policies window, click Add Policy.
-
In the Name field, enter a policy name.
-
In the Description field, enter a description.
-
In the Policy list, select a previously created configuration:
Choose from:
-
IdP Adapter
-
IdP Connection
-
Selector
-
-
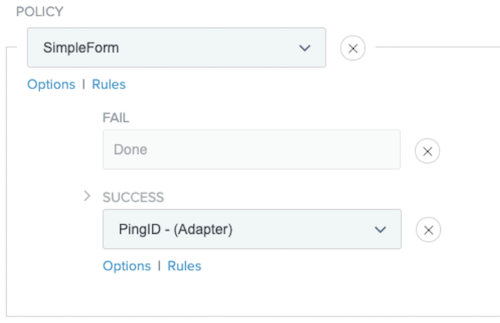
In the Fail field, click Done.
This means if the user fails authenticating the SimpleForm, their single sign-on (SSO) session ends.
-
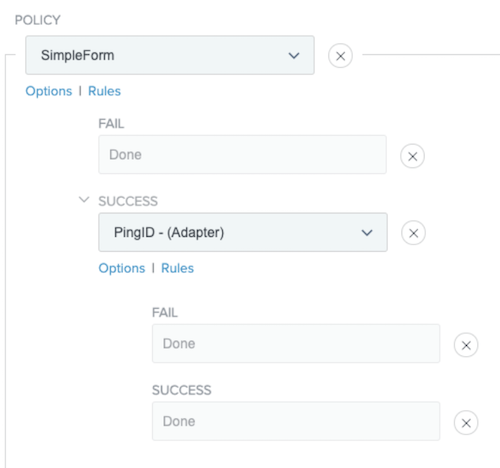
From the Success list, select the PingID Adapter. Additional Fail/Success lists will appear.
-
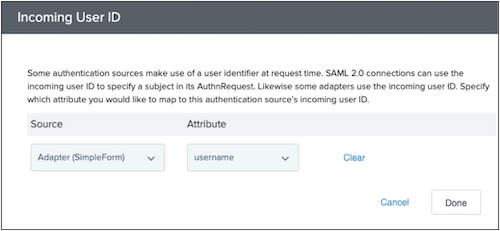
Click Options.
-
-
In the Incoming User ID window, from the Source list, select Adapter (SimpleForm) and from the Attribute list, select username.
-
Click Done.
-
-
After the Success list, set the Fail and Success lists to Done.
-
Click Done.
Result:
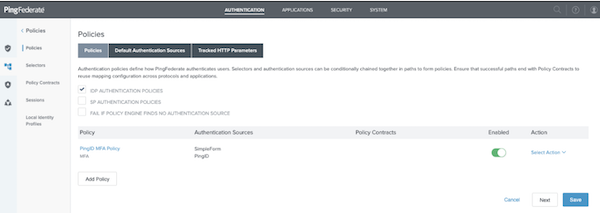
The custom policy appears in the Policies window in the Policy list.
-
-
To save and enable the new policy, click Save.
Testing a custom authentication policy in PingFederate (HTML Form with PingID MFA)
Test the custom authentication policy you created in PingFederate.
Before you begin
Set up a service provider (SP) connection.
About this task
This requires an SP connection. This example uses the website HTTP_BIN as a sample application that PingFederate sends the user to after the custom authentication policy has completed successfully.
Steps
-
Locate an SP Connection that you configured previously to leverage the custom authentication policy.
-
Go to Applications > SP Connections > SP Connection > Activation & Summary.
-
-
Click the SSO Application Endpoint.

Result:
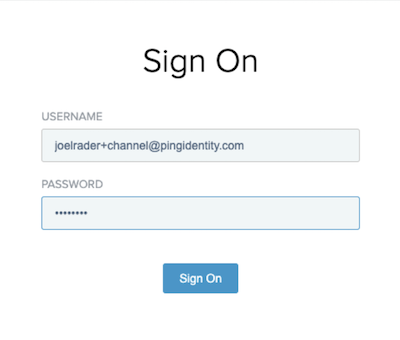
The Sign On window appears.
-
Enter a valid Username and Password based on your SimpleForm and SimplePCV settings.
-
Click Sign On.
-
-
Approve the sign-on request using multi-factor authentication (MFA), such as your mobile push.

-
If you entered a username and password combination that doesn’t authenticate, an error message will display.
-
If you entered a recognized user in the form, but the user has not yet enrolled in PingID, a registration window will display.
-