Connecting PingFederate to a Microsoft SQL JDBC datastore with Windows authentication
Create a Microsoft SQL server Java Database Connectivity (JDBC)-connected datastore in PingFederate and configure it for Windows authentication.
If your organization primarily uses a Microsoft Windows platform, you can have your PingFederate nodes on Windows servers, and you can use Microsoft SQL Server for your databases. One example use case for this type of datastore is storing OAuth grants in a clustered environment.
High availability requirements for this database should follow your organization’s procedures and are outside the scope of this document. Any database maintenance tasks are also not addressed in this document.
Before you begin
You must have:
-
An SQL server on the network, accessible from the PingFederate nodes on its assigned port
Port 1433 is the default port for SQL server. You can test connectivity to the
server:portwith the telnet command line utility. -
Access to a database on the server with the correct tables
Work with the database administrator to determine an appropriate name for your database, such as “PingFederate”.
For storing OAuth grants, you can find the table creation scripts (access-grant-sqlserver.sql and access-grant-attribute-sqlserver.sql) in
<pf_install>/pingfederate/server/default/conf/access-grant/sql-scripts. -
A user account in the Active Directory (AD) domain you can use as a service account
It does not need any special domain privileges, but it receives local permissions on your PingFederate nodes.
Work with your database administrators to ensure the user account in the AD has permissions to access and write to the database.
Adding a new user
About this task
Perform these steps on each PingFederate node.
Steps
-
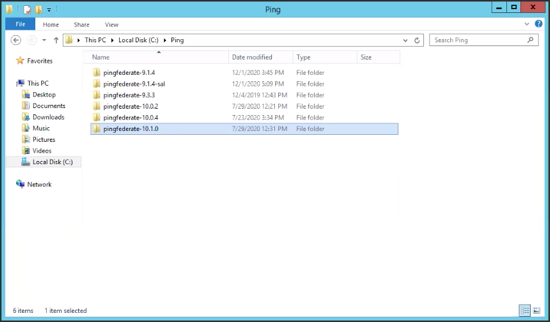
On your Windows machine, open the folder where PingFederate is installed.
-
Right-click the folder and select Properties.
-
Click the Security tab.
-
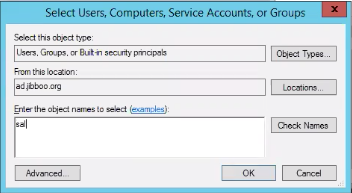
To add a user, click Edit and Add.
-
Add the user account and click OK.
-
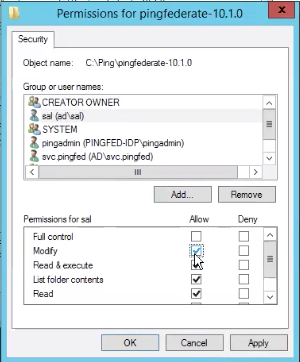
From the user account Permissions section, select the Modify checkbox.
-
To save your changes, click Apply.
Assigning the log on as a service policy to the new user
About this task
Perform these steps on each PingFederate node.
Steps
-
On your Windows machine, open the Local Security Policy menu. You can search for "local security policy" from the Windows Start menu.
-
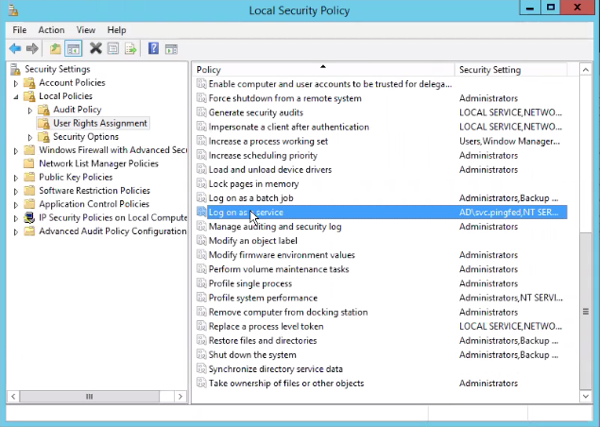
From the Local Security Policy window, go to Local Policies > User Rights Assignment > Log on as a service.
-
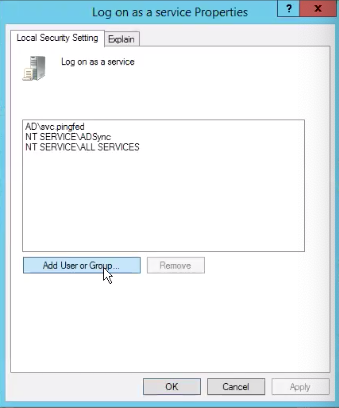
In the Log on as a service Properties window, click Add User or Group….
-
Add the user information as needed.
-
Click Apply, and then click OK.
Editing the sign-on tab for the PingFederate service
About this task
Perform these steps on each PingFederate node.
Steps
-
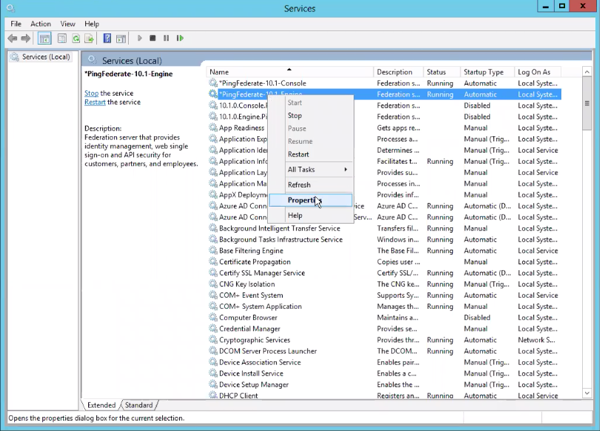
On your Windows machine, open the Services menu.
-
Right-click the PingFederate service that is running on your machine and select Properties.
-
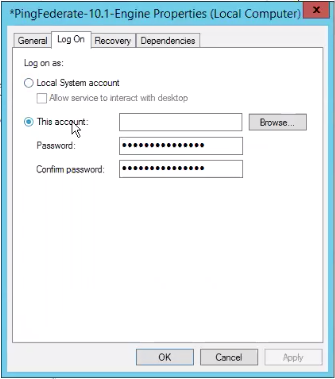
On the Log On tab, click This account.
-
In the This account field, enter the entire UPN name of the account, such as
svc.pingfed@<your-domain>. -
Enter a password for the account.
-
To save your changes, click Apply, and then click OK.
-
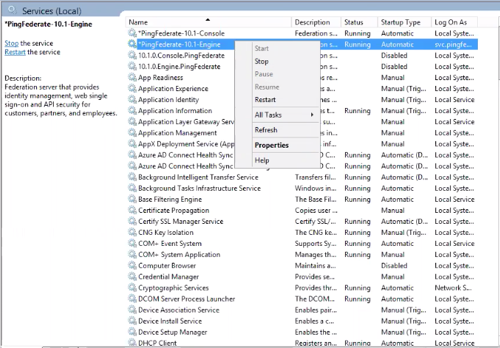
To restart the service, right-click the PingFederate service and select Restart.
Deploying the required JDBC driver files and DLLs
About this task
Perform these steps on each PingFederate node.
Steps
-
Go to .microsoft.com/en-us/sql/connect/jdbc/release-notes-for-the-jdbc-driver?view=sql-server-ver15//[Microsoft release notes] and download the correct
.zipfile for your Java version.Package 6.4 is known to work properly.
-
Extract the files and find the
.jarfile that corresponds to your Java version. -
Place the
.jarfile in<pf_install>/pingfederate/server/default/lib -
In the
authfolder of your JDBC driver download folder, find the appropriate folder for your Java virtual machine (JVM) version (x32 or x64-based), and copy the DLL file to your/windows/system32folder. -
Restart the PingFederate service.
Creating the JDBC datastore connection in PingFederate
Steps
-
From the PingFederate administrative console, go to System > Data Stores and click Add New Data Store.
-
On the Data Store Type tab, in the Name field, enter a name.
-
In the Type list, select Database (JDBC). Click Next.
-
On the Database Config tab, in the JDBC URL field enter
jdbc:sqlserver://<databaseservername>;<databaseName=databasename>;integratedSecurity=true. -
Click Add.
Use the fully qualified domain name for your server. Port
1433is the default port for SQL server. If you are using port1433, then you can omit it from the JDBC URL. For any non-standard ports, specify them in the URL.integratedSecurity=truemakes the connection use Windows authentication. Without that, it attempts SQL authentication. -
In the Driver Class field, enter
com.microsoft.sqlserver.jdbc.SQLServerDriver. -
Complete the Username and Password fields with the same service account credentials from step 1.
-
In the Validate Connection SQL field, enter
SELECT getdate().SELECT getdate()is used to re-establish the JDBC connection if it gets disconnected. -
Click Next, and then click Save.
-
Replicate the cluster configuration.
Testing the newly created external datastore
Steps
-
Follow the steps in Configure external databases for grant storage.
-
Issue a grant in PingFederate.
If you do not have an OAuth client application readily available, you can use the OAuth Playground authorization code flow to obtain a code and exchange it for an access and refresh token.
-
Work with the database administrator (if necessary) to view the tables in the database that were created by the script.
Result:
You should see an entry for the newly issued grant.