Threat detection with PingOne Protect journey
The Ping Identity Marketplace includes a prebuilt authentication journey with threat detection to protect against threats such as fraudulent sign-on attempts.
The journey is intended as a template. Review and adapt it to meet your organization’s specific security policies and business requirements before deploying to a production environment.
| Journey name | Version | Download |
|---|---|---|
Authentication Journey with Threat Detection |
2.0 |
This guide details the prerequisites and configuration steps to implement this solution in your Advanced Identity Cloud tenant.
Learn more about Threat detection using PingOne Protect.
About the threat detection journey
This solution uses a parent journey and inner journeys to evaluate the risk level of a user’s sign-on attempt.
Example use case
A company needs to identify and prevent fraudulent authentication when an end user attempts to sign on from an unusual geographical location. The goal is to reduce fraud while ensuring a frictionless experience for legitimate users.
With the Advanced Identity Cloud authentication with threat detection journey, the user’s geographical location is evaluated as part of a real-time threat detection process. If a user attempts to sign on from a location that exceeds a defined radius from the user’s expected location, it’s considered medium or high risk, depending on the extent of the deviation. The user is either prompted to step up with multi-factor authentication (MFA) or is denied access. If authentication is blocked or requires further verification, the user is notified by email or SMS to confirm that the attempt was legitimate.
Journey components
The threat detection journey includes one parent journey and seven inner journeys that work together to handle the authentication and threat detection flow.
| Journey | Description | Configuration required? | ||
|---|---|---|---|---|
Threat Detection Journey with PingOne Protect (parent journey) |
Orchestrates the overall flow. It initializes variables, presents the sign-on page, calls the appropriate inner journeys, and records the final outcome for machine learning.
|
Yes |
||
Threat Detection - Inner Journey |
Uses the PingOne Protect nodes to initialize the SDK, capture user behavior signals, and evaluate risk. |
Yes |
||
MFA Device Registration - Inner Journey |
Manages the flow for registering a new MFA device, if required. |
Yes |
||
MFA Authentication - Inner Journey |
Handles the MFA challenge when a user needs to step up their authentication. |
Yes |
||
OATH Registration - Inner Journey |
Sets the registration flow for OATH-based MFA. |
No |
||
Push MFA Method Registration - Inner Journey |
Sets the registration flow for push-based MFA. |
No |
||
WebAuthn MFA Method Registration - Inner Journey |
Sets the registration flow for WebAuthn-based MFA. |
No |
||
Combined OATH And PUSH MFA Methods Registration - Inner Journey |
Sets the registration flow for OATH and push MFA. |
No |
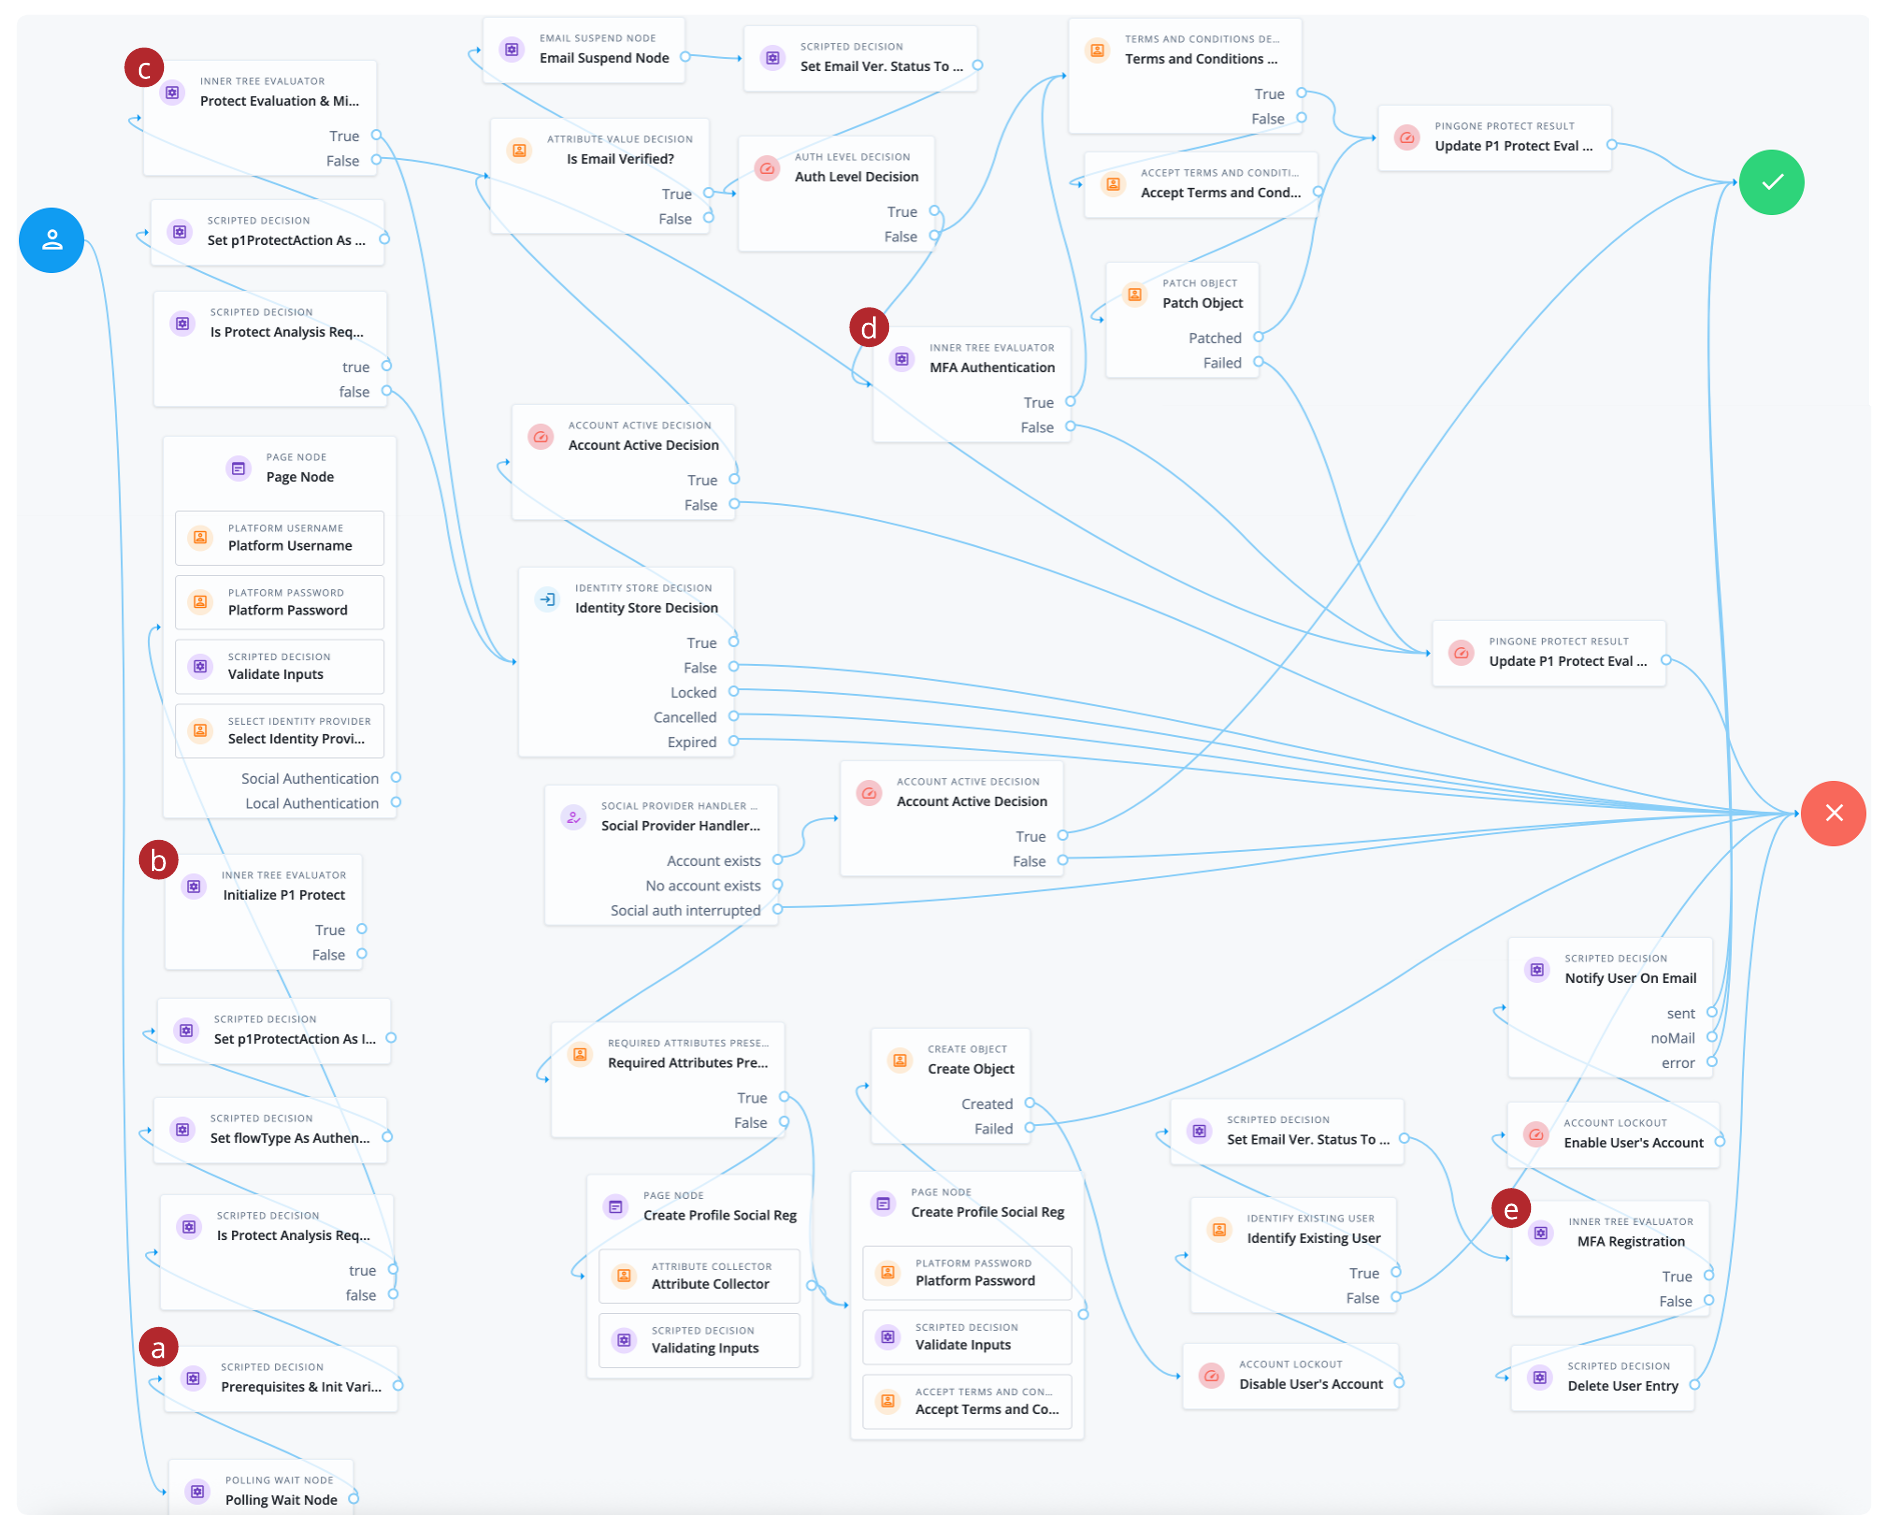
Show the Threat Detection Journey with PingOne Protect (parent journey)
-
a A Scripted Decision node containing the initialize variables used in the authentication flow.
-
b The first call to the PingOne Protect Threat Detection - Inner Journey
-
c The second call to the PingOne Protect Threat Detection - Inner Journey for risk evaluation
-
d A call to the MFA Authentication - Inner Journey
-
e A call to the MFA Device Registration - Inner Journey
Task 1: Prepare your tenant environment
First, ensure you have the necessary prerequisites, then perform the required setup tasks in your tenant environment.
Before you begin
To implement the sample threat detection journey, you must have:
-
Tenant administrator access to your Advanced Identity Cloud development environment.
-
PingOne Protect enabled in your PingOne environment. Learn more in Getting started with PingOne Protect.
-
PingOne Protect integrated with Advanced Identity Cloud. Learn more in Integrate with PingOne Protect for risk evaluations.
-
Your PingOne Worker Service ID. This is required to connect to your PingOne instance and send it the necessary data to make risk evaluations. Learn more in Create a worker application in PingOne.
-
For MFA:
-
An SMTP email server. Required for email-based MFA.
-
If you’re using Twilio for phone-based MFA, a Twilio account with access to Twilio Verify.
-
-
Social authentication configured in your Advanced Identity Cloud environment. Learn more in Social authentication.
The sample journey uses Google and Facebook for social sign-on, but you can configure and enable any of the supported social identity providers. You can also disable social sign-on if you don’t need it in your authentication flow. -
A basic understanding of journeys and the Scripted Decision node.
Setup tasks
To get the journey working, you’ll first need to perform some setup tasks in your Advanced Identity Cloud tenant environment.
Add custom attributes to the alpha_user managed object
Several additional user attributes are required by the threat detection user journey. These attributes store information about the user’s verified email, geographical location, operating system (OS), and MFA devices.
Add the following custom attributes to the alpha_user managed object.
Learn more in Customize user identities using custom attributes.
| Name | Label | Type | Description |
|---|---|---|---|
|
|
String |
Confirms the user has verified their email address. |
|
|
String |
The city from which the user attempts to authenticate. This attribute is used in the |
|
|
String |
The state from which the user attempts to authenticate. This attribute is used in the |
|
|
String |
The OS of the device from which the user attempts to authenticate. |
|
|
Array |
Sets, fetches, and displays the user’s registered MFA devices. |
|
|
String |
The most recent MFA device registered by the user, used in the |
(Optional) Set an ESV variable for PingOne Protect analysis
The Prerequisites & Init Variables node in the parent journey contains a script that uses the protectAnalysisRequired variable to determine if PingOne Protect analysis is enabled. By default, this variable is set to true within the script.
To override this variable and control how PingOne Protect analysis is performed in different environments, you can set an Environment Secret & Variable (ESV) variable.
-
In the Advanced Identity Cloud admin console, go to Tenant Settings > Global Settings > Environment Secrets & Variables.
-
Click the Variables tab.
-
Click + Add Variable.
-
In the Add a Variable modal, enter the following information:
Name
p1-protect-analysis-requiredType
stringDescription (optional)
PingOne Protect analysis requiredValue
true -
Click Save to create the variable.
-
Restart Advanced Identity Cloud services by applying updates in the Advanced Identity Cloud admin console.
Create the email templates
You’ll need to create the following email templates, which are used by Scripted Decision nodes to send emails at various points in the threat detection journey.
| Email template | Description | Example email body |
|---|---|---|
accountDisabled |
Email sent when PingOne Protect detects critical risk associated with the account. |
Show example |
deviceRegistration |
Email sent when the user registers a new MFA device. |
Show example |
suspiciousActivity |
Email sent when PingOne Protect detects some risk associated with the account. |
Show example |
welcome |
Email sent when a new user account is created. |
Show example |
otp |
Email containing the user’s one-time passcode (OTP). |
Show example |
Lean more about creating email templates in Email templates.
Create a logger library script for OTP
If you’re using OTP emails in your journey flow, you must create a library script. This script creates a logger, which is needed for OTP functionality to track and debug the process of sending OTP emails.
-
In the Advanced Identity Cloud admin console, go to Scripts > Auth Scripts, then click + New Script.
-
Select Other > Library and click Next.
-
Enter a script name and description, and paste the following script into the JavaScript field:
function XLogger(env) { this.logger = env.logger; this.scriptName = env.scriptName; this.logPrefix = "***" + env.scriptName + ": "; this.debug("logger initialised"); } XLogger.prototype.debug = function (message) { this.logger.debug(this.logPrefix.concat(message)); }; XLogger.prototype.warn = function (message) { this.logger.warn(this.logPrefix.concat(message)); }; XLogger.prototype.error = function (message) { this.logger.error(this.logPrefix.concat(message)); }; module.exports.XLogger = XLogger; -
Click Save to save the script.
Task 2: Download and import the journey
Download the journey
-
Go to Authentication Journey with Threat Detection on the Ping Identity marketplace.
-
Click Download Integration to download a file called
Authentication Journey with Threat Detection.json. This JSON file contains the parent journey and inner journeys, scripts, and email templates required for the authentication flow.
Import the journey
-
In the Advanced Identity Cloud admin console, go to Journeys, and click Import.
-
Click either Download Backup or Skip Backup. Learn more in Import journeys.
-
On the Import Journeys page, browse to and select
Authentication Journey with Threat Detection.json. -
Select
Alpha realm usersbecause the journey is configured for the alpha realm. -
In the Conflict Resolution section, choose how the system resolves import conflicts:
-
Overwrite all conflicts (default)
-
Manually pick conflict resolution
-
-
Click Next.
-
Click Start Import.
-
On the Import Complete page, click Done.
-
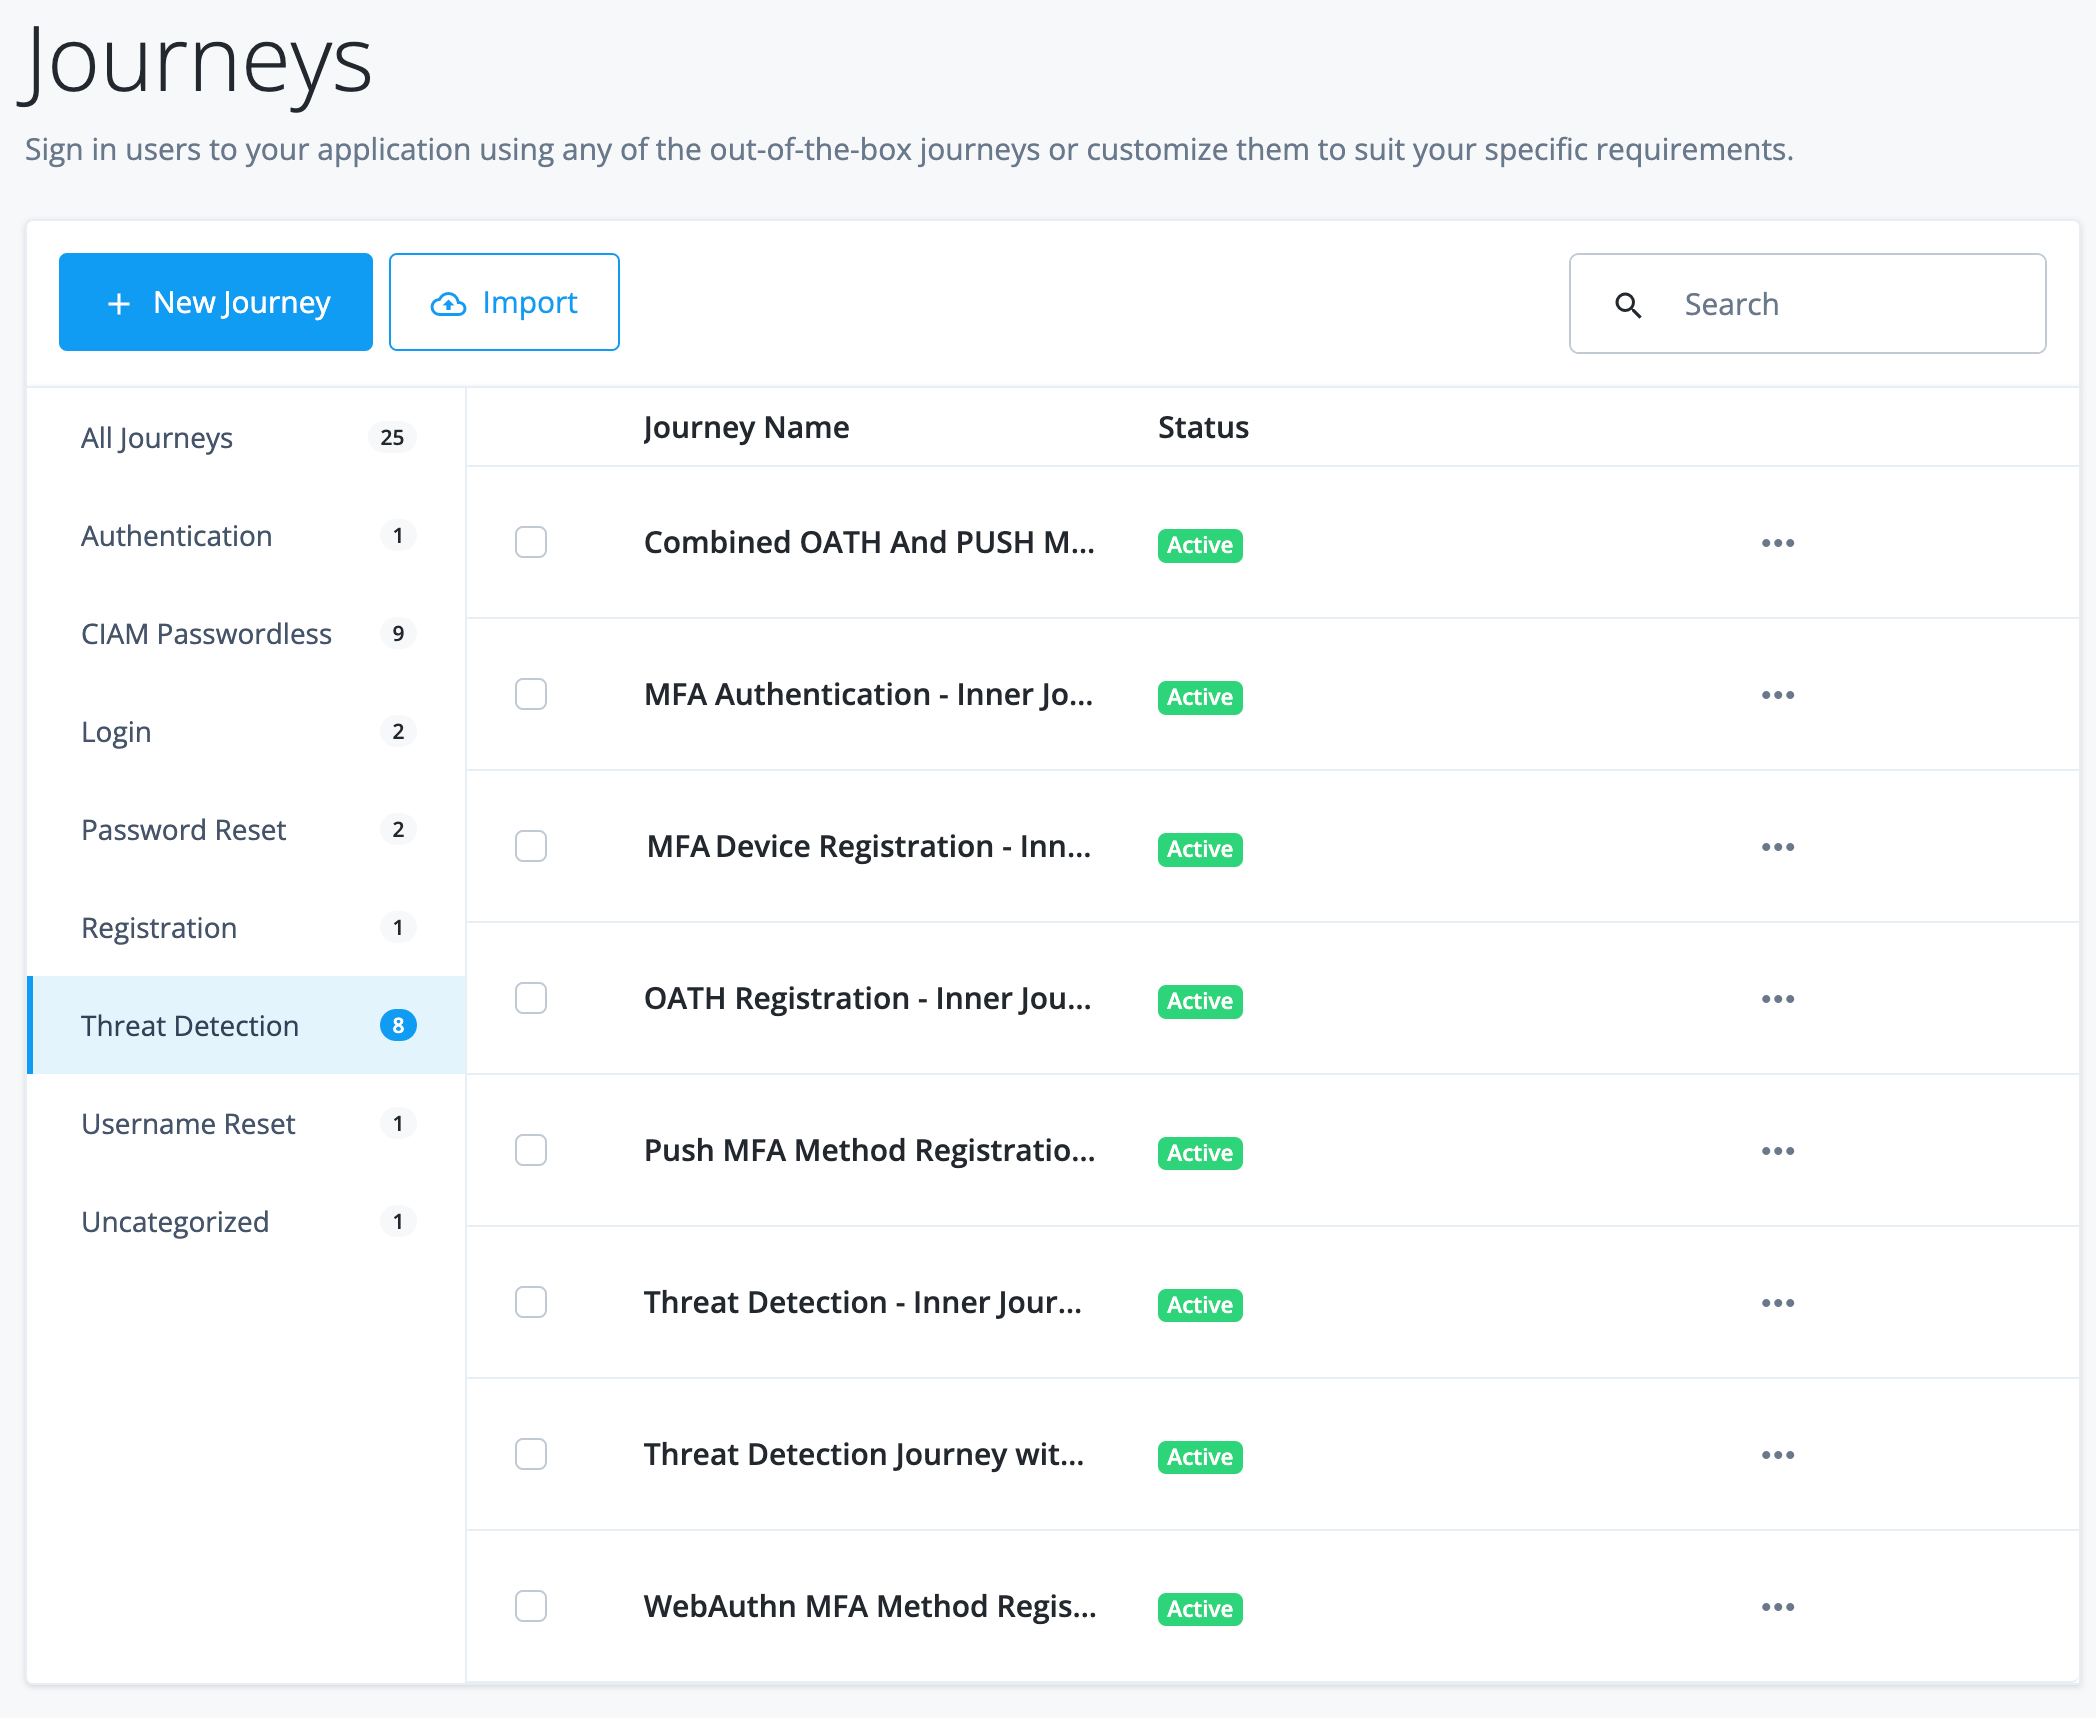
On the left panel of the Journeys page, click
Threat Detection (8)to view the threat detection journeys and inner journeys.
Task 3: Configure the journey components
Configure the Threat Detection Journey with PingOne Protect (parent journey)
-
On the Journeys page, click
Threat Detection Journey with PingOne Protectand click Edit. -
In the journey editor, configure the journey as follows:
-
If you have configured social identity providers other than Google and Facebook, enable social identity providers.
-
Click Save.
| To save your progress, periodically click Save in the top right of the journey editor. Failure to do this results in losing your work if the page reloads or if you lose your network connection. |
Review and set the initialize variables
The Threat Detection Journey with PingOne Protect includes a Scripted Decision node containing the initialize variables used later in the authentication flow. This script lets you:
-
Set the allowed MFA types:
FIDO2,OATH,PUSH,EMAIL,SMS,VOICE. -
Enable or disable PingOne Protect analysis.
-
Enable or disable magic link.
To review and set the initial variables:
-
Click the Prerequisites & Init Variables node.
-
In the Script field, click the Pencil icon () to open the
Threat Detection - Initialize Variablesscript. -
Review the script and make changes if needed.
-
Click Save and Close.
| You don’t need to update the values in the Script Outputs field of the Prerequisites & Init Variables node. |
Enable social identity providers
-
Click the Page node and then click the Select Identity Provider node.
-
In the Filter Enabled Providers field, add or remove the social identity providers as needed. Only the social identity providers listed here will be presented to the end user when signing on.
The social provider names must exactly match the names in your social authentication configuration, including the case. -
Click Save.
Configure the Threat Detection - Inner Journey
-
On the Journeys page click
Threat Detection - Inner Journeyand click Edit. -
In the journey editor, configure the journey as follows:
-
Click the PingOne Protect Initialize node.
-
In the PingOne Worker Service ID field, select the ID of the PingOne worker service for connecting to PingOne. Learn more in PingOne Protect Initialize node.
-
Click the Auth: PingOne Protect Evaluation node and enter the following:
-
PingOne Worker Service ID: Select the ID of the PingOne worker service for connecting to PingOne.
-
(Optional) Risk Policy Set ID: Enter the ID of the risk policy in PingOne. Learn more in PingOne Protect Evaluation node
-
-
Click the Reg: PingOne Protect Evaluation node and enter the following:
-
PingOne Worker Service ID: Enter the ID of the PingOne worker service for connecting to PingOne.
-
(Optional) Risk Policy Set ID: Enter the ID of the risk policy in PingOne. Learn more in PingOne Protect Result node.
-
-
-
Click Save.
Configure the MFA Device Registration - Inner Journey
This configuration is required if SMS or VOICE are opted in the allowedMFATypes array in the Threat Detection - Initialize Variables script in the Prerequisites & Init Variables node in the parent journey.
-
On the Journeys page, click
MFA Device Registration - Inner Journeyand click Edit. -
In the journey editor, update the required fields in the following nodes:
-
Click Save.
Configure the MFA Authentication - Inner Journey
This configuration is required if EMAIL, SMS, or VOICE are opted in the allowedMFATypes array in the Threat Detection - Initialize Variables script in the Prerequisites & Init Variables node in the parent journey.
-
On the Journeys page, click
MFA Authentication - Inner Journeyand click Edit. -
In the journey editor, update the required fields in the following nodes:
-
Click Save.
Task 4: Validate the journey
There are various paths the end user might go down, depending on the PingOne Protect risk evaluation and the MFA methods configured in the journey. For example, a user identified as low risk can sign on without MFA. However, for medium or high-risk sign-on attempts, the journey prompts the user to choose an MFA method, which could involve registering a new device. If a user signing on for the first time is identified as high risk, the registration attempt is blocked.
Before validating the journey, make sure you have a test user in the alpha realm.
To authenticate using an OTP, the user must have a registered authenticator app.
Test a medium-risk sign-on
These steps demonstrate a sign-on attempt by an end user identified as medium risk.
-
In the Advanced Identity Cloud admin console, go to Journeys and click Threat Detection Journey with PingOne Protect`.
-
In the Preview URL field, click and paste the URL into an incognito window.
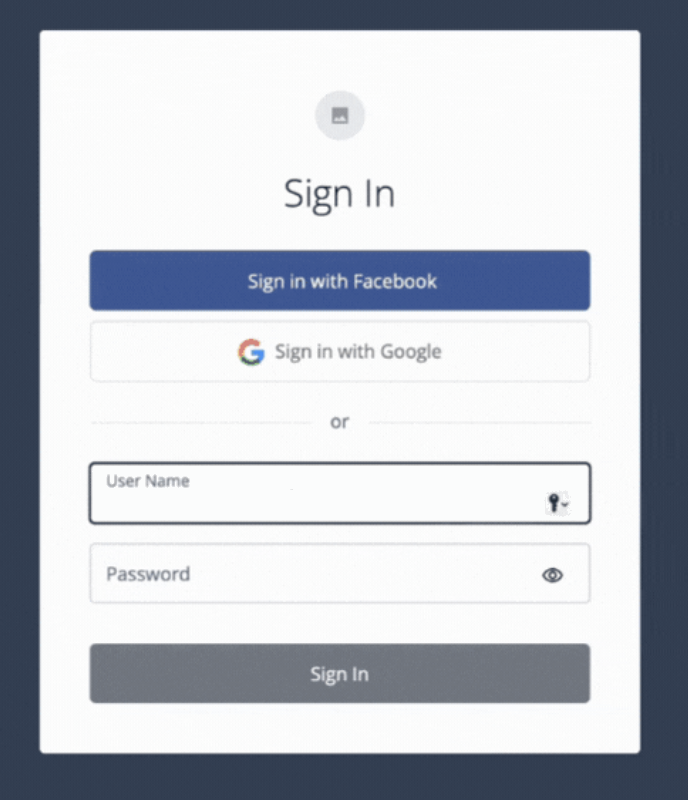
The hosted pages displays the Sign In screen.
-
Enter the test user’s username and password and click Next.
A page displays prompting the user to select their preferred authentication method for MFA.
-
Select
OATHand click Next.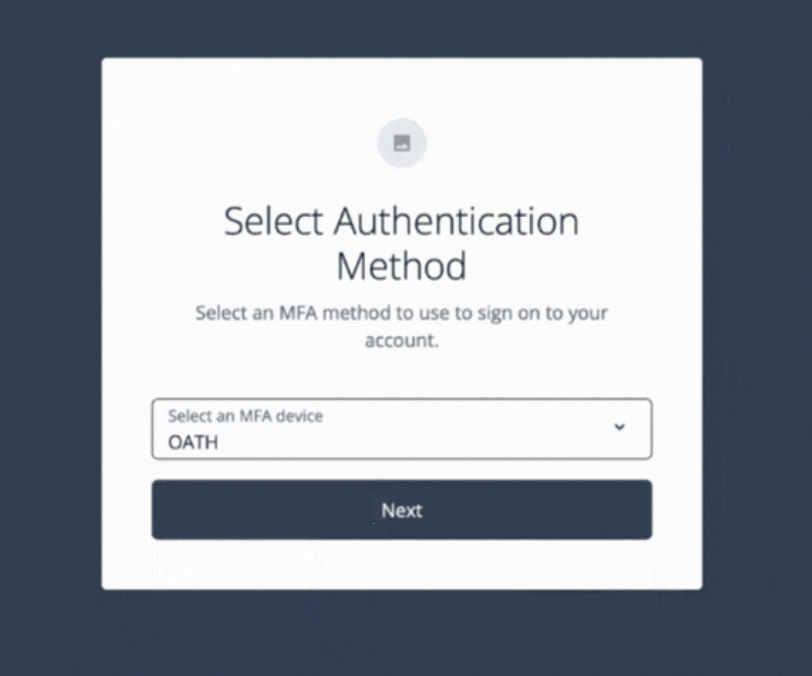
-
Enter the OTP from the test user’s app, and click Submit
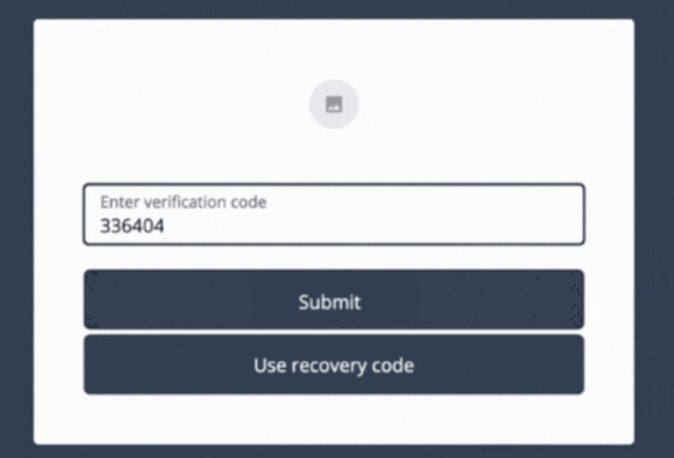
You are signed on to the hosted account pages as the test user.
Best practices
This sample journey provides a strong foundation for threat detection. When preparing to use it in a production environment, consider the following best practices:
-
Treat as a template: Remember that this is a sample journey. Always adapt and harden it to meet your specific security policies and business requirements before deploying to production.
-
Use Environment Secrets & Variables (ESVs): Avoid hardcoding sensitive information like API keys and IDs directly in your journey scripts. Use ESVs to manage these values securely.
-
Test extensively: Validate all possible user paths, including low, medium, and high-risk scenarios, as different MFA registration and authentication flows. Ensure the user experience is smooth and the security responses are correct for each case.
-
Review PingOne Protect policies: Fine-tune your risk policies in PingOne Protect to align with your organization’s risk tolerance.