Configuring Axway API Manager for PingIntelligence Dashboard
The PingIntelligence Dashboard pulls the API definition from Axway API Manager and converts it to a JavaScript Object Notation (JSON) format compatible with ASE.
About this task
The Dashboard needs certain tags to be configured in Axway API Manager for it to import the normal and decoy API definitions.
To configure tags in Axway API Manager and tags for the decoy API:
-
API Manager
-
Decoy APIs
Configuring tags in API Manager
About this task
Tags are a medium to let ASE know which APIs from the API ecosystem need to be processed for monitoring and attack detection. Tags are also required for cookie and login Uniform Resource Locator (URL) parameters to be captured by the PingIntelligence Dashboard for adding to the ASE API JSON definition.
To tag APIs for artificial intelligence (AI) processing:
Steps
-
Configure the
ping_aitag for all the APIs for which you want the traffic to be processed using the AI engine.For example, if you have 10 APIs in your ecosystem and you want only traffic for 5 APIs to be processed using the AI engine, then apply the
ping_aitag on those 5 APIs.-
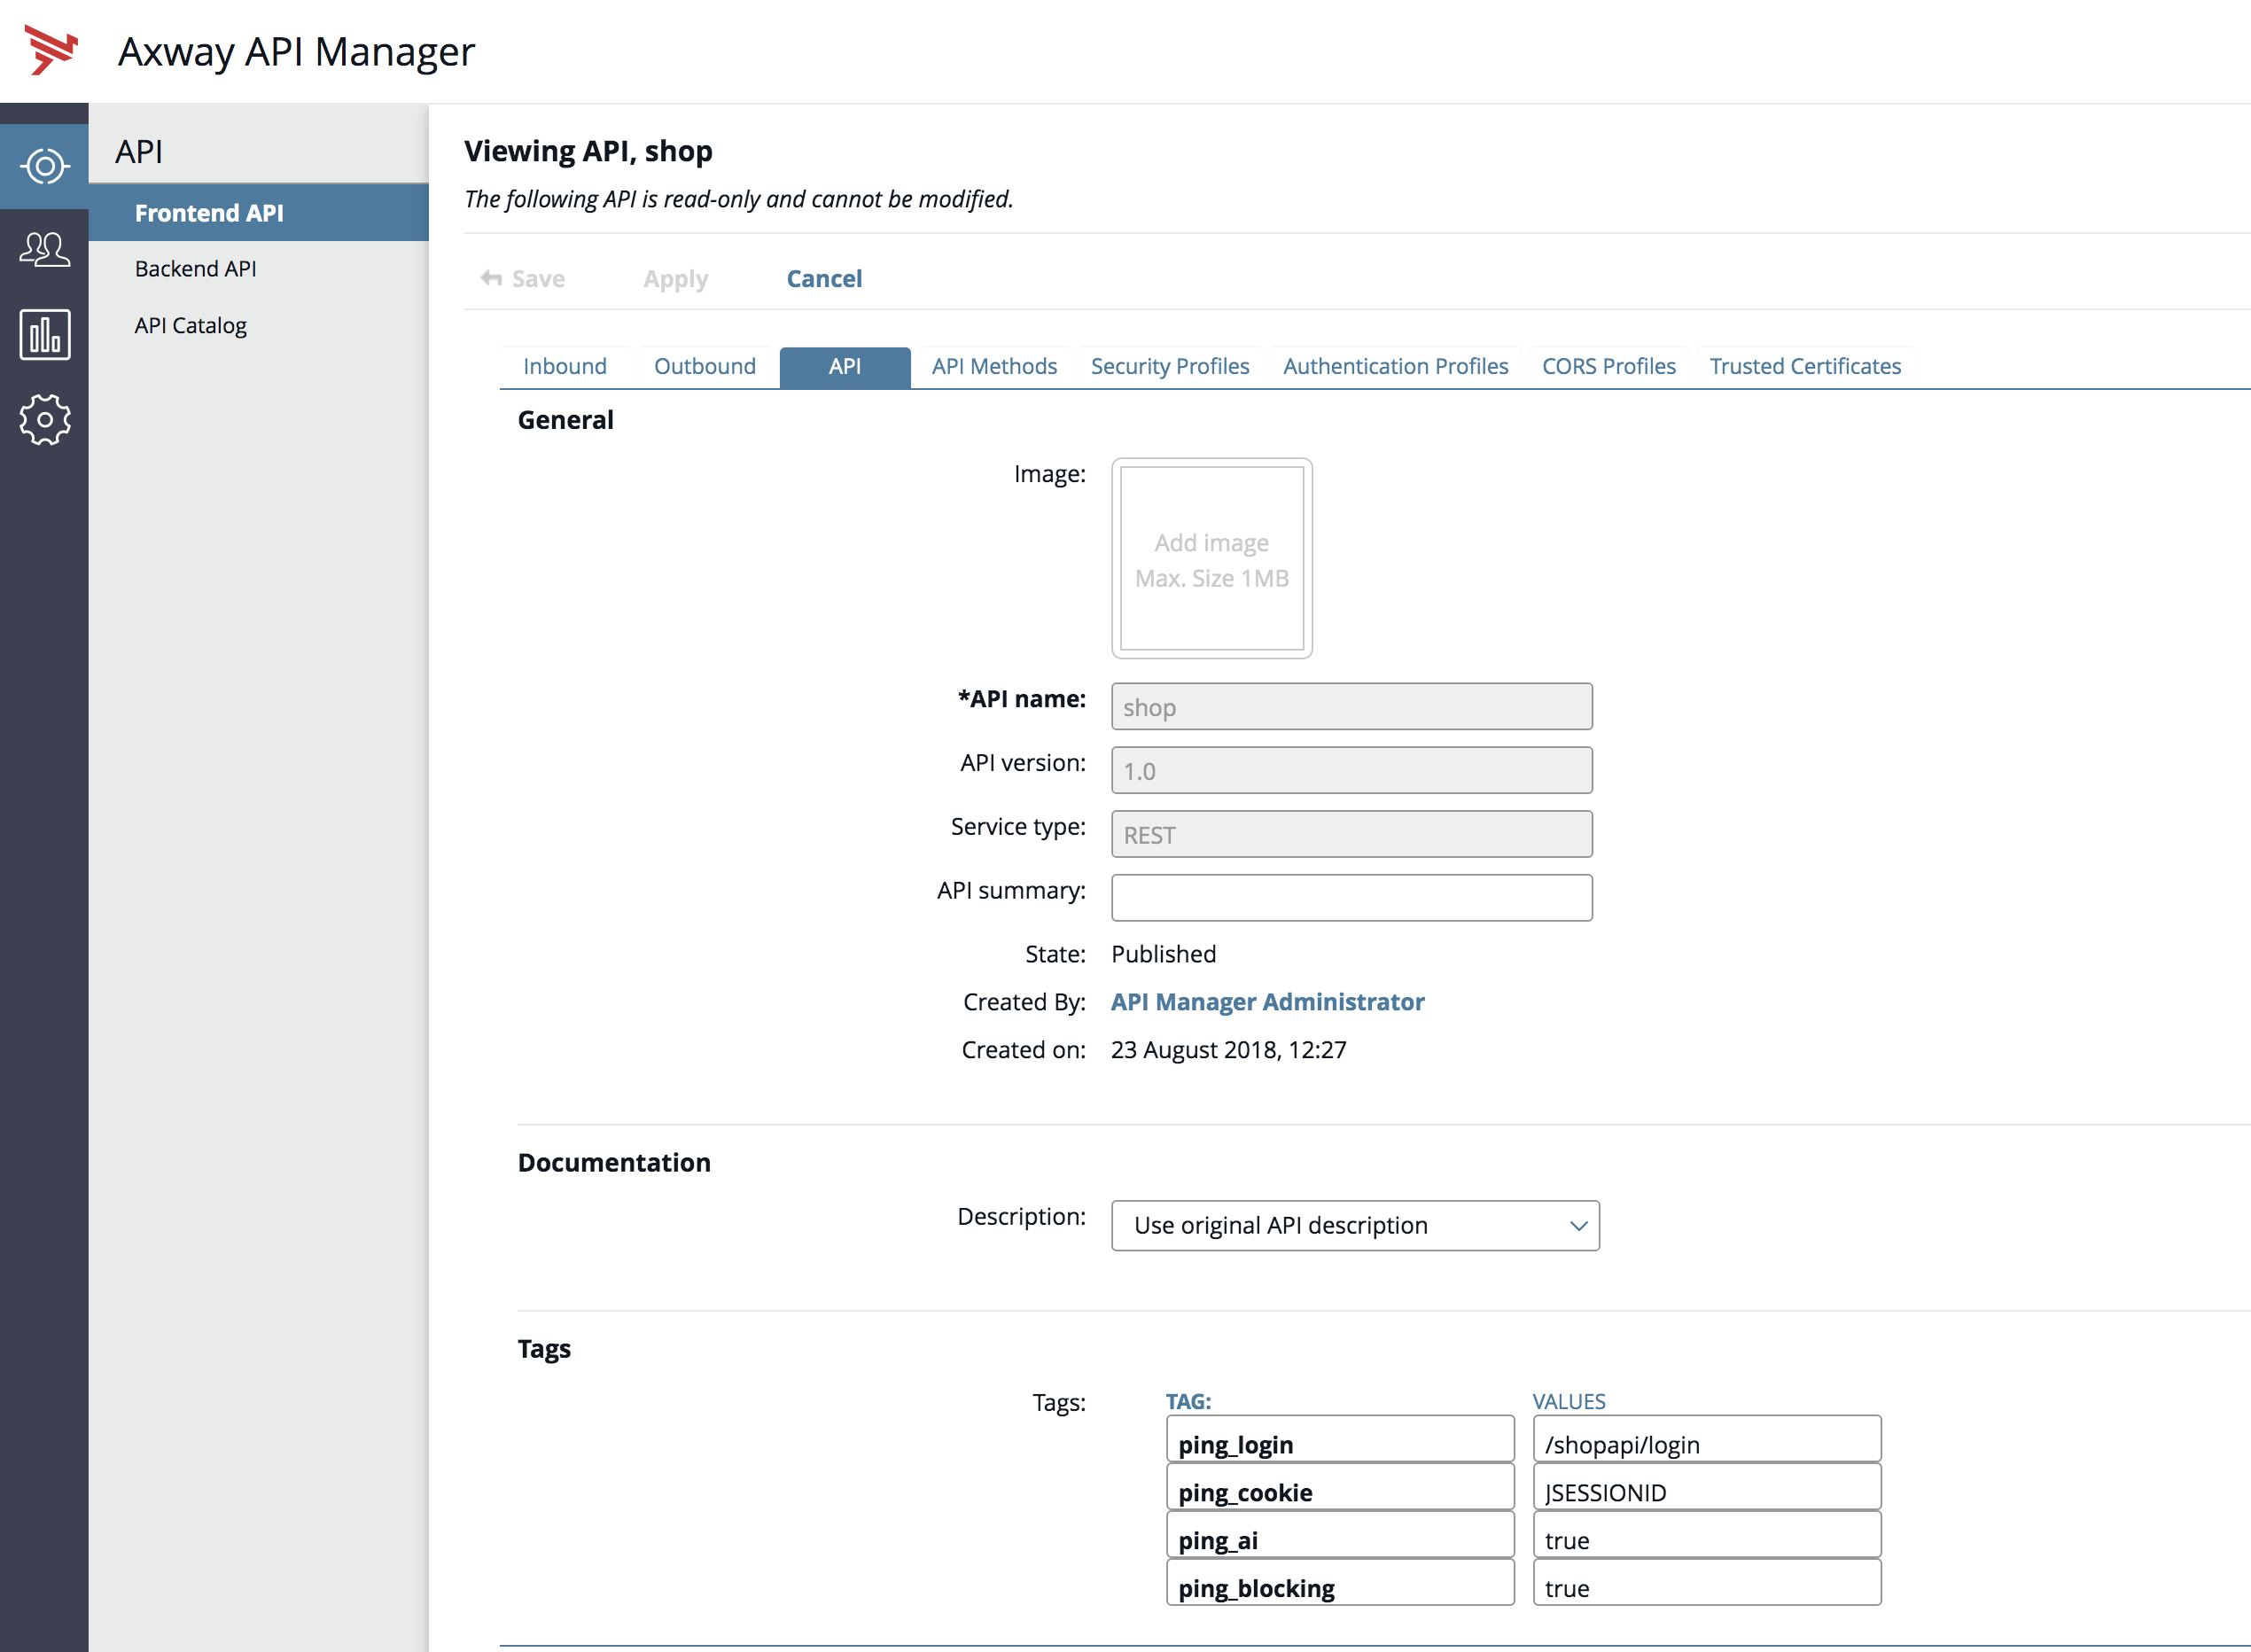
In the Axway API Manager, click Frontend API → API tab. In the API tab, navigate to the Tags section and add the following tag and value:
-
ping_ai– Set it totrueif you want the traffic for API to be processed by PingIntelligence -
ping_blocking– This parameter defines whetherenable_blockingin the ASE API JSON is set totrueorfalsewhen the PingIntelligence Dashboard fetches the API definition from Axway. The default value istrue. If you want to disable blocking in ASE, set it tofalse.
-
-
-
If your APIs use a cookie or login URL, then configure the following two tags and values for a cookie and login URL.
-
In the Axway API Manager, go to Frontend API → API tab. In the API tab, navigate to Tags section and add the following tag and value:
-
ping_cookie– JSESSIONID -
ping_login– yourAPI/loginIf the API has API Key or OAuth2 token configured, the PingIntelligence Dashboard automatically learns it and adds it to the API JSON definition. You do not need to configure any tags for API Key and OAuth2 token.
-
-
Configuring tags for decoy APIs
About this task
You can configure decoy APIs in Axway API Manager. A decoy API is an API for which the traffic does not reach the backend API servers. The decoy API is deployed to gather information about potential threats that your API ecosystem may face. Traffic directed to a decoy API configured in Axway API Gateway is redirected to ASE, which functions as the backend server. ASE sends a preconfigured response, such as 200 OK, for requests sent to a decoy API.
You need to configure the following TAGS and VALUES in the API tab for ** in Axway API Manager:
Steps
-
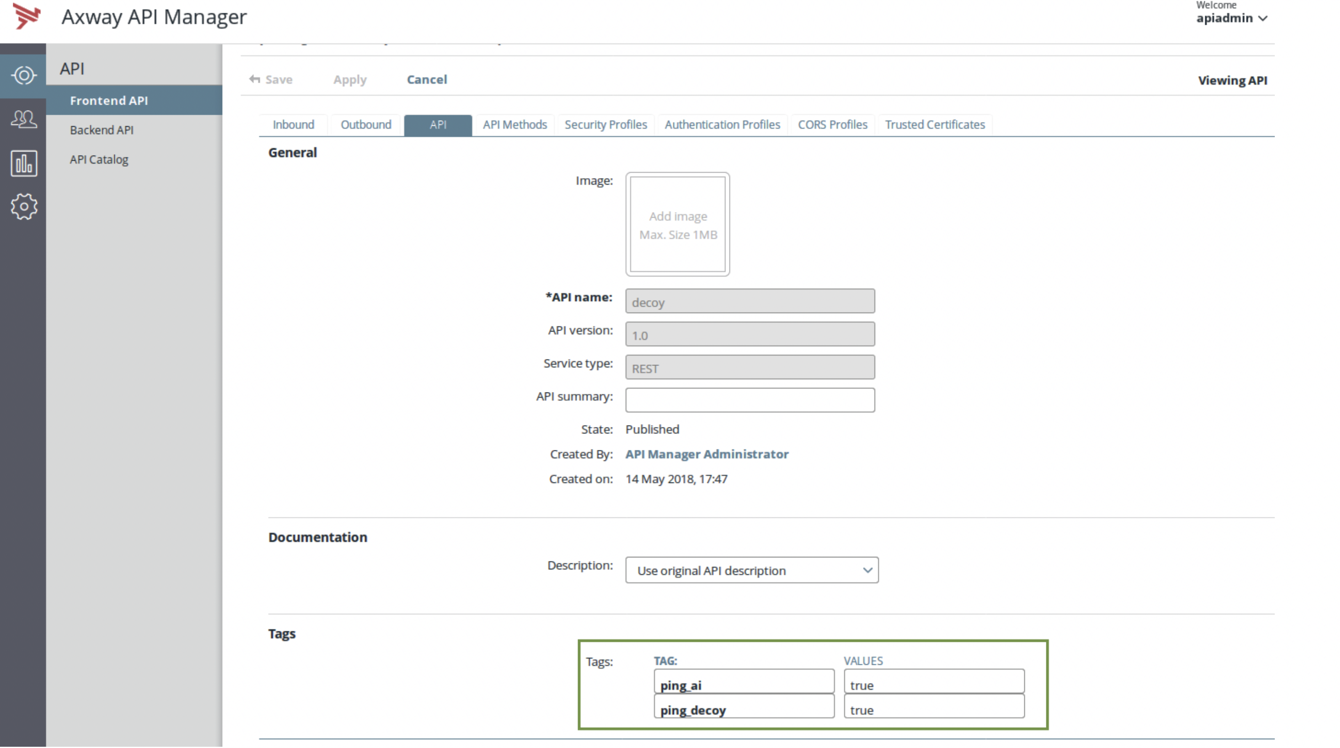
In Axway API Manager, go to Frontend API → API tab.
-
Configure the following tags and values:
ping_ai – true
ping_decoy – true
Example:
The converted API JSON will have the decoy section configured as highlighted in the following JSON file:
{
    "api_metadata": {
         "protocol": "https", "url": "/decoy", "hostname": "*",
        "cookie": "",
        "cookie_idle_timeout": "",
        "logout_api_enabled": false,
        "cookie_persistence_enabled": false,
        "oauth2_access_token": false,
        "apikey_qs": "",
        "apikey_header": "",
        "enable_blocking": true,
        "login_url": "",
        "api_mapping": {
            "internal_url": ""
        },
        "api_pattern_enforcement": {
            "protocol_allowed": "",
            "http_redirect": {
                "response_code": "",
                "response_def": "",
                "https_url": ""
            },
            "methods_allowed": [],
            "content_type_allowed": "",
            "error_code": "",
            "error_def": "",
            "error_message_body": ""
        },
        "flow_control": {
            "client_spike_threshold": "0/second",
            "server_connection_queueing": false
        },
        "api_memory_size": "64mb",
        "health_check": false,
        "health_check_interval": 60,
        "health_retry_count": 4,
        "health_url": "/",
        "server_ssl": false
        "servers": [],
         "decoy_config": \{ "decoy_enabled":true, "response_code": 200, "response_def": "OK", "response_message": "OK", "decoy_subpaths": []
        }
    }
}
Configuring Axway XFF policies for decoy APIs
PingIntelligence provides an X-Forwarded-For (XFF) policy for your decoy APIs.
About this task
The XFF policy adds an X-Forwarded-For to the backend only if it is not present in the original incoming request. If the X-Forwarded-For header is already present in the incoming request, the policy takes no action
Steps
-
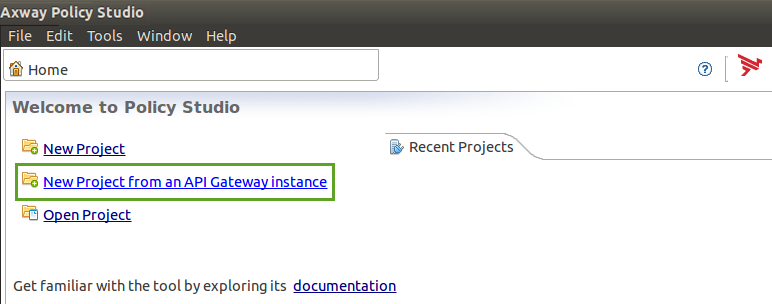
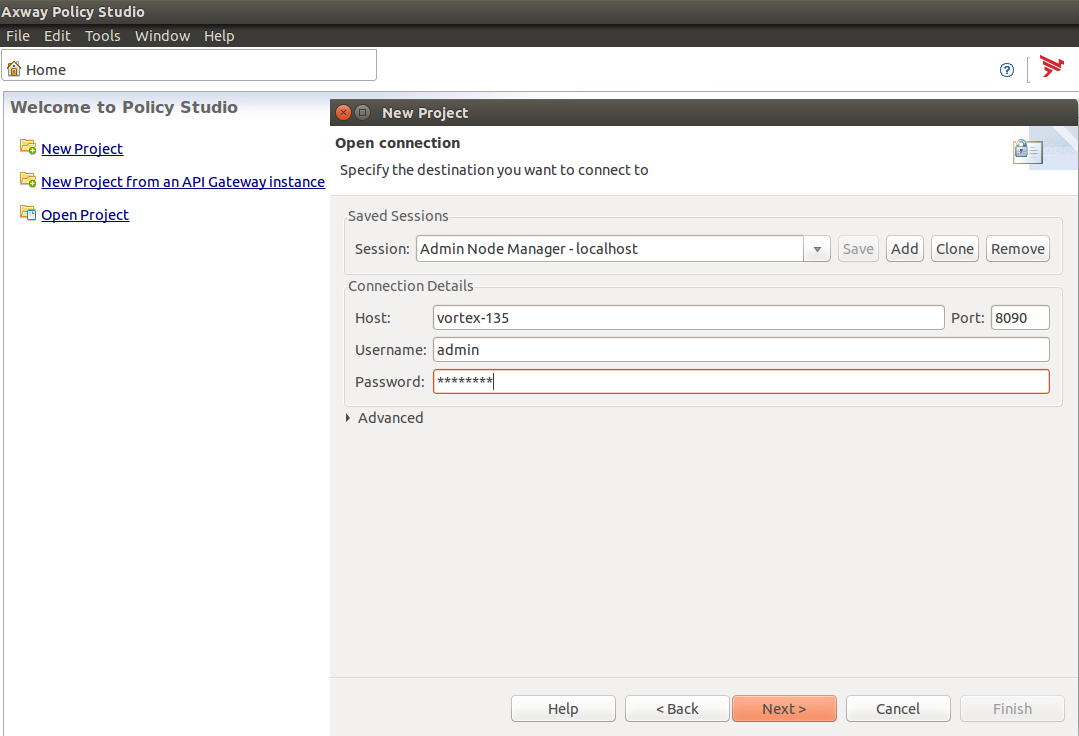
Launch Axway Policy Studio and click New Project from an API Gateway instance.
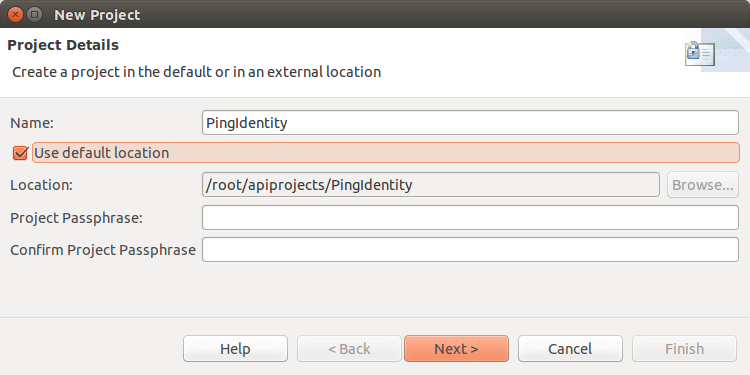
-
In the New Project pop-up window, enter the details and click Next >.
-
Enter Host details, Username, and Password of the API Gateway to connect, and click Next >.
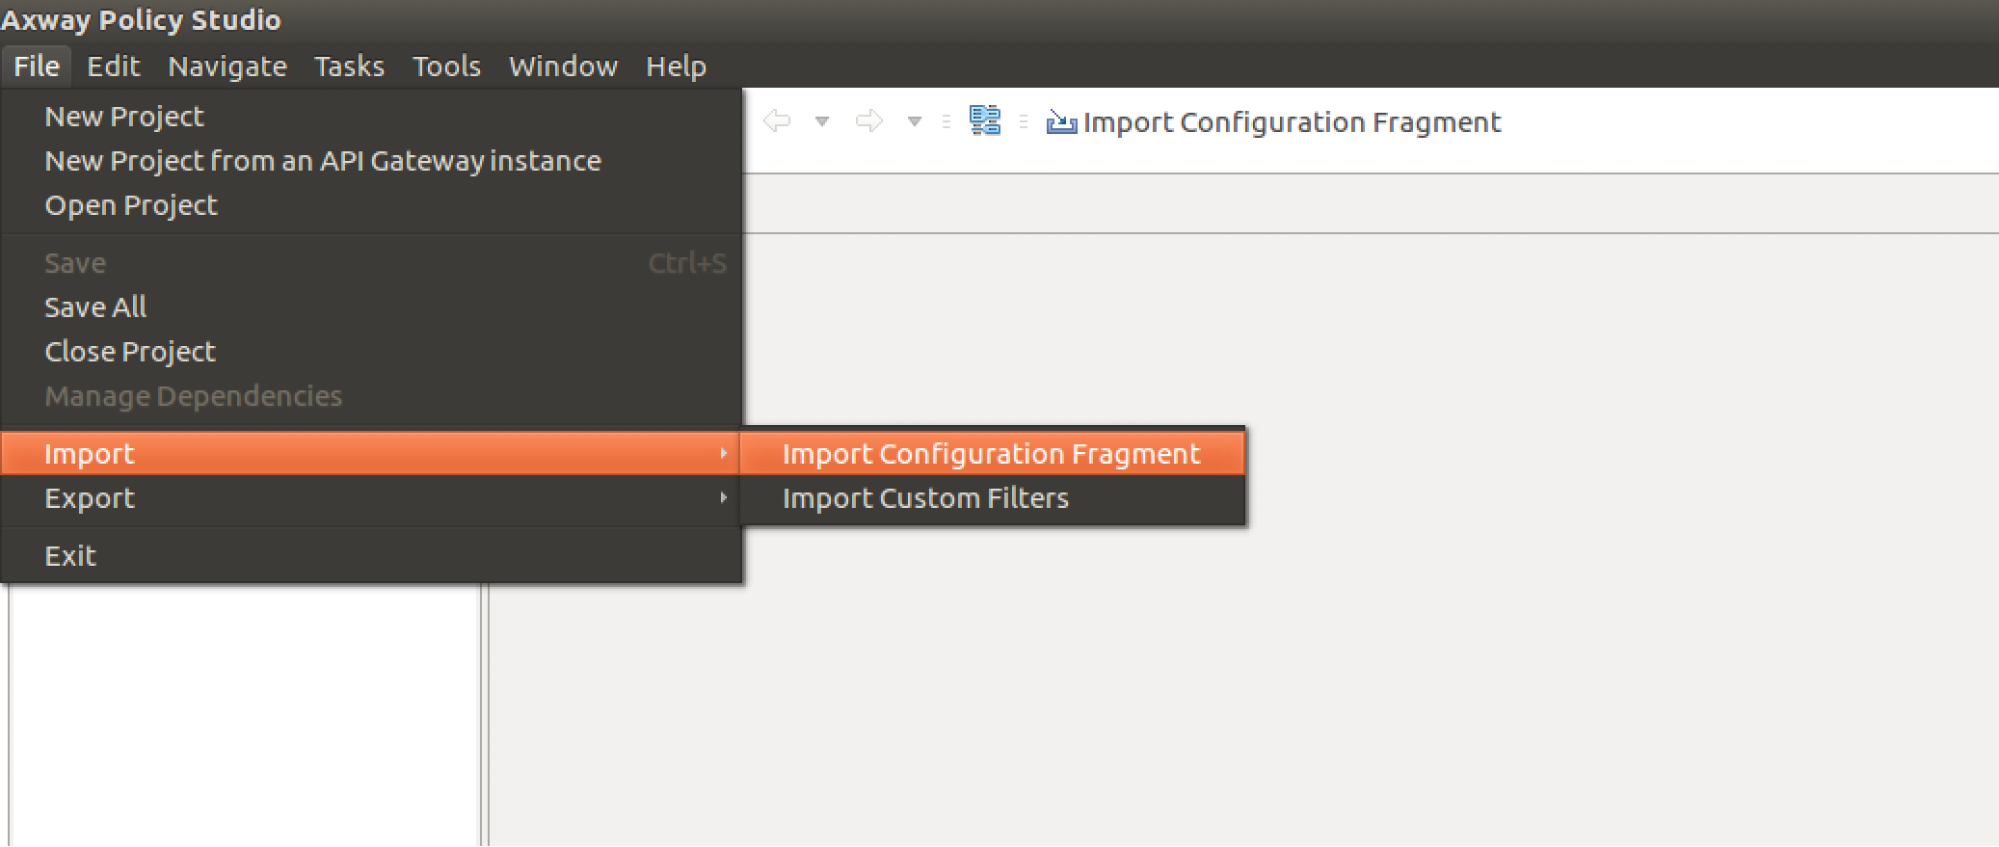
-
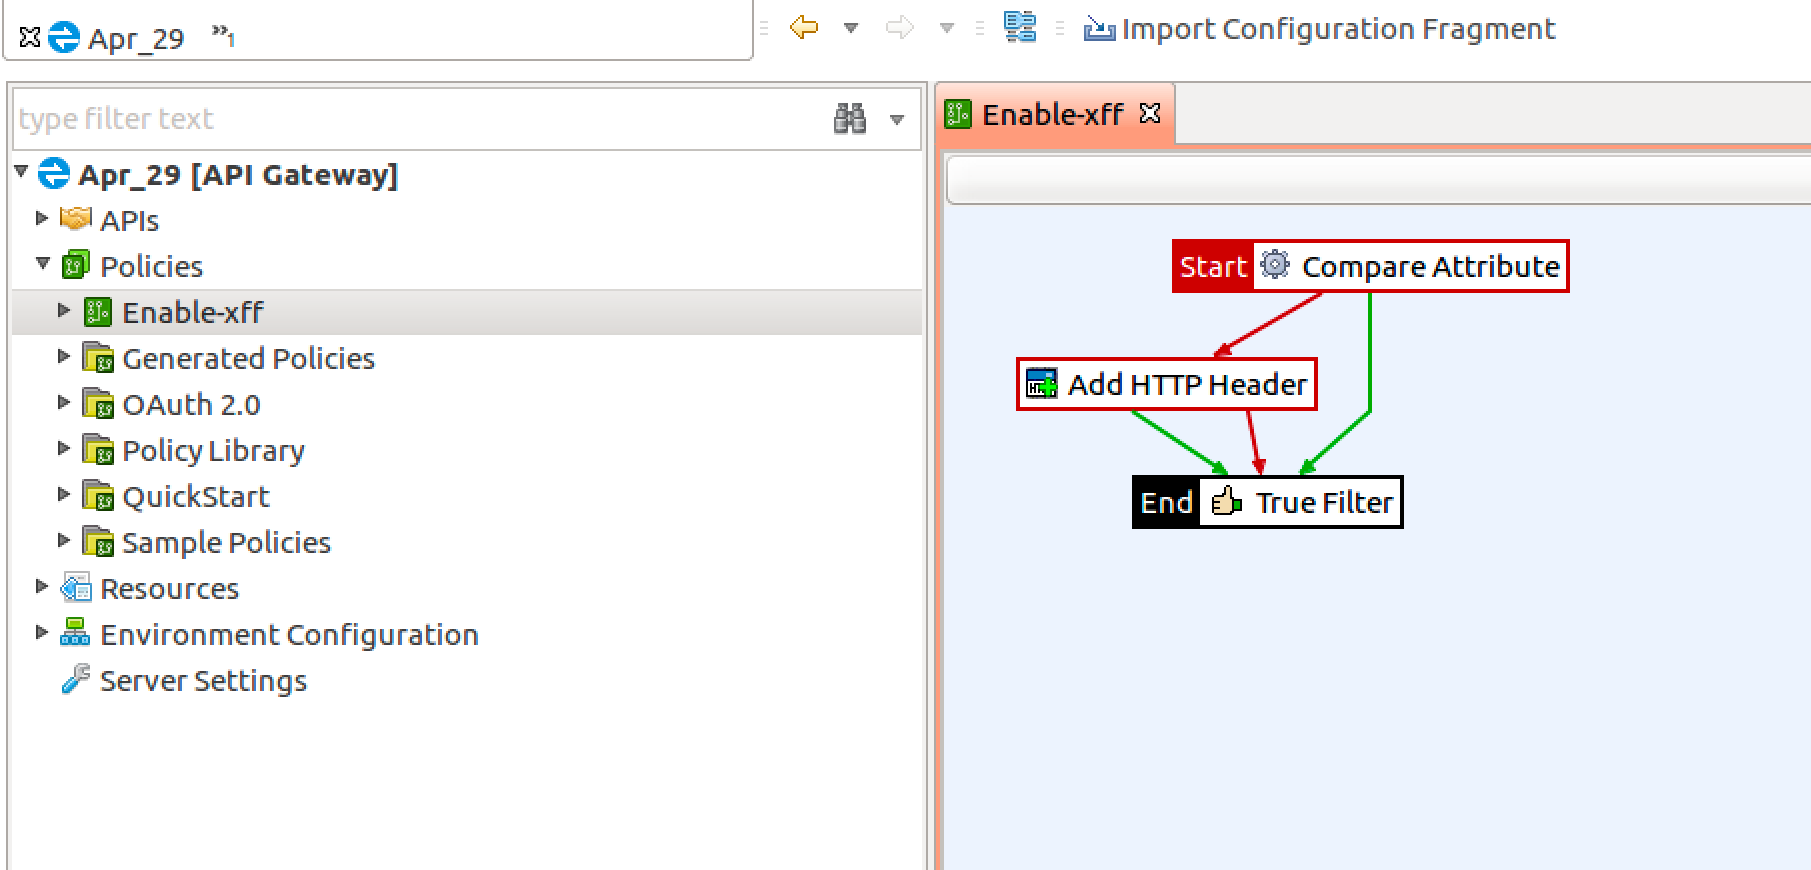
From the top menu, go to File → Import → Import Configuration Fragment.
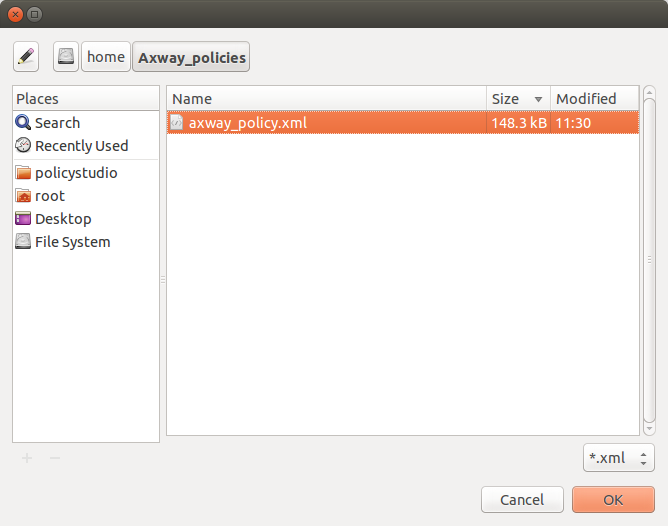
-
From the pop-up window, import the Axway policy from the directory where it was saved. Select the policy and click OK.
-
After importing the Axway policy, deploy the XFF policy