Configuring Axway Policy Studio
To deploy the PingIntelligence policy, you must first configure Axway Policy Studio.
About this task
To configure Axway Policy Studio:
Steps
-
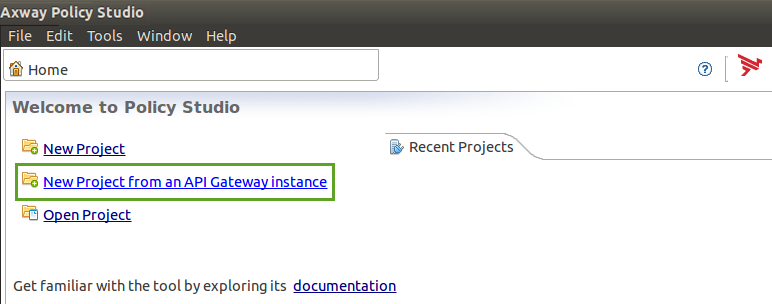
Launch Axway Policy Studio and click New Project from an API Gateway instance.
-
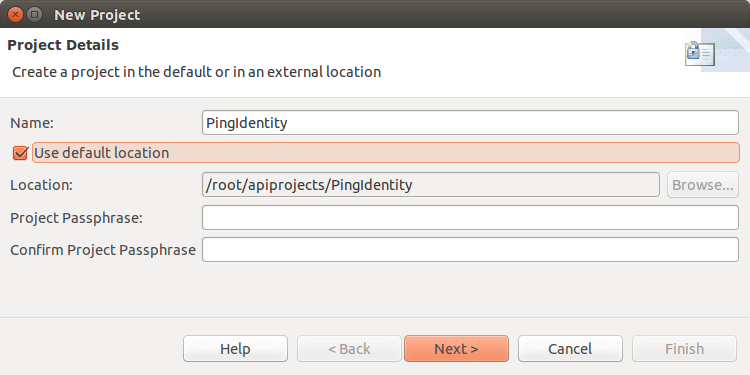
In the New Project pop-up window, enter the details and click Next >.
-
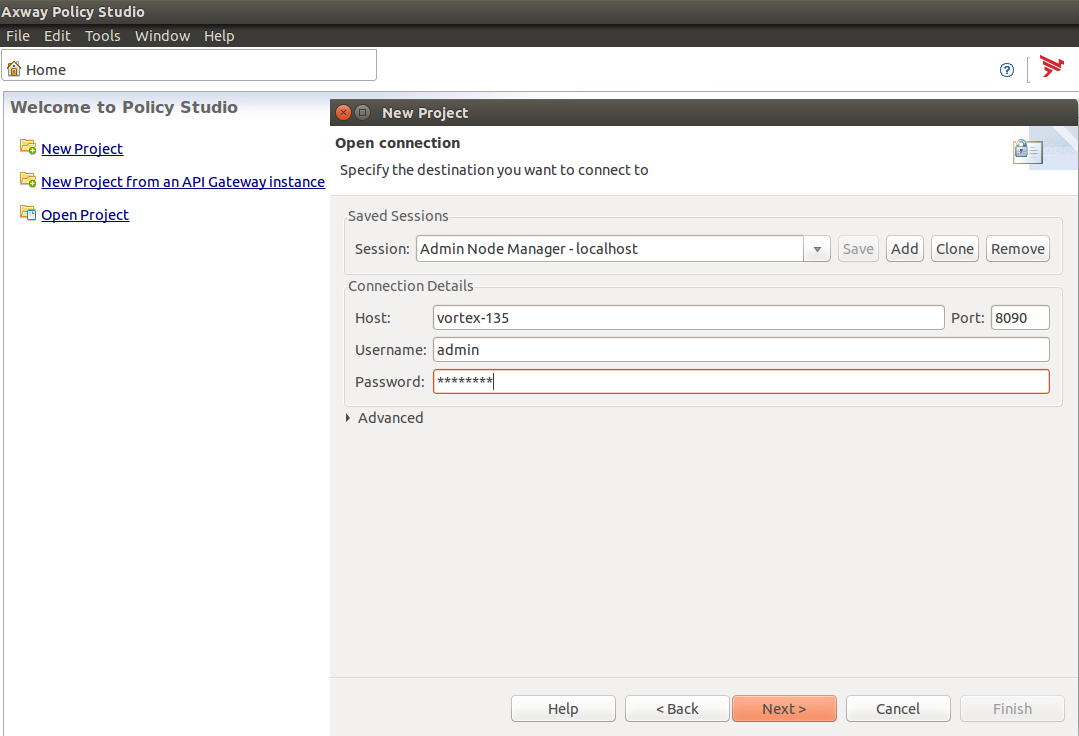
Enter Host details, Username, and Password of the API Gateway to connect, and click Next >.
-
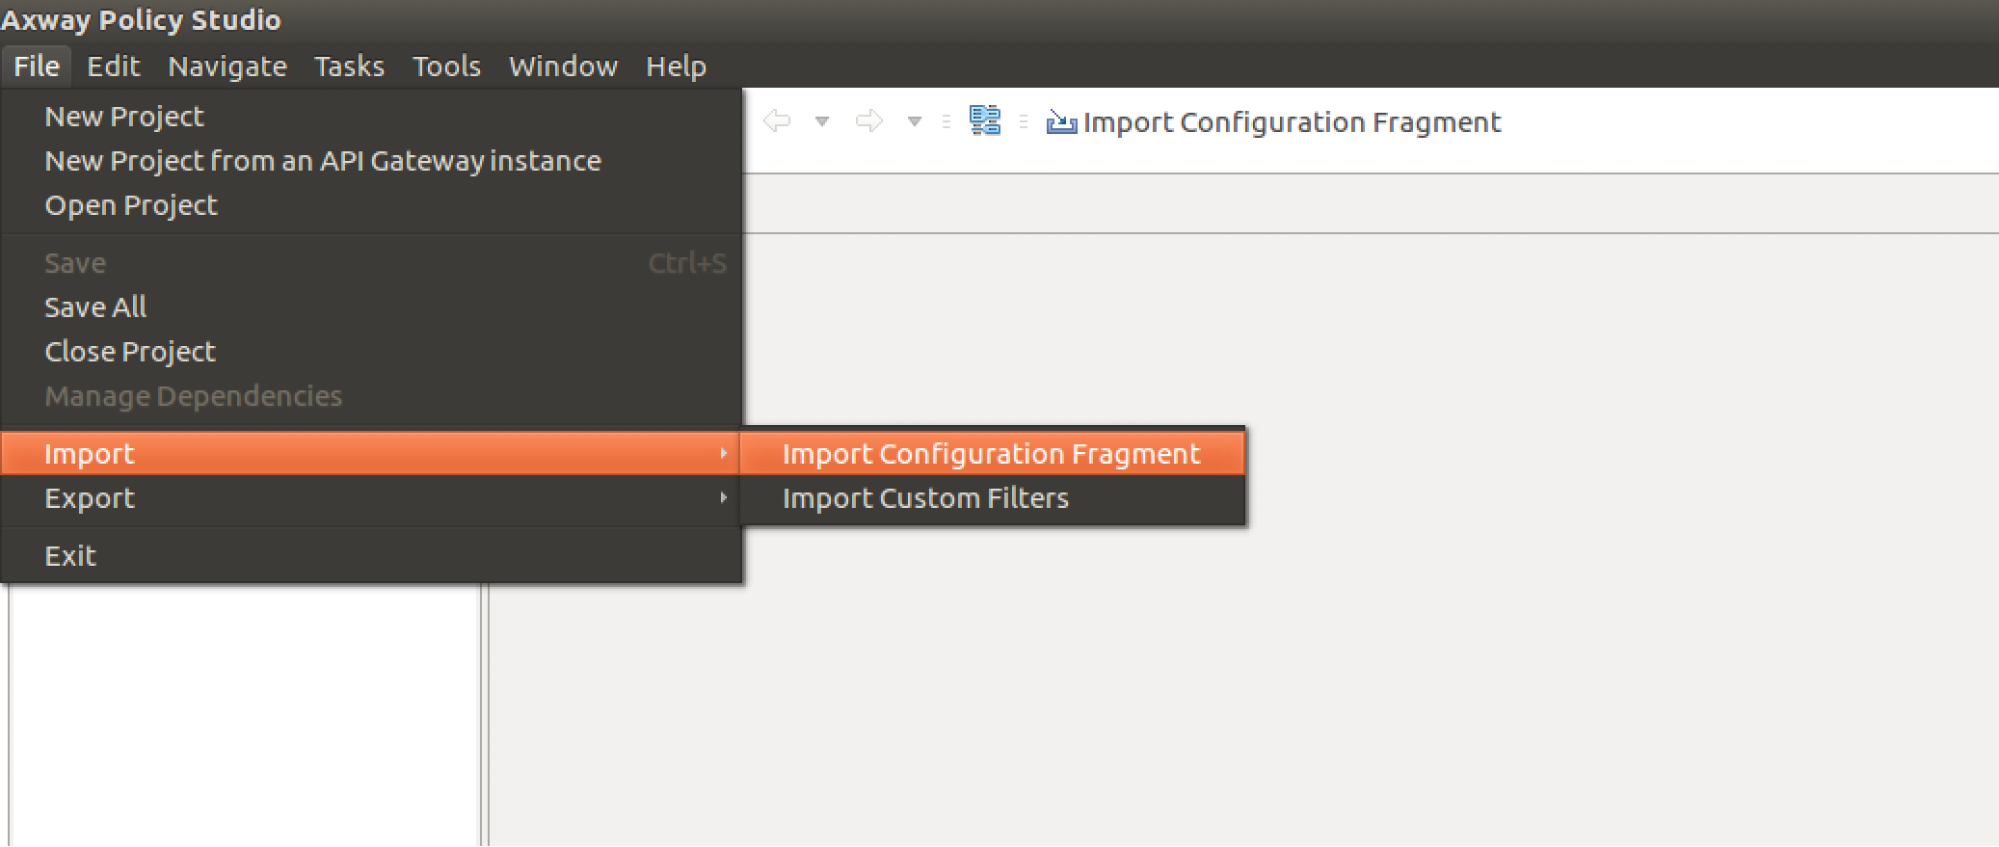
From the top menu, go to File → Import → Import Configuration Fragment.
-
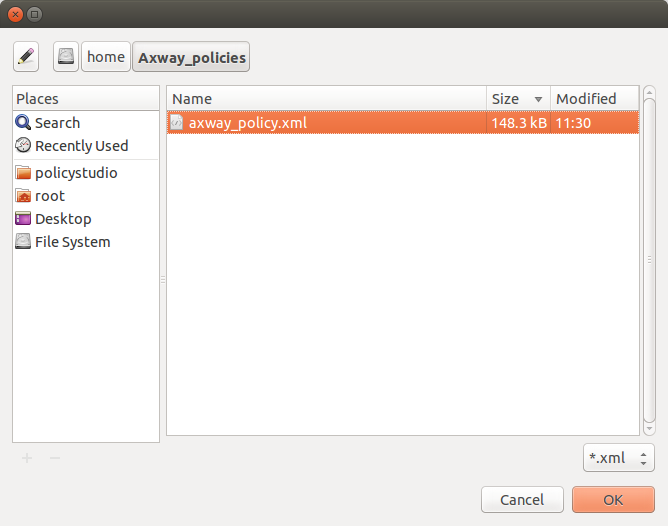
From the pop-up window, import the Axway policy from the directory where it was saved. Select the policy and click OK.
-
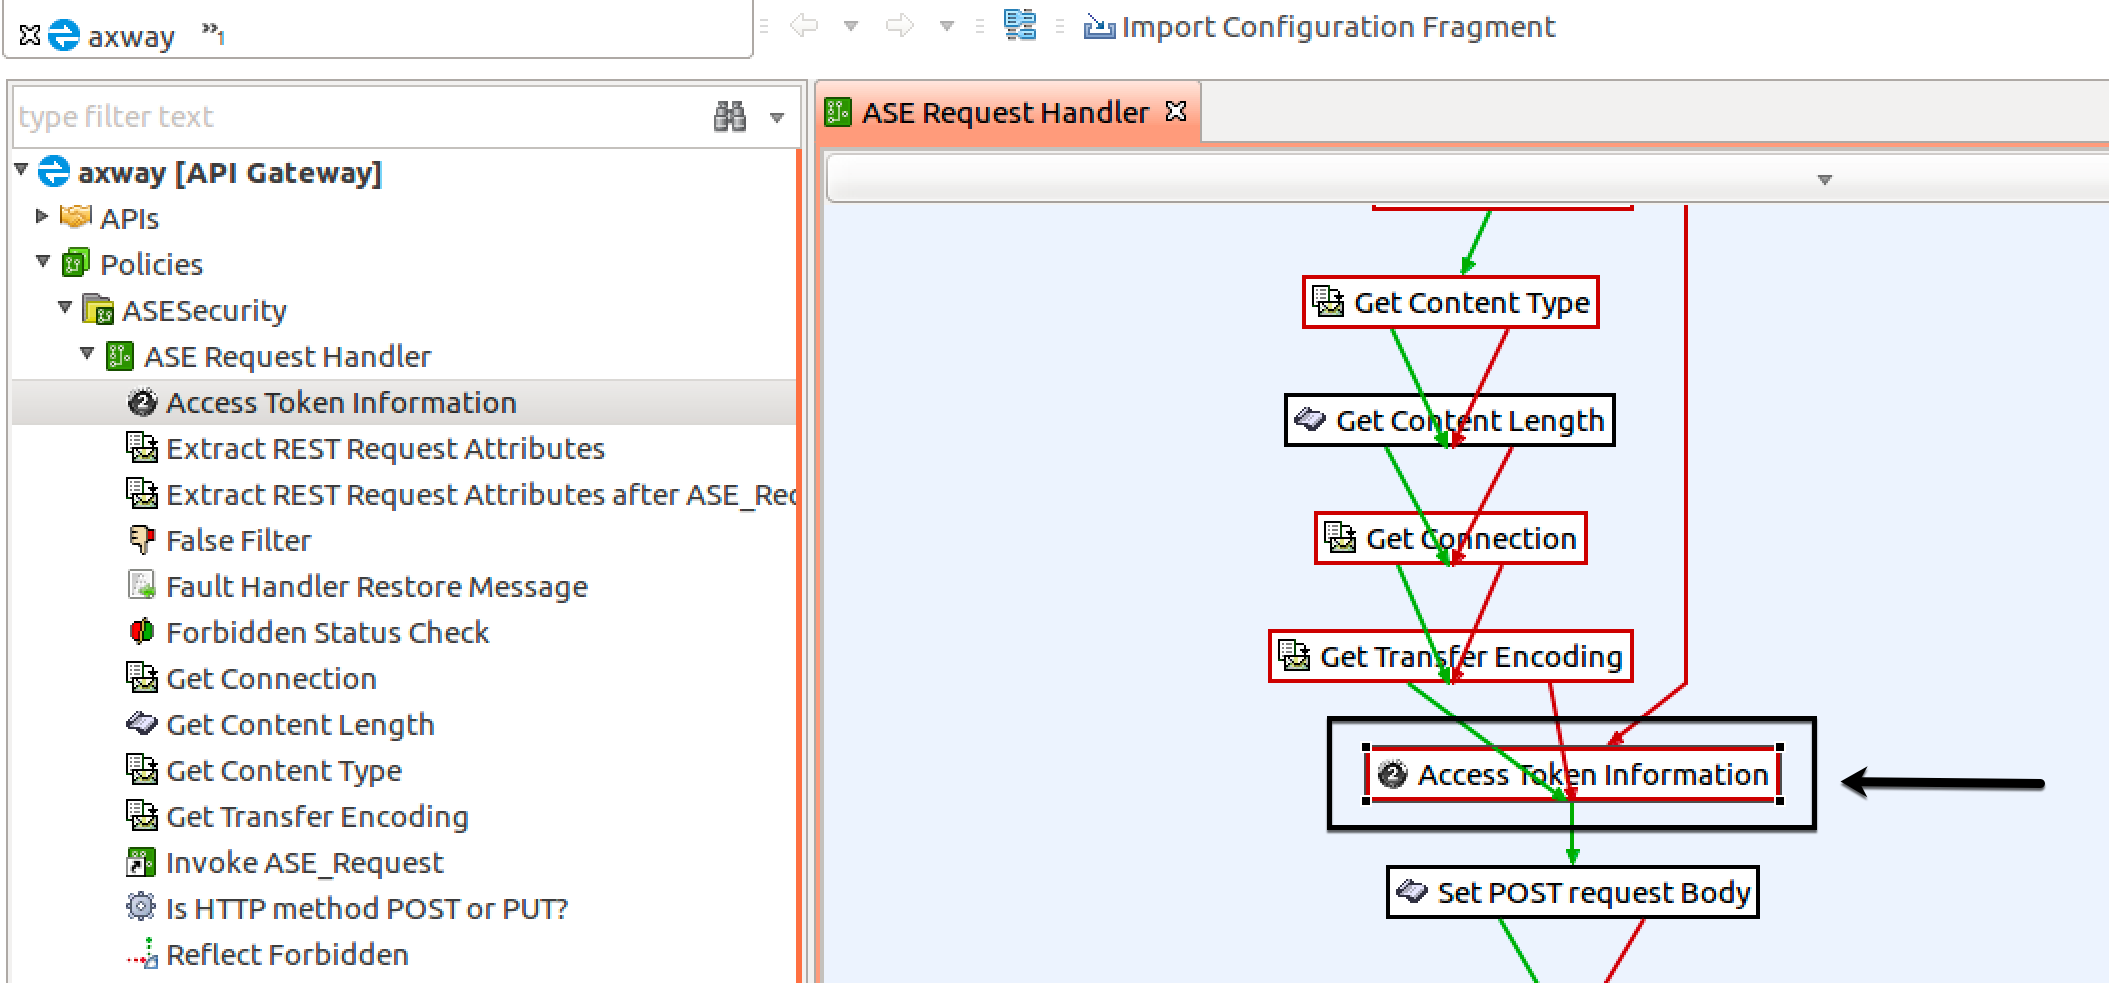
After the Axway Policy is imported, go to Policies → ASESecurity → ASE Request Handler → Access Token Information. Double click Access Token Information in the ASE Request Handler window.
-
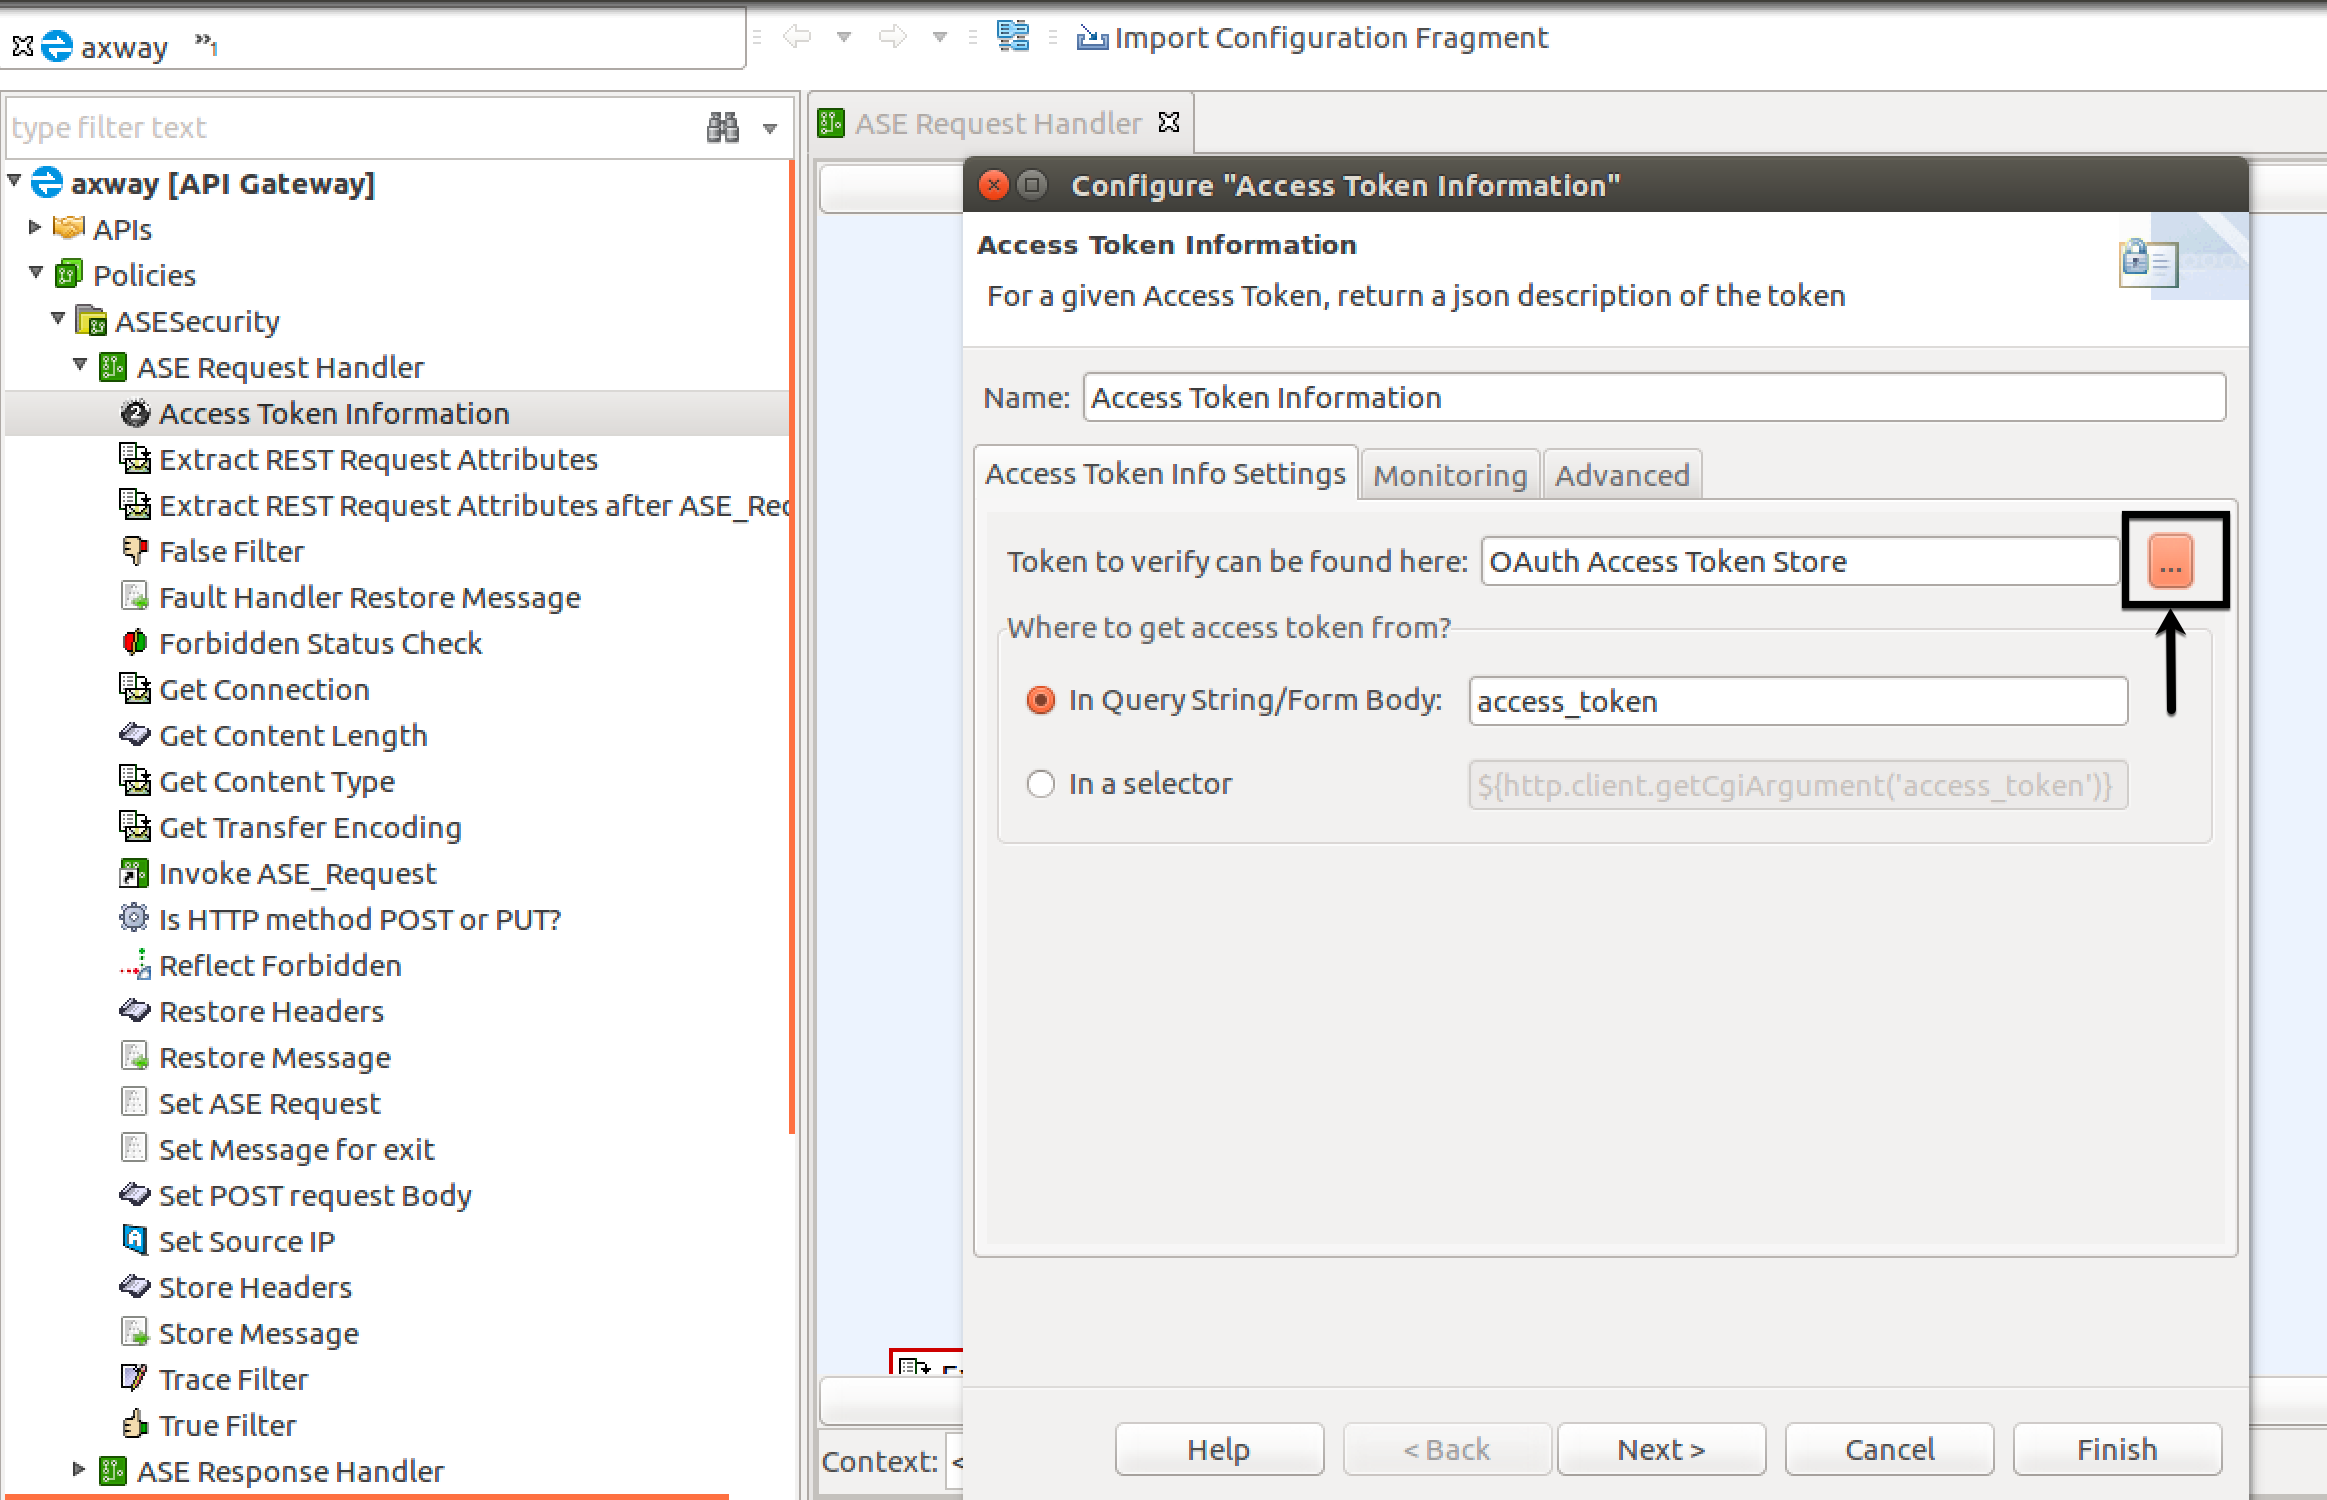
In the Configure "Access Token Information" pop-up window, enter your OAuth token store information and click the More Options button.
-
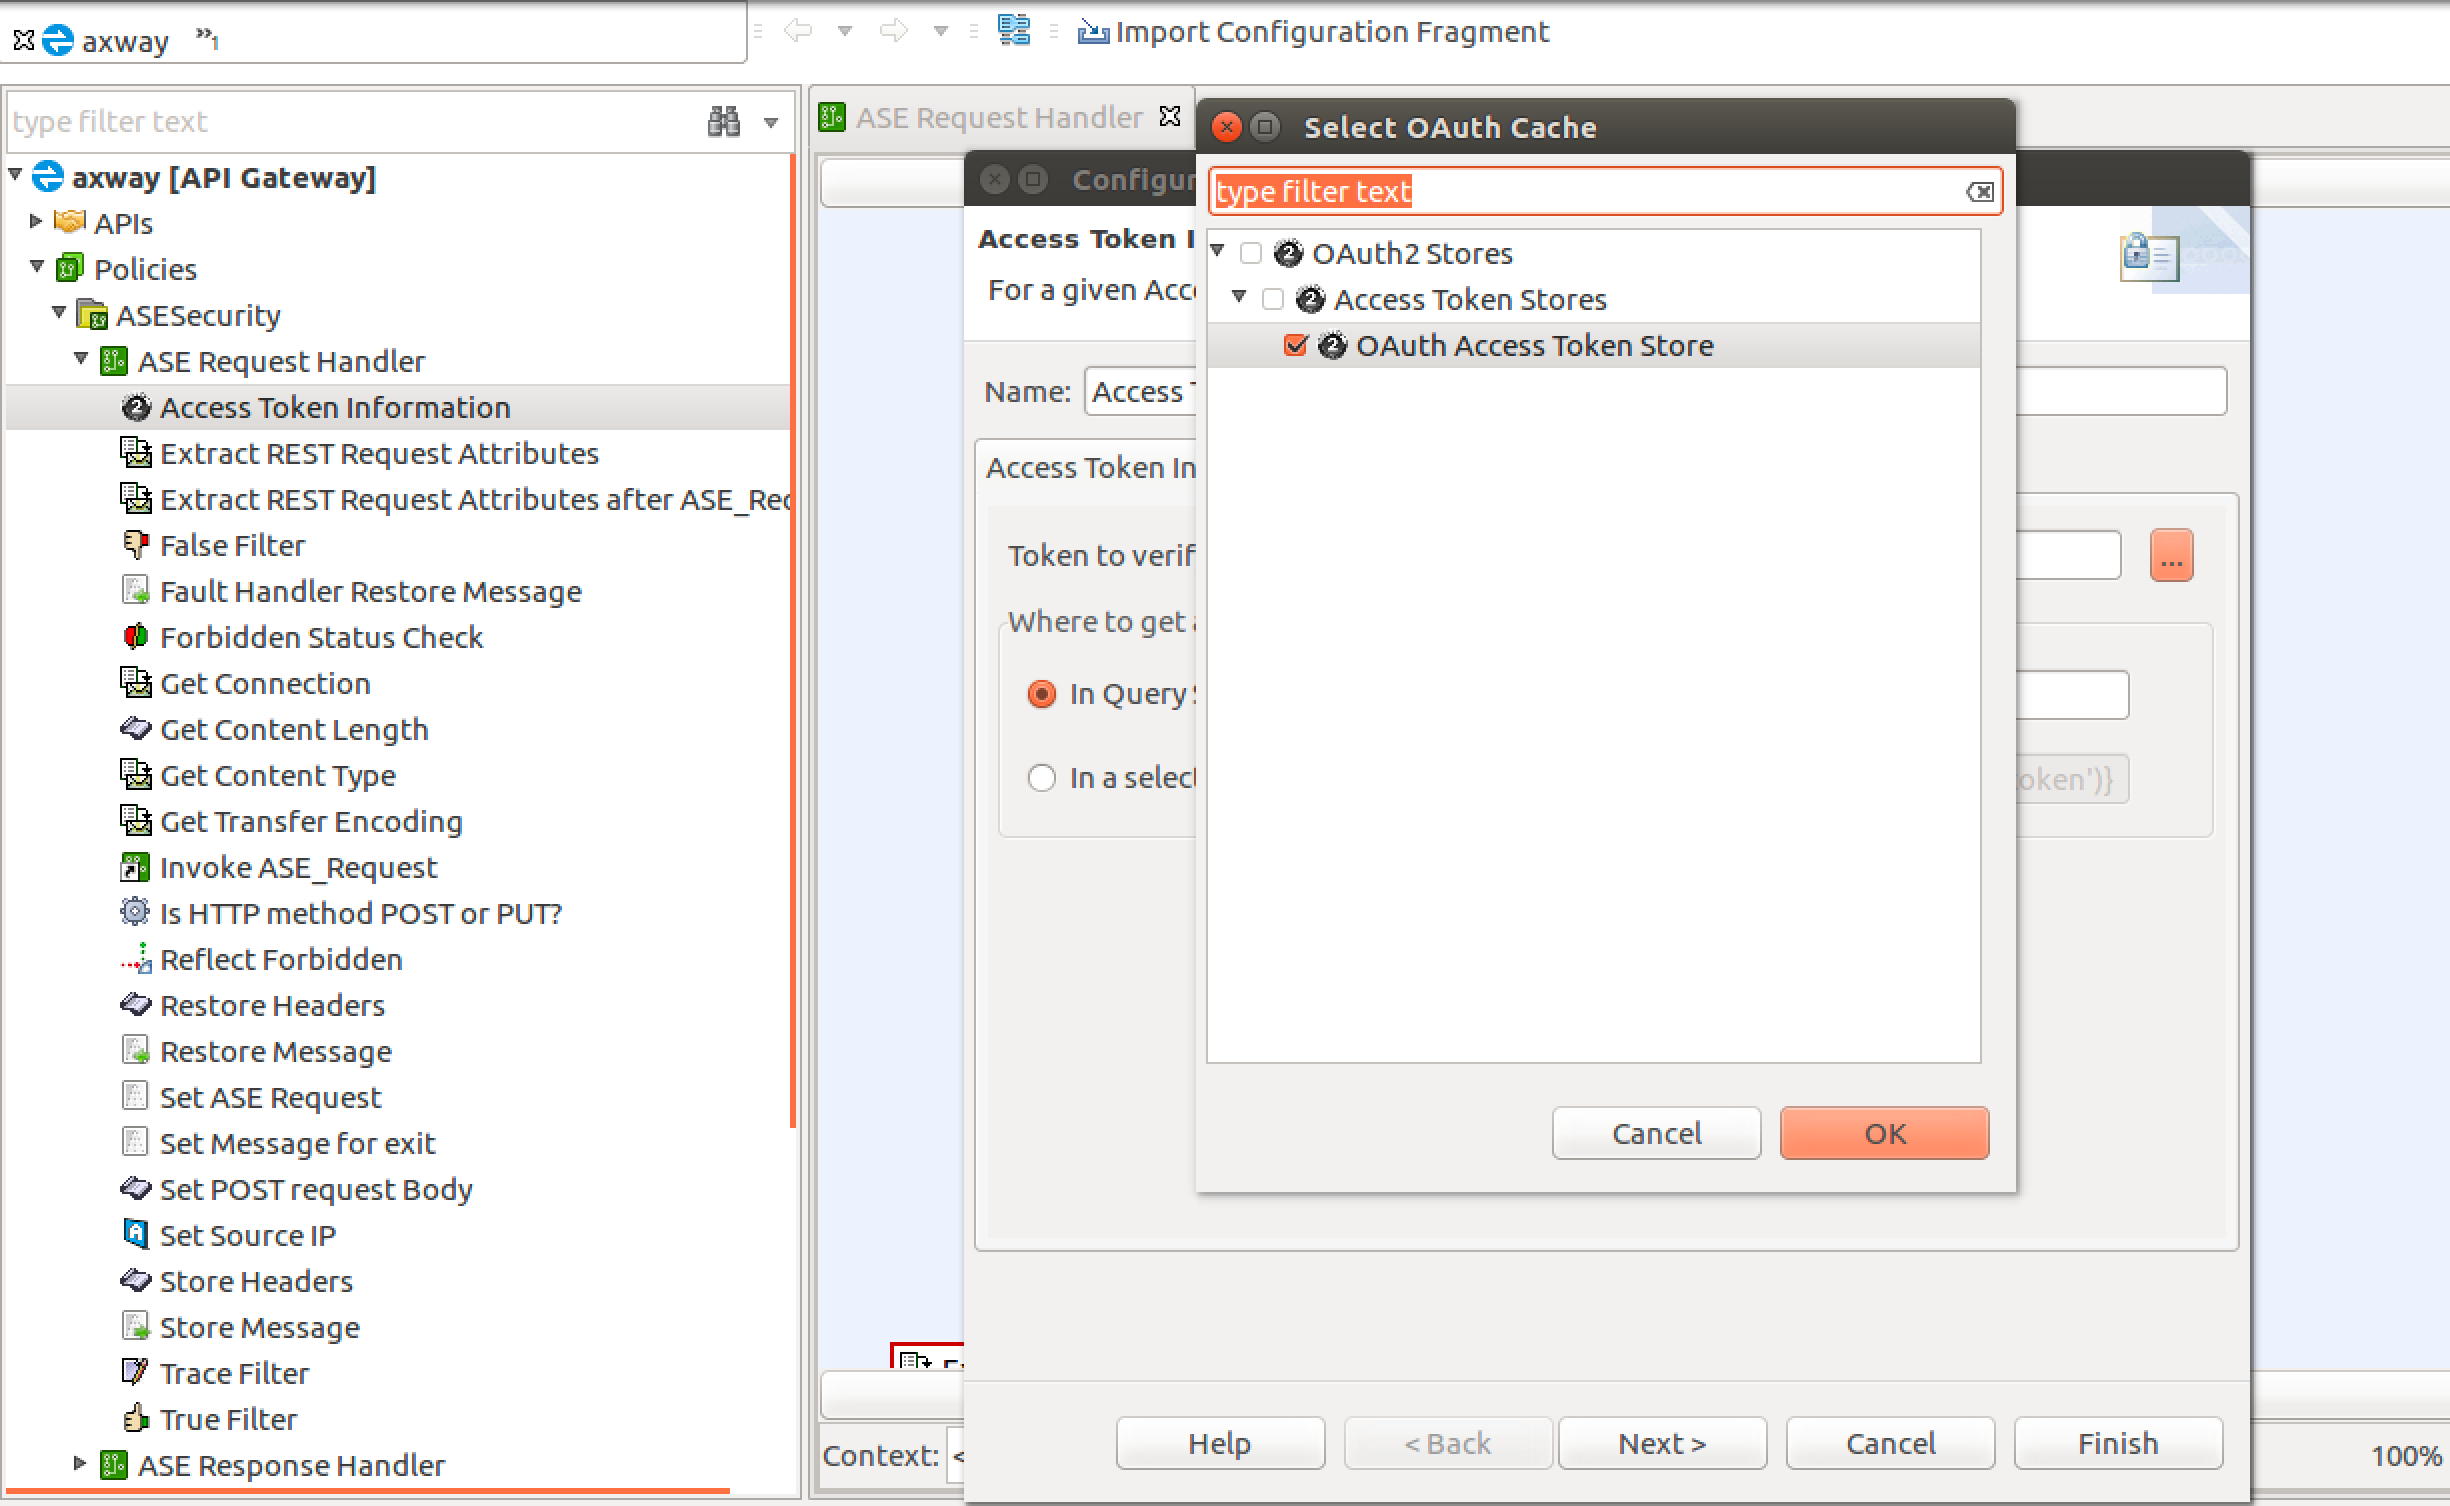
In the Select OAuth Cache pop-up window, select OAuth Access Token Store.
-
-
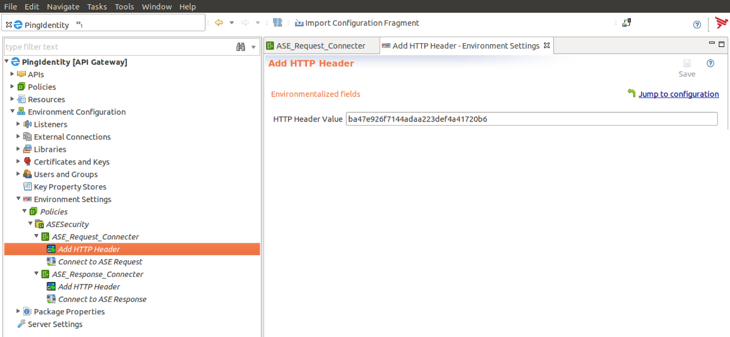
After the Axway policy is imported, click Environment Settings in the left-hand navigation and click Add HTTP Header. In the HTTP Header Value field, enter the ASE authentication token that was created in Preparing to configure the Axway API Gateway, step 6.
-
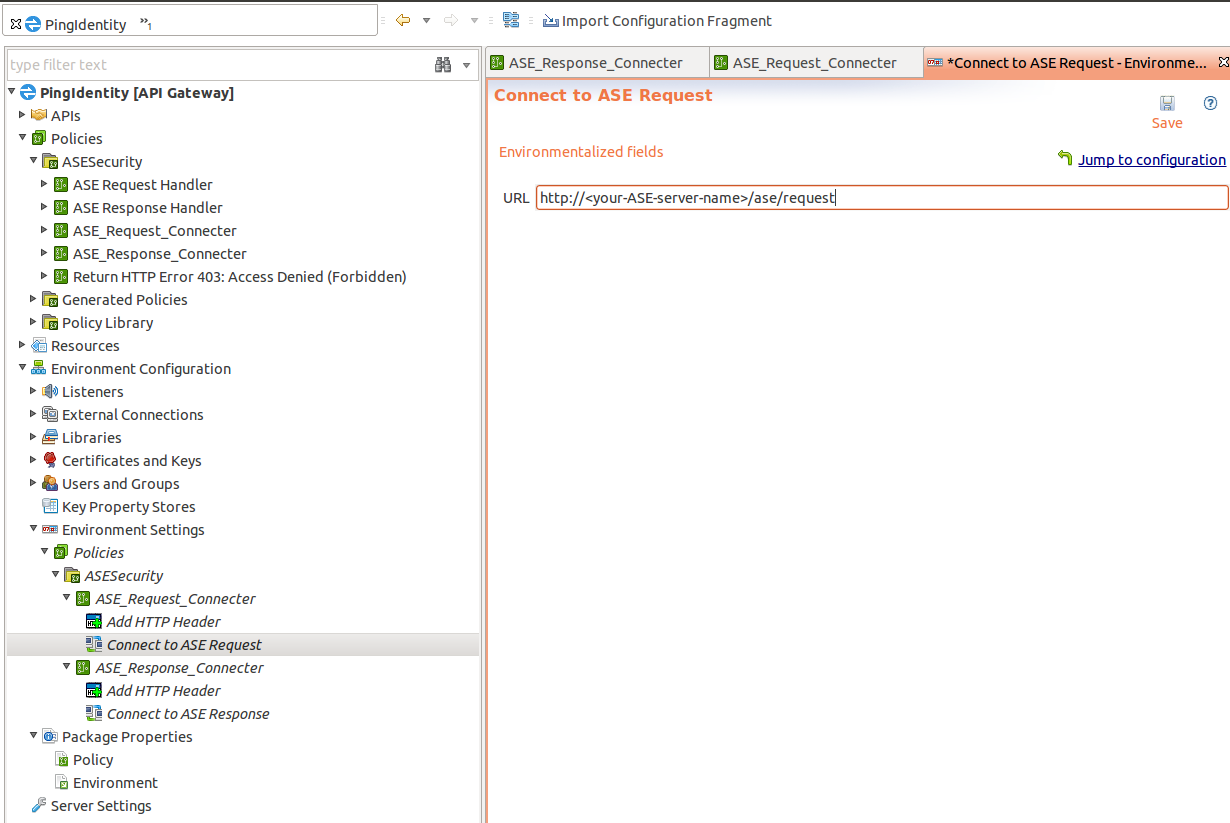
After the Axway policy is imported, go to Environment Settings → ASE_Request_Connector → Connect to ASE Request in the left-hand navigation. Enter the IP address or the hostname of your ASE in the URL field as shown below.
-
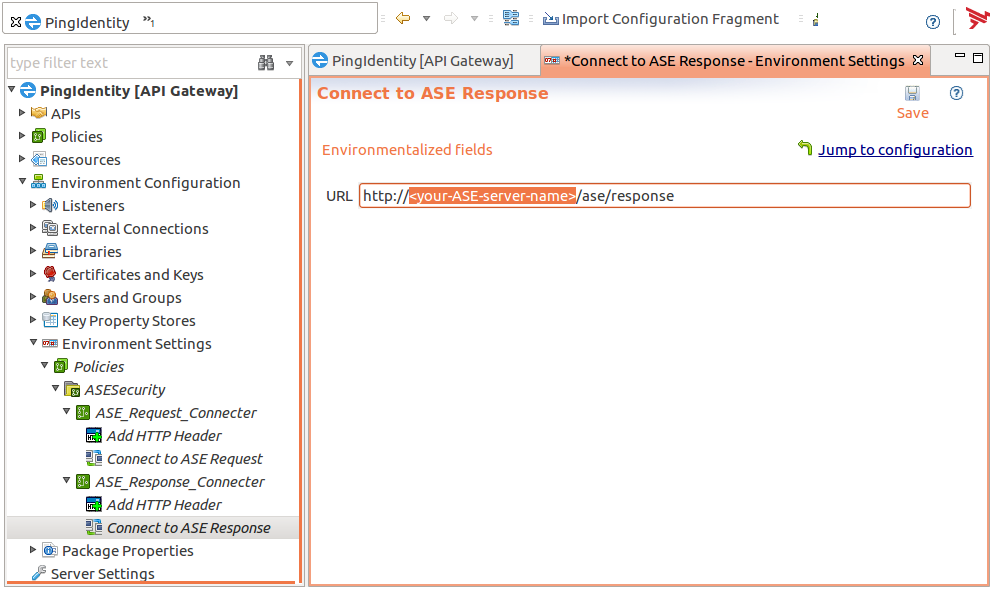
Go to Environment Settings → ASE_Response_Connector. → Connect to ASE Response in the left-hand navigation. Enter the IP address or the hostname of your ASE in the URL field as shown below.
-
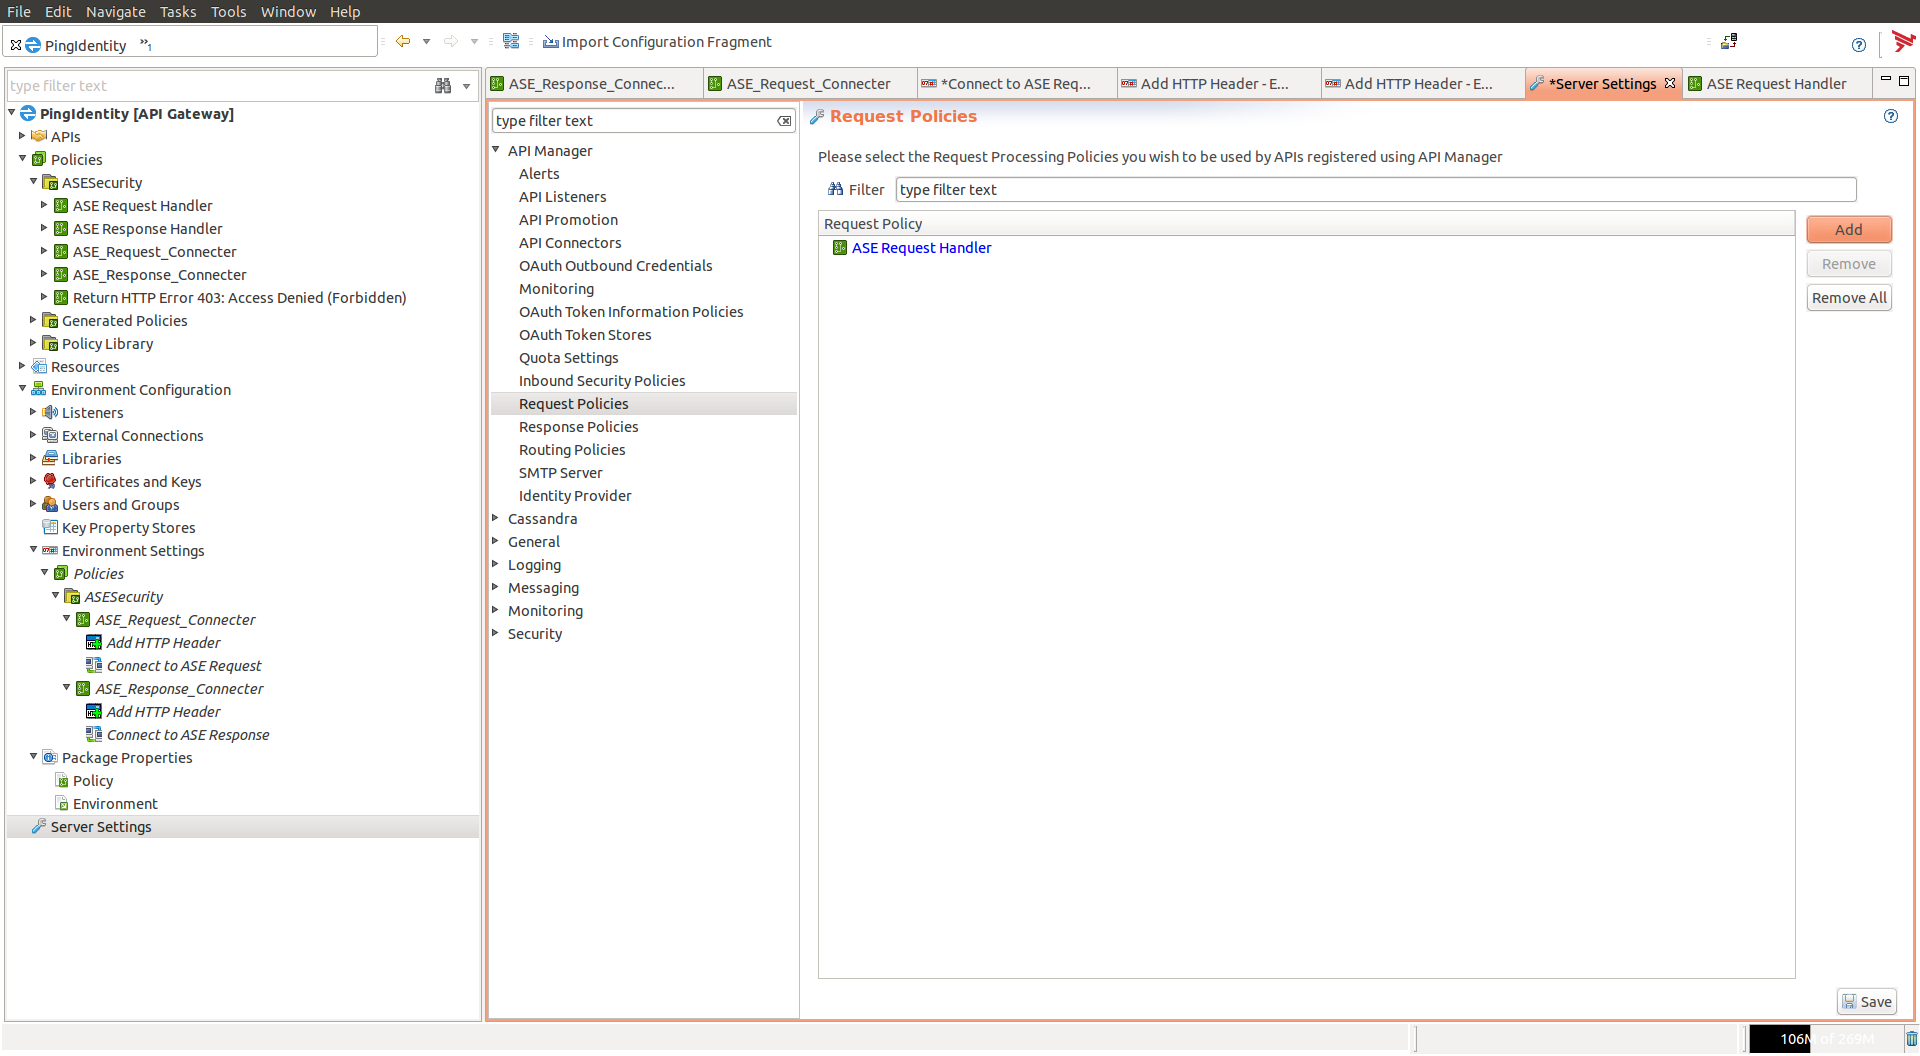
In the left navigation, click Server Settings.
-
In the Server Settings window, double-click Request Policies under API Manager.
-
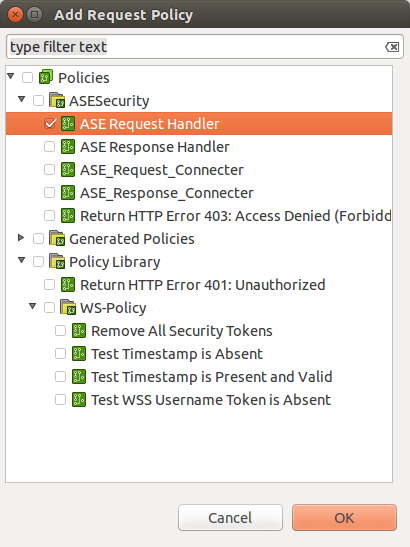
In the Add Request Policy pop-up window, click the ASE Request Handler check box and click OK.
-
Click the Add button and then Save.
-
Repeat steps 10 and 11 for response policies.
-
To deploy the policies, click Deploy.