Adding the PingIntelligence policy components
Add the PingIntelligence policy components to your API.
Before you begin
Make sure to:
-
Download the PingIntelligence policy from the Ping Identity Downloads site.
-
Extract the policy by using the following command:
# tar –zxvf <<file name>>
For example:
# tar –zxvf pi-api-ibm-policy-4.1.0.tar.gz
About this task
To add the PingIntelligence policy components:
Steps
-
Sign on to IBM API Manger.

-
To open the navigation pane, click the Menu
 icon on the top-left corner.
-
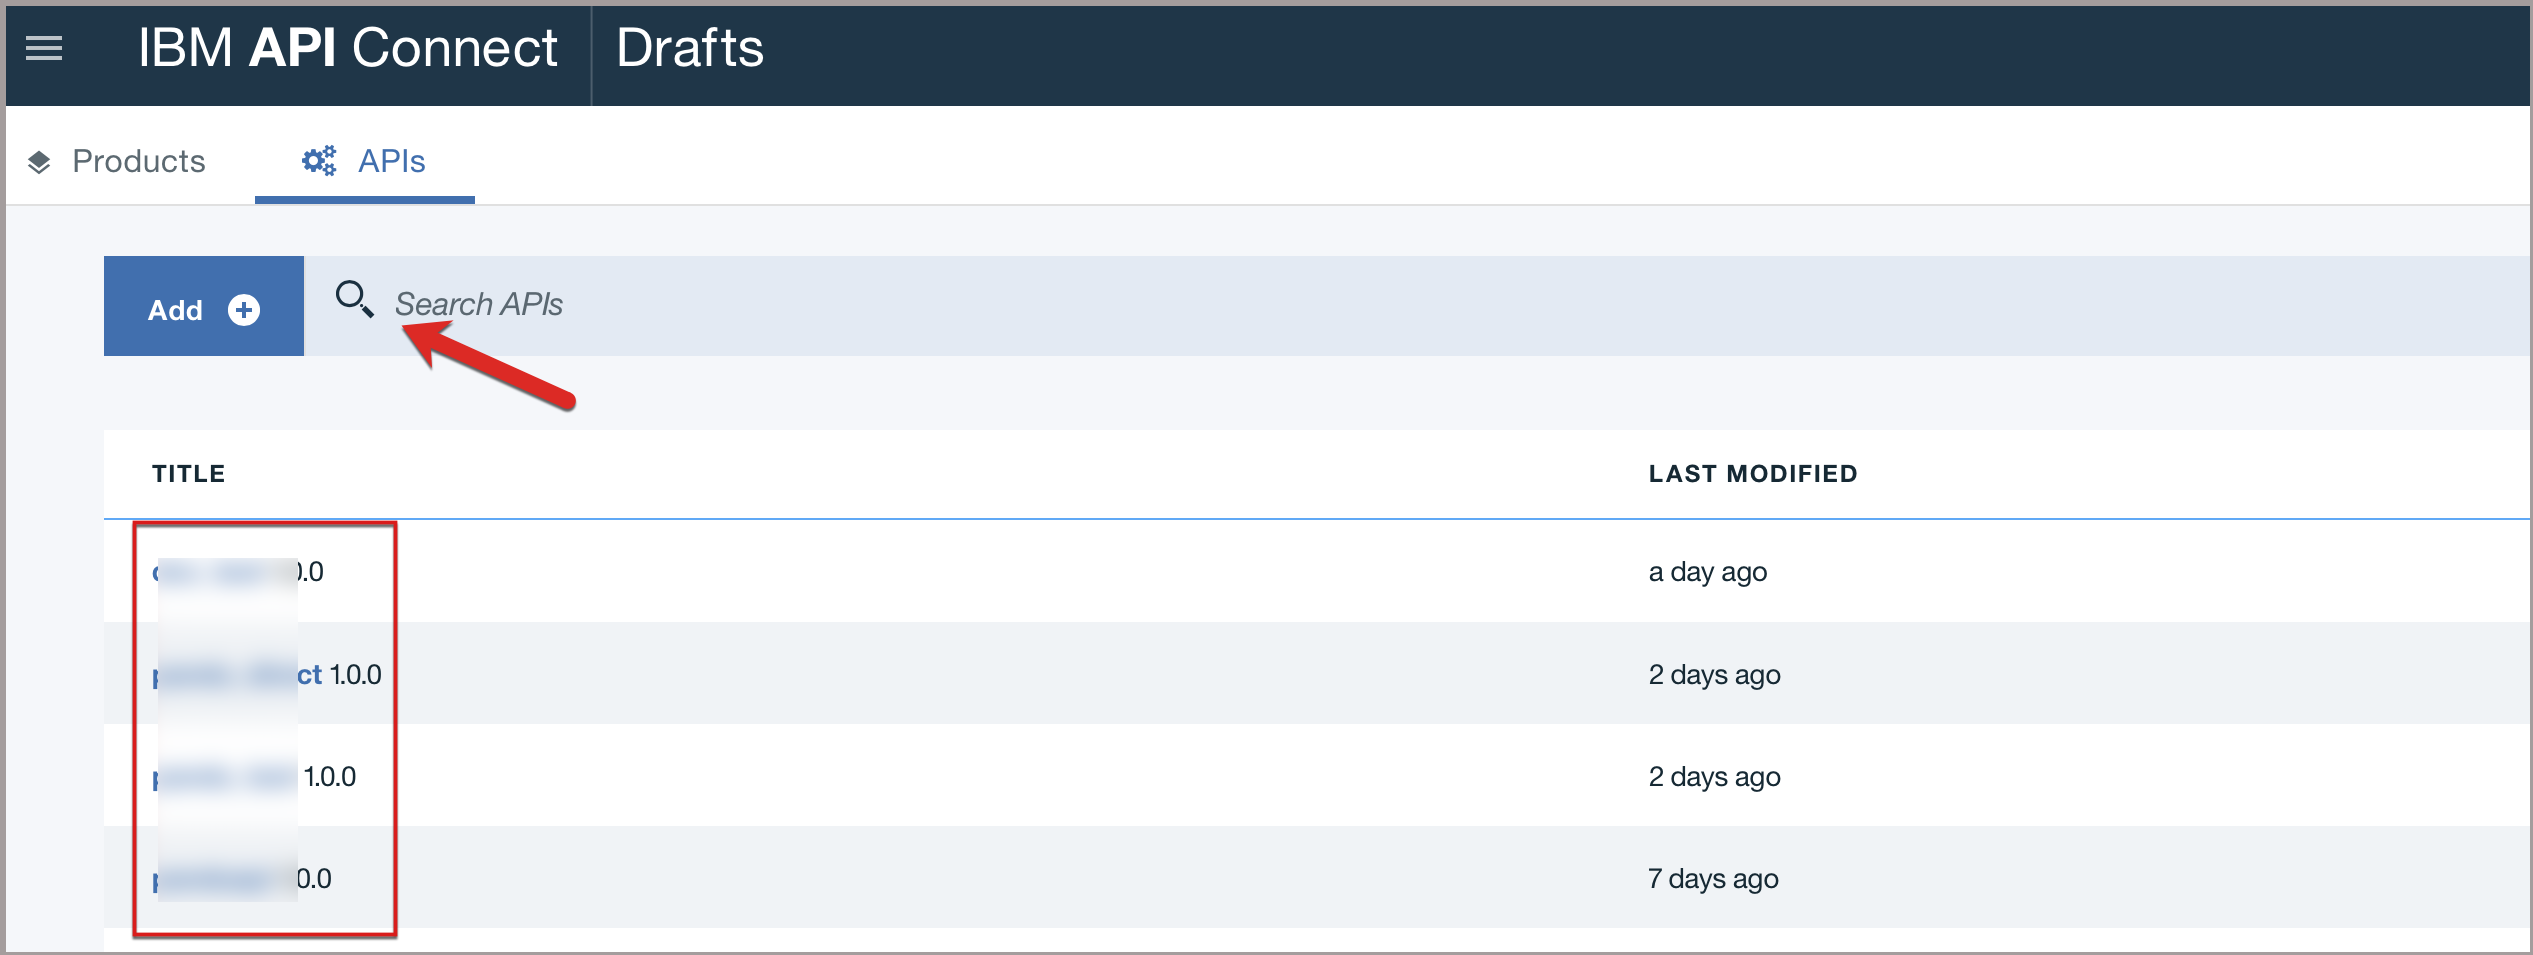
Click Drafts in the navigation pane.

-
Click the APIs tab.

-
Click on your API under TITLE list or enter the API name in the Search APIs dialog box and select the API.

-
Click the Source tab to edit your API definition.

-
Copy and paste the contents of the PingIntelligence policy into the Assembly block of your API definition at three places:
-
Open the
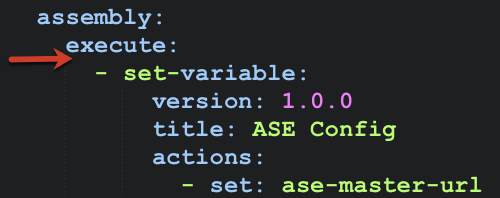
pi_policy.yamlfile, copy the contents of the set-variable: block with the ASE Config component and paste it in the next line after the execute: block in your API.
-
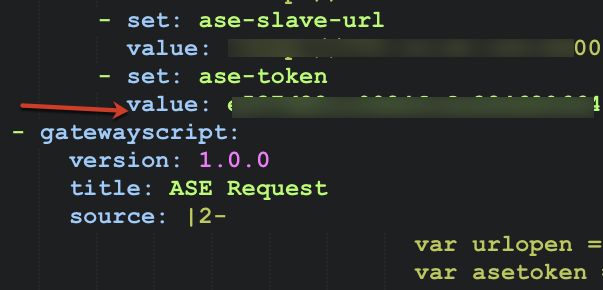
Next, copy the contents of the gateway script: block containing the ASE Request component from the
pi_policy.yamlfile and paste it after the last line of the ASE Config component.
-
Copy the contents of the gateway script: block containing the ASE Response component from the
pi_policy.yamlfile and paste it as the last component of your API.
-
Copy the contents of the gateway script: block containing the ASE Response component from the
pi_policy.yamlfile and paste it as the last component of your API.
The assembly component ASE Reponse should always be the last component of your policy assembly.
-
-
Click the Validate icon to validate your changes, and then click the Save icon after completing the validation.
-
Click the Assemble tab to open the Assemble view. Verify the sequence of the components ASE Config, ASE Request, and ASE Response in the Policy Assembly.
The order must match as highlighted in the red boxes in the following image.
