Configuring SAML SSO with AWS IAM and PingFederate
Enable Amazon Web Services (AWS) sign-on from a PingFederate URL (IdP-initiated sign-on).
Before you begin
-
Configure PingFederate to authenticate against an identity provider (IdP) or datastore containing the users requiring application access.
-
Populate AWS with at least one user to test access.
-
You must have administrative access to PingFederate and AWS.
Create the PingFederate SP Connection for AWS
-
Sign on to the PingFederate administrative console.
-
Configure using Browser SSO profile SAML 2.0.
-
Set Partner’s Entity ID to
urn:amazon:webservices. -
Enable the IdP-Initiated SSO SAML profile.
-
Enable the SP Initiated SSO SAML profile.
-
In Assertion Creation → Attribute Contract:
-
Extend the contract to add the attributes
SAML_NAME_FORMATandhttps://aws.amazon.com/SAML/Attributes/Role. -
Set https://aws.amazon.com/SAML/Attributes/Role to have an Attribute Name Format of
urn:oasis:names:tc:SAML:2.0:attrname-format:uri.
-
-
In Assertion Creation → Authentication Source Mapping → Attribute Contract Fulfillment:
-
Map SAML_SUBJECT to an attribute containing the
usernamevalue. -
Map SAML_NAME_FORMAT to a text value of
urn:oasis:names:tc:SAML:2.0:nameid-format:persistent. -
Map https://aws.amazon.com/SAML/Attributes/Role to a fixed value or your attribute holding the user’s AWS role name.
-
In Protocol Settings → Assertion Consumer Service URL, set Binding to Post and set Endpoint URL to
https://signin.aws.amazon.com/saml.-
In Protocol Settings → Allowable SAML Bindings, enable POST.
-
In Credentials → Digital Signature Settings, select the PingFederate Signing Certificate.
-
-
-
Save the configuration.
-
Export the signing certificate.
-
Export the metadata file, open it in a text editor, and copy the value of the entityID and the Location entry (https://your value/idp/SSO.saml2).
Add the PingFederate IdP connection to AWS
-
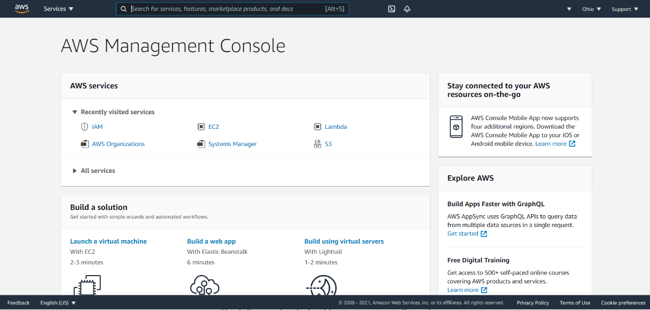
Sign on to your AWS console as an administrator.
-
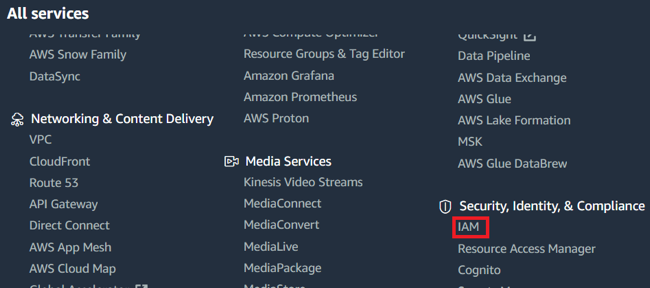
In the Security, Identity, & Compliance section, select the IAM service.

-
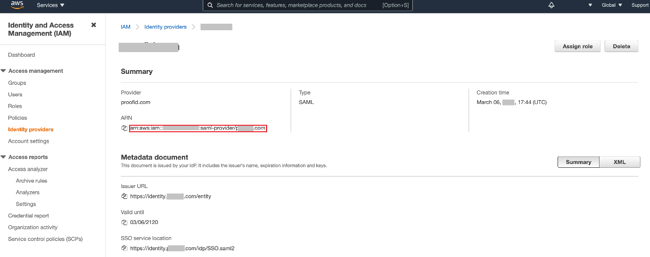
Go to Access Management → Identity Providers.
-
Click Add Provider.

-
Set the following:
Provider Type
SAML
Provider Name
PingFederate
Metadata Document
Select the PingFederate metadata download file you downloaded previously.
-
Continue through to the final page and click Create.
-
Copy the ARN value of the provider.

-
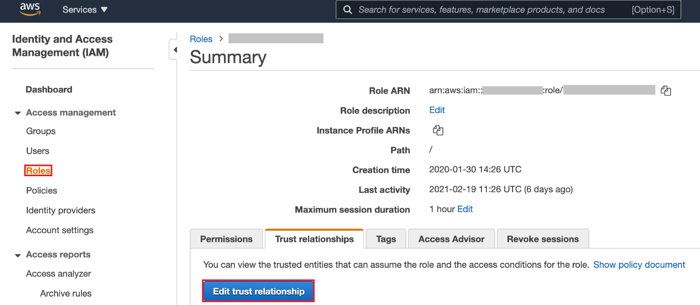
In the side menu, select Roles.
-
Select the role that PingFederate SSO should have access to and then click the Trust relationships tab.
-
Click Edit Trust Relationship.

-
Add the provider ARN value you copied previously to the policy for this role.

