Configuring SAML SSO with Jamf Pro and PingFederate
Enable Jamf Pro sign-on from the PingFederate console (IdP-initiated sign-on) and direct Jamf Pro sign-on using PingFederate (SP-initiated sign-on).
Before you begin
-
Configure PingFederate to authenticate against an IdP or datastore containing the users requiring application access.
-
Populate Jamf Pro with at least one user to test access.
-
You must have administrative access to PingFederate.
Create a PingFederate SP connection for Jamf Pro
-
Sign on to the PingFederate administrative console.
-
Create an SP connection for Jamf Pro in PingFederate:
-
Configure using Browser SSO profile SAML 2.0.
-
Set Partner’s Entity ID to
https://your-instance.jamfcloud.com/saml/metadata. -
Enable the IdP-Initiated SSO and SP Initiated SSO SAML profiles.
-
In Assertion Creation → Authentication Source Mapping → Attribute Contract Fulfillment, map the SAML_SUBJECT to your
emailattribute. -
In Protocol Settings → Assertion Consumer Service URL, set Binding to POST and set Endpoint URL to
https://your-instance.jamfcloud.com/saml/SSO. -
In Protocol Settings → Allowable SAML Bindings, enable POST.
-
In Credentials → Digital Signature Settings, select the PingFederate Signing Certificate.
-
-
-
Export the metadata for the newly-created Jamf Pro SP connection.
-
Export the signing certificate.
Add the PingFederate connection to Jamf Pro
-
Sign on to the Jamf Pro console as an administrator.
-
Click the Gear icon (]).
-
Go to System Settings → Single Sign-On.

-
Click the Edit icon.
-
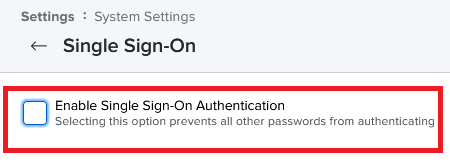
Select the Enable Single Sign-On Authentication check box.

-
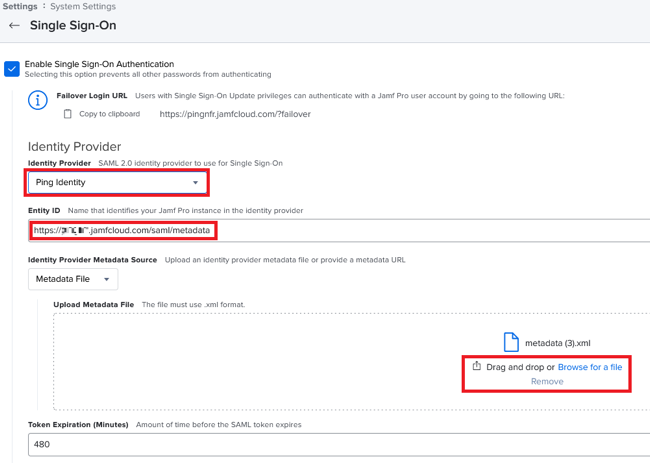
In the Identity Provider list, select Ping Identity.
-
Confirm that the Entity ID value matches the value you set previously in PingFederate.
-
In the Upload Metadata File field, upload the PingFederate metadata file.

-
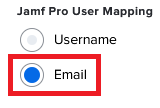
In the Jamf Pro User Mapping section, click Email.

-
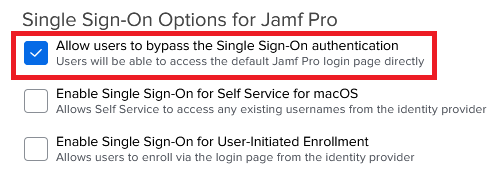
In the Single Sign-On Options for Jamf Pro section, select the Allow users to bypass the Single Sign-On authentication check box.

-
Click Save.