Configuring SAML SSO with Splunk Cloud and PingOne for Enterprise
Learn how to configure SAML SSO with Splunk Cloud and PingOne for Enterprise.
About this task
|
An error in configuration could cause users and administrators to be unable to sign on to Splunk Cloud. The following Direct Login link can be used for local authentication:
|
The following table details the required and optional attributes to be configured in the assertion attribute contract.
| Attribute Name | Description | Required / Optional |
|---|---|---|
|
|
Required |
|
User role as per SAML Groups. Attribute name is configurable in SAML configuration for application. |
Required |
|
User email address. Attribute name is configurable in SAML configuration for application. |
Optional |
|
User display name. Attribute name is configurable in SAML configuration for application. |
Optional |
The following table details the references that are used within this guide that are environment-specific. Replace these with the suitable value for your environment.
| Reference | Description |
|---|---|
|
The instance name for the Splunk Cloud tenant. |
Create a PingOne for Enterprise Application for Splunk Cloud
-
Download the Splunk Cloud Metadata from
https://tenant.splunkcloud.com/en-US/saml/spmetadata. -
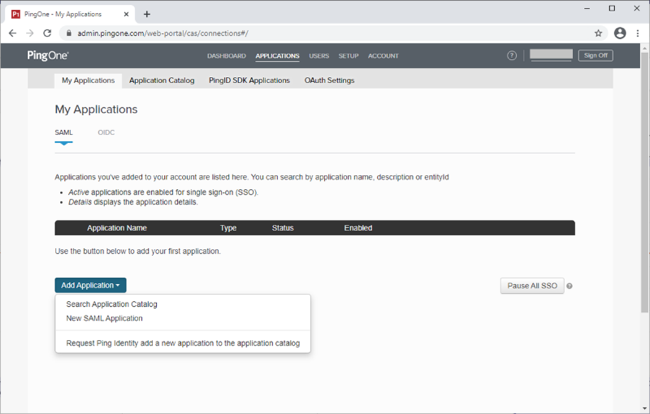
Sign on to PingOne for Enterprise and click Applications.
-
On the SAML tab, click Add Application.
-
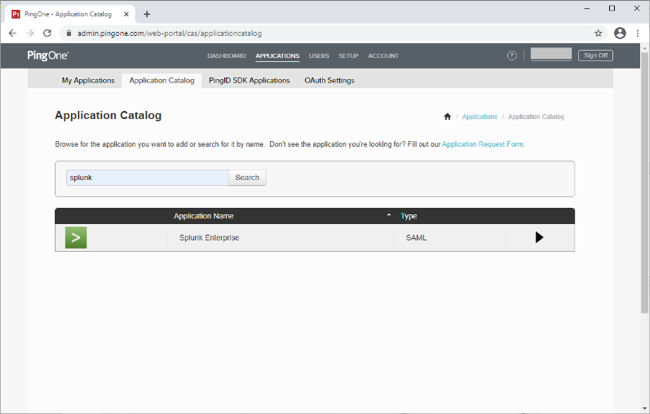
Click Search Application Catalog and search for
Splunk.The results should show Splunk Enterprise. This is suitable for both Splunk Cloud and Splunk Enterprise.
-
Click the Splunk Enterprise row.
-
Click Setup.
-
Select the appropriate signing certificate.
-
Review the steps, and note the PingOne SaaS ID, IdP ID, Initiate Single Sign-on (SSO) URL, and Issuer values.

-
Click Continue to Next Step.
-
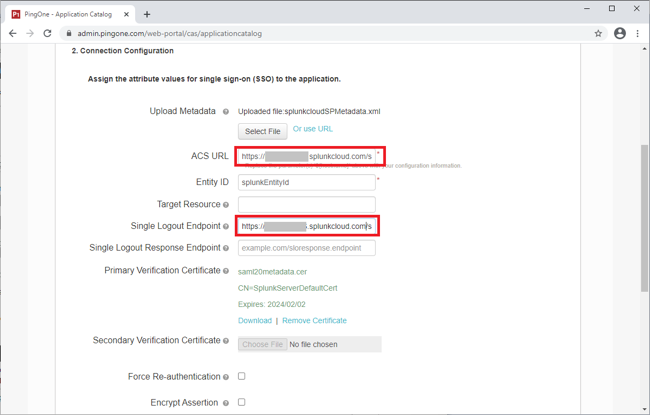
In the Upload Metadata section, click Select File, and upload the Splunk Cloud metadata file that you downloaded.
-
Make sure the following values are set:
-
ACS URL to
https://tenant.splunkcloud.com/saml/acs -
Single Logout Endpoint to
https://tenant.splunkcloud.com/saml/logout
-
-
Click Continue to Next Step.
-
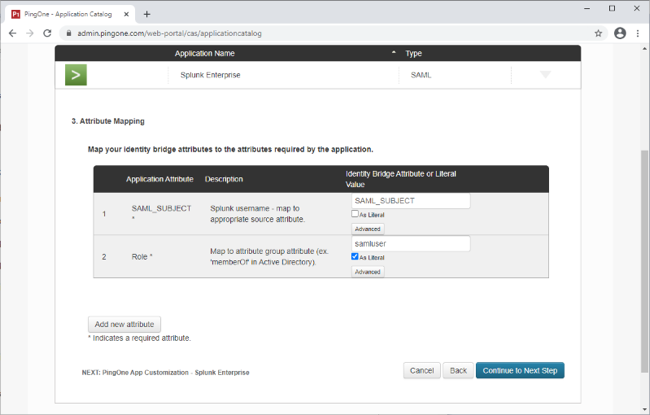
In the Attribute Mapping section, complete the attribute mapping for the Splunk role for the user.
For this integration example, all PingOne for Enterprise authenticated users will be mapped to a role with the literal value of samluser, and the Identity Bridge Attribute or Literal Value check box is selected. However, this could also be retrieved from the user directory.
-
In the Attribute Mapping section, in the Identity Bridge Attribute or Literal Value column of the SAML_SUBJECT row, select the attribute SAML_SUBJECT.
-
Click Continue to Next Step.
-
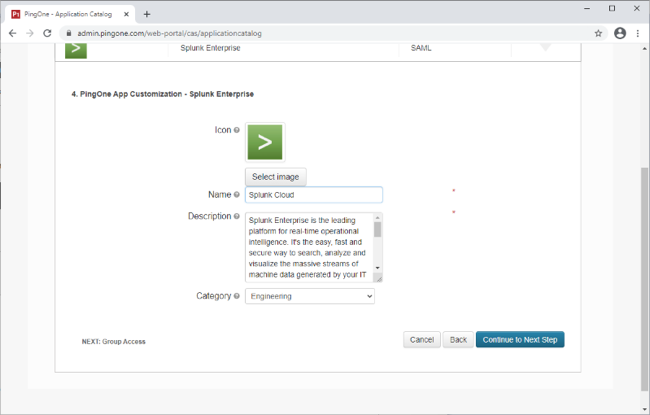
Update the Name, Description, and Category fields as required.
-
Click Continue to Next Step.
-
Add suitable user groups for the application.

-
Click Continue to Next Step.
-
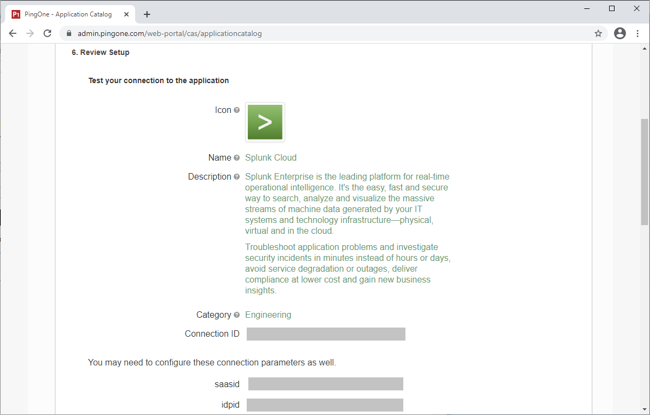
Review the settings.
-
Copy the Single Sign-On (SSO) URL value to a temporary location.
This is the IdP-initiated SSO URL that you can use for testing.
-
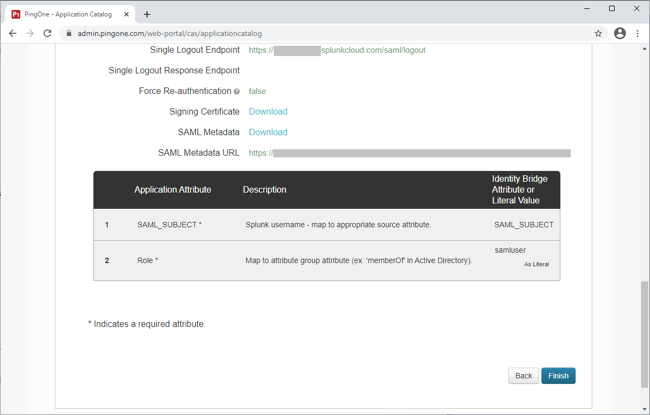
On the Signing Certificate row, click Download.
You will use this for the Splunk Cloud configuration.
-
On the SAML Metadata row, click Download.
You will use this for the Splunk Cloud configuration.
-
Click Finish.
Configure the PingOne for Enterprise IdP connection for Splunk Cloud
-
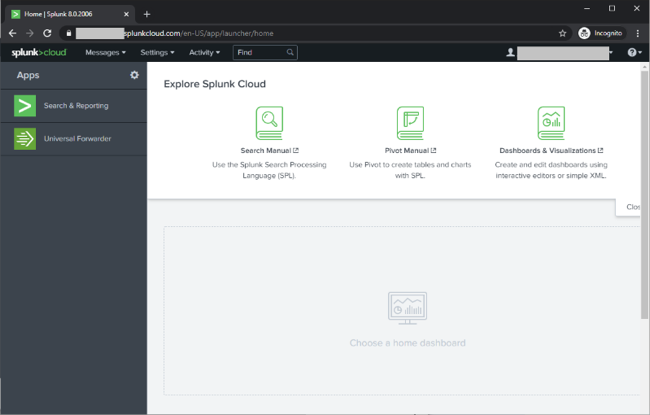
Sign on to Splunk Cloud as an administrator.
-
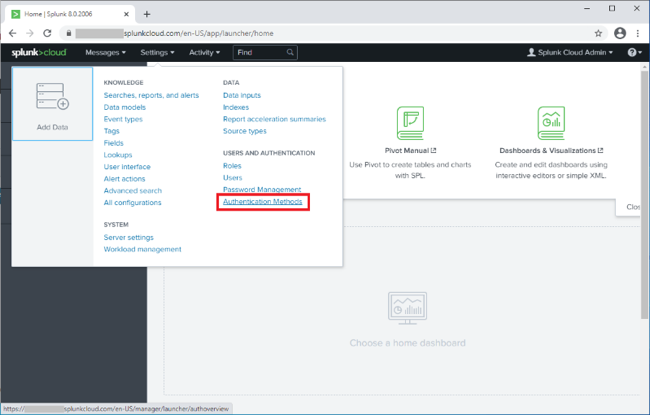
From the top navigation bar, click Settings.
-
Click Authentication Methods.
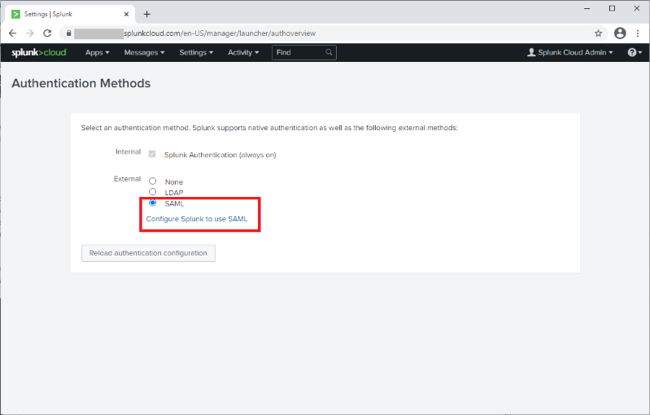
-
Click SAML, and then click Configure Splunk to use SAML.
-
Note the warning and save the Direct Login URL so that you can use it in the event of integration errors.
-
On the Metadata XML File row, click Select File, and select the PingOne for Enterprise metadata that you exported.
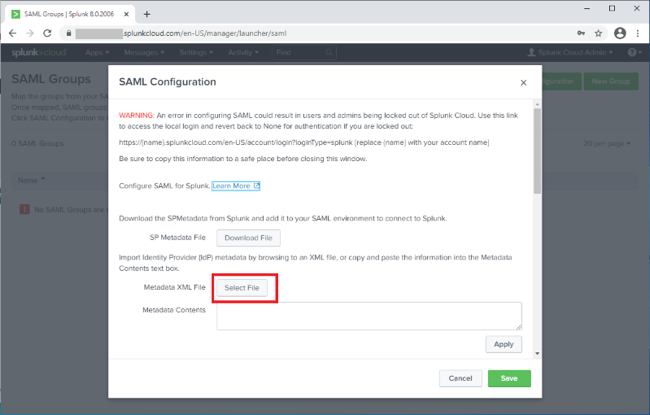
-
Review the configuration you loaded from the metadata.
-
Set the Entity ID to the one that you configured in PingOne for Enterprise when you created the SP configuration, such as
splunkEntityId. -
Set the Role alias to the value that you configured in PingOne for Enterprise for the SSO Attribute Mapping. For example,
Role.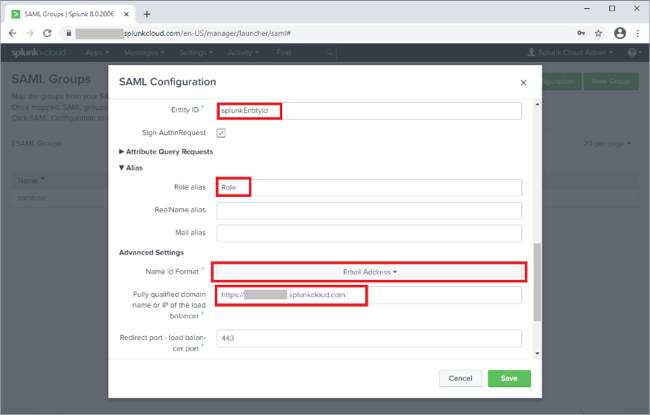
-
Set the Name ID Format to Email Address.
-
Ensure the fully qualified domain name parameter, and port parameter matches that of your Splunk Cloud instance.
For example:
-
Fully Qualified Domain Name:
https://tenant.splunkcloud.com -
Port:
443
-
-
Click Save.
-
Go to Settings → Authentication Methods → SAML Settings.
-
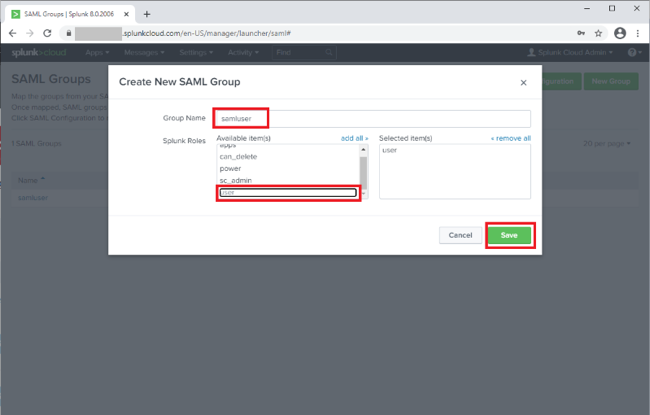
Click New Group and configure the following settings:
Setting Value Name
samluserThis value should match the role you’re passing from PingOne for Enterprise in the SSO Attribute Mapping.
Role
user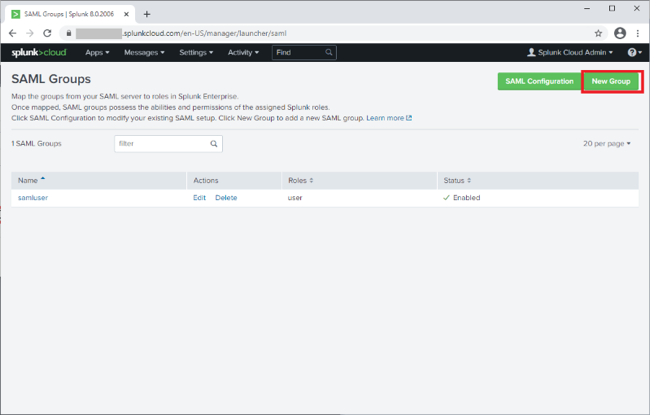
-
Click Save.
-
Create additional groups as required to meet requirements.
The configuration is complete.
Test the PingOne for Enterprise IdP-Initiated SSO integration
-
Go to the Single Sign-On (SSO) URL in the PingOne for Enterprise application configuration and perform IDP initiated SSO.
https://sso.connect.pingidentity.com/sso/sp/initsso?saasid=saasid&idpid=idpid