Configuring SAML SSO with AWS IAM and PingOne for Enterprise
Enable AWS sign-on from the PingOne for Enterprise console (IdP-initiated sign-on).
Before you begin
-
Link PingOne for Enterprise to an identity repository containing the users that require application access.
-
Populate AWS with at least one user to test application access.
-
You must have administrative access to PingOne for Enterprise and AWS.
Set up the AWS Application in PingOne for Enterprise and extract the metadata
-
Sign on to PingOne for Enterprise and go to Applications → Application Catalog.
-
In the Application Catalog, search for
Amazon Web Services. -
Click the right arrow to expand the Amazon Web Services entry and then click Setup.

-
Click Continue to Next Step twice.
-
Map SAML_SUBJECT to the attribute containing the username value.

-
Click Advanced.
-
Set Name ID Format to sent to SP to
urn:oasis:names:tc:SAML:2.0:nameid-format:persistent.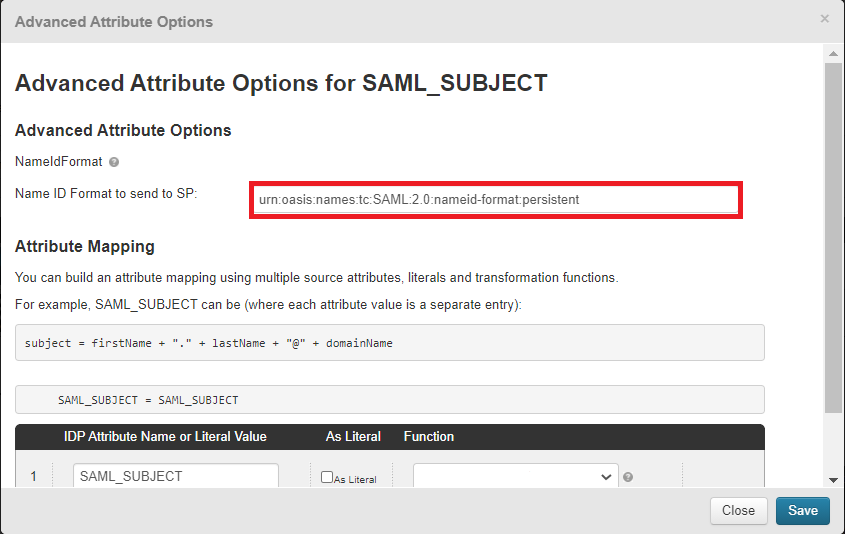
-
Click Save.
-
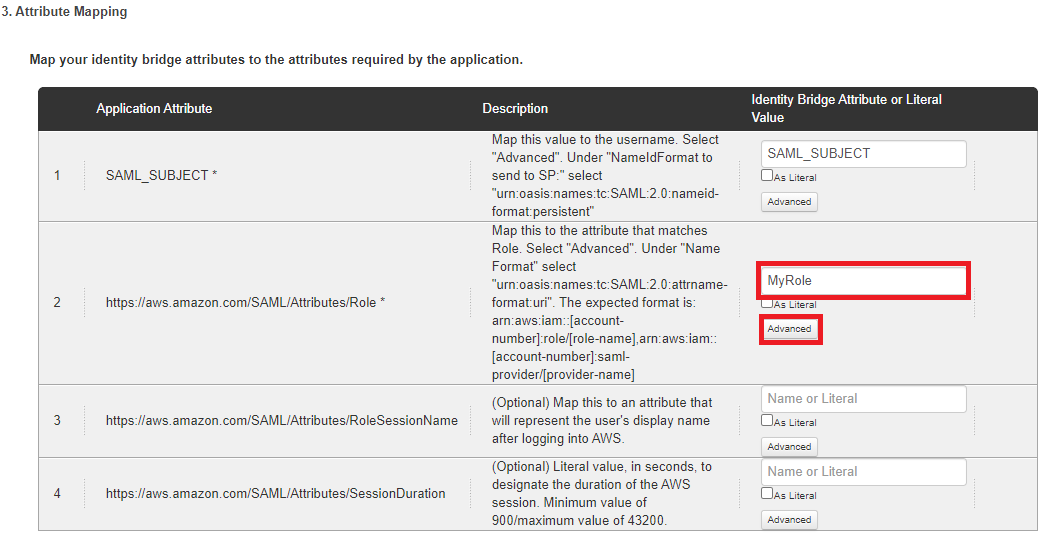
Map the AWS Role attribute to a fixed value or your attribute holding the user’s AWS role name.
-
Click Advanced.
-
Set NameFormat to
urn:oasis:names:tc:SAML:2.0:attrname-format:uri.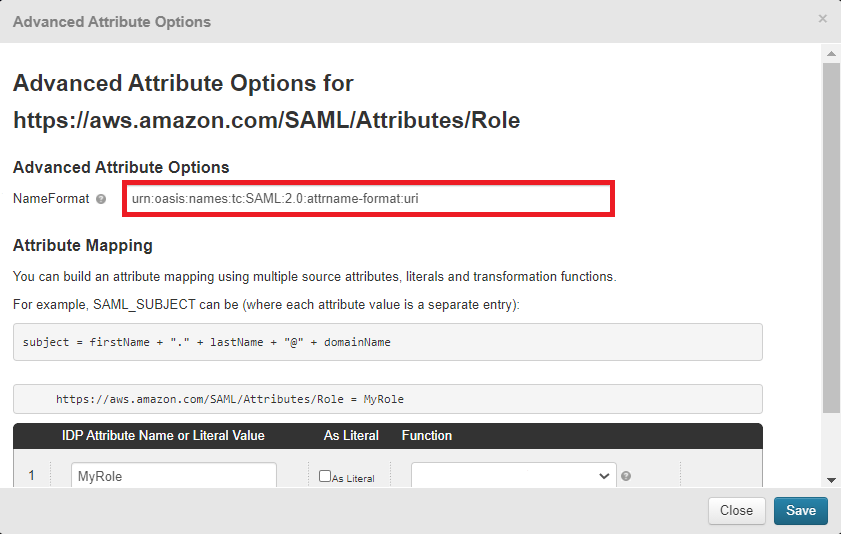
-
Click Save.
-
Click Continue to Next Step twice.
-
Click Add for each user group that you want to have access to AWS.
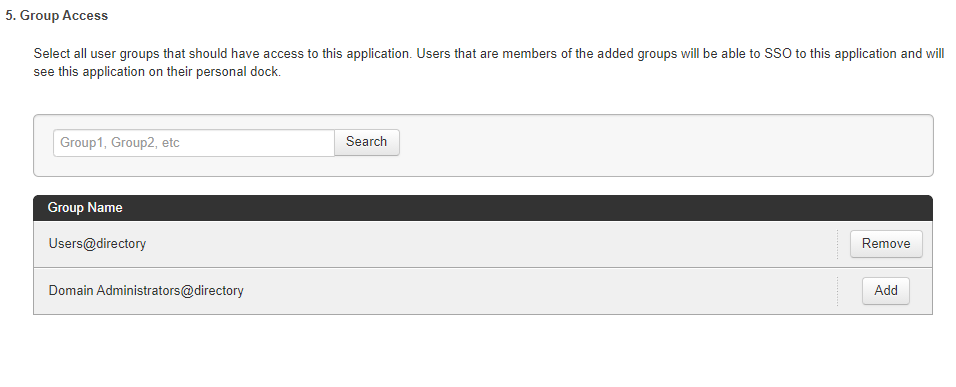
-
Download the metadata.
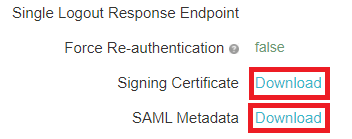
-
Click Finish.
Add the PingOne for Enterprise IdP connection to AWS
-
Sign on to your AWS console as an administrator.
-
Select the IAM service.
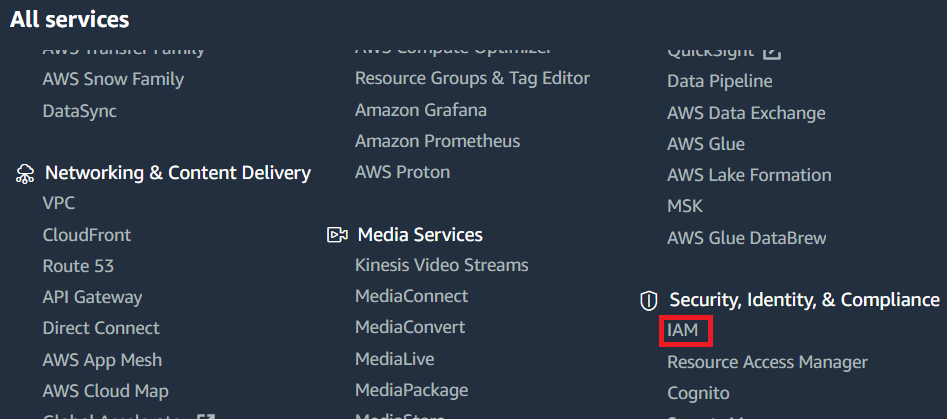
-
Go to Access Management → Identity Providers and click Add Provider.

-
Set the following:
-
Provider Type: SAML
-
Provider Name: PingOne for Enterprise
-
Metadata Document: Select the PingOne for Enterprise metadata download file
-
-
Continue through to the final screen and click Create.
-
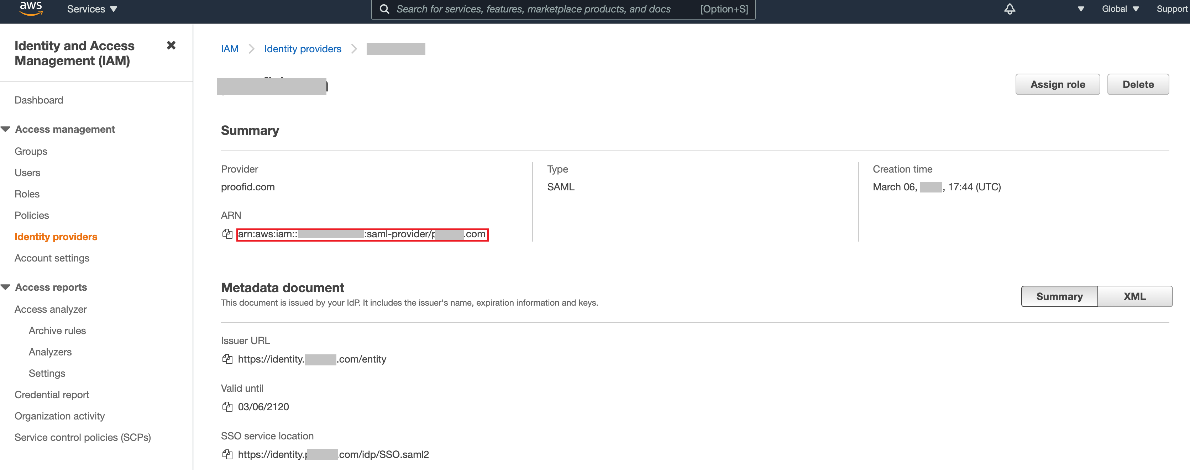
Copy the ARN value of the provider.
-
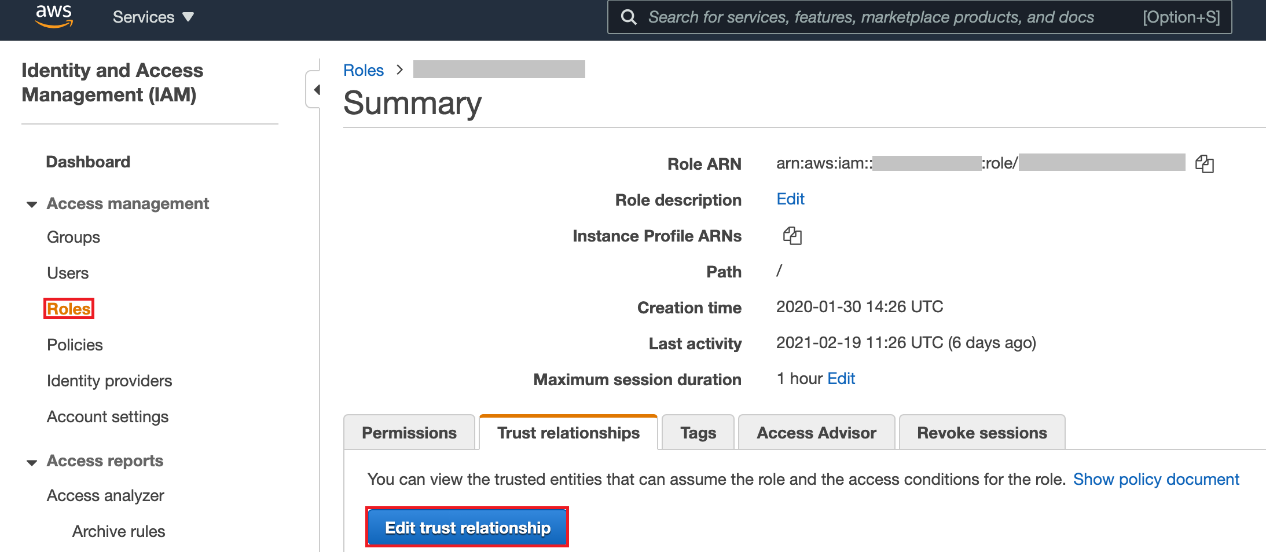
Select Roles from the side menu, and then select the role that you want PingOne for Enterprise SSO to have access to.
-
Click the Trust Relationship tab.
-
Click Edit Trust Relationship.
-
Add the provider ARN value that you copied previously to the policy for the role.

