Configuring SAML SSO with Coupa and PingOne for Enterprise
Learn how to enable Coupa sign-on from the PingOne for Enterprise console (IdP-initiated sign-on) and direct Coupa sign-on using PingOne for Enterprise (SP-initiated sign-on).
Before you begin
-
Link PingOne for Enterprise to an identity repository containing the users requiring application access.
-
Populate Coupa with at least one user to test access.
-
You must have administrative access to PingOne for Enterprise and Coupa.
Download the Coupa metadata
-
Sign on to your Coupa Admin organization as an administrator.
-
Go to
https://your_site.coupahost.com/administration/security. -
Select the Sign in using SAML check box.
-
Click the Download and import SP metadata link.
-
Save the Coupa metadata.
Set up the Coupa application in PingOne for Enterprise and extract the metadata
-
Sign on to PingOne for Enterprise for Enterprise and go to Applications → Application Catalog.
-
Search for
Coupa. -
Expand the Coupa entry and click the Setup icon.

-
Copy the IdP ID value.

-
Click Continue to Next Step.
-
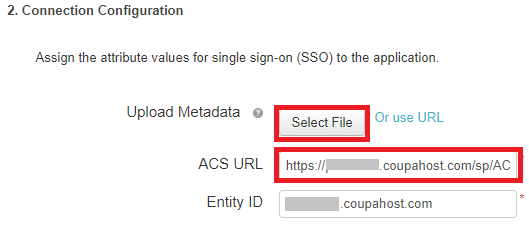
Click Select File and upload the Coupa metadata file.
-
Edit the ACS URL to add a relay state parameter to enable IdP initiated sign-on.
https://your-environment.coupahost.com/sp/ACS.saml2?RelayState=https://your-environment.coupahost.com/sessions/saml_post -
Click Continue to Next Step.
-
Ensure SAML_SUBJECT is mapped to the field containing a user’s email address.

-
Click Continue to Next Step twice.
-
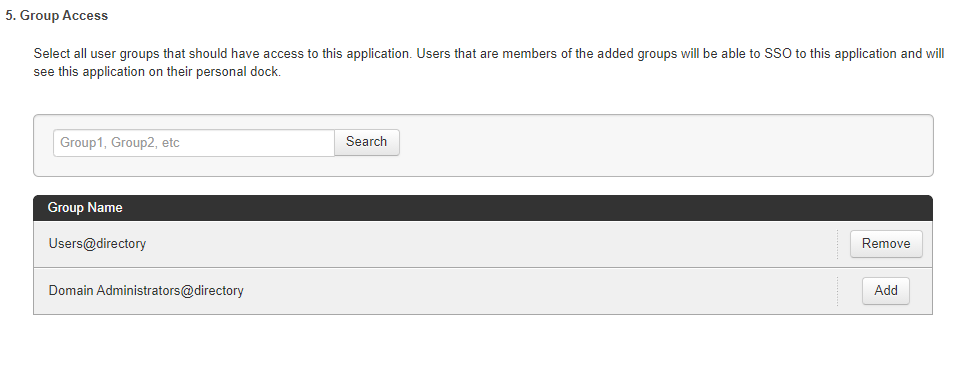
Click Add for all user groups that should have access to Coupa.
-
Click Continue to Next Step.
-
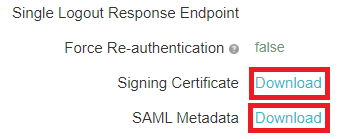
Download the PingOne for Enterprise SAML metadata and signing certificate.
-
Click Finish.
Add the PingOne for Enterprise IdP connection to Coupa
-
Sign on to your Coupa Admin organization as an administrator.
-
Go to
https://your_site.coupahost.com/administration/security. -
Ensure the Sign in using SAML check box is selected.
-
In the Upload IdP metadata section, click Choose File, select the PingOne for Enterprise metadata, and import the file.
-
Confirm that the Login Page URL field has the IdP ID value from PingOne for Enterprise.
https://your site.coupahost.com/sp/startSSO.ping?PartnerIdpId=PingOne for Enterprise IdP ID value&TARGET=https://your site.coupahost.com/sessions/saml_post -
In the Certificate field, upload the PingOne for Enterprise signing certificate.
-
Click Save.
-
Click the Users tab and edit the users who will use SAML authentication.
-
Set Single Sign-On ID to the value users will use to sign on, for example, their email address.
-
Set Authentication method to SAML.
-
Click Save.
