Configuring SAML SSO with Osano and PingOne
Learn how to enable Osano sign-on from the PingOne console (IdP-initiated sign-on) and direct Osano sign-on using PingOne (SP-initiated sign-on).
Before you begin
-
Link PingOne to an identity repository containing the users requiring application access.
-
Populate Osano with at least one user to test access.
-
You must have administrative access to PingOne and an Admin account for an Enterprise Organization on Osano.
Add the Osano application to PingOne
-
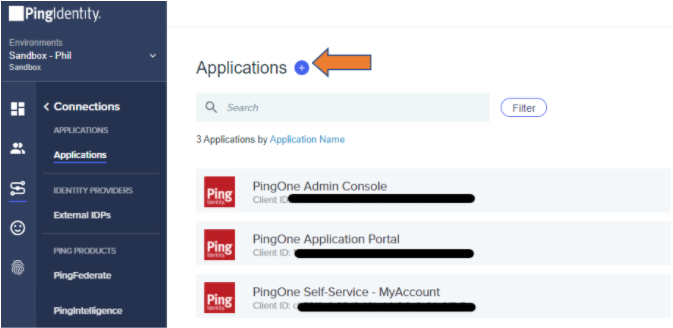
In PingOne, in the left menu, click Connections, then Applications.
-
To add a new application, click the + icon next to the Applications heading.

-
Select Web App when prompted to select an application type and click Configure next to SAML for the chosen connection type.
-
Enter
Osanoas the application name. -
Enter a suitable description.
-
Upload an icon if desired.
-
Click Next.
-
For Provide App Metadata, select Manually Enter.
-
For ACS URL, enter the value:
https://auth.osano.com/saml2/idpresponse. -
Select the Signing Key to use and click Download Signing Certificate to download as X509 PEM (
.crt). -
For Entity ID, enter the value:
urn:amazon:cognito:sp:us-east-1_7GtagkRKw.Leave SLO Endpoint and SLO Response Endpoint blank. Osano does not support single logout (SLO).
-
In the Subject NameID Format list, select urn:oasis:names:tc:SAML:1.1:nameid-format:emailAddress.
-
Set a suitable value for Assertion Validity Duration (in seconds). A value of 300 seconds is typical.
-
Click Save and Continue.
-
Change the saml_subject attribute to Email Address.
Osano expects an email address to identify a user in the SSO security assertion.
-
Select Add Attribute and Ping One Attribute and enter
http://schemas.xmlsoap.org/ws/2005/05/identity/claims/emailaddressas the Application Attribute.Map this to the PingOne User Attribute for Email Address.
-
Select Add Attribute and Ping One Attribute and enter
http://schemas.xmlsoap.org/ws/2005/05/identity/claims/nameas the Application Attribute.Map this to the PingOne User Attribute for Name.
-
Click Save and Close.
-
Enable user access to this new application by moving the toggle to the right.
-
On the Configuration tab of the newly created Osano application, download the metadata.

Add PingOne as the identity provider (IdP) to Osano
-
Open a Support request with your Osano Support Representative and supply the Metadata File exported in the previous procedure. This file should contain the following:
-
Identity Provider Issuer
-
Identity Provider Single Sign-On URL
-
X.509 Certificate
Osano configures these settings for your account, and the connection is established.
-
Test the PingOne IdP integration
-
Go to the PingOne SSO Application Endpoint for the Osano SP connection.
-
Complete the PingOne authentication.
You’re redirected to your Osano domain.
Test the PingOne SP connection
-
Go to https://my.osano.com, select the option to sign on with SSO, and enter your email address only.
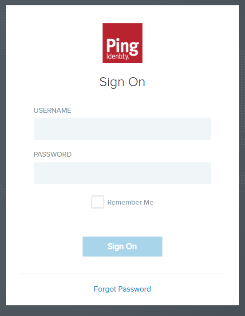
You’re redirected and presented with a PingOne sign on prompt.
-
Enter your PingOne username and password.

After successful authentication, you’re redirected back to Osano and signed on.