Configuring SAML SSO with HubSpot and PingOne for Enterprise
Learn how to enable HubSpot sign-on from the PingOne for Enterprise console (IdP-initiated sign-on) and direct HubSpot sign-on using PingOne for Enterprise (SP-initiated sign-on).
Before you begin
-
Link PingOne for Enterprise to an identity repository containing the users requiring application access.
-
Populate HubSpot with at least one user to test access.
-
You must have administrative access to PingOne for Enterprise and HubSpot.
Obtain the HubSpot SSO details
-
Sign on to HubSpot, click the Gear icon (), and select Account Details in the Settings menu.
-
In the Single Sign-on section, click Set up.

-
Copy the Audience URI and Sign on URL, ACS, Recipient, or Redirect values.
Add the HubSpot application to PingOne for Enterprise
-
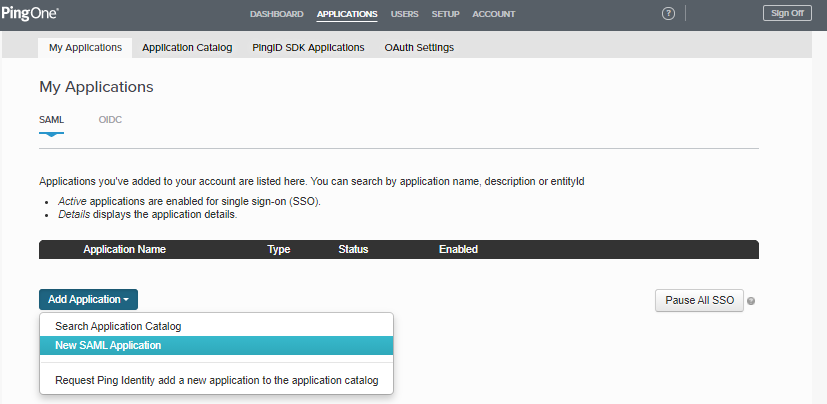
Sign on to PingOne for Enterprise and go to Applications → My Applications.
-
On the SAML tab, click Add Application.
-
For the application name, enter
HubSpot. -
Enter a suitable description.
-
For the category, select CRM.
-
Click Continue to Next Step.
-
Set Assertion Consumer Service (ACS) to the HubSpot Sign on URL, ACS, Recipient, or Redirect value and Entity ID to the HubSpot Audience URI value.
-
Click Continue to Next Step.
-
HubSpot needs the email passed in.
-
If you use an email address to sign on using PingOne for Enterprise, click Continue to Next Step.
-
If you sign on with a username, enter your email attribute in the SAML_SUBJECT mapping, then click Continue to Next Step.

-
-
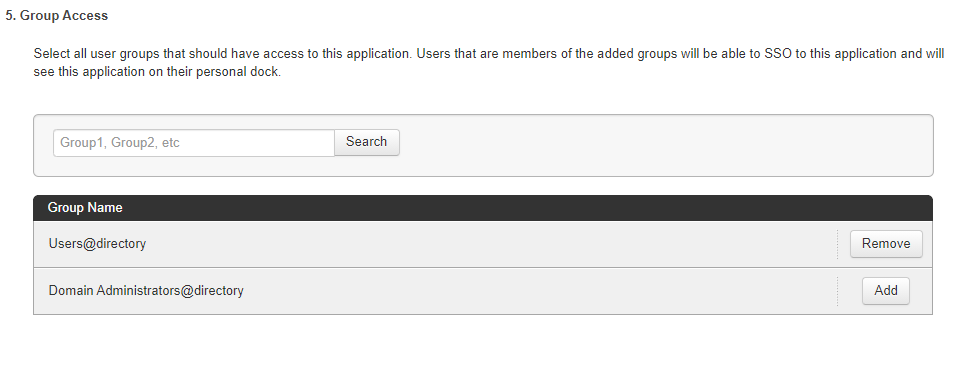
Click Add for all user groups that should have access to HubSpot.
-
Click Continue to Next Step.
-
Copy and save the Issuer and Initiate Single Sign-On (SSO) URL values.

-
Download the PingOne for Enterprise signing certificate.

-
Click Finish.
Add the PingOne for Enterprise connection to HubSpot
-
Sign on to HubSpot, click the Gear icon (), select Account Details from the Settings menu, and open the Single Sign-on settings.
-
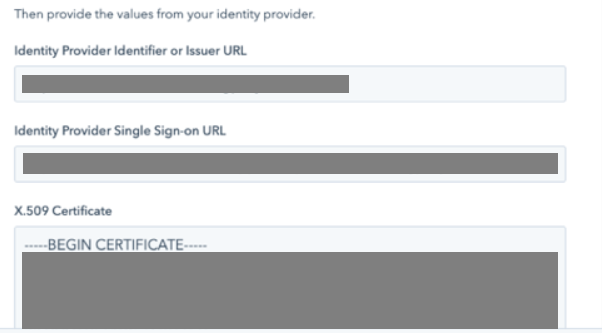
In the Identity Provider Identifier or Issuer URL field, enter the PingOne for Enterprise Issuer value.
-
In the Identity Provider Single Sign-on URL field, enter the PingOne for Enterprise Initiate Single Sign-On (SSO) URL value.
-
Paste the PingOne for Enterprise signing certificate into the X.509 Certificate field.
-
Click Verify.
-
In the sidebar menu, click Account Defaults.
-
In the Single Sign-on (SSO) section, select the Require Single Sign-on to log in check box.

The user setting this up is automatically excluded to ensure that their access is not lost in case of setup issues.
Test the PingOne for Enterprise IdP-initiated SSO integration
-
Go to your PingOne for Enterprise desktop as a user with HubSpot access.
To find the PingOne for Enterprise desktop URL in the Admin console, go to Setup → Dock → PingOne Dock URL.
-
Complete PingOne for Enterprise authentication.
You’re redirected to your HubSpot domain.

Test the PingOne for Enterprise SP-initiated SSO integration
-
Go to https://app.hubspot.com/login/sso.
You’re redirected to PingOne for Enterprise.
-
Enter your PingOne for Enterprise username and password.
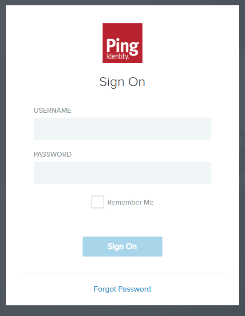
After successful authentication, you’re redirected back to HubSpot.
