Configuring SAML SSO with Microsoft 365 and PingOne for Enterprise
Learn how to enable Microsoft 365 sign-on from the PingOne for Enterprise console (IdP-initiated sign-on) and direct Microsoft 365 sign-on using PingOne for Enterprise (SP-initiated sign-on).
Before you begin
-
Link PingOne for Enterprise to an identity repository containing the users requiring application access. Learn more in Connecting to an identity repository in the PingOne for Enterprise documentation.
-
Make sure Microsoft 365 has a valid, non-default domain and is populated with at least one AD synced user in that domain to test access.
-
You must have administrative access to PingOne for Enterprise and Microsoft 365.
-
You must have access to run the Microsoft Azure Active Directory Module for Windows PowerShell.
Obtain the PingOne for Enterprise values for the Microsoft 365 application
-
Sign on to PingOne for Enterprise and go to Applications → Application Catalog.
-
Search for
Microsoft 365. -
Expand the Microsoft 365 entry and click the Setup icon.

-
Click Continue to Next Step.
-
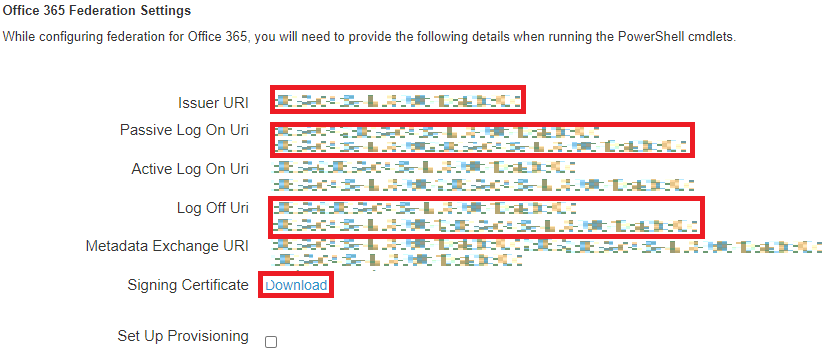
Copy the Issuer URI, Passive Log On Uri, and Log Off Uri values.
-
Download the signing certificate.
Add the PingOne for Enterprise IdP Connection to Microsoft 365
-
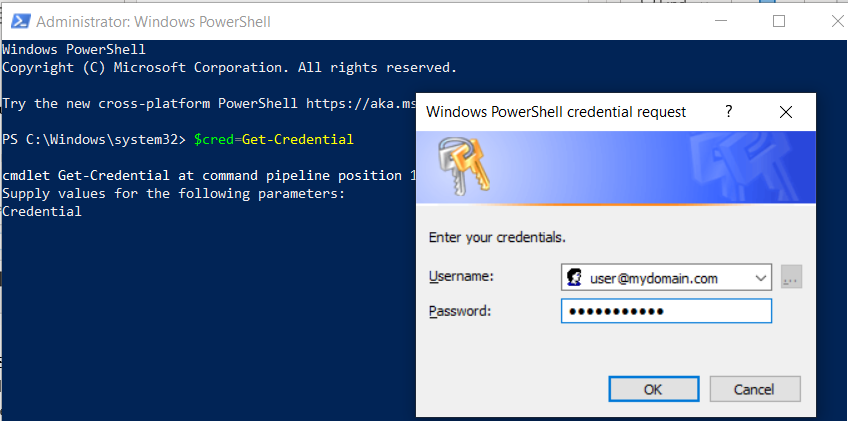
Open an elevated Windows PowerShell Command Prompt window on any internet-connected computer and type:
$cred = Get-Credential -
Enter the username and password of your Microsoft 365 administrator account in the pop-up.
-
Connect with
MsolService.Connect-MsolService -Credential $cred -
List your domains.
Get-MsolDomain -
Enter the domain for which you would like to enable SSO.
$dom = "your-O365-domain" -
Set the
uriparameter to the PingOne for Enterprise Issuer URI value.$uri ="your-Issuer-URI" -
Set the
urlparameter to the PingOne for Enterprise Passive Log On Uri value.$url="your-Passive-Log-On-Uri" -
Set the
logouturlparameter to the PingOne for Enterprise Log Off Uri value.$logouturl="your-Log-Off-Uri" -
Open the downloaded signing certificate in Notepad, copy the encoded contents, and paste them into the command below to set the certificate parameter.
$cert=your-certificate-contents -
Run the following command to set up SAML SSO for your domain.
Set-MsolDomainAuthentication ` -DomainName $dom ` -FederationBrandName $dom ` -Authentication Federated ` -PassiveLogOnUri $url ` -SigningCertificate $cert ` -IssuerUri $uri ` -LogOffUri $logouturl ` -PreferredAuthenticationProtocol SAMLP -
Run the following command to see the completed SSO settings.
Get-MSolDomainFederationSettings -DomainName "your-O365-domain" | Format-List *
Complete the Microsoft 365 setup in PingOne for Enterprise
-
Continue editing the Microsoft 365 entry in PingOne for Enterprise.
If the session has timed out, complete the initial steps to the point of clicking Setup.
-
Click Continue to Next Step until you reach the Attribute mapping page.
-
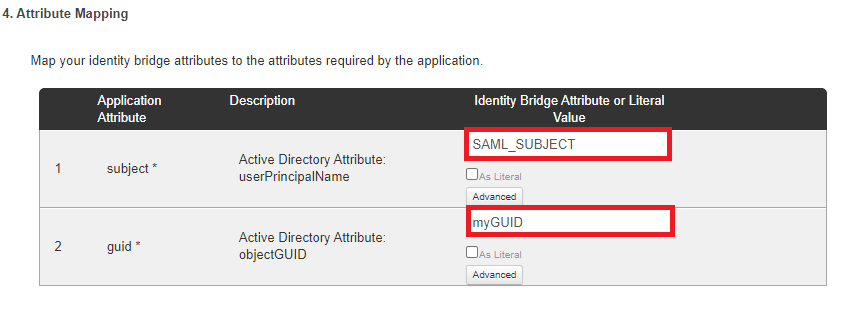
Map subject to SAML_SUBJECT.
-
Map guid to your attribute containing the Microsoft 365 user objectGUID.
-
Click Continue to Next Step twice.
-
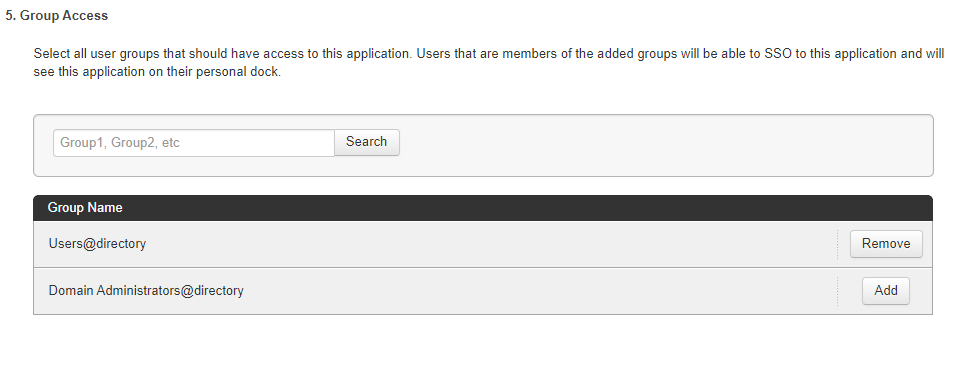
Click Add for all user groups that should have access to Microsoft 365.
-
Click Continue to Next Step.
-
Click Finish.
Test the PingOne for Enterprise IdP-initiated SSO integration
-
Go to your Ping desktop as a user with Microsoft 365 access.
To find the Ping desktop URL in the Admin console, go to Setup → Dock → PingOne Dock URL.
-
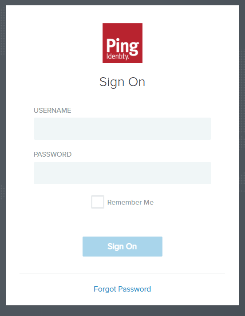
Complete PingOne for Enterprise authentication.
You’re redirected to your Microsoft 365 domain.
Test the PingOne for Enterprise SP-initiated SSO integration
-
Go to https://portal.office.com.
-
Enter your email address.
-
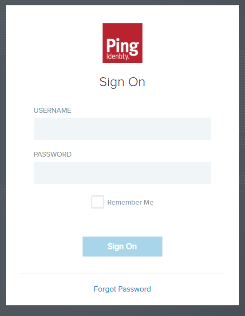
After you’re redirected to PingOne for Enterprise, enter your PingOne for Enterprise username and password.
You’re redirected back to Microsoft 365.