Configuring SAML SSO with Cloudflare and PingFederate
Learn how to direct Cloudflare sign on using PingFederate (SP-initiated sign-on).
Before you begin
-
Configure PingFederate to authenticate against an identity provider (IdP) or datastore containing the users requiring application access.
-
PingFederate’s X.509 certificate should be exchanged to verify the signature in SAML assertions.
-
An Email Attribute is required in the assertion, either the SAML Subject or another SAML attribute per the SAML configuration. The value of the Email Attribute must be a valid email address. It is used to uniquely identify the user in the organization.
-
Populate Cloudflare with at least one user to test access.
Create a PingFederate service provider (SP) connection for Cloudflare:
-
Sign on to the PingFederate administrative console.
-
Create an SP connection for Cloudflare in PingFederate:
-
Configure using Browser SSO profile SAML 2.0.
-
Set Partner’s Entity ID to
https://team name.cloudflareaccess.com/cdn-cgi/access/callback. -
Enable the IDP-Initiated SSO and SP-Initiated SSO SAML profiles.
-
In Assertion Creation: Attribute Contract, select urn:oasis:names:tc:SAML:1.1:nameid-format:emailAddress for SAML_SUBJECT.
-
In Assertion Creation: Authentication Source Mapping: Authentication Source Mapping, map a new Adapter Instance to HTML Form.
-
In Assertion Creation: Authentication Source Mapping: Attribute Contract Fulfillment, map SAML_SUBJECT.
-
In Protocol Settings: Assertion Consumer Service URL, set Binding to POST and set Endpoint URL to
/cdn-cgi/access/callback.This value is received and updated from Cloudflare.
-
In Protocol Settings: Allowable SAML Bindings, enable POST.
-
In Signature Policy, disable Always Sign Assertion and leave Sign Response As Required enabled.
-
In Credentials: Digital Signature Settings, select the PingFederate Signing Certificate, the Include the Certificate in the Signature KEY INFO Element, and the Include the Raw Key in the Signature KEY INFO Element check boxes.
-
-
Save the configuration.
-
Export the signing certificate.
-
Export and then open the metadata file, and copy the value of:
-
The entityID
-
The Location entry (
https://your value/idp/SSO.saml2)
-
Add the PingFederate IdP connection to Cloudflare
-
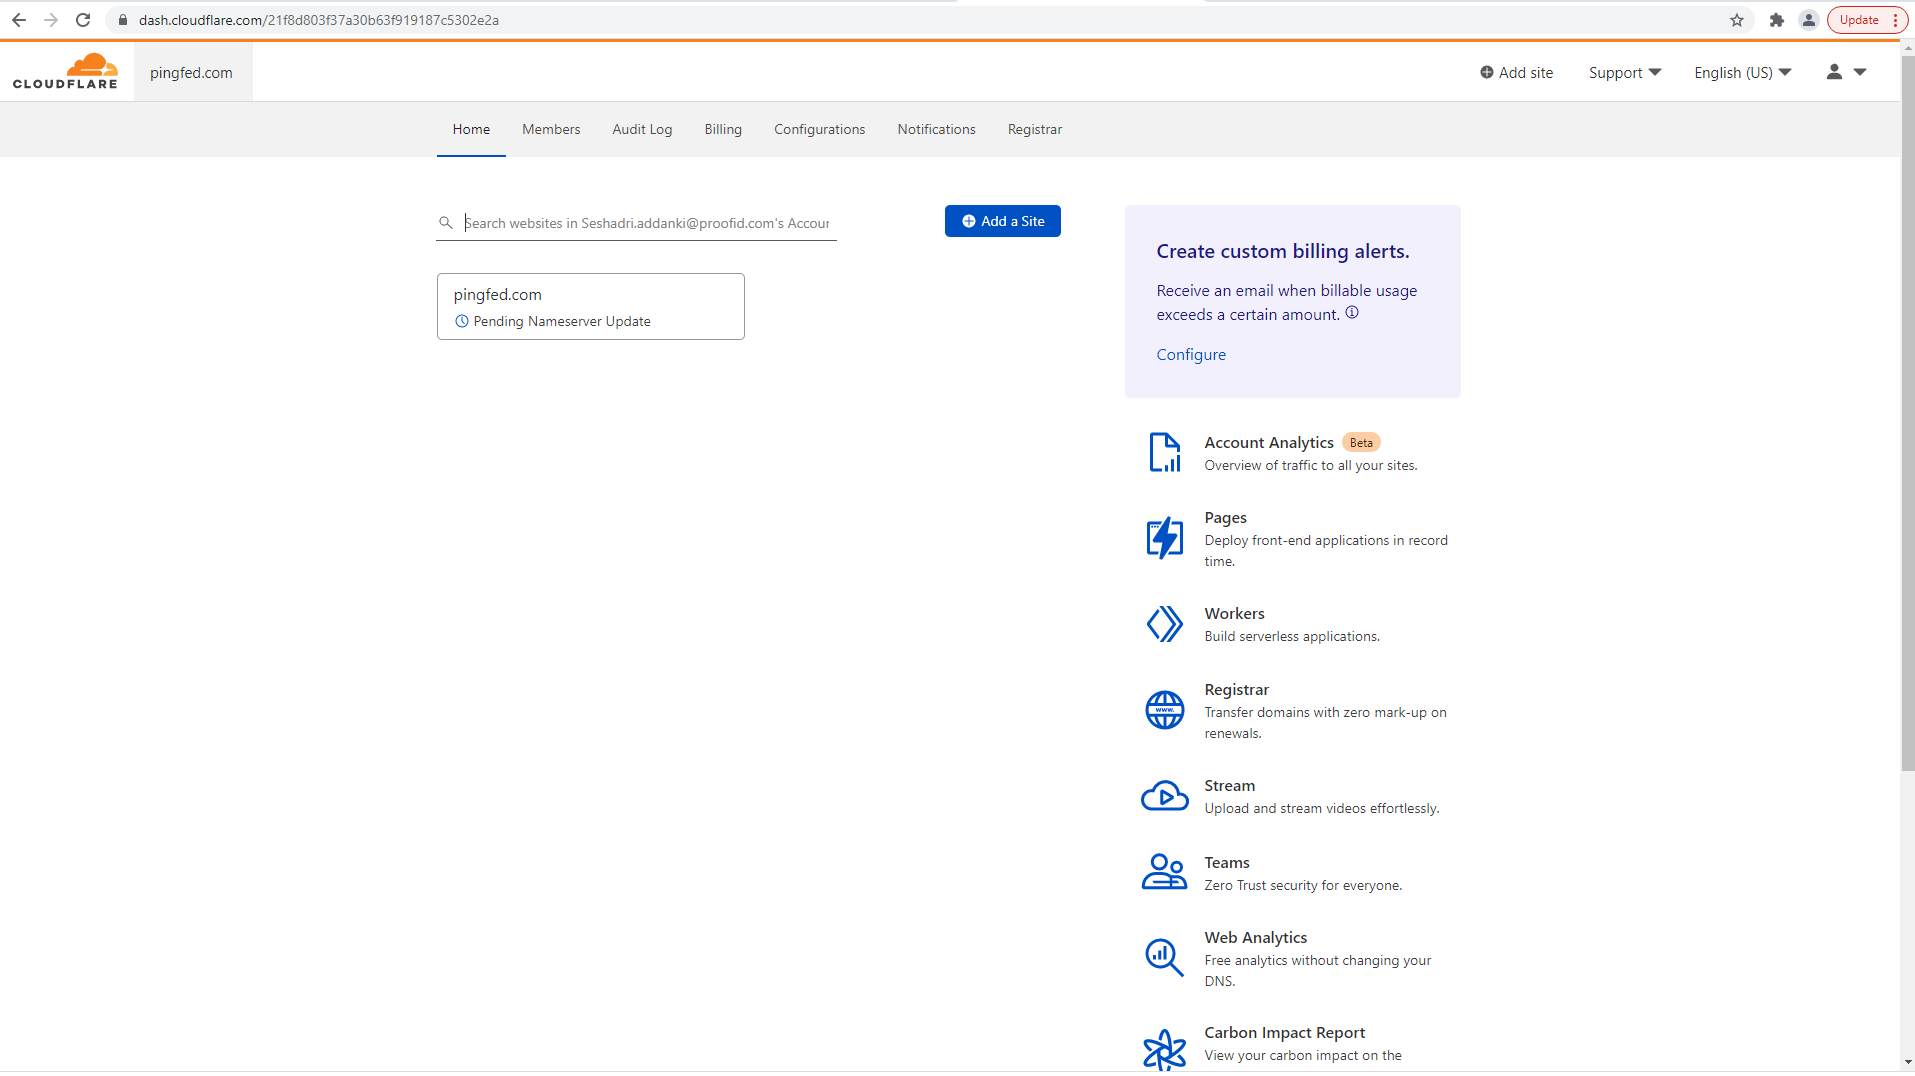
Sign on to the Cloudflare application and click pingfed.com at the top of the page.
-
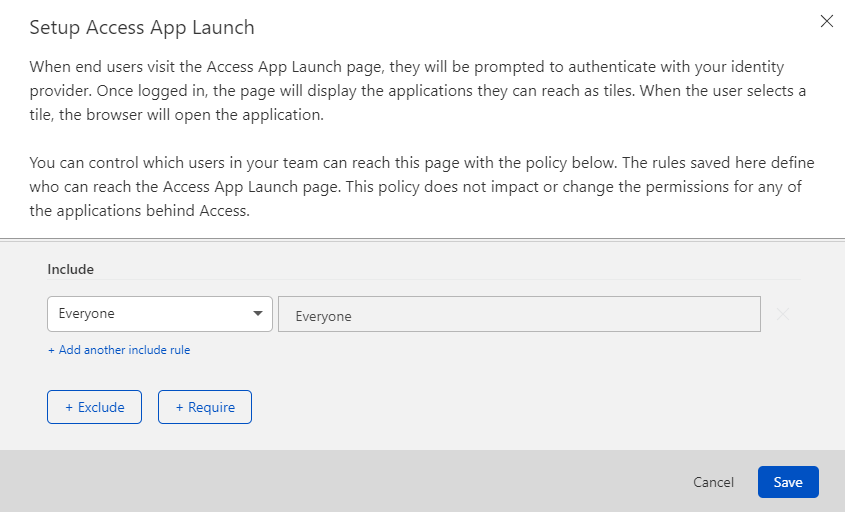
Go to Access → Access App Launch → Setup Access App Launch.
-
Click Save.
-
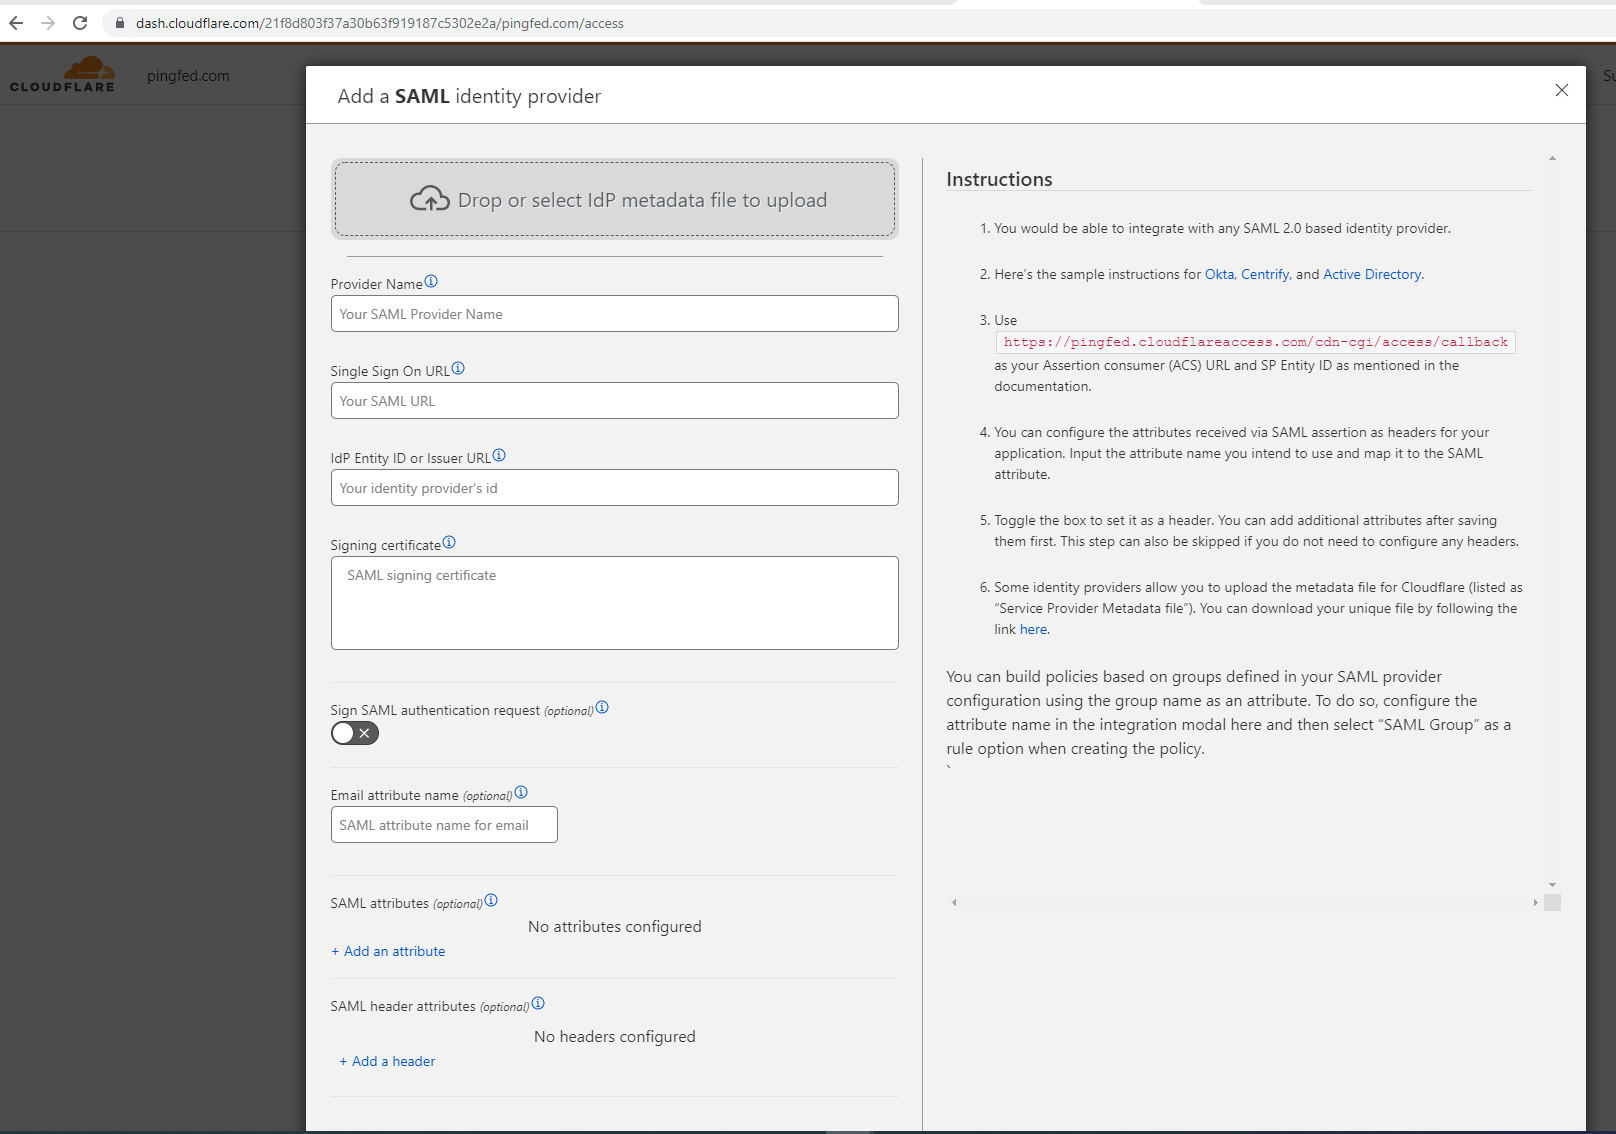
Go to Access → Login Methods → Add → SAML.
-
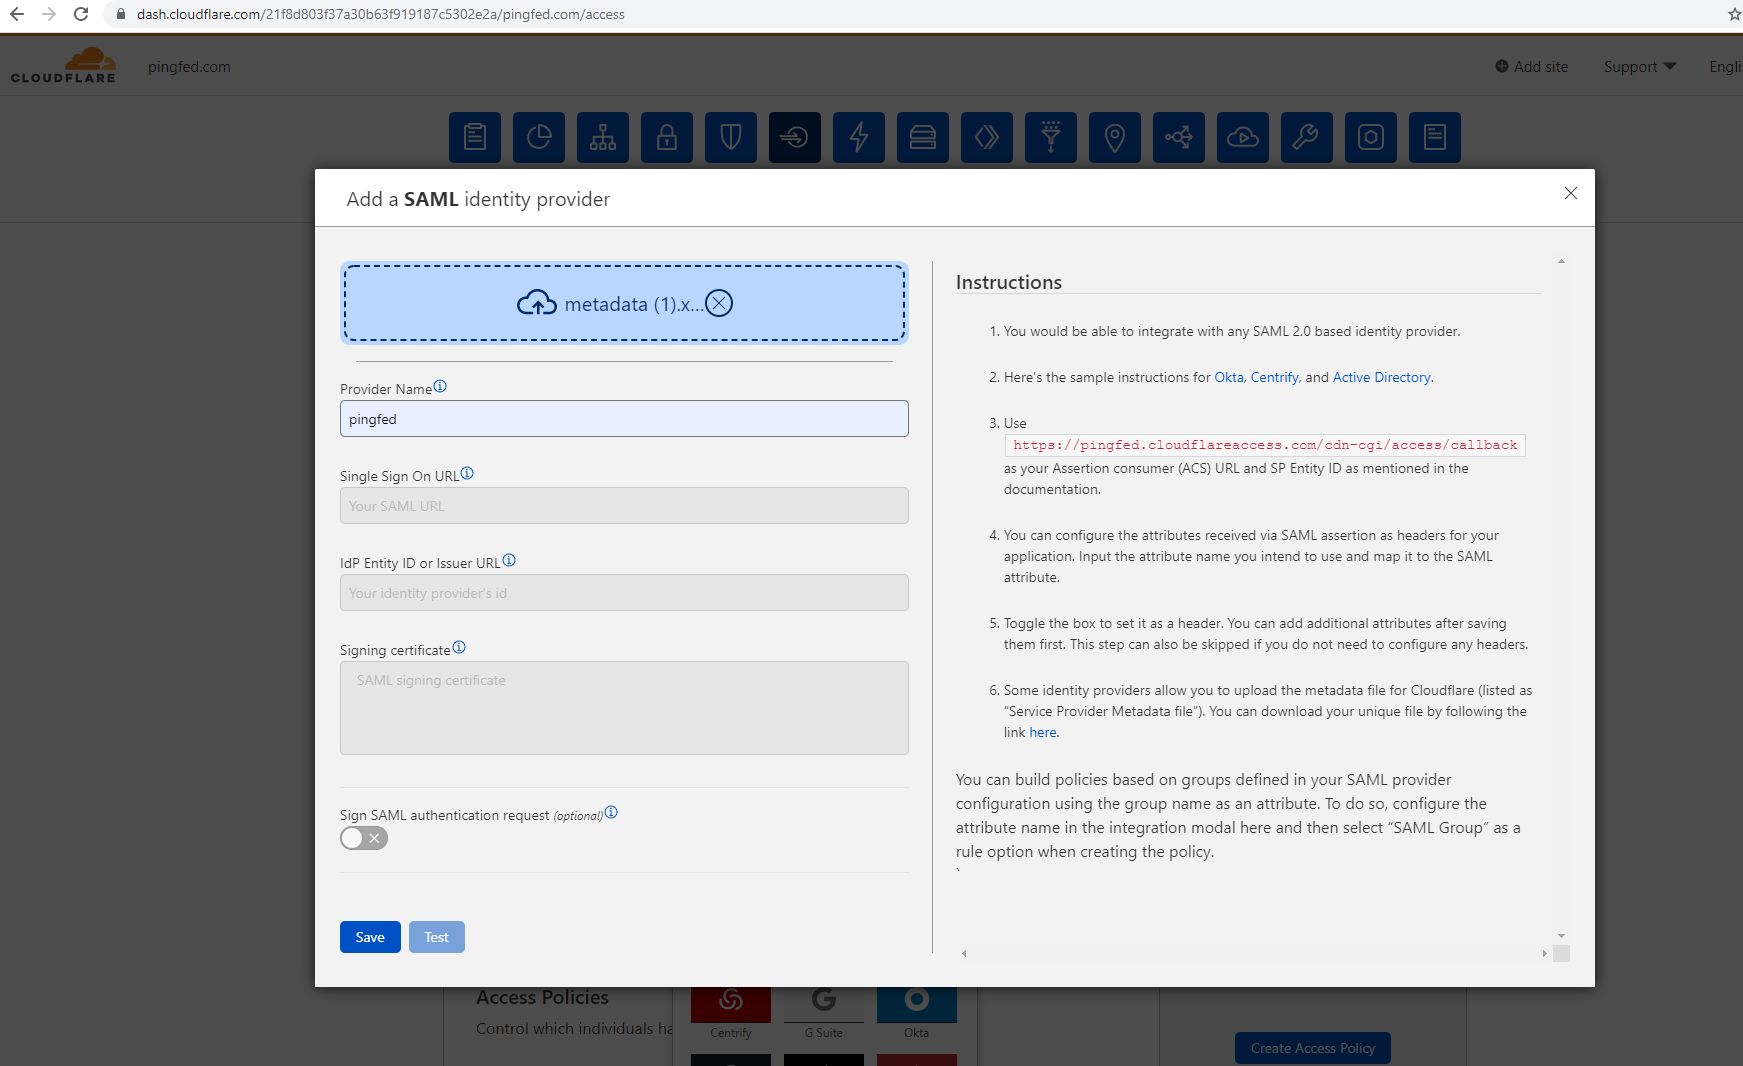
Click Drop or select IdP metadata file to upload to upload the IdP metadata file and enter the Provider Name value.
-
Click Save and close the Login Method page.
-
On the Teams dashboard, go to Settings → Authentication.
-
In the Login methods section, select SAML + Pingfed.
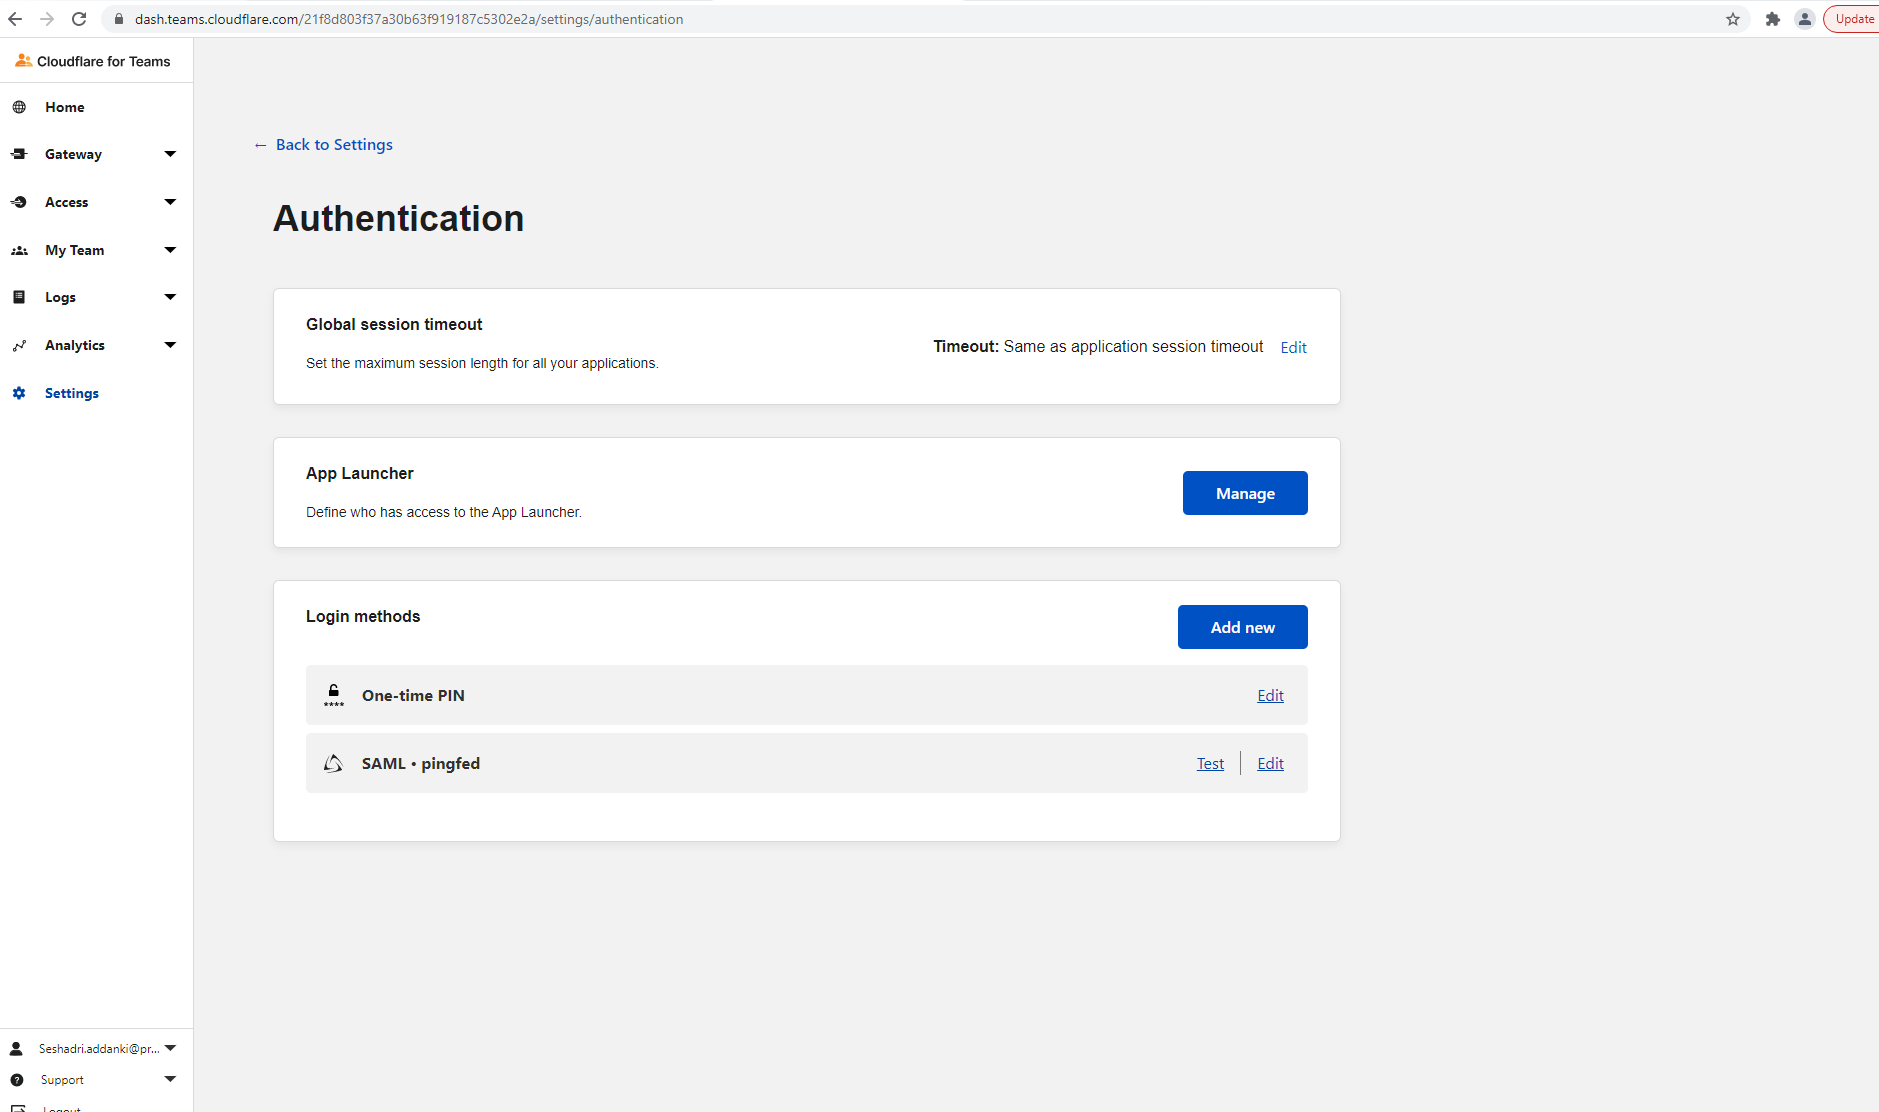
The Cloudflare connection configuration is now complete.
-
Click Test.
-
After the Cloudflare application redirects to PingFederate, enter the credentials.
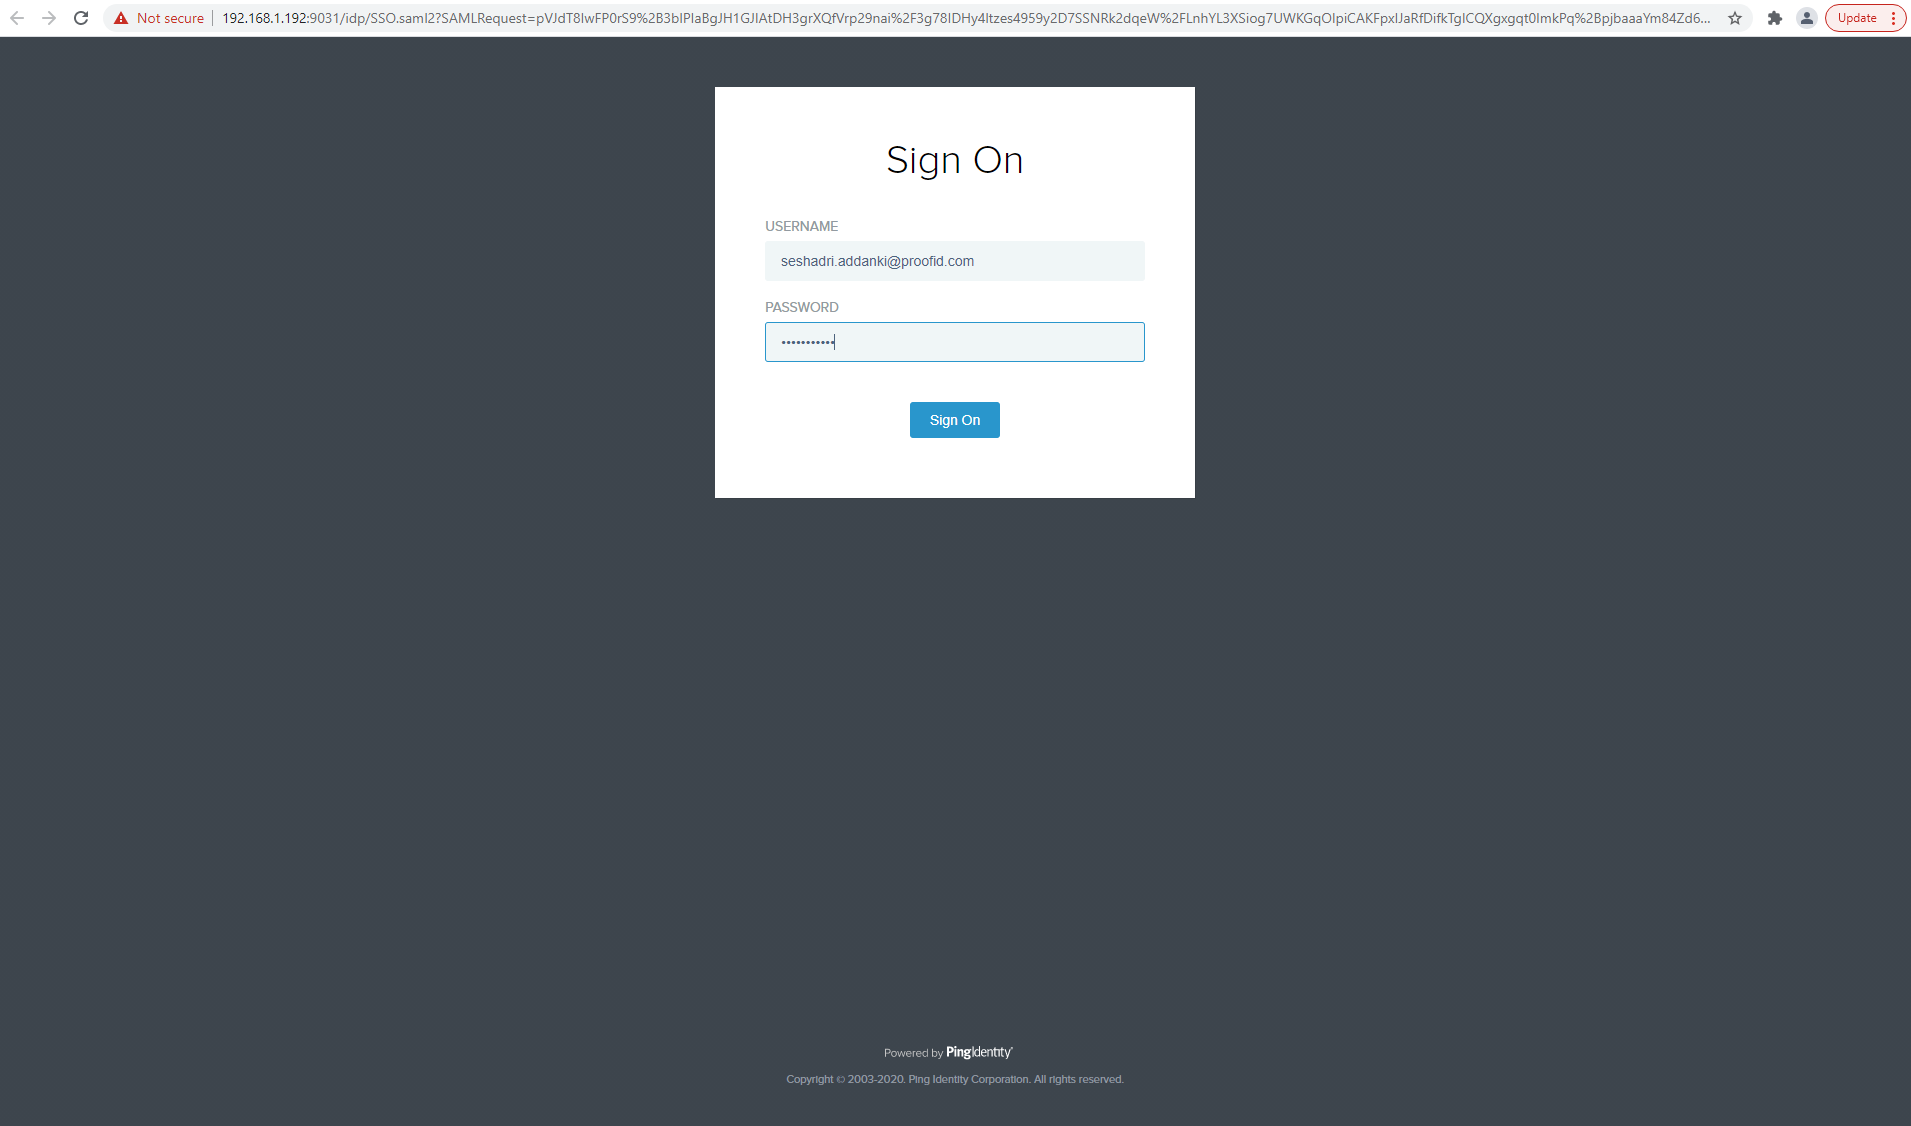
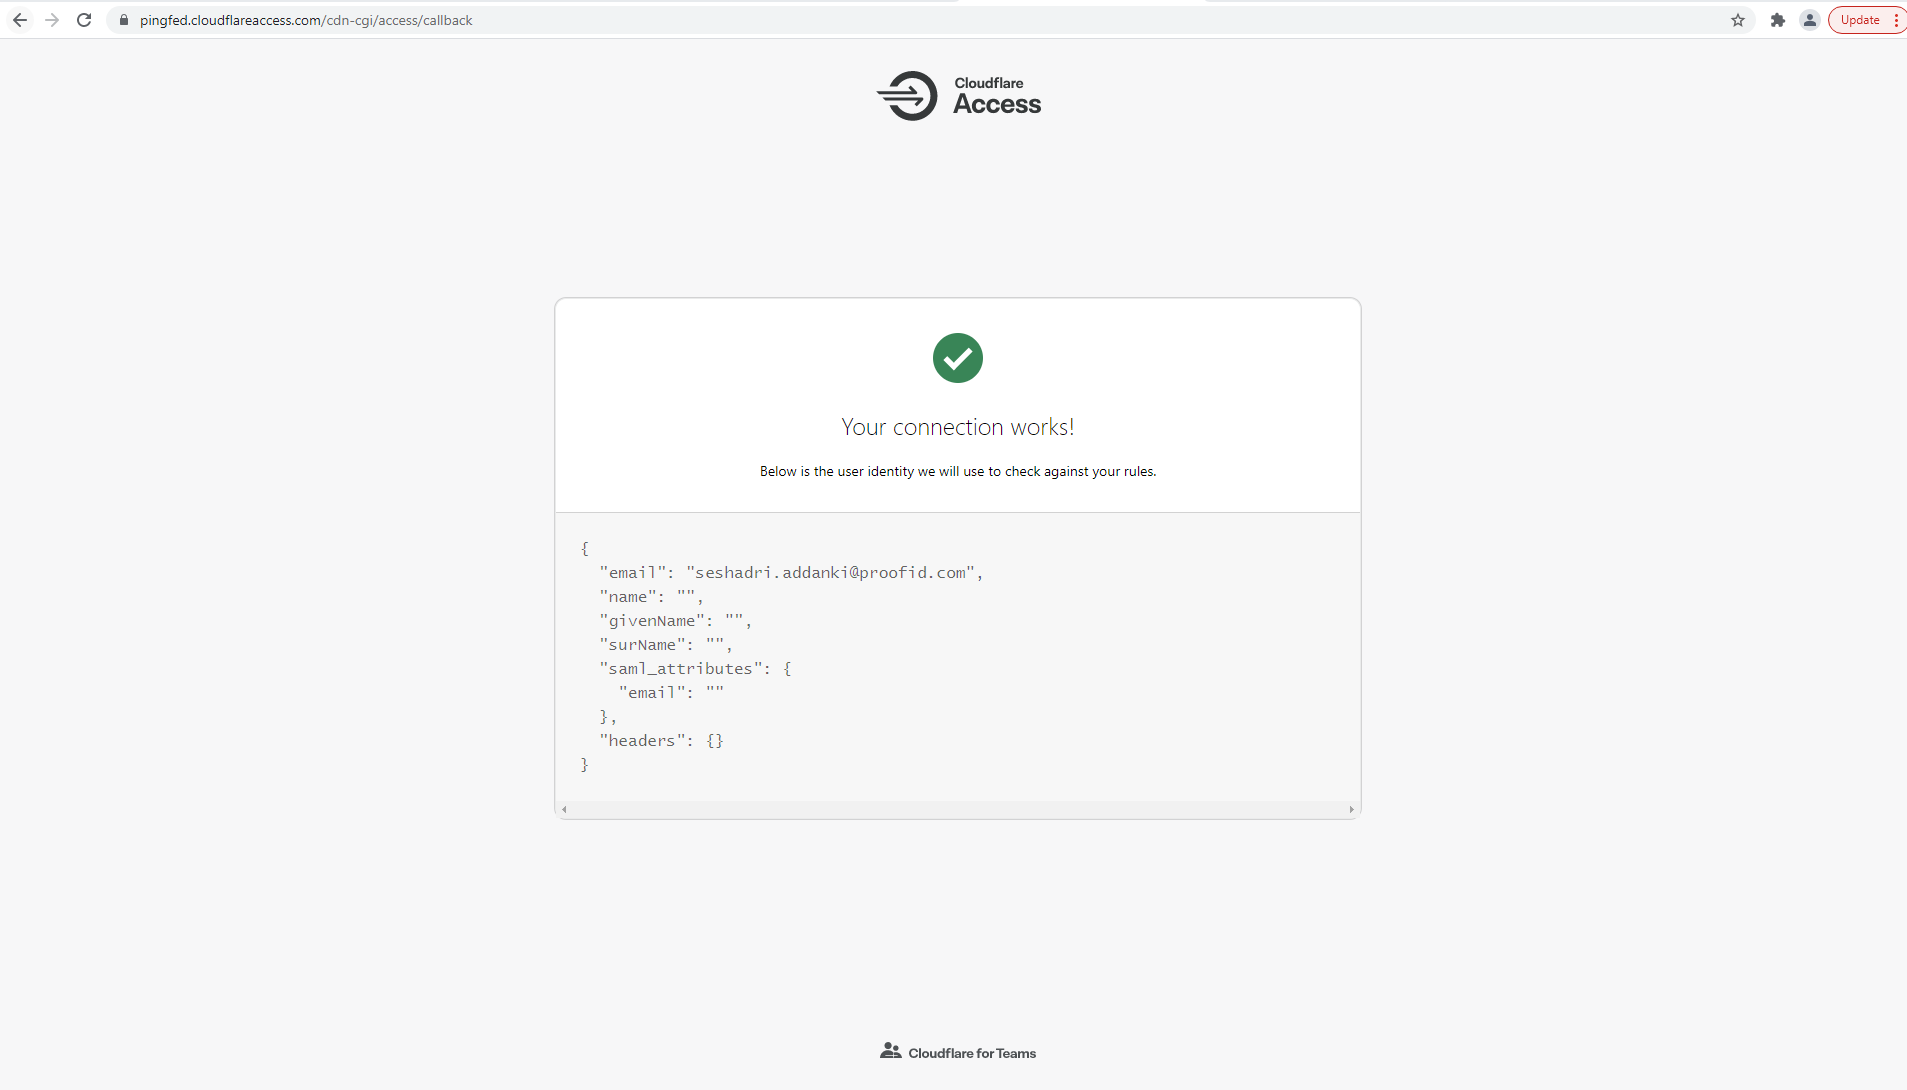
Test the PingFederate SP-initiated SSO integration
-
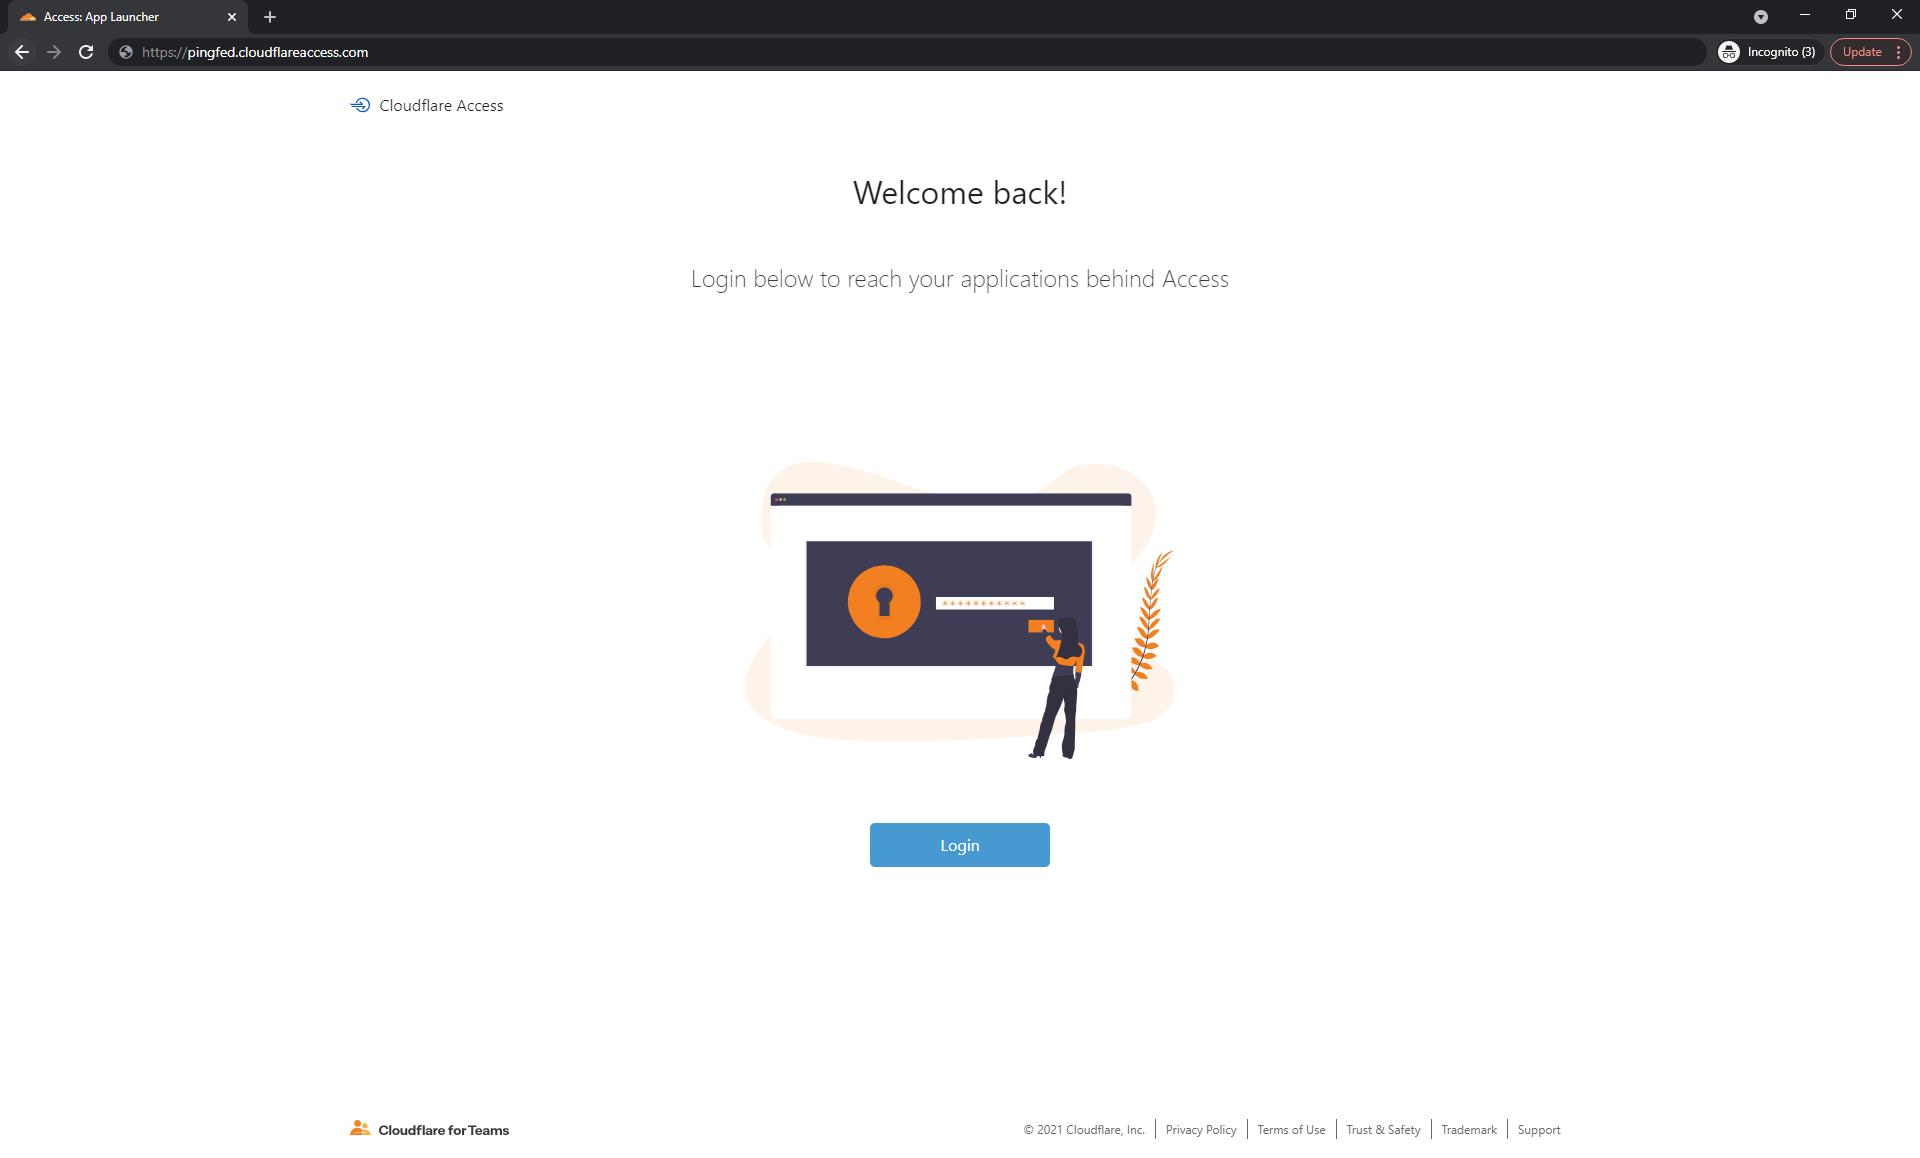
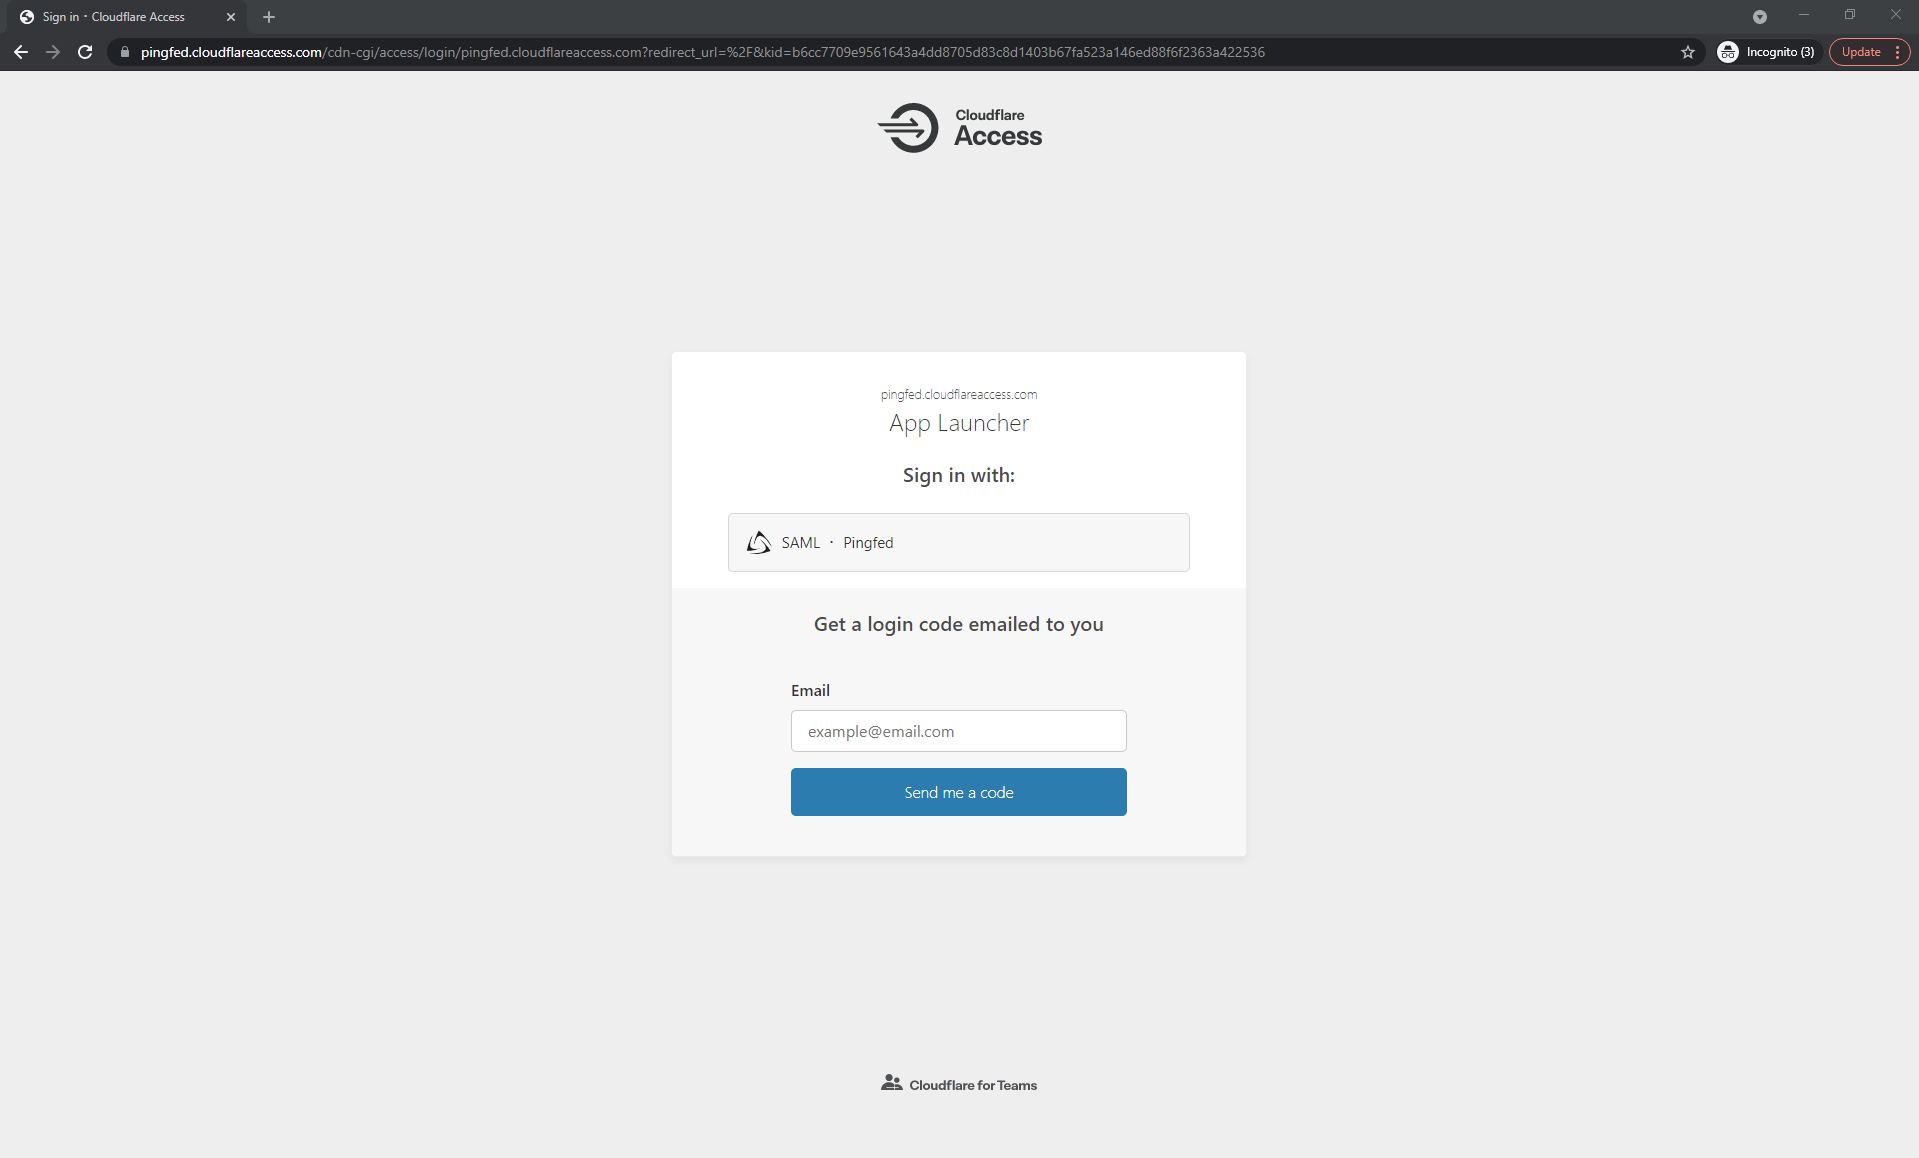
Go to your Cloudflare Authentication Request URL (for example, https://pingfed.cloudflareaccess.com/) and click Login.
-
Click SAML– PingFed.
-
After you’re redirected to PingFederate, enter your PingFederate username and password.
After successful authentication, you’re redirected back to Cloudflare.