Configure direct Salesforce sign on using PingOne (SP-initiated login) plus SLO
Before you begin
-
You must first enable identity provider (IdP)-initiated sign-on.
Enable PingOne authentication in Salesforce
-
Sign on to your Salesforce domain as an administrator.
-
Click the Gear icon, then go to Setup → Company Settings → My Domain.

-
Make a note of your domain name, for example,
https://your-company.my.salesforce.com -
In the Authentication Configuration section, click Edit.
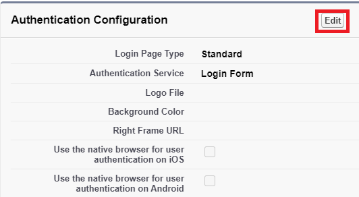
-
In the Authentication Service list, select PingOne. Click Save.
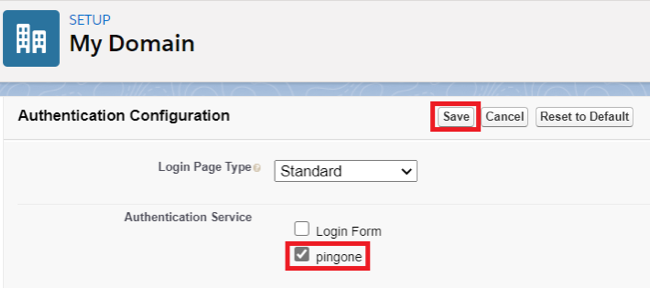
This entry was created as a result of the IdP-initiated sign-on task.
Configuration is complete.
|
Salesforce will now redirect to PingOne for authentication of all new sessions. You should also select the Login Form check box during the testing phase in case of authentication issues. Testers will be offered the option of the standard Salesforce login form or PingOne authentication. After you’ve successfully tested authentication, you can clear the Login Form check box so that authentication automatically defaults to PingOne. |
Test the PingOne SP-initiated SSO integration
-
Go to your Salesforce domain.
If the Login Form check box is still selected, the Salesforce sign-on screen still displays, and you’re offered a choice of Salesforce sign on or PingOne sign, select PingOne.
If you’ve cleared the Login Form check box, you’re not offered a choice.
-
When you are redirected to PingOne, enter your PingOne username and password.
After successful authentication, you’re redirected back to Salesforce.