Step 6. Manage access tokens
To ensure your app provides a good user experience, it’s important to have a recognizable, authenticated experience, even if the user refreshes the page or closes and reopens the browser tab. This makes it clear to the user that they are logged in.
Currently, if you refresh the page, the authenticated experience is lost. Let’s fix that!
Because the SDK stores the tokens in localStorage, you can use their presence as a hint for their authentication status without requiring a network request. This allows for quickly rendering the appropriate navigational elements and content to the screen.
To do this, add the TokenStorage.get method to the index.js file as it will provide what we need to rehydrate the user’s authentication status. First, import TokenStorage into the file. Use the TokenStorage.get() method within the initAndHydrate function. Second, add these values to the useGlobalStateMgmt function call.
reactjs-todo/client/index.js- import { Config } from '@forgerock/javascript-sdk';
+ import { Config, TokenStorage } from '@forgerock/javascript-sdk';
(async function initAndHydrate() {
let isAuthenticated;
+ try {
+ isAuthenticated = !!(await TokenStorage.get());
+ } catch (err) {
+ console.error(`Error: token retrieval for hydration; ${err}`);
+ }
@@ collapsed @@
function Init() {
const stateMgmt = useGlobalStateMgmt({
email,
+ isAuthenticated,
prefersDarkTheme,
username,
});
@@ collapsed @@With a global state API available throughout the app, different components can pull this state in and use it to conditionally render one set of UI elements versus another. Navigation elements and the displaying of profile data are good examples of such conditional rendering. Examples of this can be found by reviewing components/layout/header.js and views/home.js.
Validating the access token
The presence of the access token can be a good hint for authentication, but it doesn’t mean the token is actually valid. Tokens can expire or be revoked on the server-side.
You can ensure the token is still valid with the use of getCurrentUser() method from earlier. This is optional, depending on your product requirements. If needed, you can protect routes with a token validation check before rendering portions of your application. This can prevent a potentially jarring experience of partial rendering UI that may be ejected due to an invalid token.
To validate a token for protecting a route, open the router.js file, import the ProtectedRoute module and replace the regular <Route path="todos"> with the new ProtectedRoute wrapper.
reactjs-todo/client/router.js@@ collapsed @@
import Register from './views/register';
+ import { ProtectedRoute } from './utilities/route';
import Todos from './views/todos';
@@ collapsed @@
<Route
path="todos"
element={
- <>
+ <ProtectedRoute>
<Header />
<Todos />
<Footer />
- </>
+ </ProtectedRoute>
}
/>
@@ collapsed @@Let’s take a look at what this wrapper does. Open utilities/route.js file and focus just on the validateAccessToken function within the useEffect function. Currently, it’s just checking for the existence of the tokens with TokenStorage.get, which may be fine for some situations. We can optionally call the UserManager.getCurrentUser() method to ensure the stored tokens are still valid.
To do this, import UserManager into the file, and then replace TokenStorage.get with UserManager.getCurrentUser.
reactjs-todo/client/utilities/route.js import React, { useContext, useEffect, useState } from 'react';
import { Route, Redirect } from 'react-router-dom';
- import { TokenStorage } from '@forgerock/javascript-sdk';
+ import { UserManager } from '@forgerock/javascript-sdk';
@@ collapsed @@
useEffect(() => {
async function validateAccessToken() {
if (auth) {
try {
- await TokenStorage.get();
+ await UserManager.getCurrentUser();
setValid('valid');
} catch (err) {
@@ collapsed @@In the code above, we are reusing the getCurrentUser() method to validate the token. If it succeeds, we can be sure our token is valid and call setValid to 'valid' . If it fails, we know it is not valid and call setValid to 'invalid'. We set that outcome with our setValid() state method and the routing will know exactly where to redirect the user.
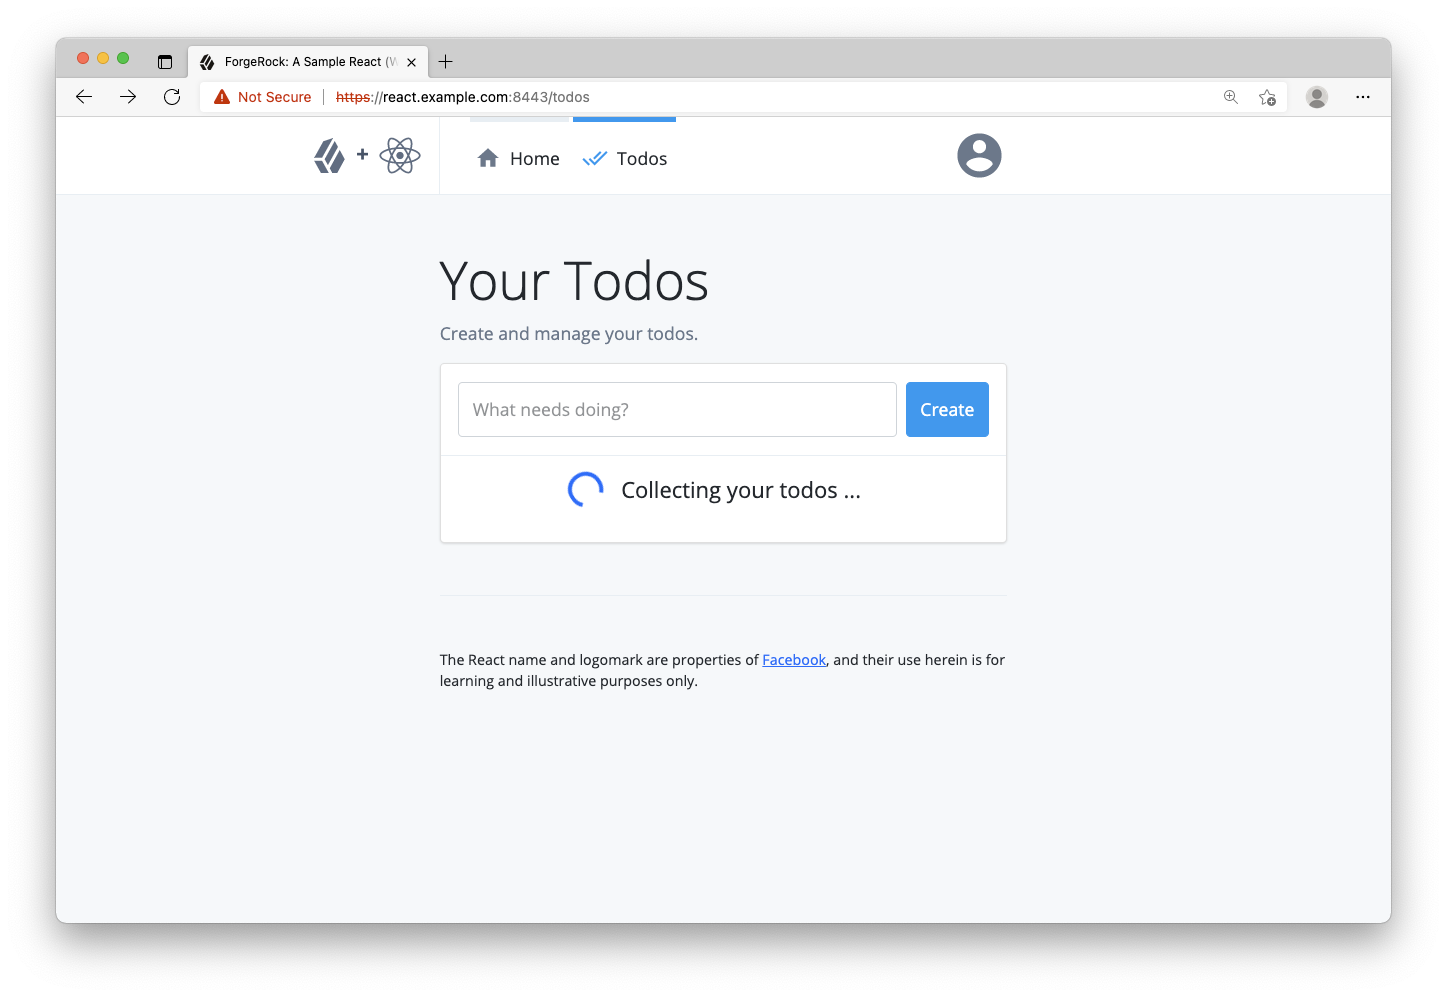
Revisit the browser and refresh the page. Navigate to the todos page. You will notice a quick spinner and text communicating that the app is "verifying access". Once the server responds, the Todos page renders. As you can see, the consequence of this is the protected route now has to wait for the server to respond, but the user’s access is being verified against the server.
At this point, that verification fails, as we aren’t including the access token in the request.
Request protected resources with an access token
Once the Todos page renders, notice how the todo collection has a persistent spinner to indicate the process of requesting todos. This is due to the fetch request not having an authorization header, so the request does not succeed.
To make resource requests to a protected endpoint use the HttpClient module. This module provides a simple wrapper around the native fetch method of the browser.
When you call the HttpClient.request() method the Ping (ForgeRock) SDK retrieves the user’s access token and attaches it to the request in an authorization header as a Bearer token.
When the API backend server receives the request with the authorization header it calls your PingOne Advanced Identity Cloud tenant or PingAM server to validate the enclosed access token, and grants access to the route if successful.
To attach the user’s access token to outgoing requests, open utilities/request.js and import the HttpClient from the Ping (ForgeRock) SDK. Then, replace the native fetch method with the HttpClient.request() method:
reactjs-todo/client/utilities/request.js+ import { HttpClient } from '@forgerock/javascript-sdk';
import { API_URL, DEBUGGER } from '../constants';
export default async function apiRequest(resource, method, data) {
let json;
try {
- const response = await fetch(`${API_URL}/${resource}`, {
+ const response = await HttpClient.request({
+ url: `${API_URL}/${resource}`,
+ init: {
body: data && JSON.stringify(data),
headers: {
'Content-Type': 'application/json',
},
method: method,
+ },
});
@@ collapsed @@The init object in the above maps directly to the init options object seen in the official Request documentation in the Mozilla Web Docs.
The interface of the response from the request also maps directly to the official Response object seen in the Mozilla Web Doc.
At this point, the user can log in, request access tokens, and access the page of the protected resources (the "todos").
Now, revisit the browser and clear out all cookies, storage and cache. Keeping the developer tools open and on the network tab, log in with you test user. Once you have been redirected to the home page, do the following:
-
Click on the "Todos" item in the nav; a lot of network activity will be listed
-
Find the network call to the
/todosendpoint (http://localhost:9443/todos) -
Click on that network request and view the request headers
-
Notice the
authorizationheader with the bearer token; that’s theHttpClientin action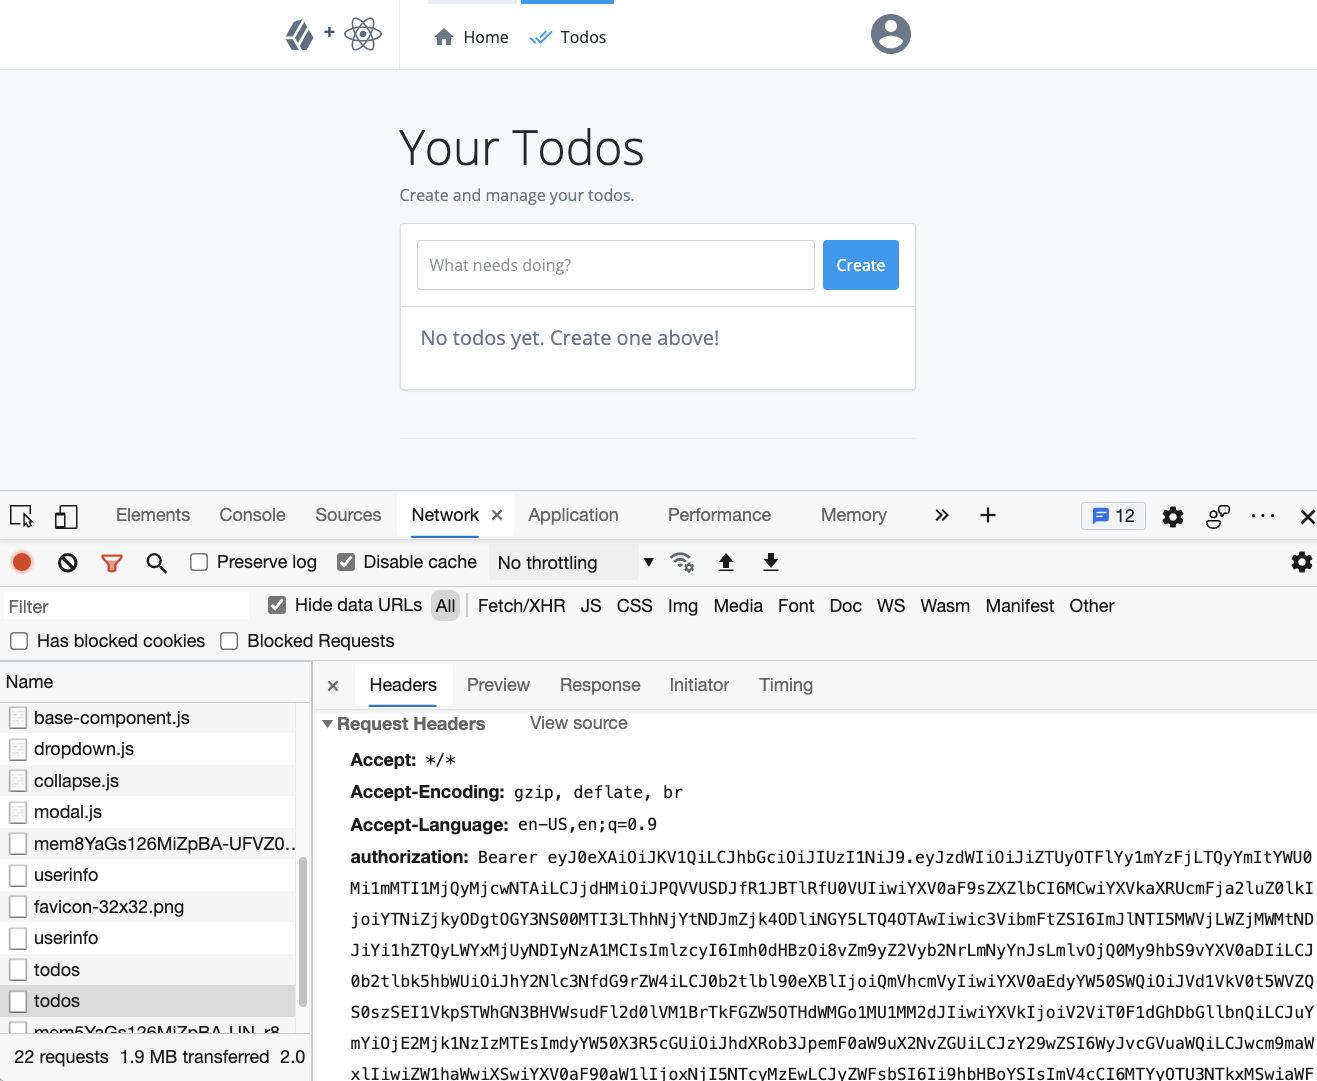 Figure 2. Screenshot of successful request for to-dos with Network panel open