Step 4. Test the app
In the following procedure, you run the sample app that you configured in the previous step.
The sample connects to your PingOne Advanced Identity Cloud tenant to obtain the correct URIs to authenticate the user, and redirects the browser to your PingOne Advanced Identity Cloud tenant.
After authentication, PingOne Advanced Identity Cloud redirects the browser back to your application, which then obtains an OAuth 2.0 access token and displays the related user information.
Run the sample
-
In a terminal window, navigate to the
/javascriptfolder in yoursdk-sample-appsproject. -
To run the embedded login sample, enter the following:
npm run start:central-login-oidc -
In a web browser, navigate to the following URL:
https://localhost:8443The sample displays a page with two buttons:

-
Click Login.
The sample app redirects the browser to your PingOne Advanced Identity Cloud instance.
To see the application calling the authorizeendpoint, and the redirect back from PingOne Advanced Identity Cloud with thecodeandstateOAuth 2.0 parameters, open the Network tab of your browser’s developer tools. -
Authenticate as a known user in your PingOne Advanced Identity Cloud tenant.
After successful authentication, PingOne Advanced Identity Cloud redirects the browser to the client application.
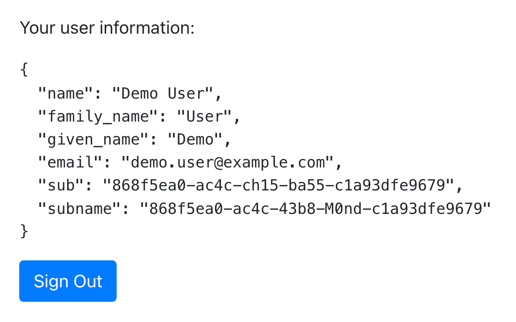
If the app displays the user information, authentication was successful:

-
To revoke the OAuth 2.0 token, click the Sign Out button.
In this tutorial, PingOne Advanced Identity Cloud redirects users back to the client application, ready to authenticate again.
Recap
Congratulations!
You have now used the Ping SDK for JavaScript to obtain an OAuth 2.0 access token on behalf of a user from your PingOne Advanced Identity Cloud tenant.
You have seen how to obtain OAuth 2.0 tokens, and view the related user information.