Step 3. Test the app
In this step, run the sample app that you configured in the previous step. The app performs OIDC login to your PingAM server.
-
In Xcode, select .
Xcode launches the sample app in the iPhone simulator.
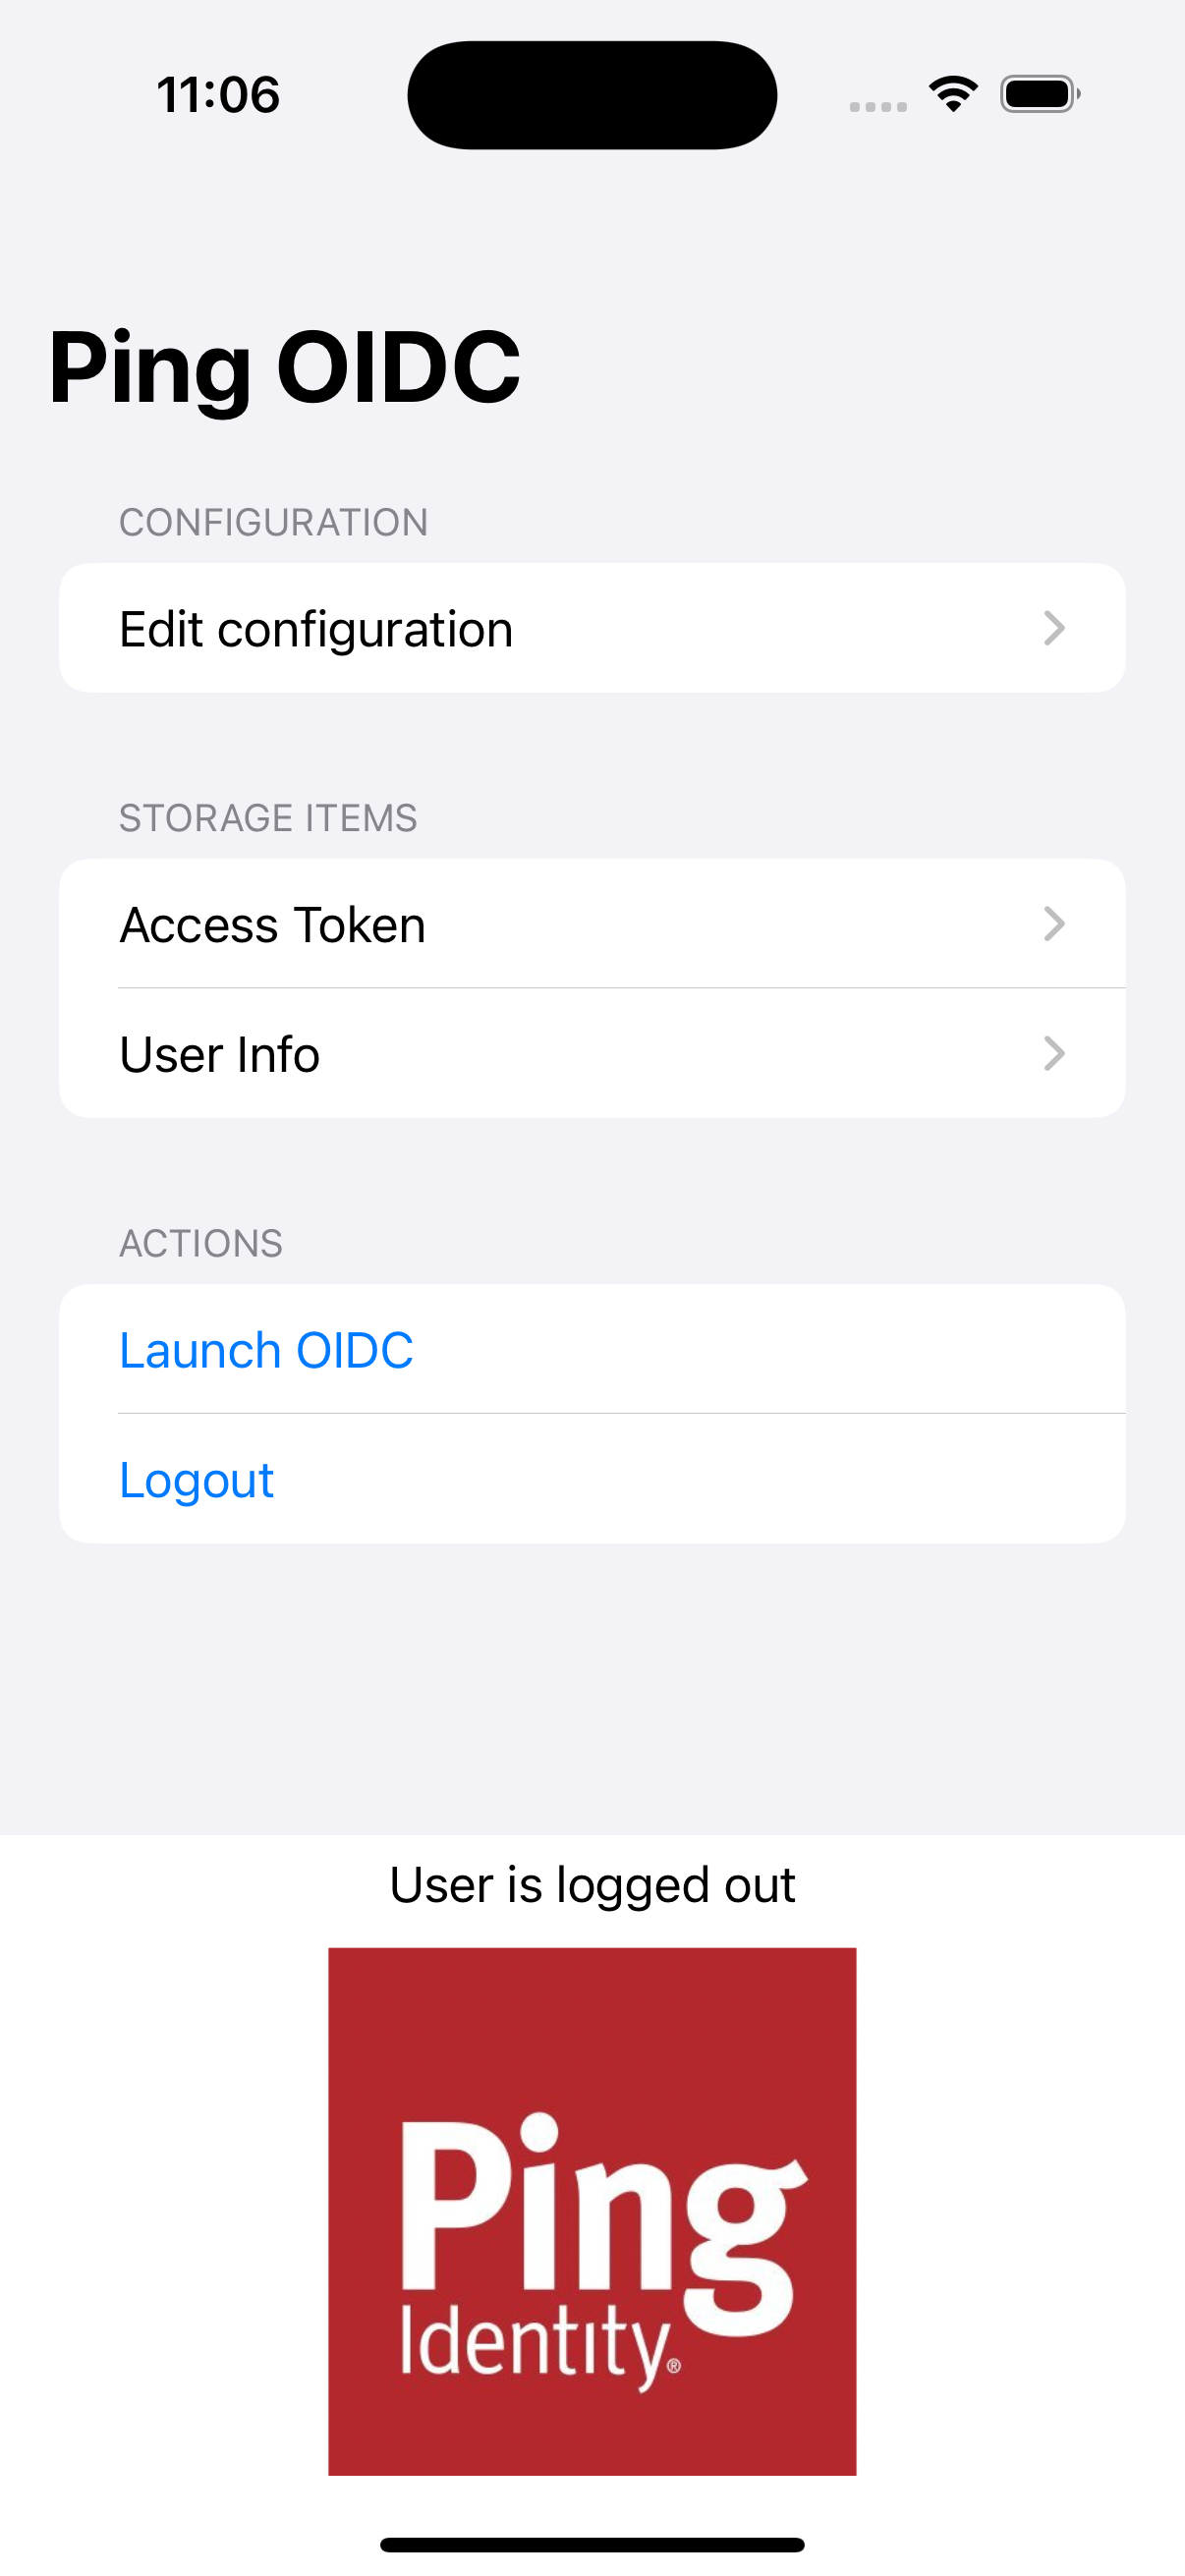 Figure 1. iOS OIDC login sample home screen
 -
In the sample app on the iPhone simulator, tap Edit configuration, and verify or edit the configuration you entered in the previous step.
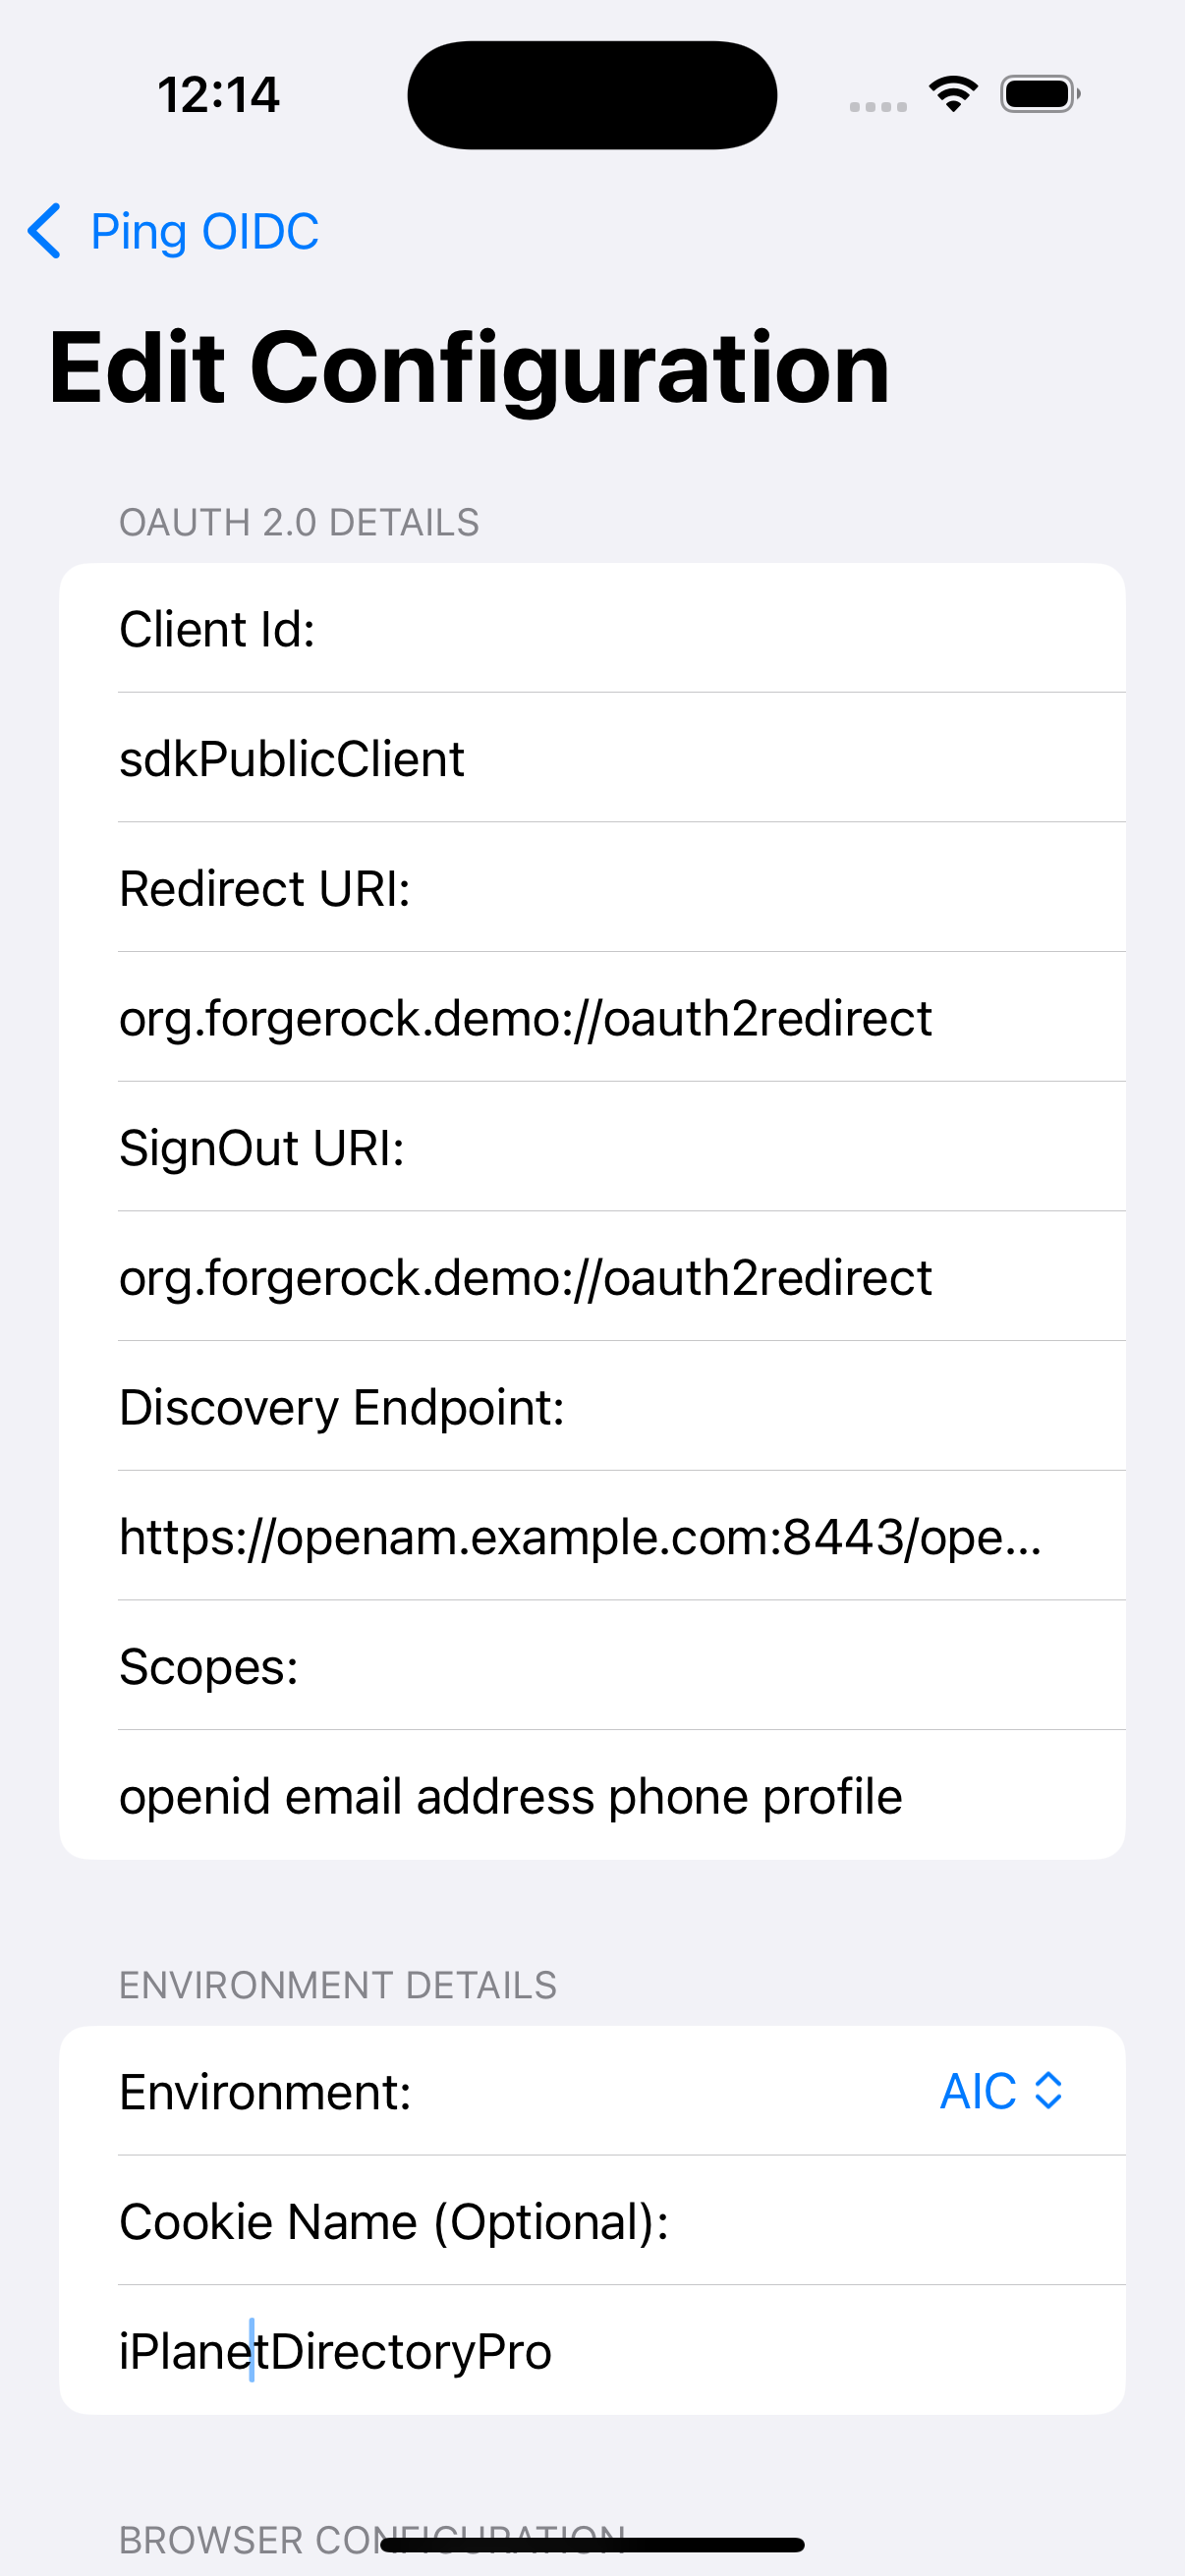 Figure 2. Verify the configuration settings
 -
Tap Ping OIDC to go back to the main menu, and then tap Launch OIDC Redirect Login.
You might see a dialog asking if you want to open a browser. If you do, tap Continue. The app launches a web browser and redirects to your PingAM login UI:
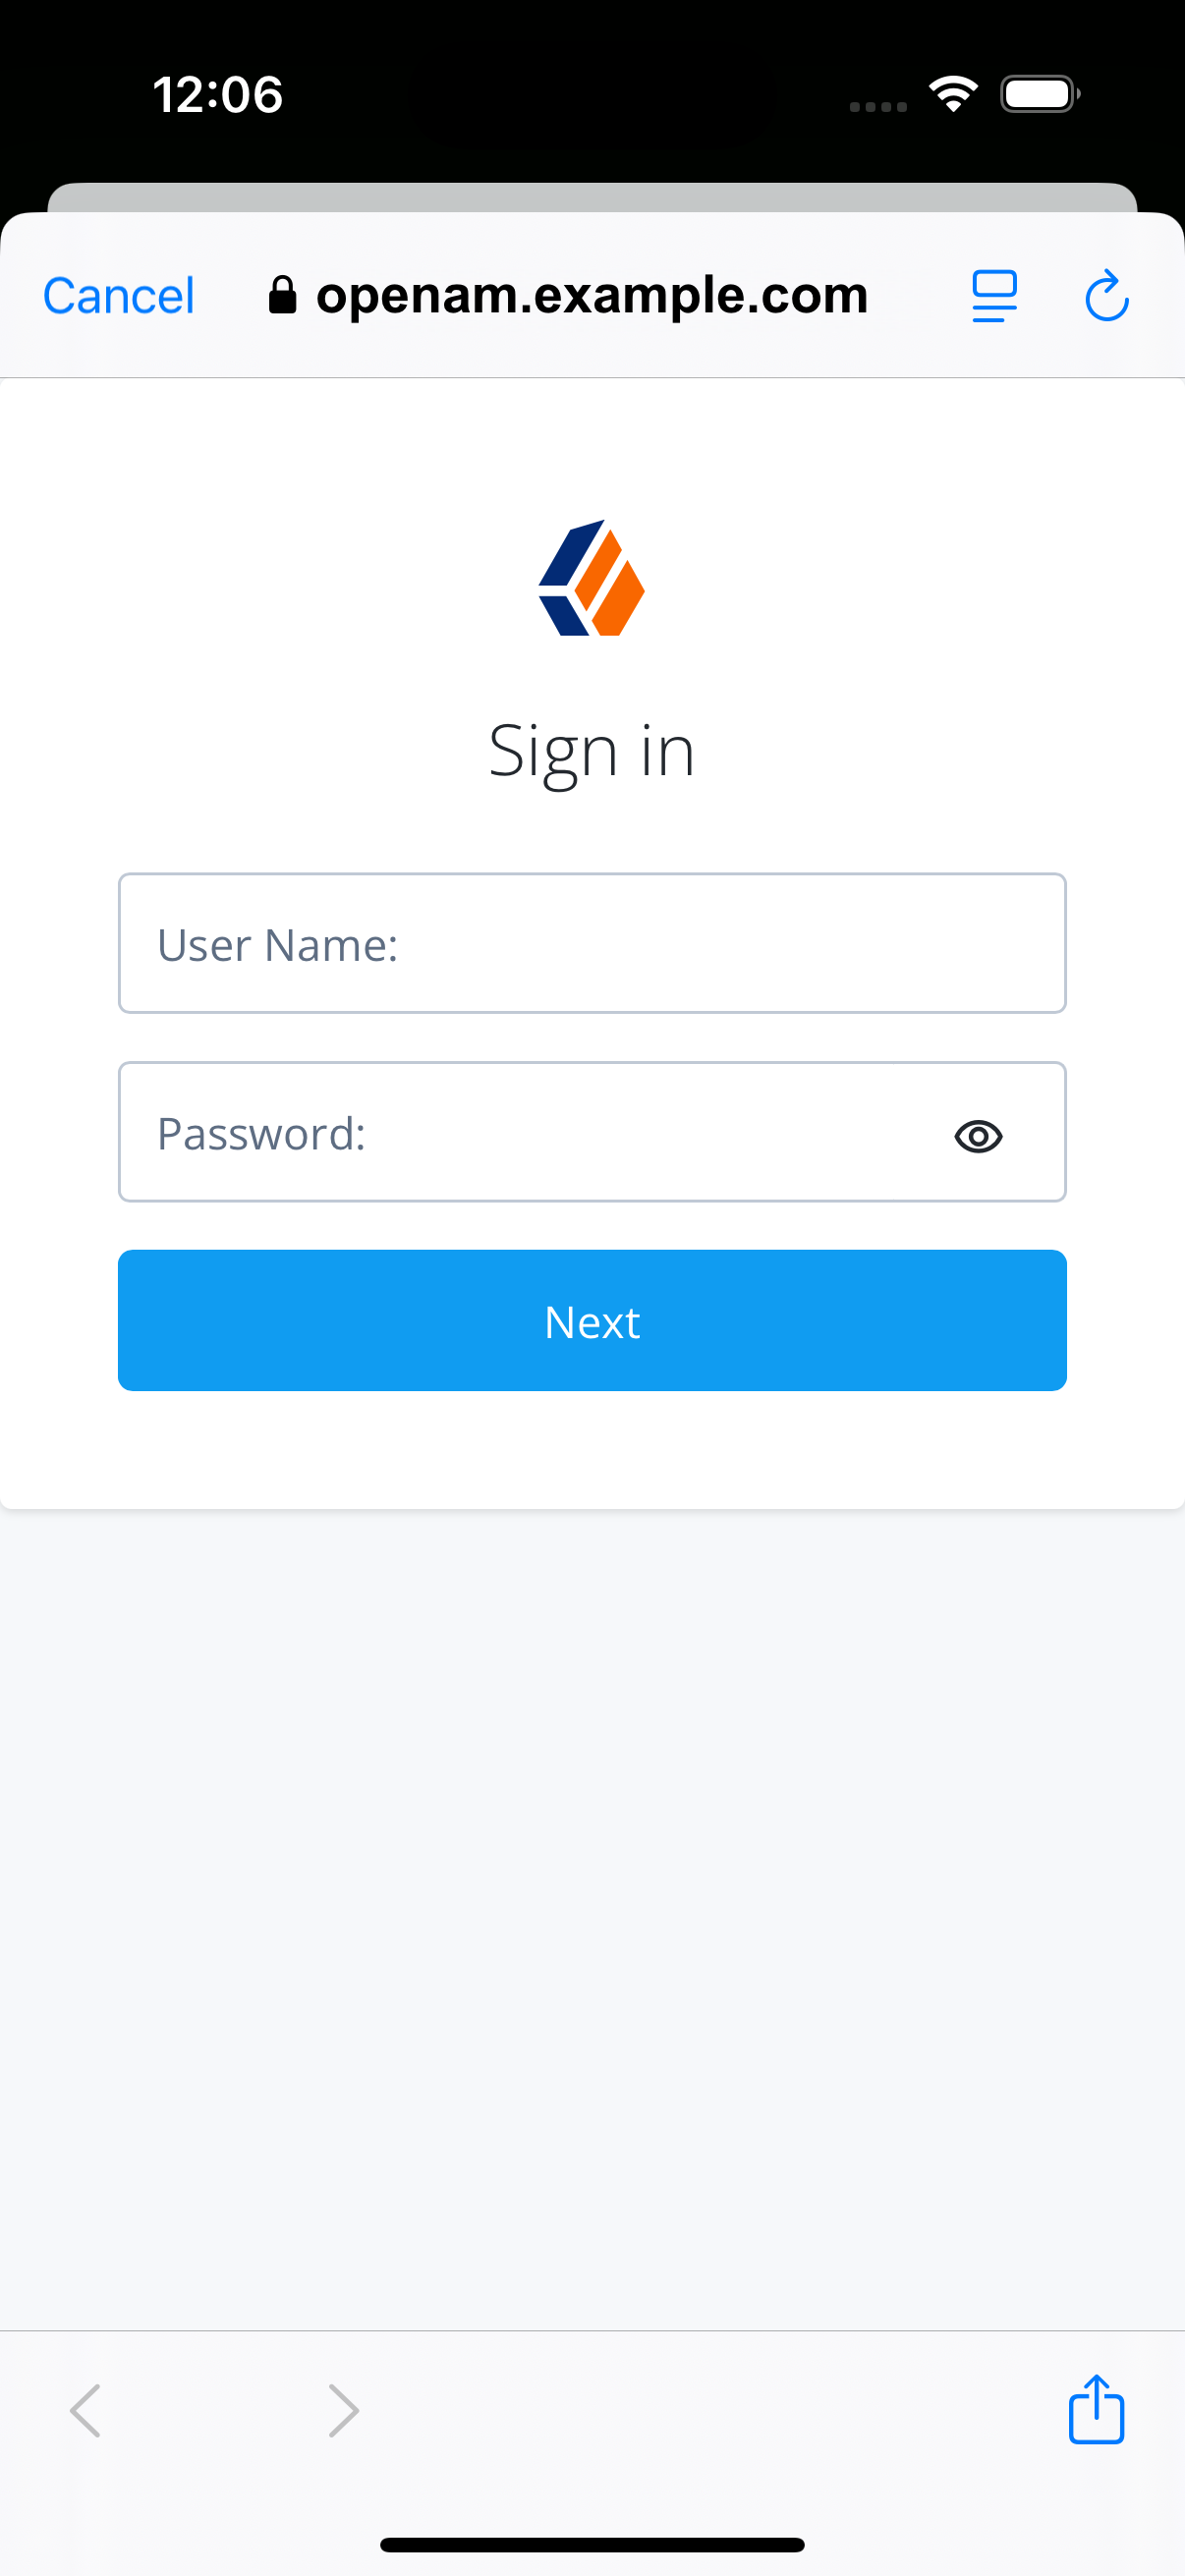 Figure 3. Browser launched and redirected to PingAM
 -
Sign on as a demo user:
-
Name:
demo -
Password:
Ch4ng3it!
If authentication is successful, the application displays the access token issued by PingAM.
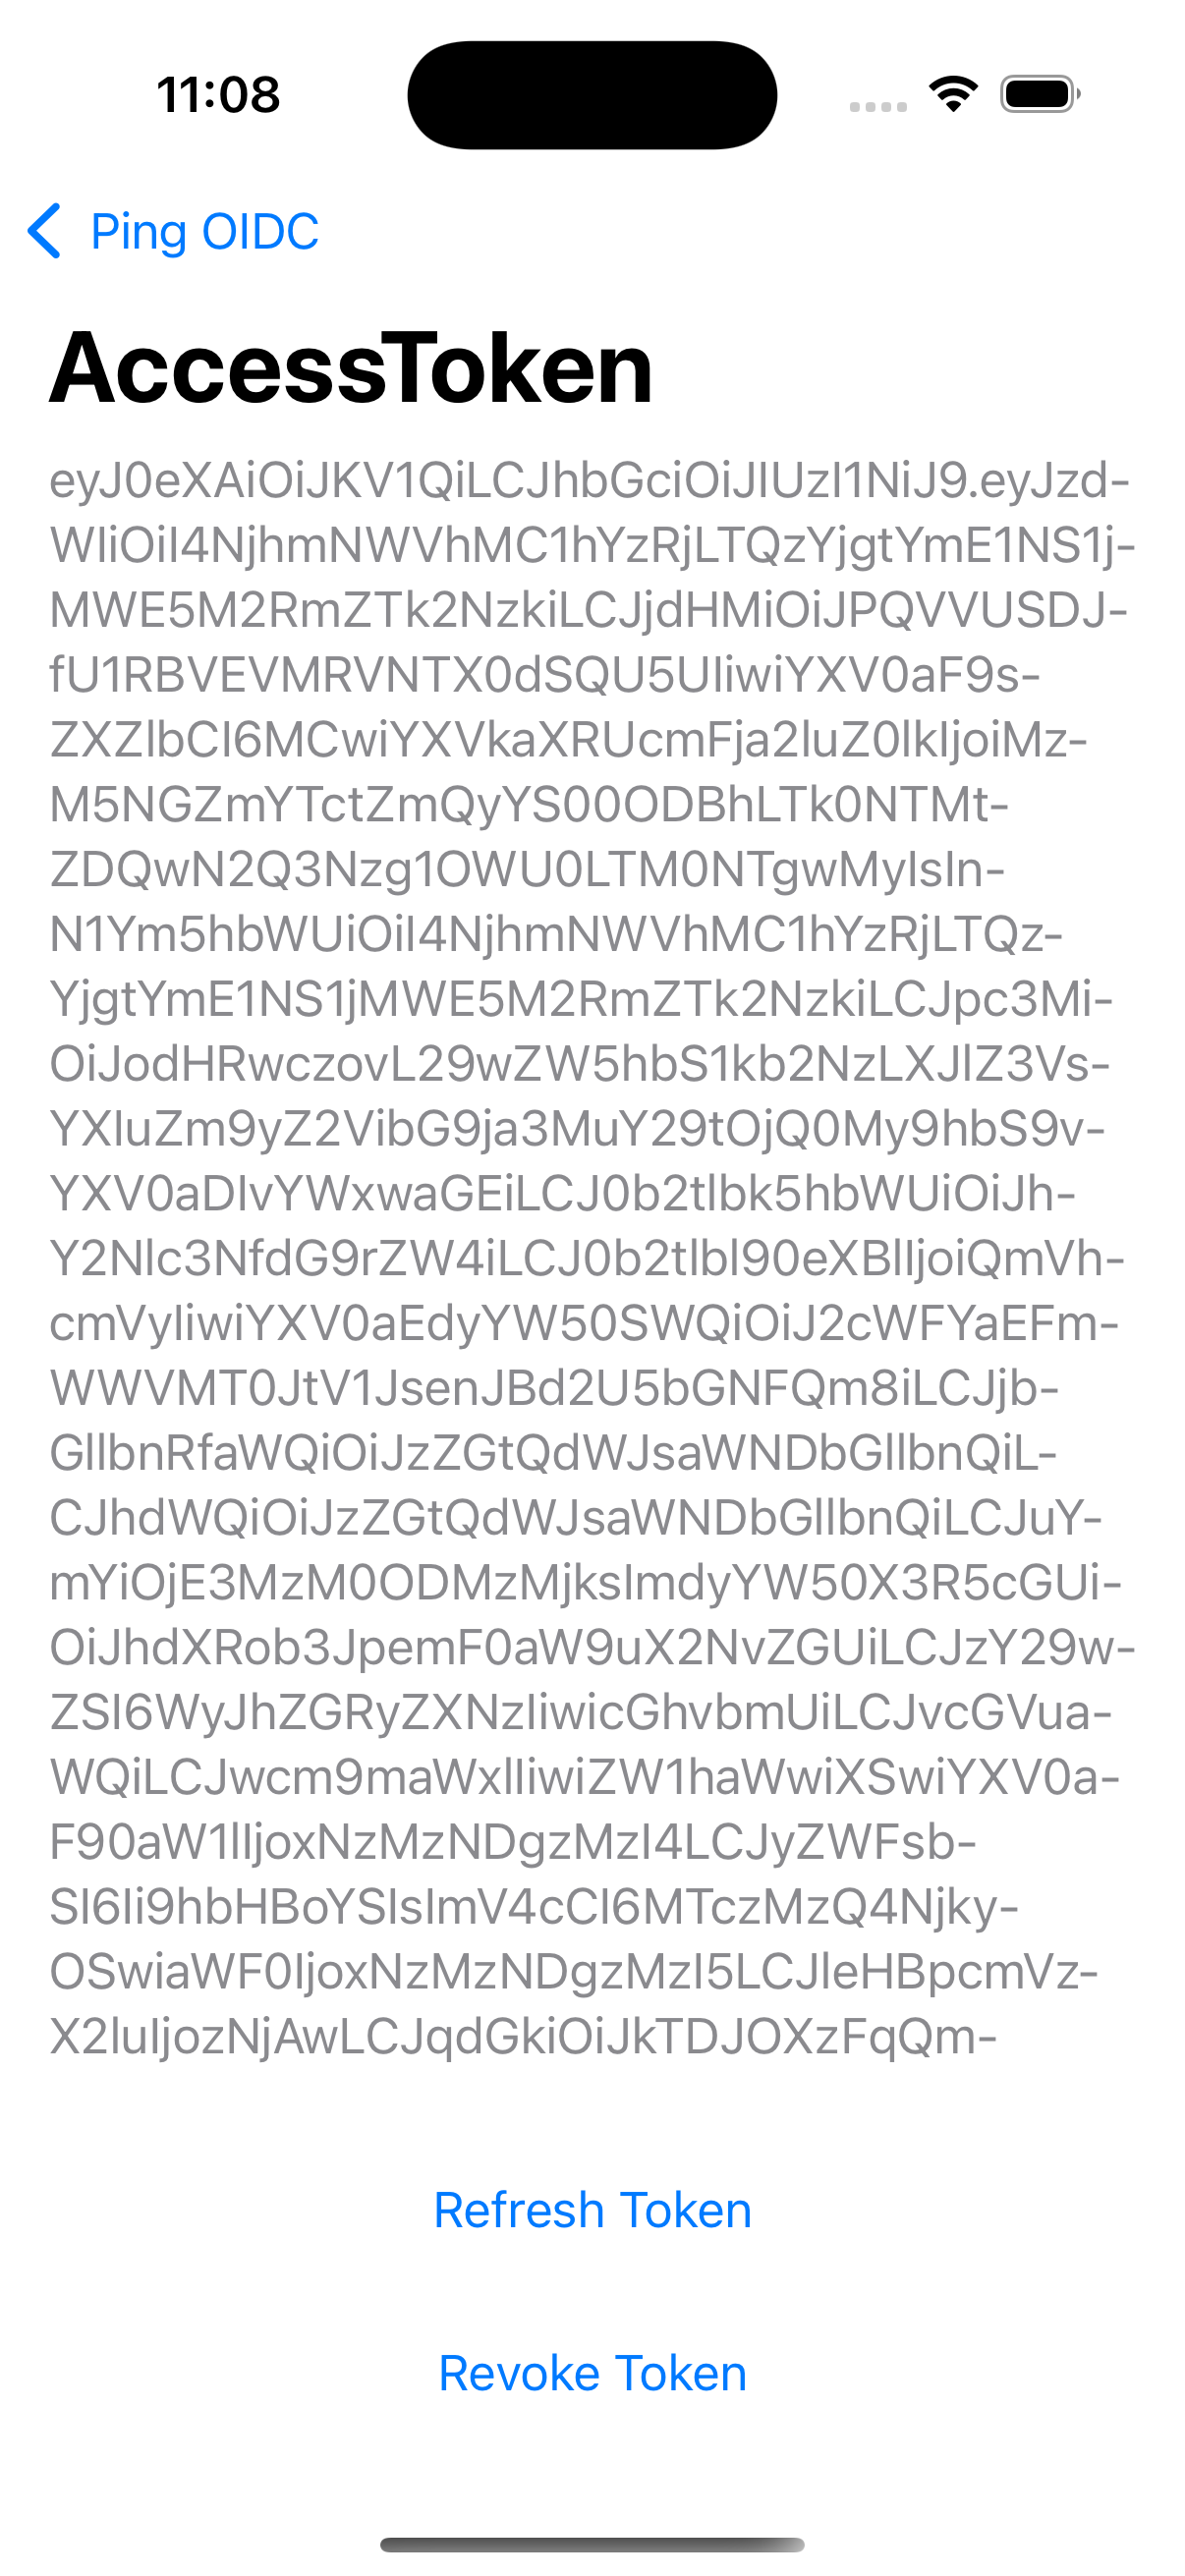 Figure 4. Access token after successful authentication
 -
-
Tap Ping OIDC to go back to the main menu, and then tap User Info.
The app displays the information relating to the access token:
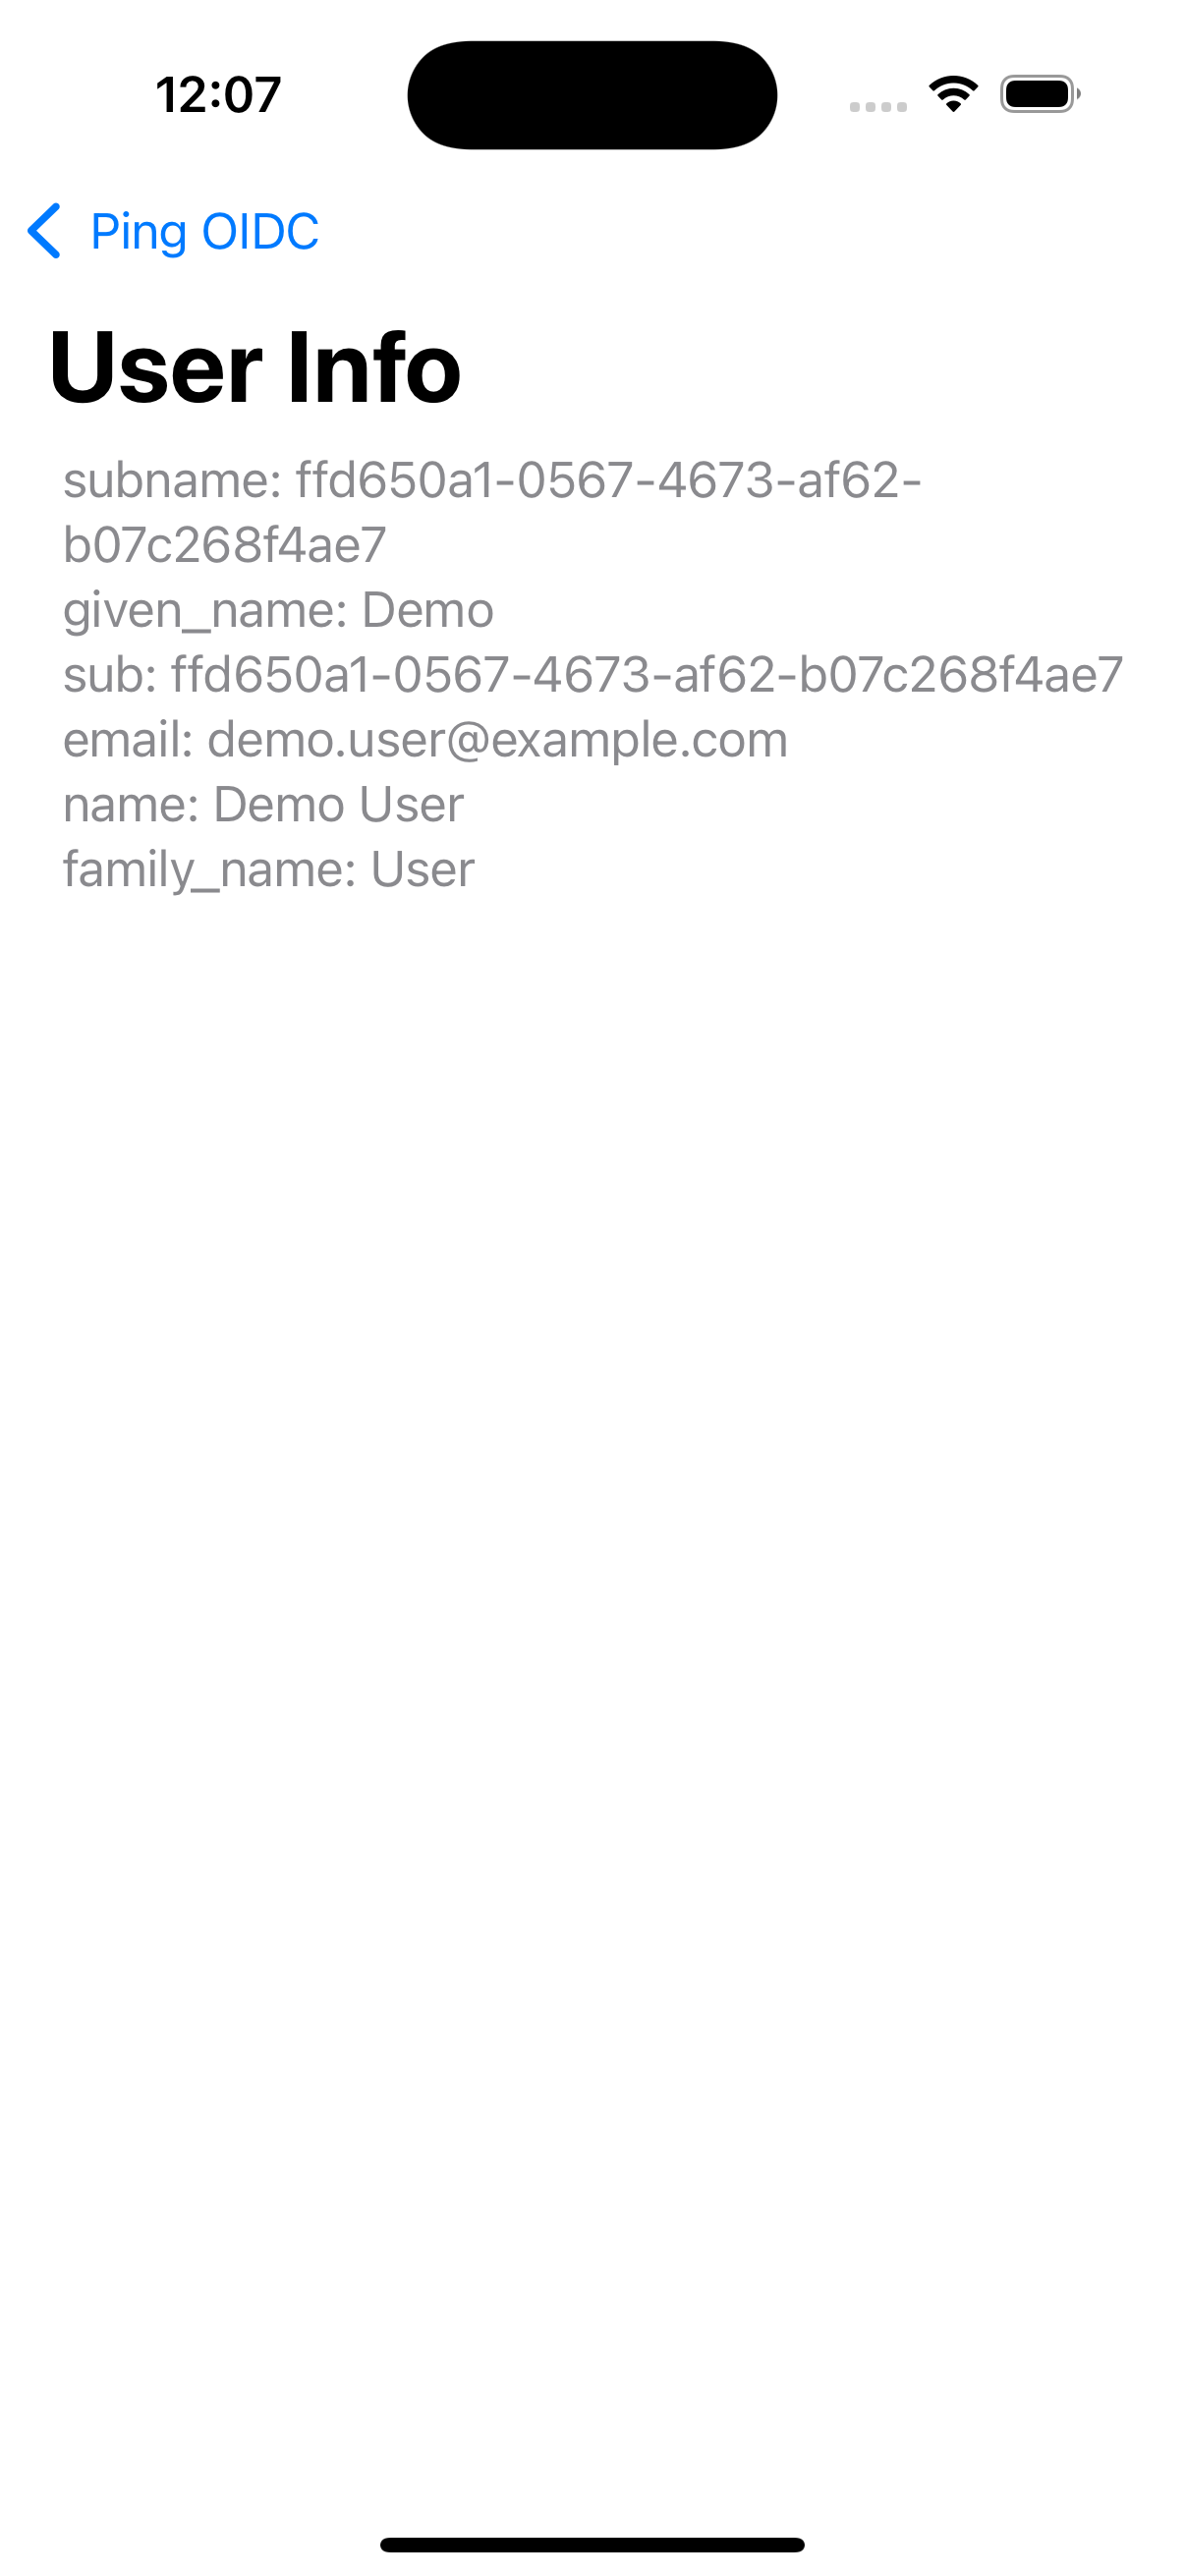 Figure 5. User info relating to the access token
 -
Tap Ping OIDC to go back to the main menu, and then tap Logout.
The app logs the user out of the authorization server and prints a message to the Xcode console:
[FRCore][4.8.4] [🌐 - Network] Response | [✅ 204] :
  https://openam.example.com:443/am/oauth2/connect/endSession?id_token_hint=eyJ0...sbrA&client_id=sdkPublicClient in 34 ms
[FRAuth][4.8.4] [FRUser.swift:211 : logout()] [Verbose]
  Invalidating OIDC Session successful