Authenticating using your Android (Web) (legacy)
This section covers the options available for authenticating using your Android when accessing your account or app using a web browser.
Depending on your organization’s configuration, you can usePingID mobile app to authenticate using the following options:
If you have not yet paired PingID mobile app with your account, see Set up your Android for PingID authentication (Web).
If your organization allows you to authenticate using more than one device type, you can also add a device and decide which device you want to use as your primary (default) authentication method. For more information, see Managing your devices.
|
The options available to you are defined by your organization’s policy. |
Using swipe authentication for Android (legacy)
If you have the PingID app running on your mobile device and your organization is using swipe authentication, swipe for authentication to sign on to your resources.
About this task
If you have the PingID app running on your mobile device, and your organization is using swipe authentication, when logging in to your resources, you’ll be prompted to swipe to authenticate.
|
The authentication process may vary slightly depending on the Android version and the notification settings on your device. Some Android versions may give you the option to approve the push notification from the lock screen. |
Steps
-
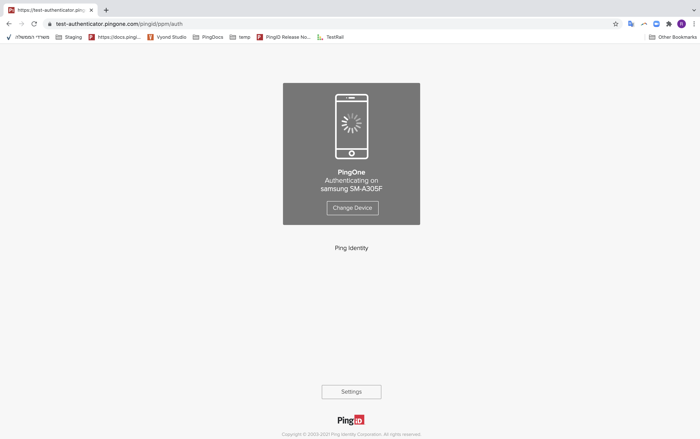
Sign on to your account, or access the application that requires authentication. You’ll see the Authenticating screen, and an authentication notification request is sent to your device.
-
Accept the authentication notification, depending on your mobile’s notification settings:
Choose from:
-
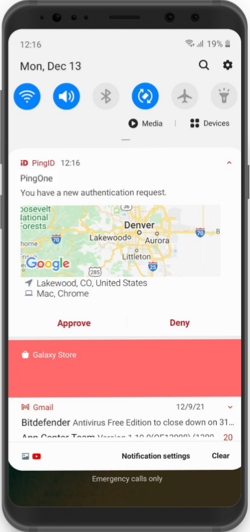
If you see the notification screen appears, slide the notification down until you see the option to approve or deny the request, and then tap Approve.
-
If configured by your organization, you’ll see a map on the notification screen, showing the location, device type, and browser used by the device attempting to accessing your account or app. This can help you identify a fraudulent authentication attempt.
-
For Android version 10 and later, you must unlock your device to authenticate.
-
-
If PingID mobile app opens showing the swipe screen, swipe up to authenticate.
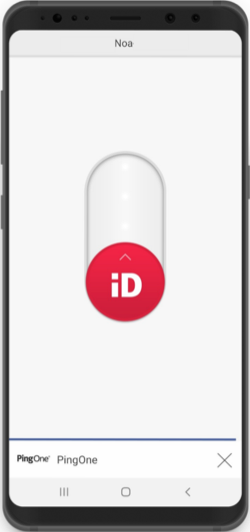
When opening PingID mobile app, update your location permissions to Allow all the time, if prompted to do so.
Result:
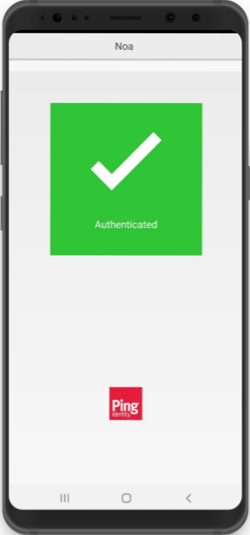
You’ll see the green check mark on your mobile indicating your access is approved, and PingID closes.

-
Using biometrics authentication for Android (legacy)
Authenticate using your device biometrics, such as fingerprint or Face recognition, with the PingIDmobile app. Authentication varies slightly depending on your phone model, phone settings, and whether your device is locked or unlocked when sending the authentication request.
Before you begin
You’ll need to register your biometrics on your device and then pair your Android device so you can authenticate using biometrics.
About this task
|
Steps
-
Sign in to your account, or access the application that requires authentication. You’ll see the Authenticating screen, and an authentication notification request is sent to your device.

-
Accept the authentication notification, depending on your mobile’s notification settings:
Choose from:
-
If you see the notification screen appears, slide the notification down until you see the option to approve or deny the request, and then tap Approve.
-
If configured by your organization, you’ll see a map on the notification screen, showing the location, device type, and browser used by the device attempting to accessing your account or app. This can help you identify a fraudulent authentication attempt.
-
For Android version 10 and higher, you must unlock your device to authenticate.
-
-
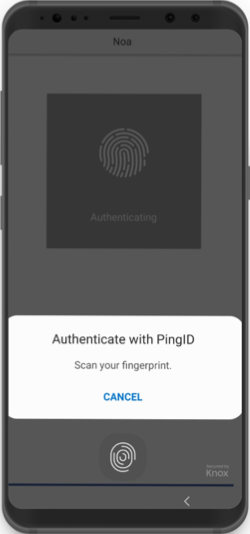
If PingID mobile app opens, authenticate using your biometrics.
When opening PingID mobile app, update your location permissions to Allow all the time, if prompted to do so.
-
-
You might be asked to authenticate by number matching. If so, you’ll see a number on the Authentication screen and you’ll need to open PingID mobile app, and select the same number. If you don’t see the option, skip this step.

Result
You’ll see the green checkmark on your mobile indicating your access is approved, and PingID closes.
Authenticating with PingID using a one-time passcode (legacy)
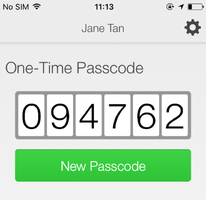
If you do not have internet access and cannot authenticate online, use the PingID mobile app to generate a one-time passcode (OTP) for you to authenticate with to access your account and applications.
About this task
Depending on your organization policy, you can either authenticate immediately using an OTP, or you need to wait for the push notification request to timeout before you are able to enter the OTP.
Each time you launch the PingID app, PingID generates a new passcode. Each passcode is unique and can only be used one time. For authentication, use the OTP that appears on your device at the time you are signing on to your account.
|
You can only view and use the OTP if it is enabled by your organization. |
Steps
-
Sign on to your account or app.
Result:
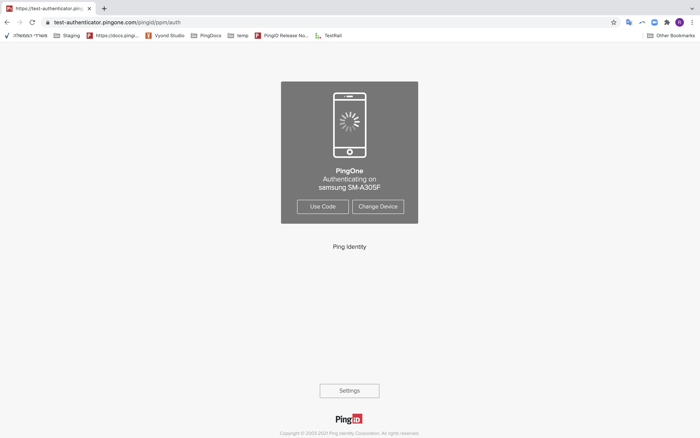
The Authenticating on… window appears.
-
In the Authentication window either:
Choose from:
-
Click Use Code
-
Wait until the push notification timeout occurs.
Result:
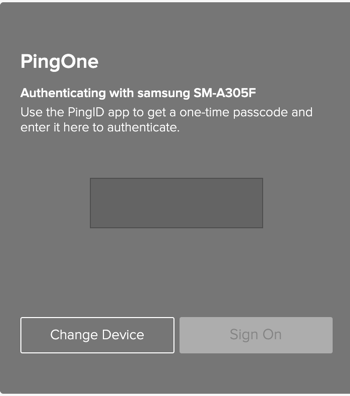
You are prompted to enter an OTP.
-
-
On your mobile device, open the PingID app to view the current OTP.
-
The OTP refreshes each time you open the PingID app. To generate a new one-time passcode, tap New Passcode.
-
When opening PingID mobile app, update your location permissions to Allow all the time, if prompted to do so.
-
-
In the Authentication window, enter the OTP into the passcode field. Click Sign On.
If you receive a push notification on your mobile device before signing on using the OTP, you can still approve the authentication request using swipe or biometrics.
Result
A green Authenticated message with a check mark appears, indicating authentication is successful and your access is approved.
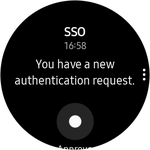
Authenticating using your Android watch (legacy)
You can authenticate with PingID mobile app using your Android watch.
For current content, see Authenticating using a smart watch.
About this task
Some Android models automatically allow you to authenticate using your Android watch. If the PingID mobile app is installed on your phone, and if your Android watch model and configuration are compatible with the PingID mobile app, you’ll automatically start receiving push notifications to your Android watch when your phone is locked.
|
The ability to authenticate using an Android watch varies according to Android model and configuration. |
Steps
-
If your Android device and configuration supports the use of Android watch for notifications, when your phone is locked, you will receive a notification to your watch automatically.
-
Swipe to authenticate.