Pairing your email
Register or 'pair' your email address from a web browser, so you can receive a one-time passcode (OTP) to your email, and use it to authenticate securely with PingID.
About this task
|
After you have paired your device and authenticated successfully using a web browser, you can also use it to authenticate when accessing your VPN or Mac login machine, if your company allows you to do so. |
Steps
-
Sign on to your account or app and when you see the registration window, click Start.

You’ll see the Add a New Device window, showing the Email icon.
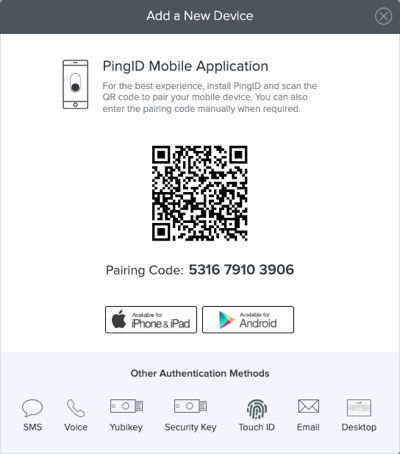
-
In the Add a New Device window, click Email.
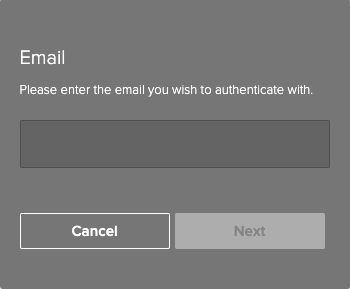
Result:
You’ll see a pop-up window in which you can enter your email address.
-
Enter your email address, and then click Next.
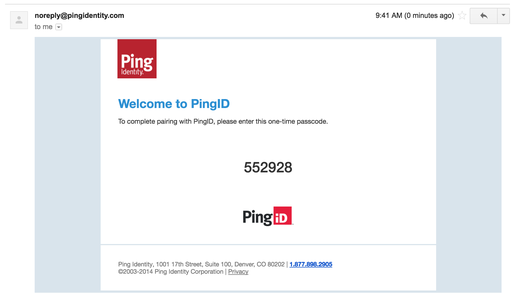
Result:
A one-time passcode (OTP) is sent to the email address you specified.
-
Copy the OTP you received in the PingID email. In your browser, in the Enter passcode field, paste or enter the OTP. Click Verify.
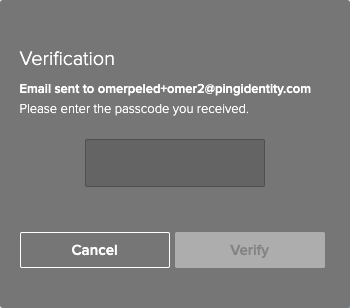
Result:
After you successfully authenticate, the green Authenticated message with a check mark appears. You are automatically signed on to your organization’s dock or app.
Result
The next time you sign on to your account or app:
-
You receive an OTP through your email.
-
Enter the OTP.
-
Click Sign On to complete the authentication.