Authenticating using the PingID desktop app (Web)
Authenticate using the PingID desktop app.
Before you begin
You must pair the PingID desktop app with your account. For more information, see:
Steps
-
Sign on to your account or access an application that requires authentication.
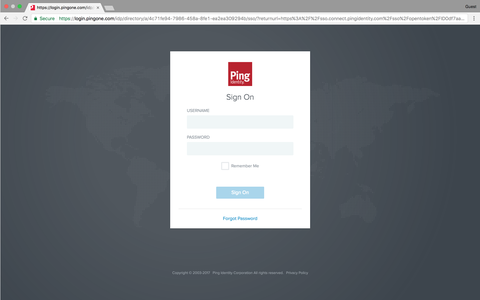
Result:
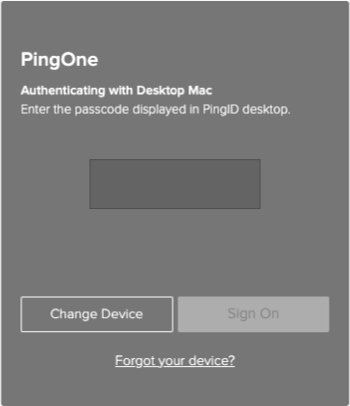
The Authentication window opens, prompting you to enter a one-time passcode (OTP).
-
In the Authentication window, enter the OTP that displays in your PingID desktop app. Click Sign On to launch the PingID desktop app.
Result:
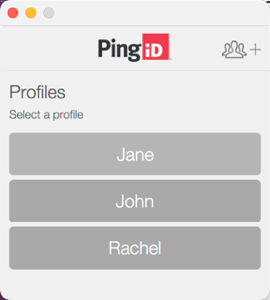
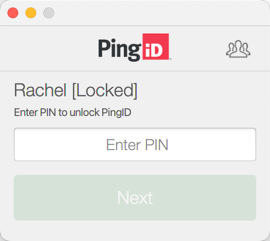
If more than one profile exists on PingID desktop app, all profiles are displayed. If your organization requires you to enter a PIN code, the Locked window displays, prompting you to enter a PIN.
-
If the PingID desktop app has more than one profile, select your profile, otherwise skip this step.
-
If the Locked window displays and you are prompted to enter a PIN code, enter the PIN code and then click Next, otherwise skip this step.
Result:
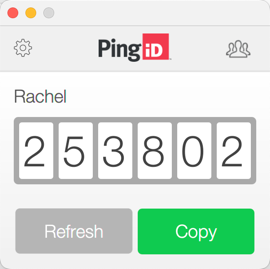
The PingID desktop app displays an OTP.
-
Click Copy to copy the OTP and paste it into the Authentication window.
Ensure the browser window is the active window when pasting the OTP. You can only use an OTP once. Click Refresh to generate a new OTP, if required.
-
Click Sign On.
Result:
The green Authenticated message with a checkmark appears, indicating your authentication is successful, and your access is approved.