Jumio identity verification
Overview
PingOne Advanced Identity Cloud integrates with Jumio identity verification to let you capture and submit your government-issued ID documents easily and securely. Jumio helps you deter fraud and meet regulatory requirements by verifying ID verification in real time using machine learning. Jumio validates the user’s identity, corroborates it with the user’s selfie, and uses advanced liveness detection to ensure the person is actually present.
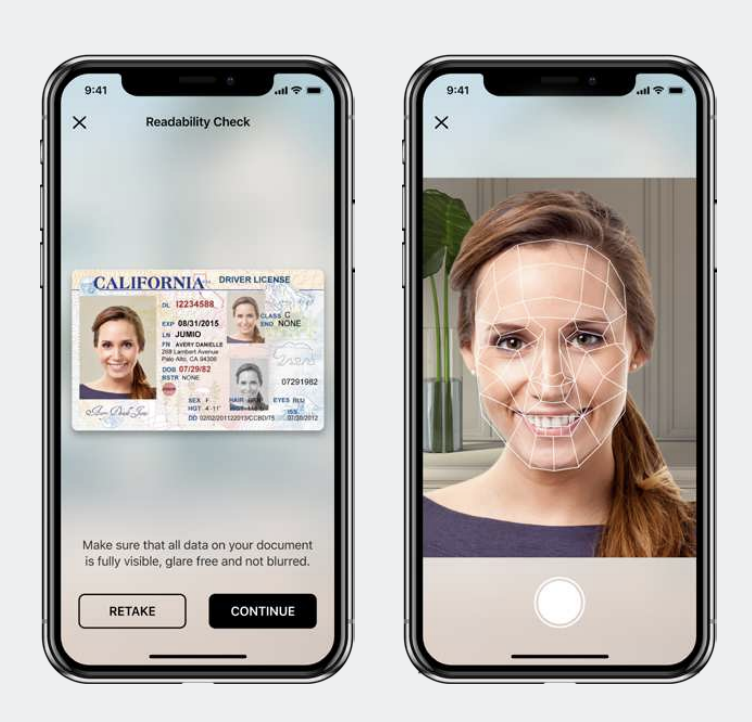
You implement Jumio integration in your Advanced Identity Cloud journeys using two authentication nodes:
-
Jumio Initiate. This node triggers the Jumio’s NetVerify service. This service scans a user’s ID and their face to verify their identity. Learn more in Jumio Initiate node.
-
Jumio Decision. This node decides if the user can successfully log in, and upon successful login, maps the Jumio properties to the IDM properties. Learn more in Jumio Decision node.
The user may not be authenticated due to the following reasons:
-
If the ID scan is unreadable or the ID type is unsupported, the journey returns to the Jumio Initiate node, where the user can complete the NetVerify scan process.
-
If the process fails or fraud is detected, authentication fails.
Set up Jumio in Advanced Identity Cloud
Follow these steps to set up Jumio:
-
Generate a Jumio API token and secret:
-
Sign in to the Jumio Customer Portal.
-
From the toggle menu on the left, go to Settings > Managed Services > Identity Verification.
-
In the IDENTITY VERIFICATION menu, go to Api Credentials > OAuth2 Clients, and click Generate a new API token.
-
In the Generate a new API token window, select Initialize and Retrieve & Delete permissions, and click Confirm.
-
Enter your Jumio user password to create a new token.
-
Record the latest system generated token and secret. You’ll need these to configure Jumio in the Advanced Identity Cloud admin UI.
-
-
Configure Jumio in Advanced Identity Cloud:
-
Using another browser window, sign on to the Advanced Identity Cloud admin UI.
-
Configure the required Jumio settings. Learn more in Configure Jumio settings.
-
Configure a journey in PingOne Advanced Identity Cloud
The following example journey uses Jumio Initiate and Jumio Decision nodes to authenticate a user and create an identity:
-
The Platform Username node gets the user’s name.
-
The Jumio Initiate node verifies if the user exists. If the user isn’t found, the journey ends in a failure.
-
If the user is found, Jumio Decision node is invoked to verify the level of authentication.
-
If the outcome from Jumio Decision node is
PassedorWarning:-
The Attribute Collector node gathers additional user details.
-
The Platform Password node collects the user password.
-
The Create Object node creates a user identity based on the user details collected.
-
To create the sample journey described:
-
Log in to the Advanced Identity Cloud admin UI.
-
Go to Journeys > + New Journey.
-
Enter a name for the journey, for example JumioTest. Select Alpha realm-Users managed/alpha_user as the Identity Object. Then click Save.
-
Drag and drop the nodes to create a journey as shown in the following diagram:

-
In the Jumio Decision node, map Jumio returned parameter attributes to the corresponding PingOne Advanced Identity Cloud IDM properties.
The Key is the Jumio parameter, and the Value is the PingOne Advanced Identity Cloud IDM property. For example:
-
Key = firstName
-
Value = givenName
In the above example, firstName is the Jumio parameter name for the first name of a user; and givenName is the PingOne Advanced Identity Cloud IDM property name for the first name of the user.
-
-
Click Save.
The system generates a Preview URL. Use this preview URL for testing the journey and Jumio service you configured.
Test Jumio verification service integration
-
Copy and paste the preview URL in an incognito browser window.
-
Log in using your PingOne Advanced Identity Cloud credentials. Then click Start to start the verification process when the system prompt appears.
-
Select your Region and ID type.
-
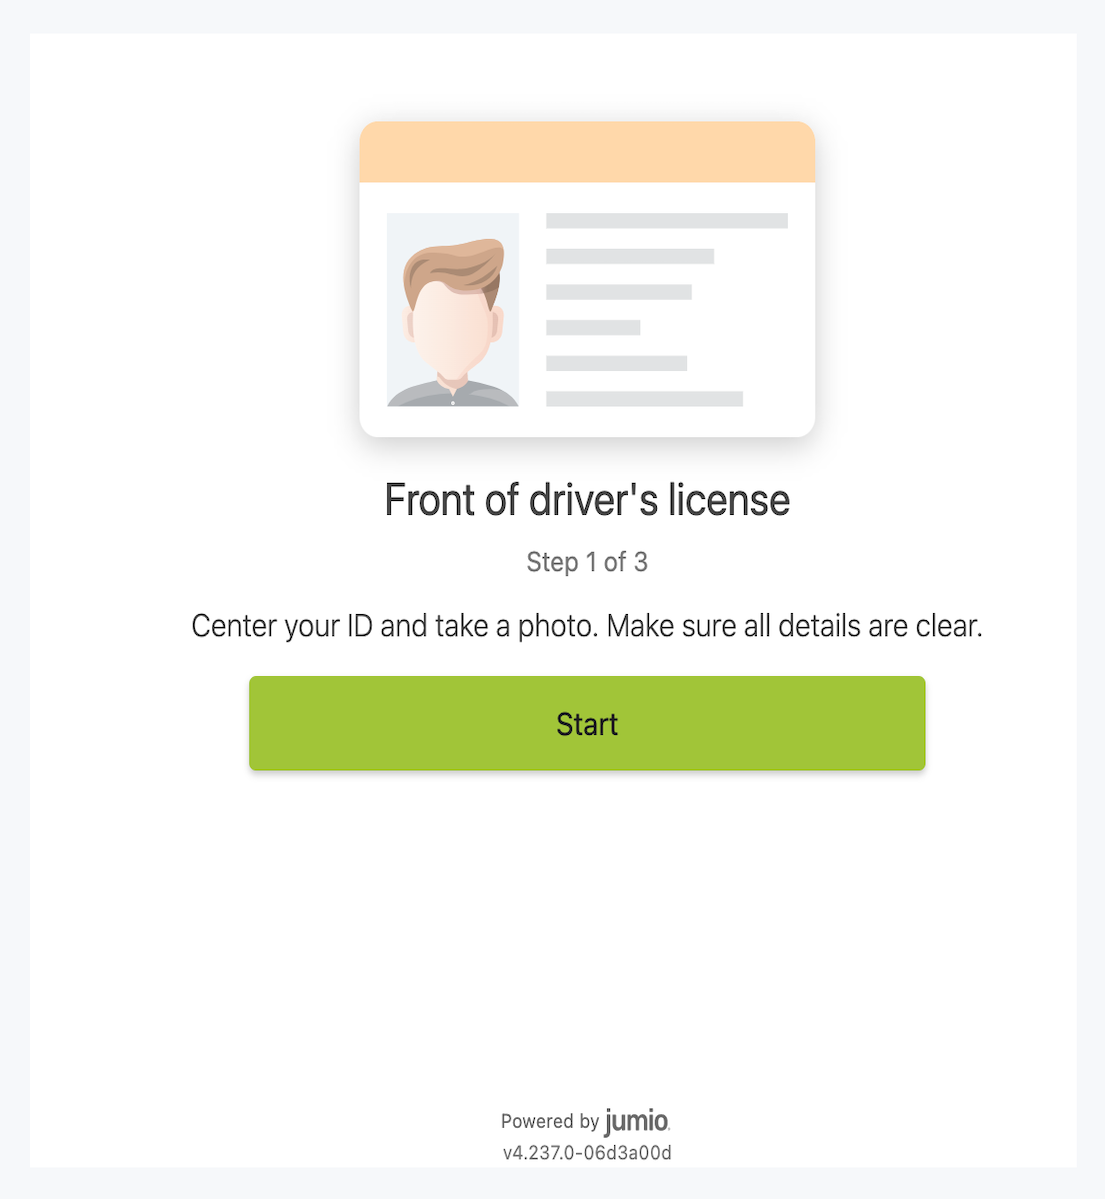
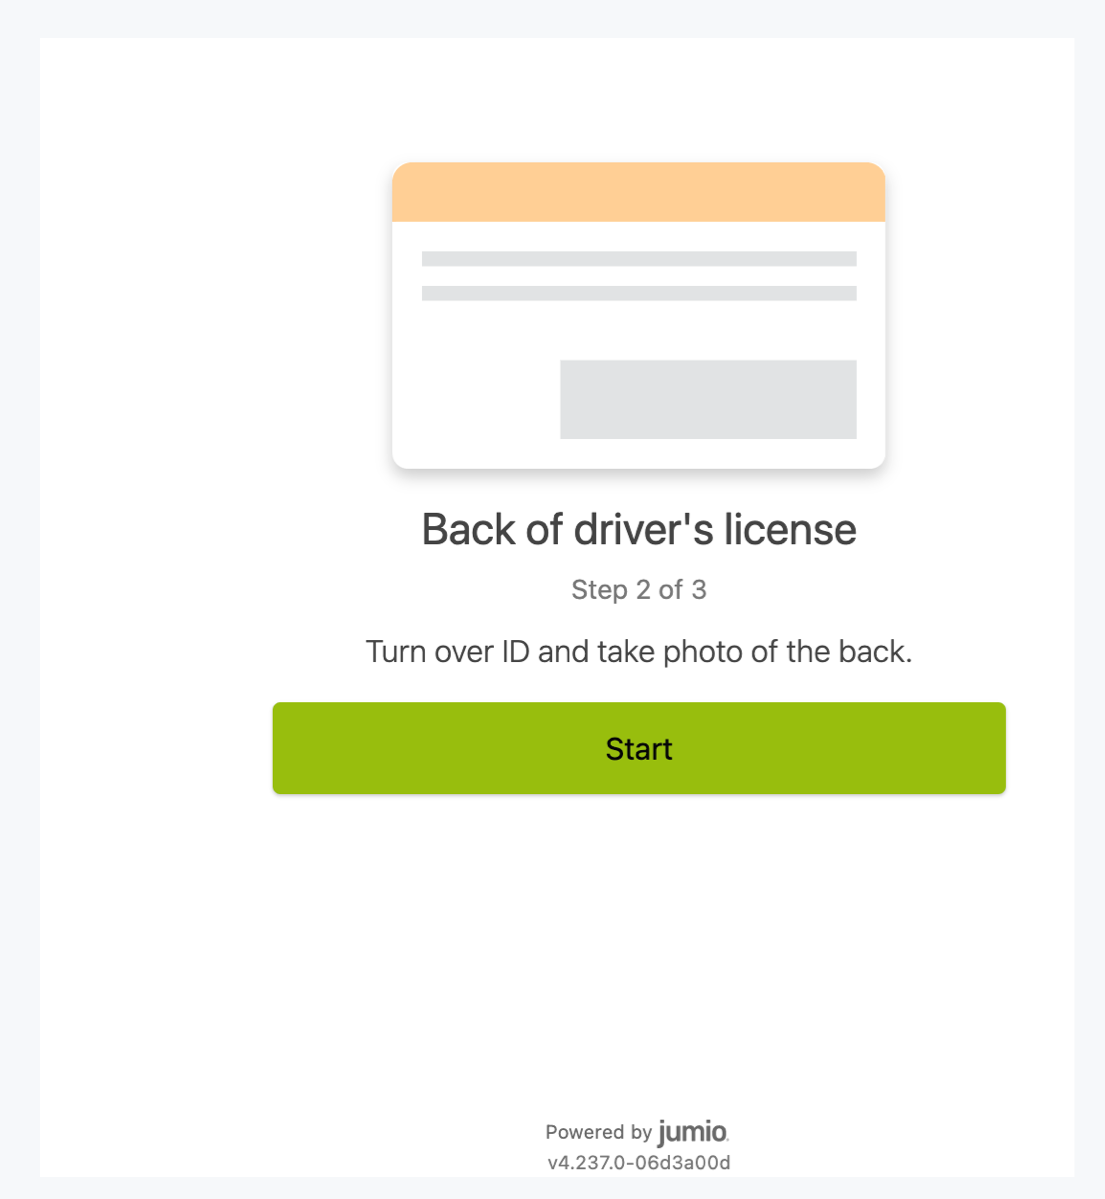
Take a photo of the front and back of the ID using the webcam or upload the photo of the ID from your computer.
-
When prompted, complete the face verification step. If the verification is successful, the user is successfully authenticated.