Signing on to and configuring the admin console
After you install the server, access the admin console to verify the configuration and manage the server.
The admin console is designed primarily for server configuration, which includes the creation of new schema elements like attribute types and object classes. Most entry-monitoring tasks, such as searching and modifying, must be executed with the built-in command-line tools. Learn more in Managing entries.
|
The information in this topic applies to all servers in the PingDirectory suite of products unless otherwise specified. |
Steps
-
Start the server.
$ bin/start-server -
To access the admin console, go to https://<host>:<port>/console.
<host> is the host name of the server, and <port> is the port on which the server accepts connections from HTTPS clients.
The host name and port were configured during installation.
-
In the Username and Password fields, enter the root user DN credentials.
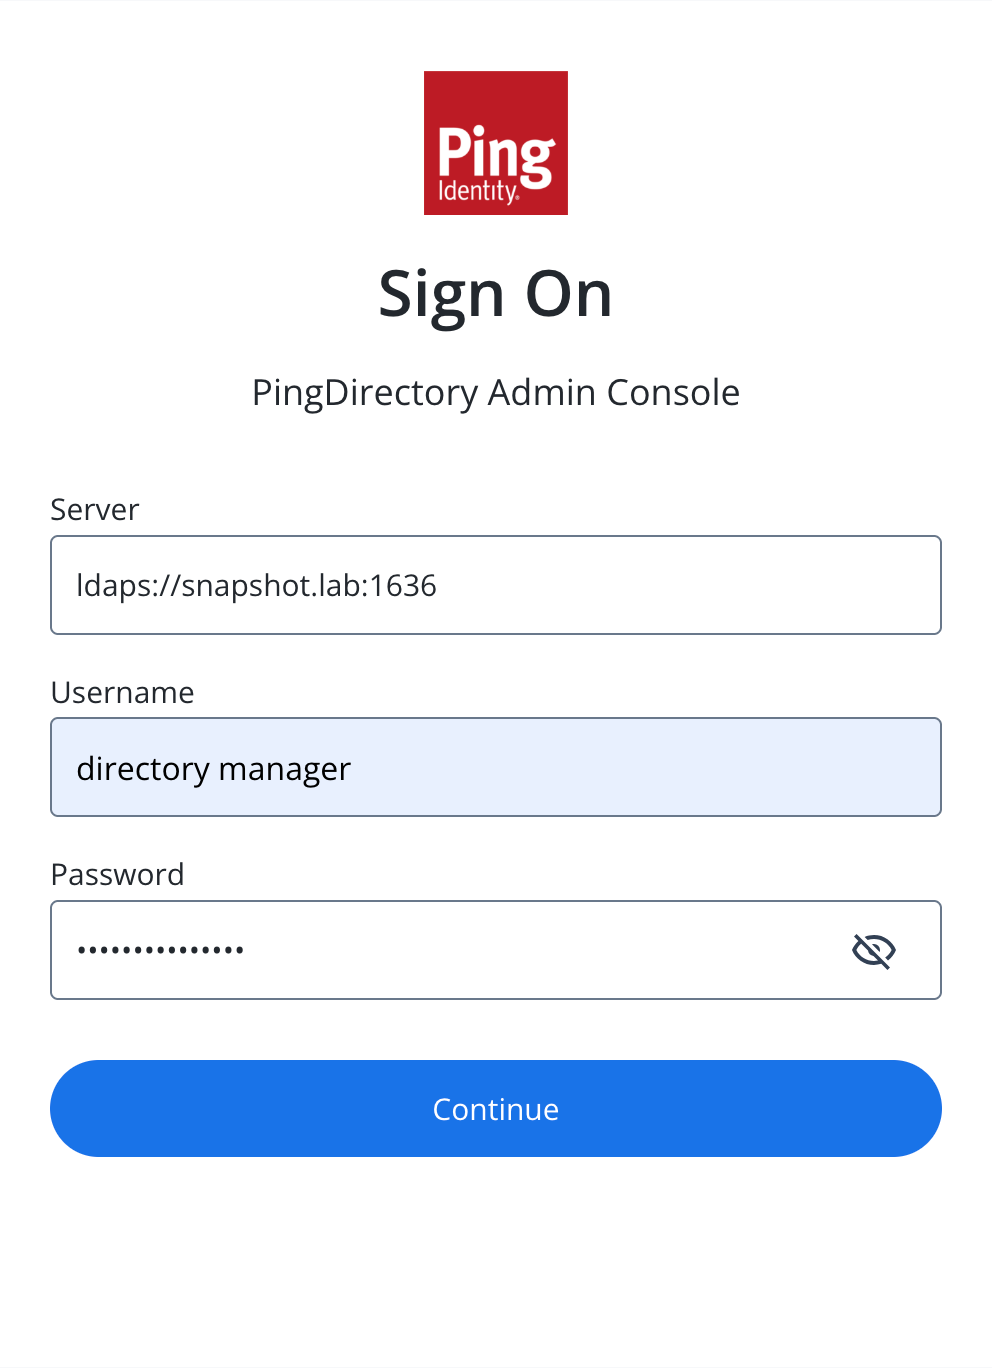
To sign on to the admin console, you need either the root user distinguished name (DN) or the common name of a root user DN.
For example, if the DN created when the server was installed is
cn=Directory Manager, you can use eithercn=Directory Managerordirectory managerto sign on. -
Click Continue.
To set up an SSO connection, refer to Single sign-on with the admin console.
To run the console in an external container, such as Tomcat, refer to Deploying the admin console.
Setting the admin console session timeout window
The default session timeout for the admin console is 30 minutes. You can adjust your session length to suit your organization’s needs.
|
When the session duration is exceeded, all inactive users are logged off automatically. |
To change the default session timeout value:
Steps
-
To configure the
server.servlet.session.timeoutapplication parameter, which specifies the timeout duration in seconds, set the value as aninit-parametereither in the console or on the command line:Choose from:
-
Use the admin console:
-
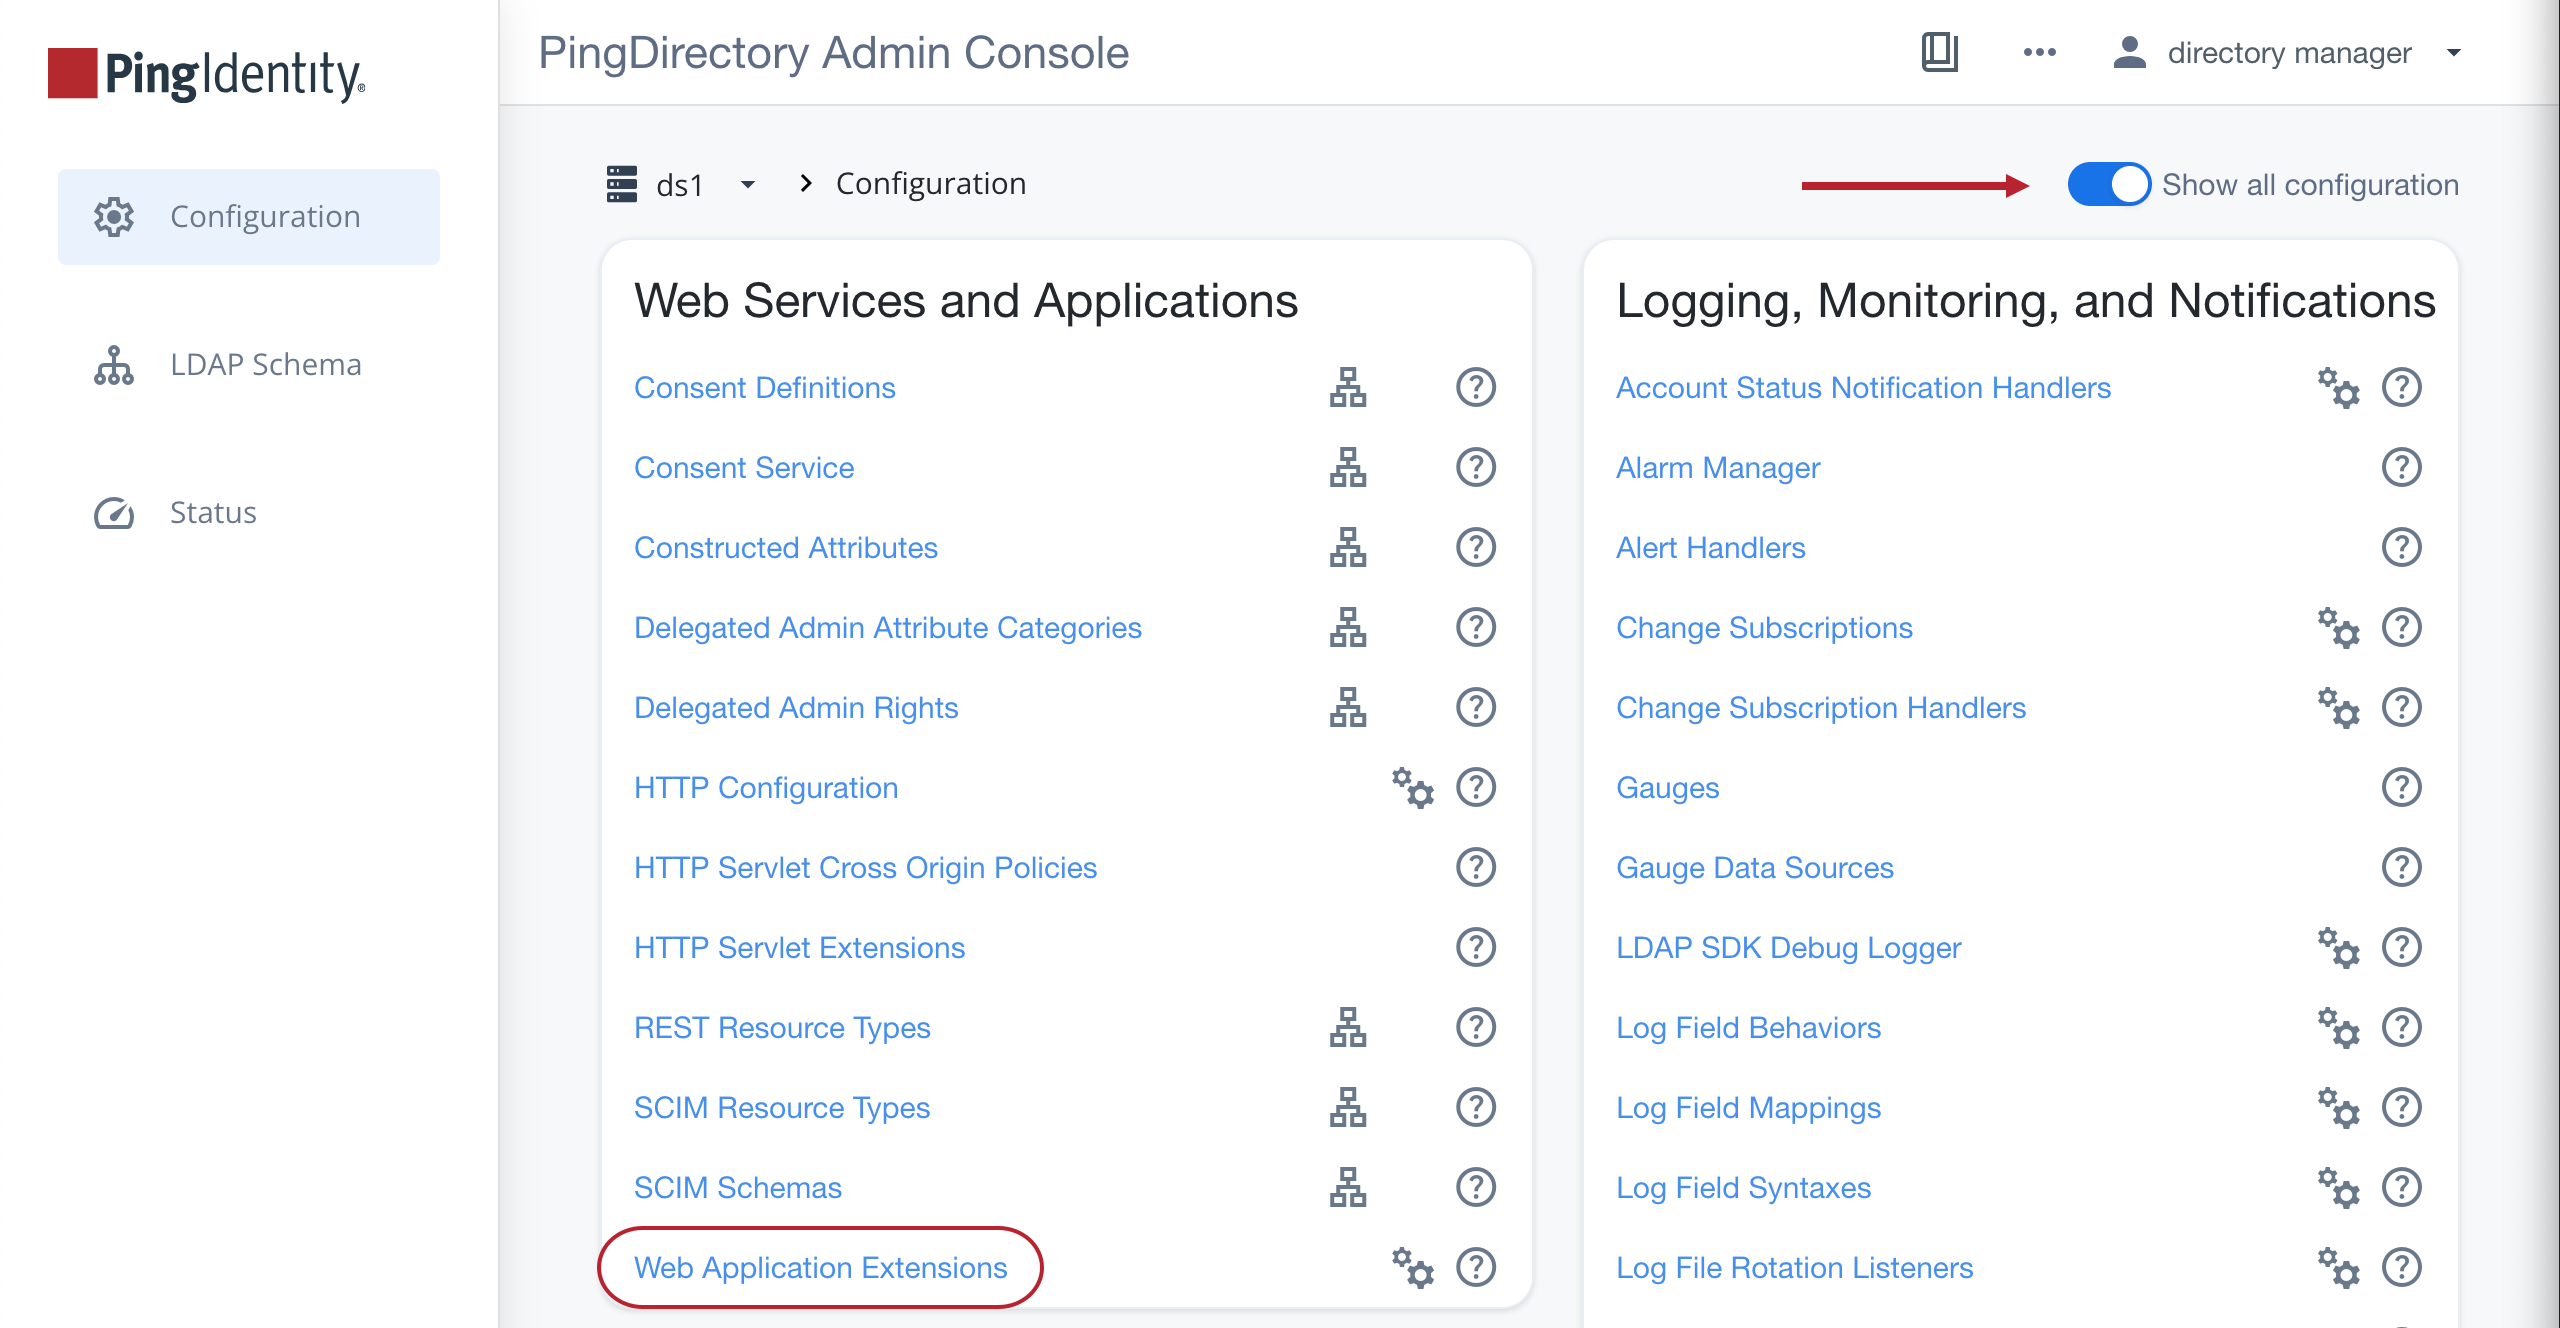
In the sidebar, click Configuration.
-
Enable the Show all configuration toggle.
-
In the Web Services and Applications list, select Web Application Extensions.
-
In the Web Application Extension list, select Console.
-
In the Init Parameter field, enter
server.servlet.session.timeout=<value>, replacing <value> with the desired timeout duration in seconds. -
Click Save.
-
-
Use the command line to run the following:
dsconfig set-web-application-extension-prop --no-prompt \
    --extension-name Console \
	--add init-parameter:server.servlet.session.timeout=<value in seconds>
-
-
To save your changes, restart the HTTP Connection Handler or the server:
Choose from:
-
Restart the HTTP Connection Handler:
dsconfig set-connection-handler-prop \ --handler-name "<HTTPS Connection Handler>" \ --set enabled:false dsconfig set-connection-handler-prop \ --handler-name "<HTTPS Connection Handler>" \ --set enabled:true -
Restart the server using
bin/stop-serverwith the-Ror--restartoption:bin/stop-server --restart
-
Deploying the admin console
To administer multiple servers from a single console instance, you can use Docker or a Java application server, such as Tomcat or Jetty, to run the admin console as a standalone instance. Running the admin console as a standalone instance also allows you to make changes to the console without restarting the server’s HTTPS connection handlers.
|
The admin console packaged with version 11.0 of the PingDirectory suite of products only supports version 11.0 servers. |
Environment variables
You can change the value of any configuration property within the ../WEB-INF/classes/application.yml file by setting an environment variable following the pattern shown in this article.
For example, to set the system.readOnly property to true, which puts the console into read-only mode, include the following argument for a Docker deployment:
--env SYSTEM_READ_ONLY=true
Alternatively, you can run the following command for either Tomcat or Docker deployments:
export SYSTEM_READ_ONLY=true
Application base path
By default, the server hosts the admin console at the /console endpoint. If you want to change this path, you can update the base-context-path property by updating the console’s web application extension.
If you host the admin console on a Tomcat server, you can deploy the resource/admin-console.war file to serve the console at the /admin-console endpoint. If you change the .war file name, you change the admin console endpoint.
Using Docker to run a standalone admin console
The admin console is available as a standalone Docker image on Docker Hub.
The Ping Identity Helm charts also include support for the admin console, which you should use when deploying the console in Kubernetes.
Steps
-
To connect with a server that’s deployed in Docker, run the admin console image in a local Docker deployment. The network you use must match the network used by the server’s container.
Learn how to configure and deploy the admin console with Docker in the DevOps documentation.
For a
docker-composeexample that deploys a PingDirectory container with a corresponding console, refer to the PingDirectory getting started demo. -
To access the admin console, go to https://<hostname>:<port>/console and enter the following credentials.
Field Credential Server
<PingDirectory-container-name>:<LDAPS-port>The name of the server you enter on the sign-on page must match the name of the server container you’re trying to connect to along with the LDAPS port of that container.
For example, use
pingdirectory:1636to connect to a standalone PingDirectory Docker container on the same network.Username
administratorPassword
2FederateM0re
Setting up the admin console on a Tomcat server
Before you begin
To set up a standalone admin console, you need the .war file from the server’s resource/admin-console.zip archive.
You can use the .war file with Java application servers, such as Tomcat or Jetty. The following example uses Tomcat as the server environment.
Steps
-
Download the Tomcat 11
.ziparchive from the Apache Tomcat downloads page. -
Extract the
.ziparchive. -
To set up the Tomcat server, follow the instructions in the
RUNNING.txtfile from the extracted directory. -
To keep the Tomcat server information from being exposed, in the
Hostsection of theTomcat_directory/conf/server.xmlfile, add the following line:<Valve className="org.apache.catalina.valves.ErrorReportValve" showReport="true" showServerInfo="false" />
This information is sourced from the Smart Scanner website, where you can learn more about this Tomcat server vulnerability. -
Copy the
.warfile into thewebappsfolder in the Tomcat root directory. -
To start the Tomcat server, run
startup.shorstartup.batfrom thebinfolder of the Tomcat root directory.Result:
Tomcat automatically extracts the admin console from the compressed
.warfile into an exploded application directory and starts running the console. -
Set a specific location for the console’s log output by updating the value of
log.filein the../WEB-INF/classes/application.ymlfile. -
To access the admin console, add the name of the
.warfile to the end of the Tomcat server’s path.Example:
If the Tomcat server is deployed on
localhost:8080, and the.warfile is namedadmin-console.war, then the path to access the console islocalhost:8080/admin-console.
Configuring the admin console
After you have deployed the admin console, you can configure it.
Steps
-
To configure the admin console settings:
Choose from:
-
Modify the
../WEB-INF/classes/application.ymlfile. -
Set
init-parametervalues for the desired configuration properties, following the same steps described in Step 1 of Setting the admin console session timeout window.
To see the different configuration settings included with the admin console, expand the following table:
Configuration settings
Setting Description spring.*Learn more about these properties in the Spring API docs.
You shouldn’t modify them.
management.server.base-pathControls the prefix of the Spring Boot Actuator endpoints of the admin console application.
You shouldn’t modify this setting.
branding.appNameControls the title of the admin console application displayed on the sign on page and in the console’s banner, for example PingDirectory admin console.
logging.level.*Controls the severity level of messages logged about these packages.
log.consoleIf this is set to
true, the admin console logs messages to a file.log.fileIf logging is enabled, this specifies the file that the admin console will log to.
PingData.SSO.OIDC.enabledIf this is set to
true, the admin console attempts to use OpenID Connect (OIDC) single sign-on (SSO) to bind to the managed server.If
false, the admin console asks for a username and password.PingData.SSO.OIDC.issuer-uriThe issuer URI to the OIDC provider.
PingData.SSO.OIDC.client-idThe client ID used with the OIDC provider.
PingData.SSO.OIDC.client-secretThe client secret used with the OIDC provider.
PingData.SSO.OIDC.trust-store-fileThe file path to the trust store used when communicating with the OIDC provider.
PingData.SSO.OIDC.trust-store-typeThe type of trust store specified by
PingData.SSO.OIDC.trust-store-file.PingData.SSO.OIDC.trust-store-pinSpecifies the password used with the trust store specified by
PingData.SSO.OIDC.trust-store-file.PingData.SSO.OIDC.trust-store-pin-environment-variableSpecifies the environment variable containing the password used with the trust store specified by
PingData.SSO.OIDC.trust-store-file.PingData.SSO.OIDC.strict-hostname-verificationIf this is set to
true, the admin console requires a matching host name on the OIDC provider certificate.PingData.SSO.OIDC.trust-allIf this is set to
true, the admin console accepts any OIDC provider certificate.PingData.SSO.OIDC.username-attributesThe LDAP attribute containing the username of the user the admin console is logging in as when using SSO.
login.hide-serverIf this is set to
true, the Server field is hidden on the sign on page.ldap.serverAuto-populates the Server field on the sign-on page.
If
login.hide-server=true, this value determines which directory server the admin console tries to bind to.ldap.init-userAuto-populates the Username field on the sign-on page.
ldap.init-passwordAuto-populates the Password field on the sign-on page.
ldap.trust-store-fileThe file path to the trust store used when binding to the directory server.
ldap.trust-store-typeSpecifies the type of trust store specified by
trust-store-file.ldap.trust-store-pinSpecifies the password used with the trust store specified by
trust-store-file.ldap.trust-store-pin-environment-variableSpecifies the environment variable containing the password used with the trust store specified by
trust-store-file.ldap.file-servlet-nameSpecifies the name of the file servlet on the managed directory server to use when fetching generated
collect-support-data(CSD) or server profiles.ldap.csd-task-enabledIf this is set to
true, the admin console has a button that has the managed directory server run acollect-support-datatask.ldap.csd-destination-folderThe file path to the folder where the managed directory server stores generated CSD files after running the
collect-support-datatask.ldap.profile-destination-folderThe file path to the folder where the managed directory server stores generated server profiles after running the
generate-server-profiletask.Don’t change this property.
configuration.complexityDetermines the maximum complexity level for shown configuration objects.
The possible values are
basic,standard,advanced, andexpert.server.servlet.session.timeoutThe amount of time a web session can remain idle before the user must sign on again. The time is set in seconds unless you use a time interval (h for hours or m for minutes). If not specified, the default is 30 minutes.
system.readOnlyIf this is set to
true, it puts the console in read-only mode. This prevents console-based modifications to the server’s configuration or schema. -
-
To make your changes take effect, restart the admin console.