Configuring RADIUS PCV for MS-CHAPv2
To use MS-CHAPv2 encryption with the RADIUS protocol, you need to enable PingID Password Credential Validator (PCV) to work with the relevant Network Policy Service (NPS). The PingID password credential validator (PCV) implements PingID as the second factor in the flow between the client and the network policy service (NPS).
Before you begin Install the PingID Integration Kit.
|
Use of PingID as the second factor between the RADIUS client and an NPS is only supported when using either MS-CHAPv2 or EAP-MSCHAPv2 encryption. |
Steps
-
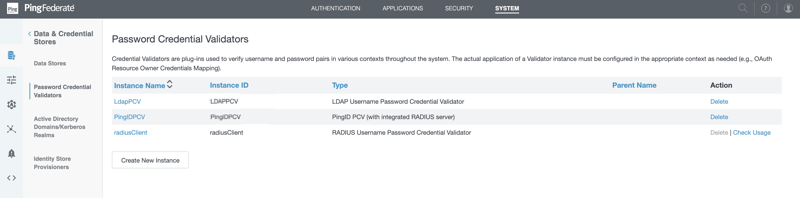
In PingFederate, go to Password Credential Validators.
Result:
A list of credential validator instances is displayed.
-
Click Create New Instance.
Result:
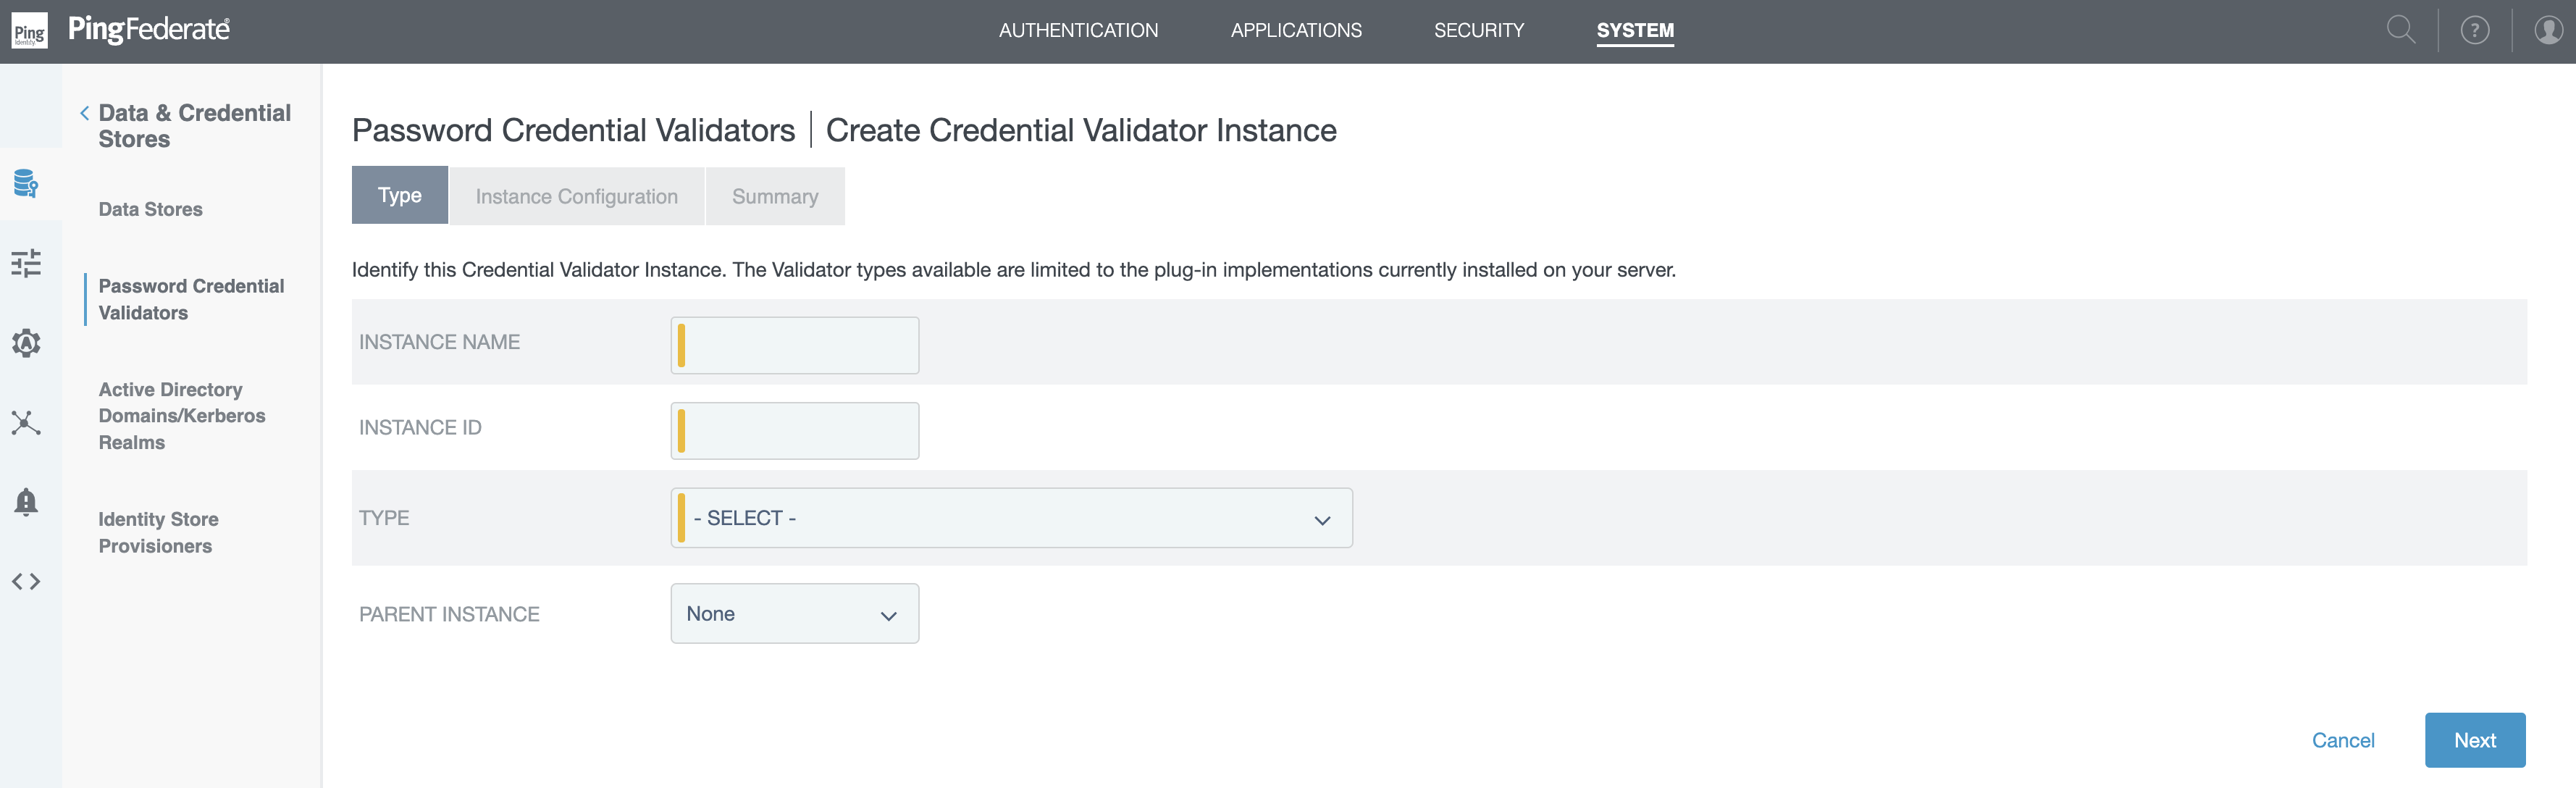
The Create Credential Validator Instance window opens.
-
In theInstance Name and Instance ID fields, enter a meaningful instance name and instance ID.
-
In the Type list, select PingID PCV (with integrated RADIUS server). Click Next.
-
To specify an LDAP as the attribute source:
-
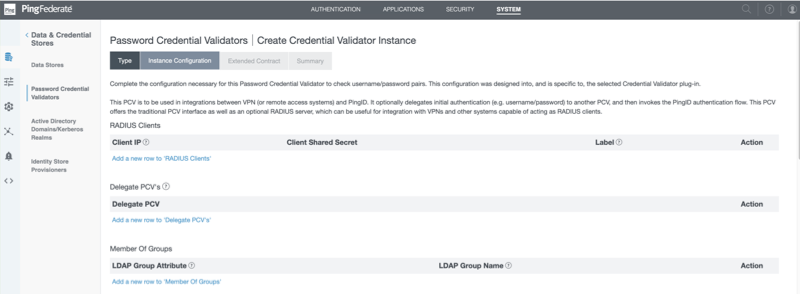
In the Delegate PCVfield, click Add a new row to Delegate PCVs.
-
In the Delegate PCV list, select LDAP as attribute source.
-
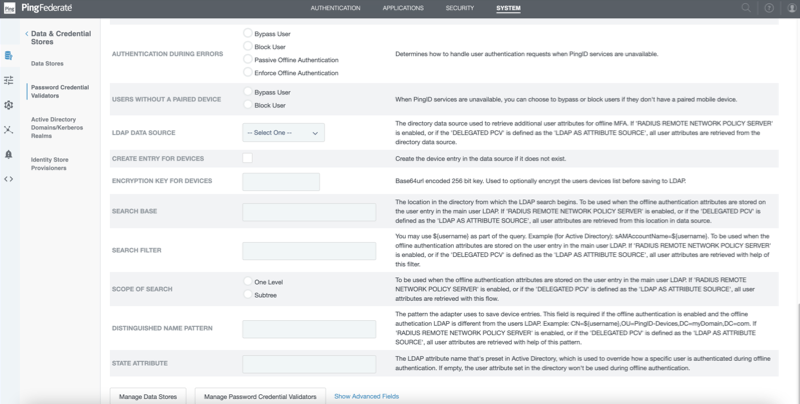
In the LDAP Data Source field, select the LDAP connection that you configured.
-
Configure either the Search Base and Search Filter fields, or the Distinguished Name Patternfield.
-
To provide the necessary permissions for client to connect to the PingID RADIUS PCV, create an approved RADIUS client:
-
In the RADIUS Clients section, click Add a New Row to RADIUS Clients.
-
Enter the RADIUS client’s IP address and shared secret. Optionally, you can add a label for each client to help distinguish between them when reviewing the list.
Validation of the client IP shared secret is performed on the PCV side and the NPS side. Therefore you must make sure the shared secret on the client matches the shared secret on the endpoint NPS.
-
Click Update.
-
-
Optional: To define different authentication behavior per LDAP group, see Configuring LDAP group behavior in RADIUS Server.
-
In the If the User Is Not Activated on PingID list, select one of the following options:
Choose from:
-
Always fail the login: If the user does not have a PingID cloud service account, access is denied.
-
Fail login unless in grace period: If the user does not have a PingID cloud service account by the mandatory enrollment date, access is denied.
-
Let the user in without PingID: If the user is registered, authenticate with both LDAP and PingID MFA. If the user is not registered with PingID, authenticate with LDAP single-factor authentication only.
-
-
Select the Enable RADIUS Remote Network Policy Servercheck box.

-
In the RADIUS Network Policy Server IP field, enter the relevant IP address for your NPS.
-
In the RADIUS Network Policy Server Port field, configure the dedicated authentication port number of the remote NPS.
Make sure the RADIUS Server Authentication Port number is unique and not used for any other PingID RADIUS PCV instance. The default port is 1812.
-
To define the communication settings between RADIUS Server and the PingID cloud service:
-
In the PingOne admin portal, go to Setup → PingID → Client Integration.
-
In the Integrate with PingFederate and Other Clients section, click Download to save a copy of the
pingid.propertiesfile.For more information, see Managing the PingID properties file.
-
In a text editor, open the
pingid.propertiesfile, copy the file contents, and paste the contents into the PingID Properties file field in PingFederate.
-
-
Optional: Configure any additional RADIUS PCV parameters that you want to include.
For a list of options, see PingID RADIUS PCV parameters reference guide.
-
Click Next twice, and then click Done.
-
Click Save.
To perform a health-check on the RADIUS PCV server, use the heartbeat on /pf/heartbeat.ping. The PingID Radius PCV does not expose its own heartbeat endpoint. For more information, see https://support.pingidentity.com/s/article/Enabling-heartbeat-in-PingFederate-7-3-and-above[Enabling Heartbeat in PingFederate 7.3 and later].