Uninstalling the PingID integration for Windows login
Uninstall the PingID integration for Windows login on your machine.
Uninstall the PingID integration for Windows Login using UI
Before you begin
Before uninstalling PingID from your Windows machine, you should unpair the device. Learn more in Managing your devices in the PingID User Guide.
Steps
-
In Windows, go to Control Panel > Programs > Programs and Features, right-click the listing of PingID for Windows, and select Uninstall.
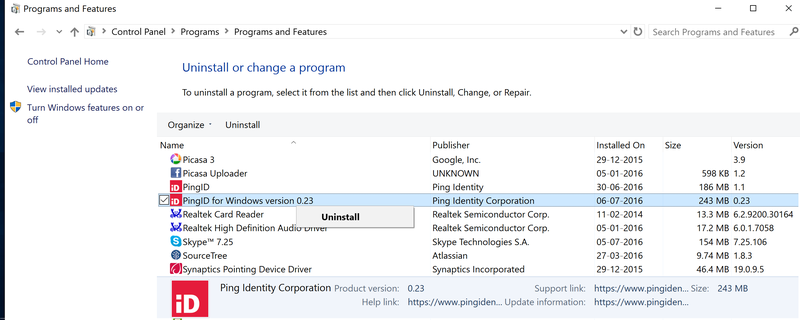
If you have an installation of the PingID desktop app on the same machine, make sure that you select the correct entry (PingID) to uninstall.
-
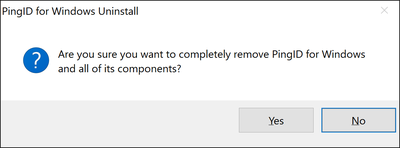
Confirm the removal.
Result:
A status window displays.
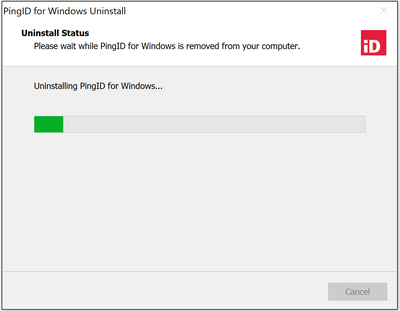
After the program is uninstalled, a confirmation message displays showing that the application was successfully uninstalled.
Uninstall the PingID integration for Windows Login using CLI
Before you begin
Before uninstalling PingID from your Windows machine, you should unpair the device. Learn more in Managing your devices in the PingID User Guide.
Steps
-
To use the uninstallation program from the command line, run
unins000.exe, located in the top-level of the installation directory. -
You can use the following options:
-
/SILENT: Don’t display the background window, but show the installation progress window. -
/VERYSILENT: Don’t display the background window or the installation progress window.
-
|
You can uninstall PingID using the uninstallation program from the command line. However, if |