Configuration for use with RDP
You can also use Windows Login - Passwordless when authenticating to access a remote computer via RDP. To use the integration with RDP, there are a number of configuration steps you must carry out.
The first section in this topic describes the steps you must carry out both for authentication via the PingID mobile app and authentication via a security key.
The second section describes additional steps you may have to carry out if your users will be authenticating with a security key.
Configuration steps for using Windows Login - Passwordless for RDP authentication
The use of Windows Login - Passwordless to access a remote computer via RDP is based on use of the certificate and private key from the client computer.
This approach uses named pipes as a transport layer between the two computers. To allow the necessary messages to be sent over this transport layer, you must ensure that two-way TCP traffic is allowed between the host and the client computers on port 445.
Additional configuration steps for using security key authentication for RDP
The step described in the previous section allows you to carry out basic authentication for RDP with a security key. However, because security keys are not visible to remote computers by default when accessing the computers via RDP, there are additional steps that you must carry out if you need to allow any of the following on the remote computer:
-
Locking/unlocking of the remote computer
-
User Access Control (UAC)
-
RDP to a second remote computer
- Changes that must be made to group policy
-
-
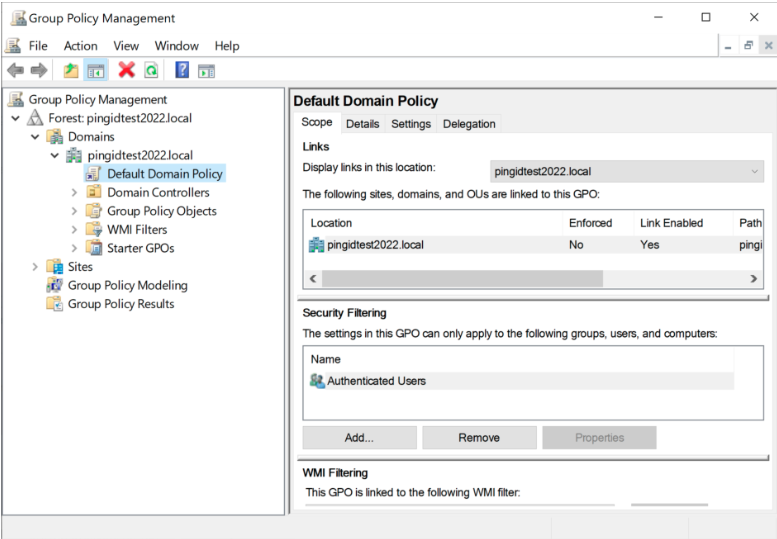
Run
gpmc.mscto open the Group Policy Management application. -
Navigate to the relevant domain policy, and select Edit from the context menu.
-
Go to Computer Configuration → Policies → Administrative Templates → Windows Components → Remote Desktop Services → Remote Desktop Connection Client → RemoteFX USB Device Redirection.
-
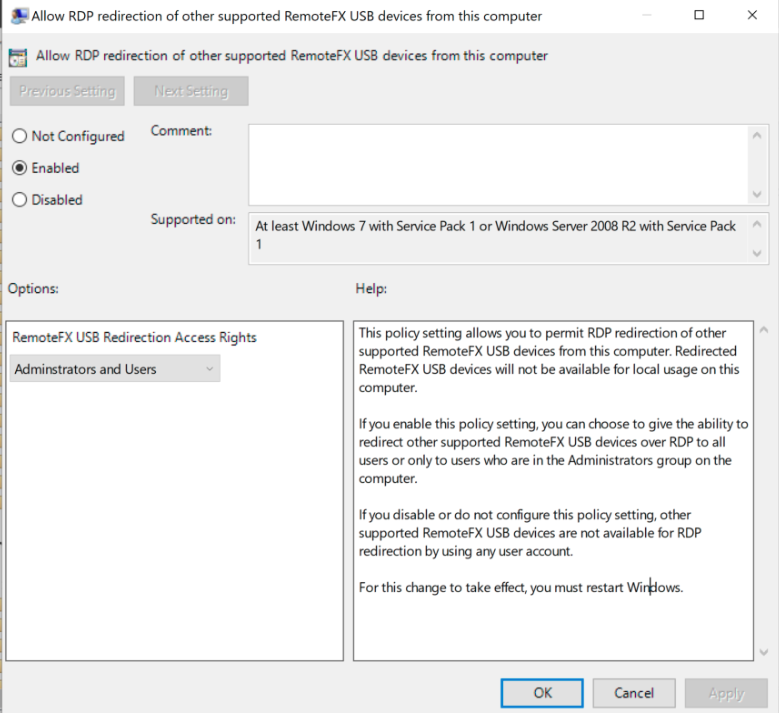
Edit Allow RDP Redirection of other supported RemoteFX USB devices from this computer.
-
Set Allow RDP Redirection of other supported RemoteFX USB devices from this computer to Enabled.
-
Set RemoteFX USB Redirection Access Rights to Administrators and Users.
-
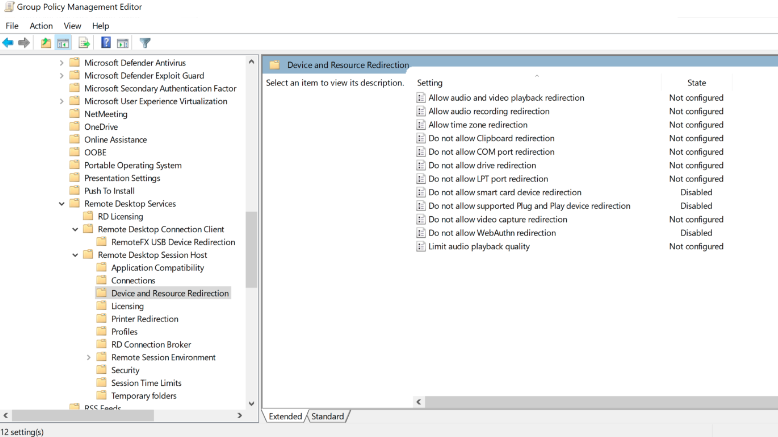
Go to Computer Configuration → Policies → Administrative Templates → Windows Components → Remote Desktop Services → Remote Desktop Session Host → Device and Resource Redirection
-
Edit Device and Resource Redirection.
-
Under Device and Resource Redirection:
-
Set Do not allow smart card device redirection to Disabled.
-
Set Do not allow supported Plug and Play device redirection to Disabled.
-
Set Do not allow WebAuthn redirection to Disabled.
After making the changes to the group policy, propagate the changes to the computers in the domain.
-
-
- Remote Desktop Connection settings
-
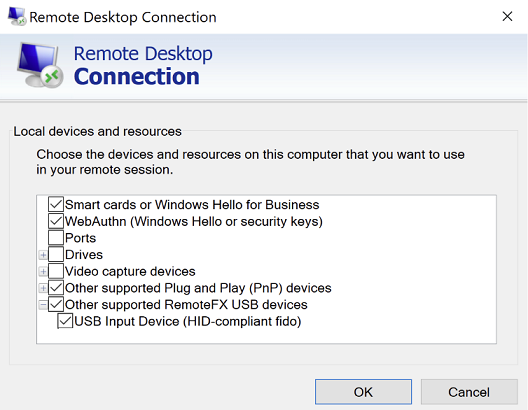
Verify that Remote Desktop resource redirection is configured properly:
-
Click the More… button on the Local Resources tab of the Remote Desktop Connection UI.

-
Select the security key listed under Other supported RemoteFX USB devices.
-
If you will be authenticating with an NFC-based security key, verify that Smart cards or Windows Hello for Business is selected.
-