Viewing and reordering authentication policies
View, reorder, and edit the list of existing authentication policies or rules within a policy.
About this task
PingID executes policies in the order in which they are listed. The order in which the policies are listed is significant. For example, if an application is included in more than one policy, only the first policy in the list is executed and applied when a user attempts to access the application.
If a policy includes more than one rule, the order in which the rules are listed within the policy is also important. Policy rules are executed in the order in which they are listed, and after a rule’s conditions are met, subsequent rules listed are not evaluated.
You can change the order in which both policies and the rules within a policy are listed.
If more than one policy exists for an application or user group, the policies are applied in the order that they appear in the policy list as outlined in the policy rules.
Steps
-
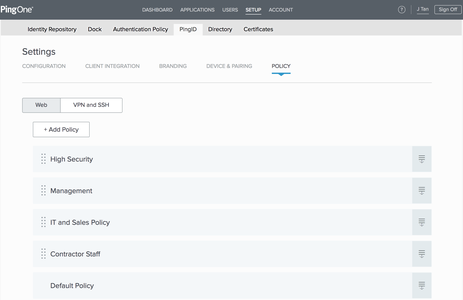
Go to Setup → PingID → Settings → Policy, and click the Web tab.
Choose from:
-
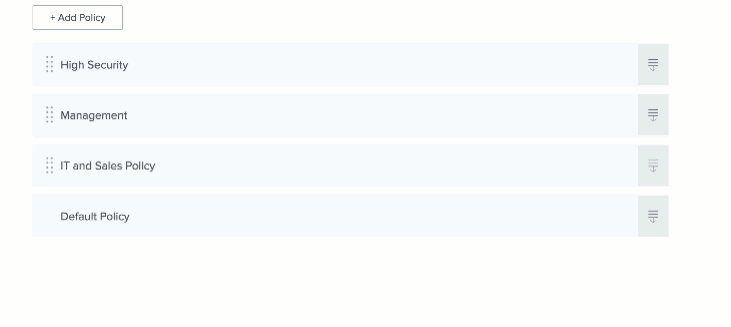
To view the list of policies and the order in which they are executed, click the Web tab.
-
To reorder a policy:
-
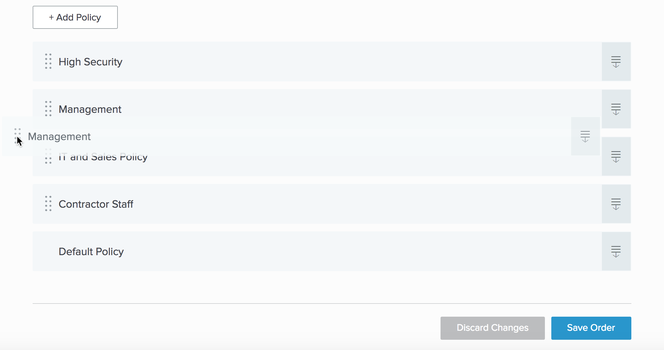
From the policies list, select the policy.
-
Drag the policy to the position that you want it to be placed and release the mouse.
-
To secure the new order of the policies, click Save Order.
-
-
To view or edit the policy details of a specific policy:
-
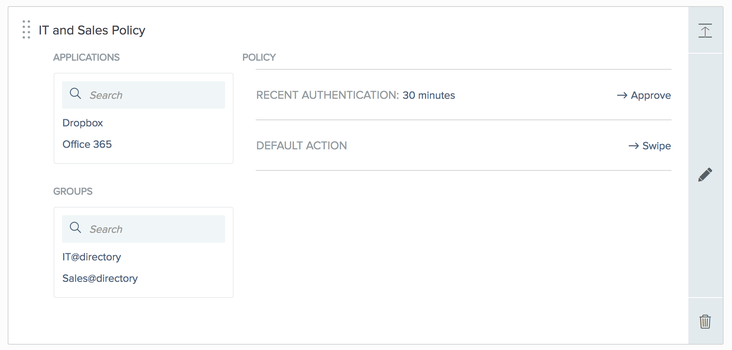
To expand an entry, click the Expand icon (
 ).
).The applications and groups to which the policy applies are listed in the left column. The rules included in the policy and their configuration are listed in the right column.
-
To edit a policy, click the Pencil icon (
 ).
).You can edit the Applications and Groups to which the policy is applied, as well as the rules that are included in the policy. You can also rename the policy. For more information, see Editing a web authentication policy.
-
To delete a policy, click the Delete icon.
-
-
-