Customizing the PingID Enrollment page
The co-branding capabilities of the PingID mobile app enrollment page provide administrators with additional advanced customizations of the enrollment process, including more control over text and style and a more flexible, configurable enrollment flow.
Customize the look and feel of the PingID Enrollment page by:
-
Adding your organization’s logo
-
Changing the background image or color
-
Changing the enrollment Start button background color and text
-
Changing the welcome text and color
-
Changing the welcome text for multiple supported languages
To customize the PingID Enrollment page:
Steps
-
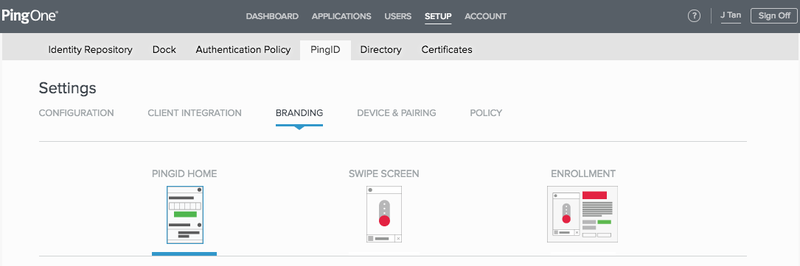
In the Admin console, go to Setup > PingID > Branding > New Enrollment Page.
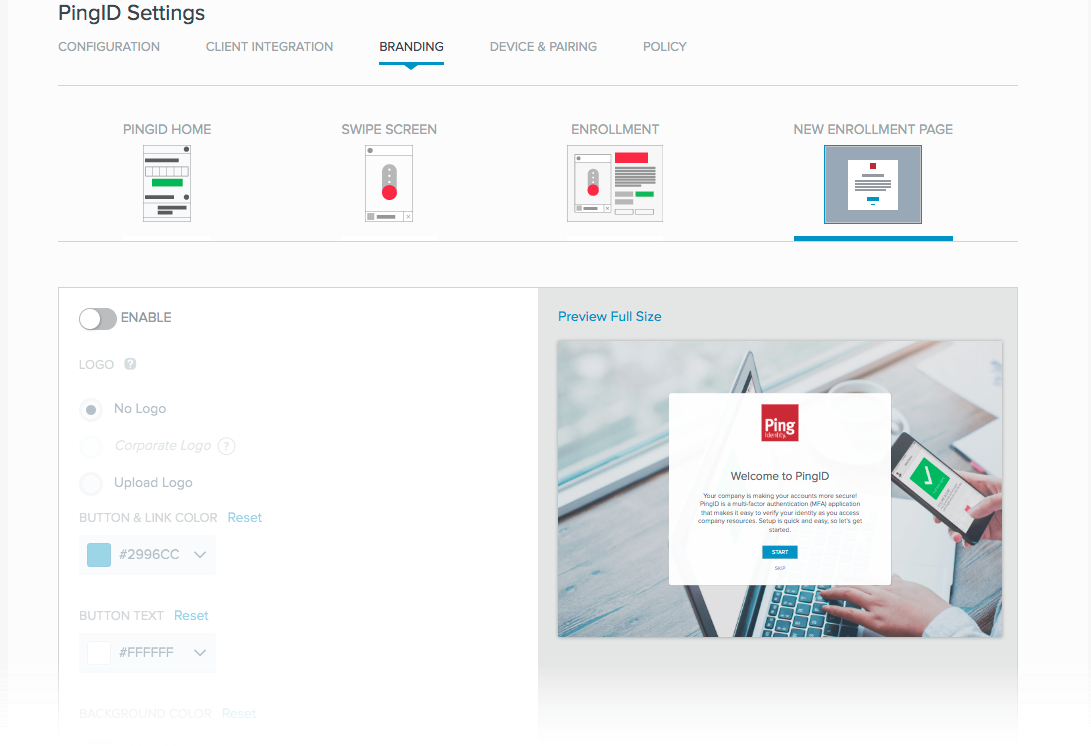
For existing organizations, the New Enrollment Page is disabled with default or previous settings.
-
Add your brand editing.
Learn more about brand editing fields in the Branding Fields section.
-
Click Save.
To restore to the previous state, click Discard Changes.
Branding fields
Preview Image
The branding fields are on the left of the page. On the right is the Preview Full Size image.
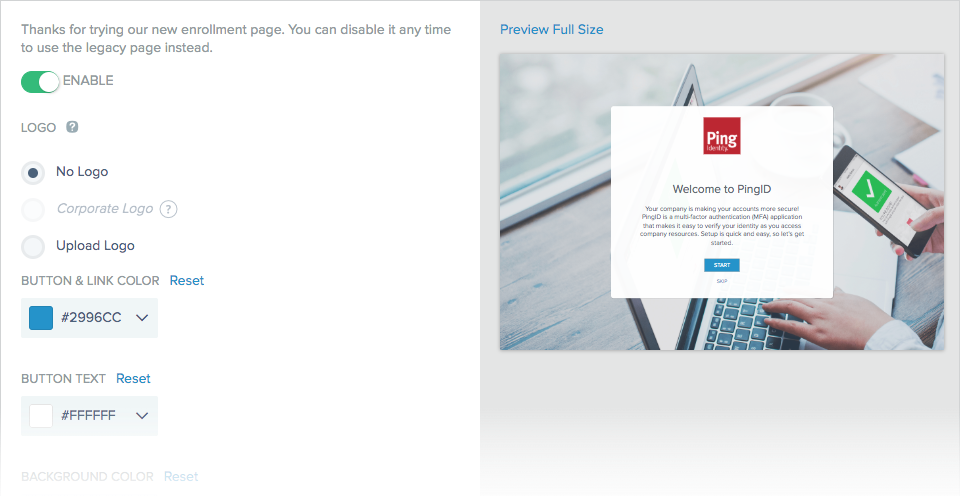
The Preview Full Size section reflects your current edits. To enlarge the preview, click anywhere inside the image. Click the image again to restore it to its original size.
|
The branding fields can be entered all or in parts and in any order. Click Save to save your changes. Click Discard Changes to revert to the previous state. |
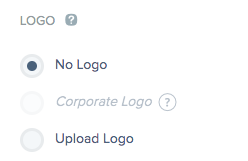
Logo
|
No Logo This is the default.Corporate Logo This option is available after the admin uploads the organization logo to the dock settings. For more information, see Assign branding and design in the PingOne for Enterprise Administration Guide.Upload Logo When you select this option, the Select File button appears. Click Select File to select the logo image file.
|
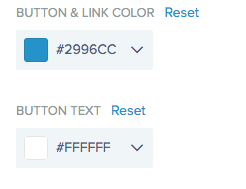
Button & Link Color, Button Text
|
These fields relate to the Start and Skip fields in the preview. 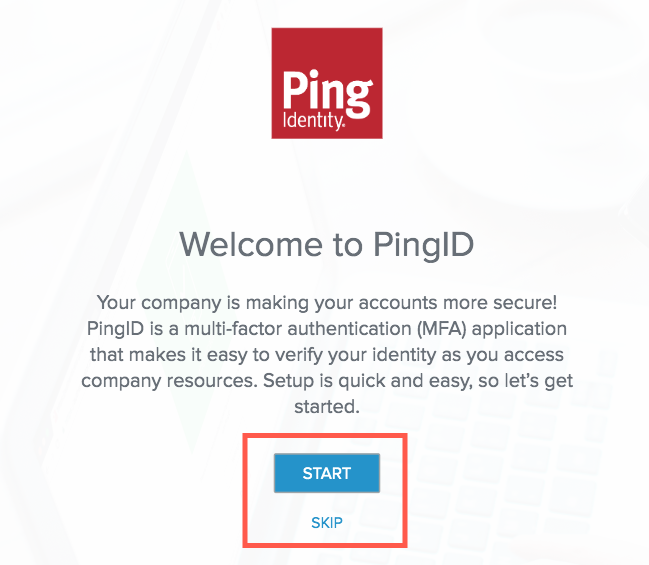
Click these and all subsequent color fields to open a standard color selector. 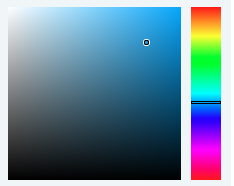
The color you select displays in hexadecimal format in the Button & Link Color and Button Text fields. You can also enter a hexadecimal number directly in the fields.
Click Reset to revert to the default value. |
Background Color
Click Background Color to open a standard color selector. Click Reset to restore the default setting.
|
If you are using a background image, the background color does not display. |
Background Image
In the Background Image section, click Remove File to remove the default image and reveal the Select File icon.
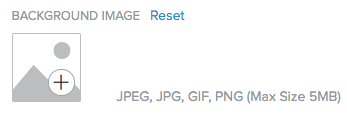
Click the Select File icon to select a background image. Click Reset to restore the default setting.
|
If your image is truncated or distorted, you might need to physically re-size it before uploading. The PingID enrollment message background assumes a display aspect ratio of 16:9. |
Customizing message texts
PingID provides customizable message texts for each of the supported languages. Currently supported languages are listed in PingOne for Enterprise language support.
|
When the end-user’s machine locale is set to one of the PingID supported languages, the user receives enrollment messages in the language of that locale. If the user’s locale is not a PingID supported language, then the user receives enrollment messages in English. |
Customizing message texts online
Customize the title and body message text for your user’s enrollment experience.
The Message section is the last item of the New Enrollment Page. The following image shows the Message section and the message preview.
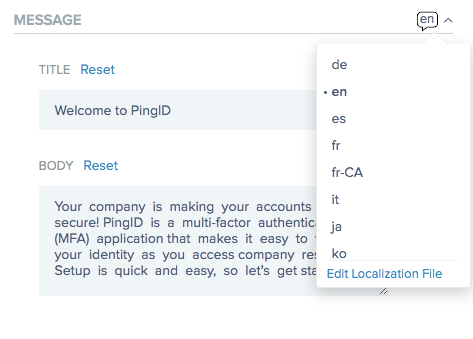
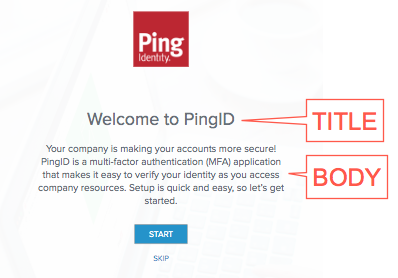
Editable fields are:
- Title
-
A short welcome message
- Body
-
A paragraph-size message presented on the end-user’s device during enrollment regarding PingID’s connection to the user’s organization and its role in securing the user’s identity. You can use regular text or HTML in this section.
To view or edit the Title and Body messages:
Steps
-
To choose a language other than English, in the Message section, click the language abbreviation icon, and then in the language selector list, select a language.
Result:
The Title and Body messages appear in the selected language.
-
Edit the text in the Title and Body fields.
-
Repeat step 2 for any other required languages.
-
Click Save to save your changes or Discard Changes to revert to the previous message.
-
There are no validation checks to verify that the entered message text is in the selected language.
-
To restore the default text for a locale, click Reset next to the Title and Body field headings to restore the default text.
-
Customizing message texts offline
Download message text templates to edit offline for a later multi-locale upload.
|
Choose only one of either online or offline editing methods. Learn more about how to edit message texts online in Customizing message texts online. |
To prepare for customizing Title and Body messages offline:
Steps
-
In the languages list, select Edit Localization File.
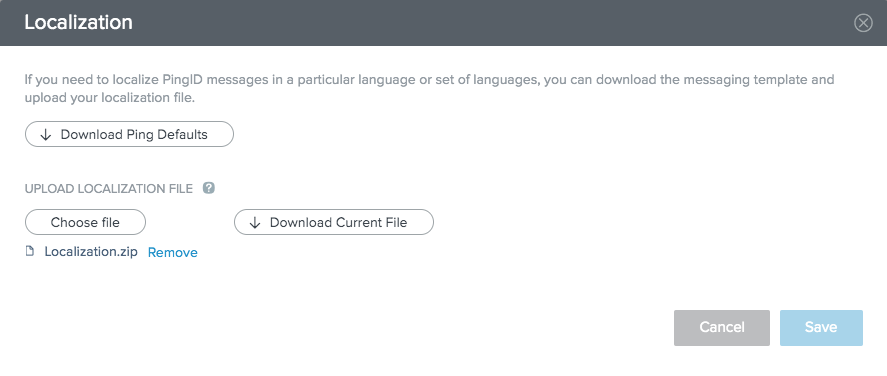
Result:
The Localization modal opens.
-
Choose a localization file.
Choose from:
-
Click Download Ping Defaults to download the PingID default message template for editing and customization.
-
Click Download Current File to download the current customized message texts template for further editing and customization.
The Download Current File button isn’t visible if customized message texts haven’t yet been uploaded or if the default PingID message texts were restored.
-
Result
After selecting Download Ping Defaultsor Download Current File, a .zip file downloads containing a separate message localization file per supported language.
Creating customized messages
About this task
The localization files in the .zip file that you downloaded have the naming convention Localization_<locale>.properties.__
The following example shows the content of the Localization_en.properties file.
pingid.enrollment.content.body=Your  company  is  …  so let’s get started.
pingid.enrollment.content.subject.line=Welcome to PingID
pingid.enrollment.content.description=Great news! … link to download PingID.
pingid.non.app.enrollment.text=I want to use a different authentication method.
The pingid.enrollment.content.body item is the Body text.
The pingid.enrollment.content.subject.line item is the Title text.
The remaining two lines refer to the legacy Enrollment page and are not relevant when using the New Enrollment Page.
To customize Title and Body messages offline:
Steps
-
Extract the downloaded
.zipfile. -
Edit the
Localization_<locale>.propertiesfiles to customize the message text.If there are errors in the field names
pingid.enrollment.content.bodyandpingid.enrollment.content.subject.linestrings, or those field names are not in the localization file, the affected message reverts to the default text for its locale. -
Create a new
.zipfile containing your customized properties files. You can use any file name for the.zipfile.The
.zipfile must be a flat structure containing only the desired files.-
Uploading a
.zipfile with an invalid structure returns the error messageFile doesn’t contain any valid localizations. -
Only files with file names complying with the
Localization_<locale>.propertiesnaming convention are uploaded. -
Files containing file names that do not comply with the
Localization_<locale>.propertiesnaming convention are ignored. This permits inclusion of instruction and maintenance files in the.zipfile, such asreadme.txt. -
Localization files for unsupported locales are ignored.
-
-
In the Upload Localization File section, click Choose File. In the file browser that opens, select the
.zipfile that you created in step 3.Result:
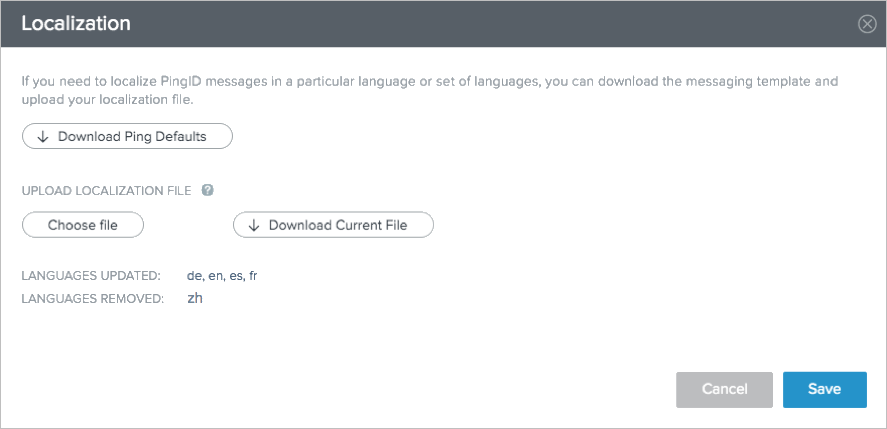
- Languages Updated
-
A list of the language locales whose messages change with this update.
- Languages Removed
-
A list of the language locales whose messages restore to the default messages with this update.
-
Click Save to accept and upload the changes, or Cancel to abandon the upload.
-
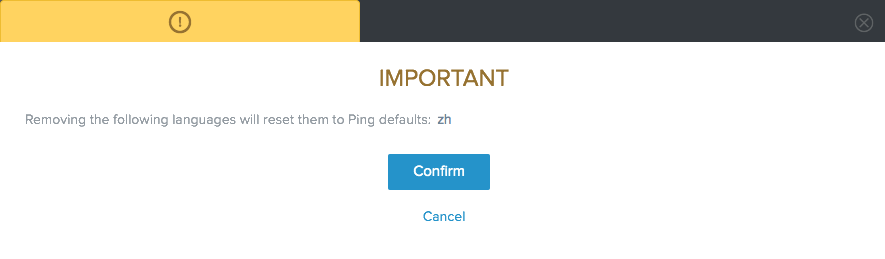
If you have removed languages, click Confirm to complete the upload.
Removed language messages are replaced by their defaults.
-
Uploading a
.zipfile of offline localization files resets online customizations for languages excluded from the.zipfile. For example, if you make an online customization of English messages and then upload a.zipfile that contains only a localization file for Spanish, only the Spanish messages update according to the uploaded customization. The English messages restore to the default message text. -
The system does not maintain a history of changes.
-
Restoring customized messages to defaults
Remove current localization files to restore customized messages to defaults.
To restore customized messages to defaults:
Steps
-
Click Remove to restore the message texts to the original default text for all locales.

Result:
A list of the Languages Removed displays.
- Languages Removed
-
A list of the language locales whose messages restore to the default messages with this update.
-
Click Save.
Result:
A confirmation modal warns that the removal of the customized localization file will restore the enrollment message text to the PingID default messages.

-
Click Confirm.
Click Cancel to abandon the Remove operation.
Customizing the PingID enrollment page (legacy)
Customize the look and feel of the PingID mobile app enrollment page for the PingID user.
Configure the enrollment page by adding your organization’s logo, changing the background appearance, and adding a background image or changing the color to reflect your organization’s branding.
|
Steps
-
Go to Setup > PingID > Branding > Enrollment.
-
Customize one or more of the following elements:
Option Description Logo
Select the icon you want to apply to the swipe screen and enrollment page.
-
No Logo: (default): don’t apply a logo.
-
Corporate Logo: Use the corporate logo configured in your PingOne dock settings. If you haven’t assigned a logo in the dock settings, this option is unavailable. Learn more in Customize the Dock Settings in the PingOne Administration Guide.
-
Upload Logo: To add a logo, click Upload Logo, go to the icon file you want to use, and then click Open. The logo can be a JPEG, JPG, GIF, or PNG file with a maximum size of 5 MB.
The logo configuration applies to both the swipe screen and the enrollment page.
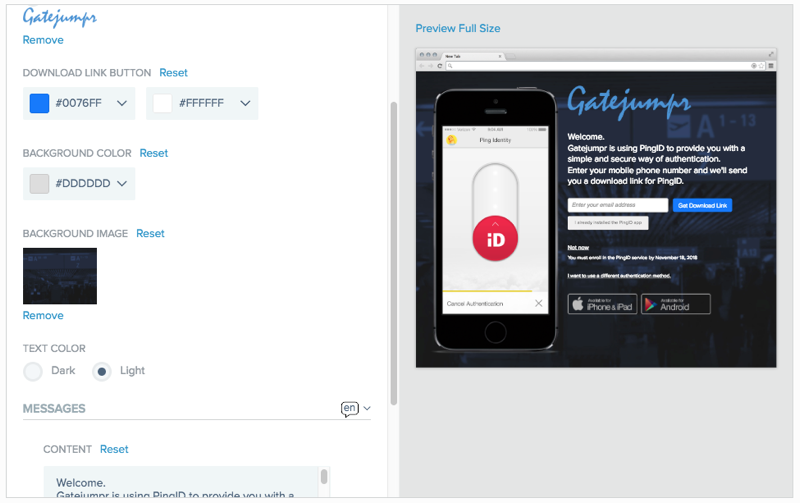
Download Link Button
Customize the look and feel of the Get Download Link button.
-
To change the button background color, click the left color picker and select the background color or enter the relevant hex number.
-
To change the button text color, click the right color picker and select the text color or enter the relevant hex number.
-
Click Reset to restore the default values.
Background Color
Customize the background color of the enrollment page, click theBackground Color picker and, select the background color or enter the relevant hex number.
This option is only available if a background image is not selected. Click Reset to restore the default setting.
Background Image
Set a background image for the enrollment page.
-
Click Remove to remove any existing image.
-
Click Select File, go to the icon file you want to use, and then click Open.
The logo can be a JPEG, JPG, GIF, or PNG file with a maximum size of 5 MB.
-
Text Color: Select Dark or Light to customize the text color appearing in the Enrollment page.
-
-
PingID provides customizable message texts for each of the supported languages. Learn how to customize messages on the enrollment page in Customizing the enrollment page text by language locale.
When the end-user’s machine’s locale is set to one of PingID’s supported languages, the user receives enrollment messages in that locale’s language. If the user’s locale is not a language supported by PingID, then the user receives enrollment messages in English.
-
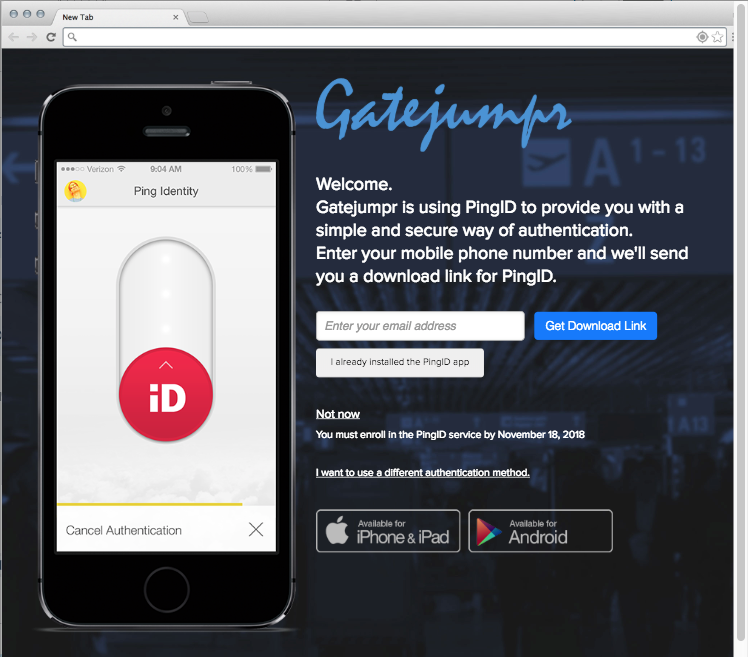
Click Preview Full Size to preview the changes as they will appear on your organization’s enrollment screen.
Click Save.
|
Clicking Discard Changes in the PingID Home, Swipe Screen, or Enrollment windows discards any changes made in all of the windows since the last save. |