Configuring LDAP attributes in PingFederate
If you’re using PingFederate as your identity provider (IdP) and want to enable backup authentication or pre-populate or restrict user data, you must first configure the relevant attributes in the PingID adapter.
Before you begin
Ensure that PingFederate is connected to an LDAP data source.
Learn more in Configuring backup authentication methods and Pre-populating or restricting user registration data.
Steps
-
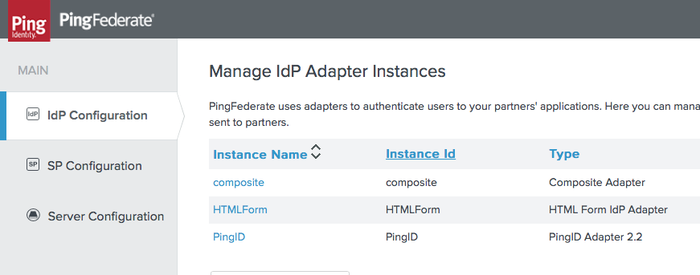
Sign on to the PingFederate administrative console, and go to the Manage IdP Adapter Instances window.
Choose from:
-
PingFederate 10.0 and earlier: Go to IdP Configuration > Application Integration > Adapters.
-
PingFederate 10.1 and later: Go to Authentication > Integration > IdP Adapters.
-
-
In the Instance Name column, click PingID.
-
Click Show Advanced Fields.
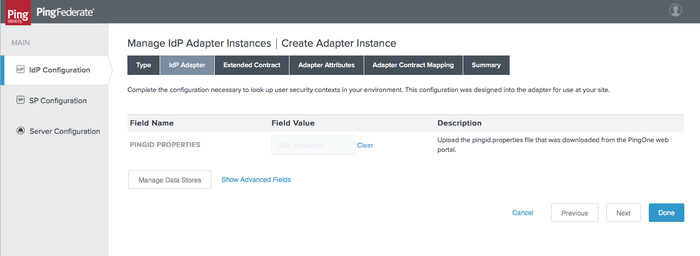
-
Fill in the relevant fields, and then click Done.
Field Description Email Attribute
The LDAP attribute containing the user email address.
Secondary Email Attribute
The LDAP attribute containing an additional user email address.
Phone Attribute
The LDAP attribute of the phone number used for SMS messages, as well as voice calls if Voice Number attribute is left empty.
Voice Number Attribute
The LDAP attribute of the phone number used for voice calls. If left empty, the Phone Attribute is used for voice calls.
The Phone Attribute and Voice Number Attribute fields must use the Google Library format, which specifies that all phone numbers must include "+" and the international country code.