Running a custom report
For greater flexibility than predefined reports, run a custom PingID activity report.
About this task
Unlike a predefined report, you must reset the specific parameters each time you run a custom report.
Steps
-
In the PingOne admin console, go to Reporting → Reports and click Run New Report.
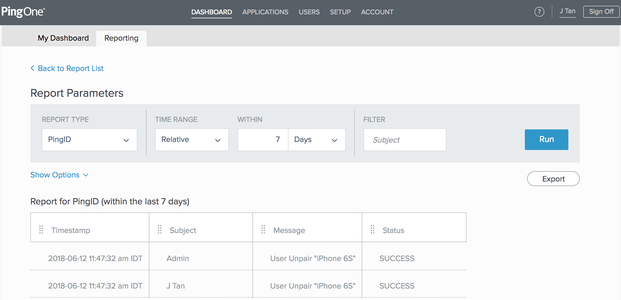
Result:
The Report Parameters window opens.
-
In the Report Type list, select the type of report you want to run.
-
In the Time Range list, select either:
Choose from:
-
Specific Date: Select or enter dates in the Start and End date pickers.
-
Relative: Enter a numerical value and select units in the Within field.
-
-
Optional: To filter the Subject field for the selected report type, in the Filter field, enter the subject in full.
If the report includes more than one subject field, the report filter is applied to the IdP Subject field only.
-
Optional: To change the time zone for this report, click Show Options and in the Time Zone list, select a time zone.
-
Optional: To change the fields displayed, click Show Options, and then in the Select Fields list, select the check box for the event data you want to show in the results.
All fields are selected by default.
-
For single sign-on reports, in the Application Name list, select a target application.
-
Click Run.
-
To modify the report, change any of the previous parameters and click Run to update the results.
-
To export the report in
.csvformat, click Export.Result:
The report is saved in your default download folder.
The amount of data that can be exported for a report is determined either by duration or quantity. The exported data is limited to either one week’s data or 500,000 lines of data, whichever is smaller.