Signing on to the Cisco VPN using PingID as MFA
After Cisco ASA is configured for use with PingID, sign on to your Cisco VPN using PingID.
Steps
-
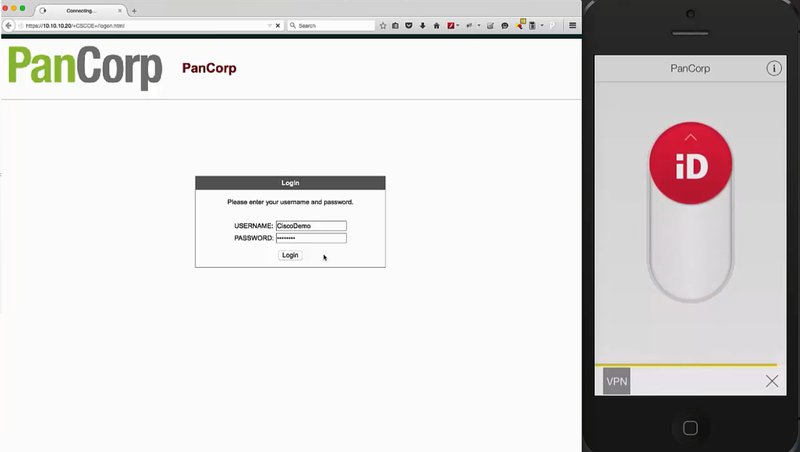
Open a browser and enter the group URL, as configured in Configuring Cisco ASA VPN for PingID MFA.
-
Enter your organization’s username and password, and then click Login.
-
To complete the sign-on process using PingID as your MFA, follow the steps provided on the web browser page.
When multi-factor authentication (MFA) is successful, you receive a push notification to your smartphone.

-
To approve the authentication request, swipe the slider up.
Result:
Authentication is complete, and your VPN connection is created.