Configuring Palo Alto Authentication Portal for PingID
Palo Alto Networks Next-Generation Firewall (NGFW) Authentication Policy enables you to authenticate end users before they can access services and applications.
Overview
When a user requests a service or application, such as by visiting a web page, the firewall evaluates the authentication policy. Based on the matching authentication policy rule, the firewall then prompts the user to authenticate using one or more methods (factors). After the user authenticates for all factors, the firewall evaluates the Security Policy to determine whether to allow access to the service or application. To use multi-factor authentication (MFA) for protecting sensitive services and applications, you must configure an authentication policy to display a web form for the first authentication factor. For more information, see Multi-Factor Authentication.
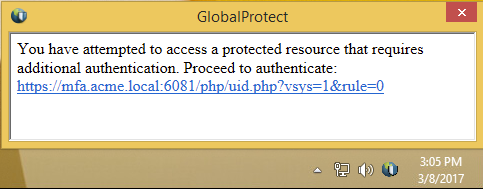
To facilitate MFA notifications for client-server applications (such as Perforce) on Windows or macOS endpoints, a VPN tunnel established through the GlobalProtect Client is required. When a session matches an authentication policy rule, the firewall sends a UDP notification to the GlobalProtect Client with an embedded URL link to the authentication portal page. The GlobalProtect Client then displays this message as a popup notification to the user.
Processing steps
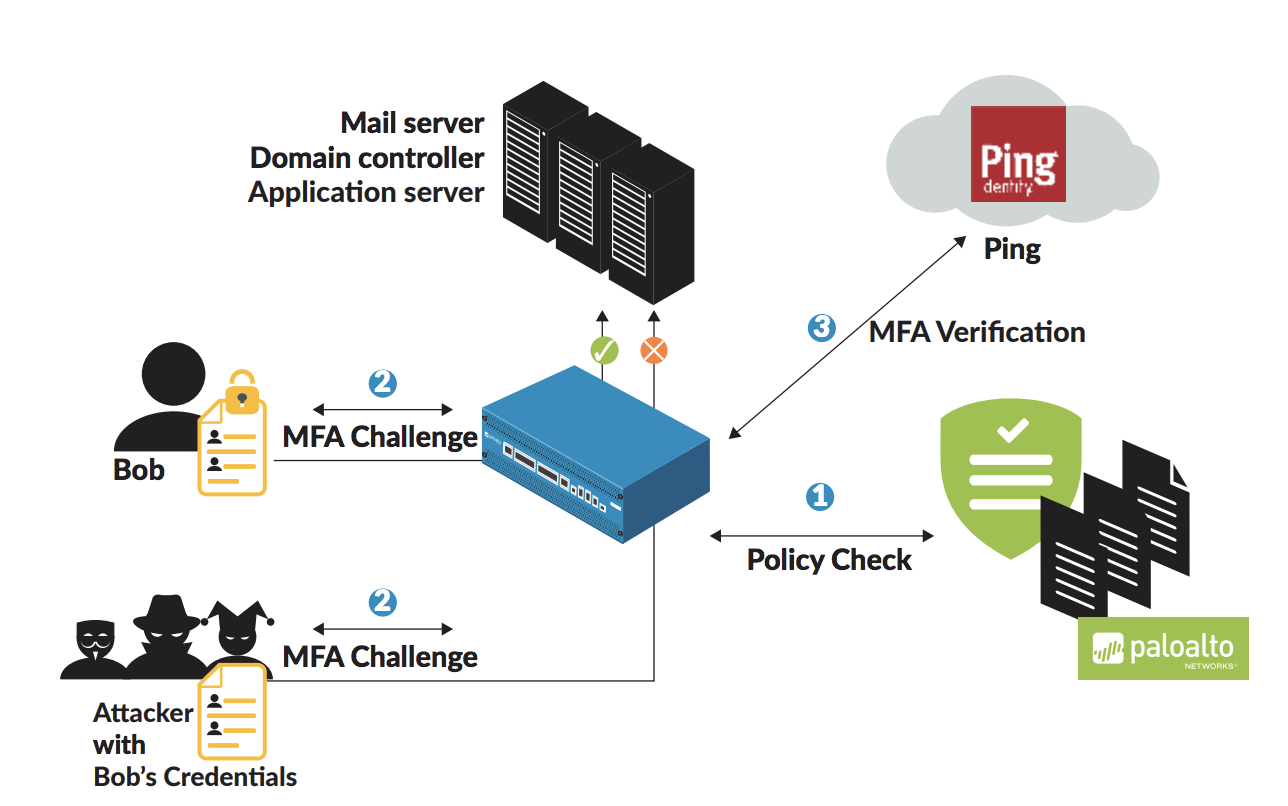
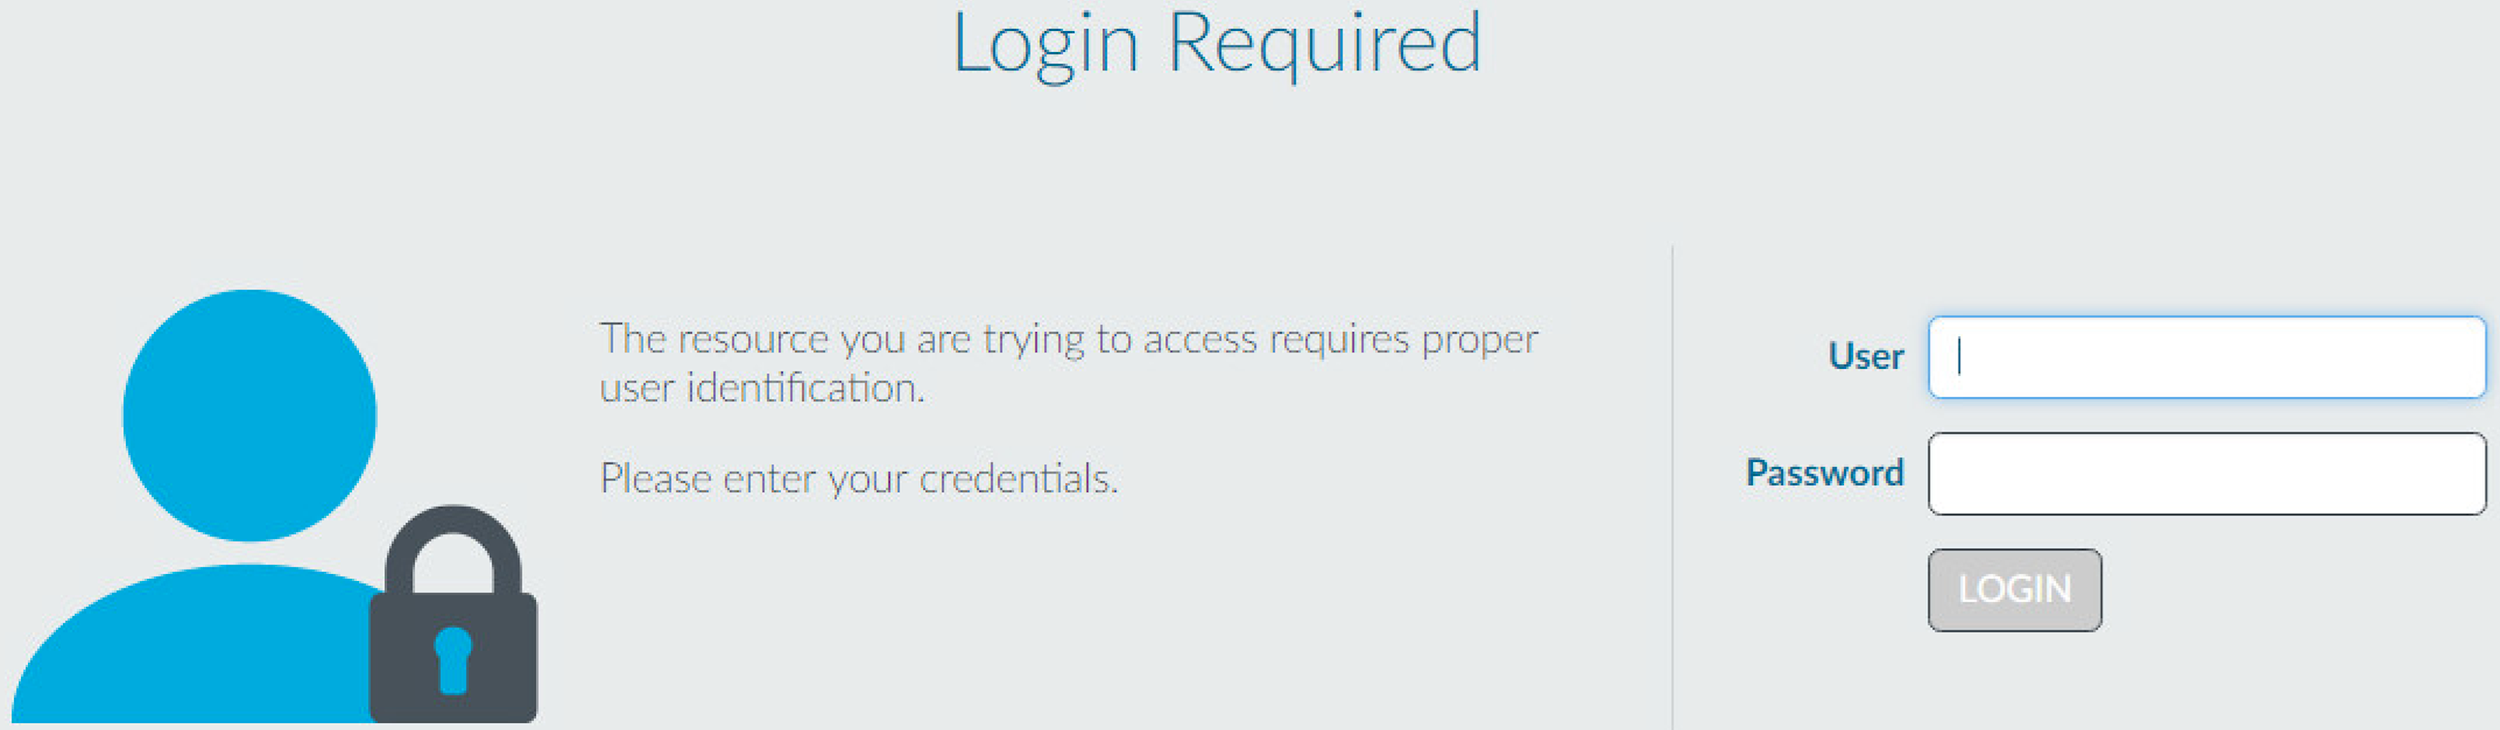
Users generate traffic to a service or application, which triggers the authentication process as shown in the following figure. A user wishes to access a service or application protected by an authentication policy. The authentication portal located on NGFW requires a username and password.
-
The user’s credentials are validated against LDAP or another authentication server type.
-
After the user submits credentials, the authentication server sends additional user data with its successful authentication message back to the authentication portal.
-
The authentication portal initiates MFA through PingID.
You can achieve the same workflow for client-server applications also. For more information, see Configure GlobalProtect to Facilitate Multi-Factor Authentication Notifications.
The following configuration steps only describe authentication for a browser-based application using the authentication portal.
-
PingID pushes an authentication request to the user’s selected authentication method, such as mobile phone, email, or desktop application.
-
The user completes the authentication request.
-
PingID sends the authentication result to the authentication portal.
-
The authentication portal allows access to requested service
|
In what follows, NGFW stands for New Generation Firewall |
The following topics show how to secure an authentication portal sign-on with PingID. The example will add an LDAP and MFA authentication profile.
Preparing for configuration
Steps
-
In PingOne, download the PingID properties file.
For more information, see PingFederate.
-
In the Palo Alto NGFW admin portal, create a certificate profile for PingID.
-
Go to Device → Certificate Management → Certificate Profile → Add.
-
Create the certificate profile for PingID.
For more information, see Configure a Certificate Profile in the Palo Alto documentation.
-
Adding PingID for MFA
Steps
-
In the NGFW admin portal, click the Device tab, and then go to Server Profiles → Multi Factor Authentication.
-
Click +Add.
Result:
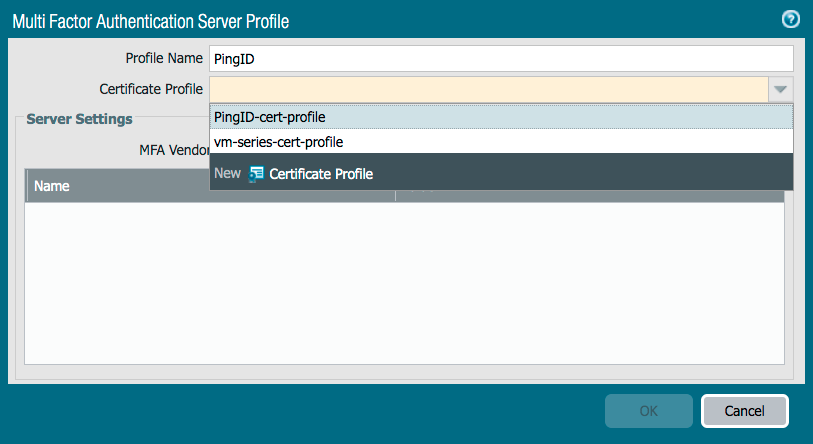
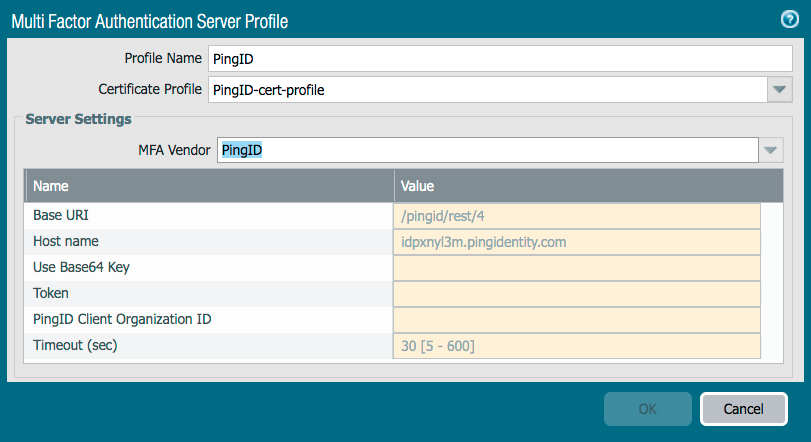
The Multi Factor Authentication Server Profile window appears.
-
In the Profile Name field, enter a name for the profile. We will use PingID.
-
From the Certificate Profile list, select the certificate profile that you previously created.
If you have not yet created a certificate profile for PingID, see Configure a Certificate Profile in the Palo Alto documentation.
-
From the MFA Vendor list, select PingID.
Result:
Several fields populate automatically.
-
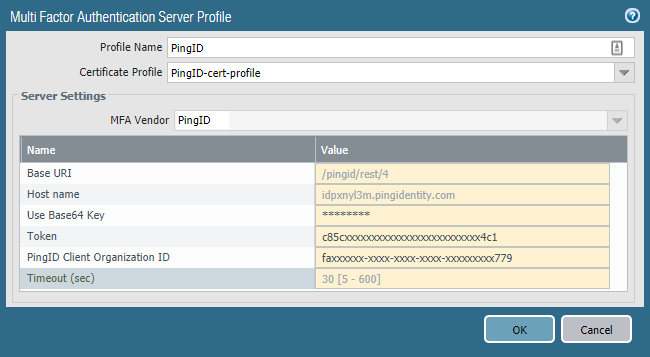
From the PingID properties file, complete the three fields listed in the following table.
The relationships between the PingID properties fields and the fields listed in the Multi Factor Authentication Server Profile window are described in the following table.
Display Name Certificate Field Illustrative value Use Base64 Key
use_base64_keyAPixxxxxxxxxxxxxxxxxxxxxxxxxxxxxxx7ct4z7LOM=
Token
tokenc85cxxxxxxxxxxxxxxxxxxxxxxxxx4c1
PingID Client Organization ID
Org_aliasfaxxxxxx-xxxx-xxxx-xxxx-xxxxxxxxx779
-
Ensure that the Use Base64 Key, Token, and PingID Client Organization ID fields are populated, and then click OK.
Configuring an authentication profile for MFA
Steps
-
In the Palo Alto NGFW admin portal, go to Device → Authentication Profile, and then click Add.
-
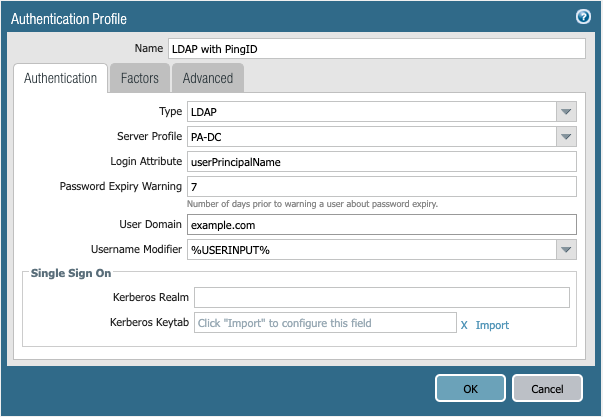
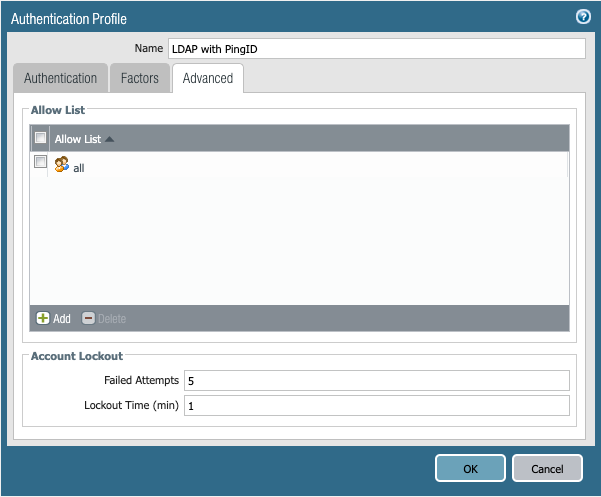
In the Name field, enter a name for the profile.
-
From the Type list, select LDAP.
-
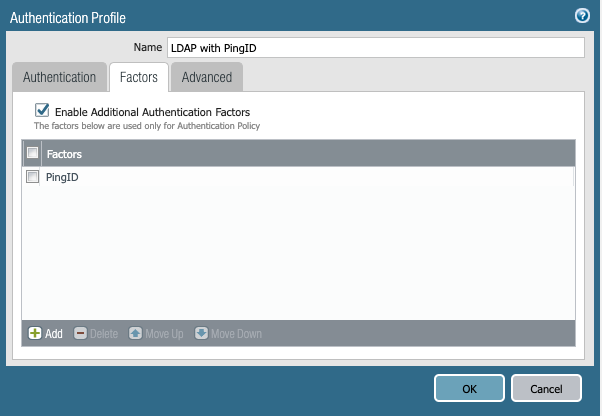
Go to the Factors tab and check Enable Additional Authentication Factors.
-
Click Add, and then select PingID.
-
Go to the Advanced tab, and in the Allow List section, click Add and select the relevant groups or users.
In this example, we chose all.
-
Optional: Change the Failed Attempts and Lockout Time fields.
-
Click OK.
Configuring authentication enforcement
Create authentication enforcement to protect service and apps with the authentication portal.
Steps
-
In the Palo Alto NGFW admin portal, go to Objects → Authentication, and then click Add.
-
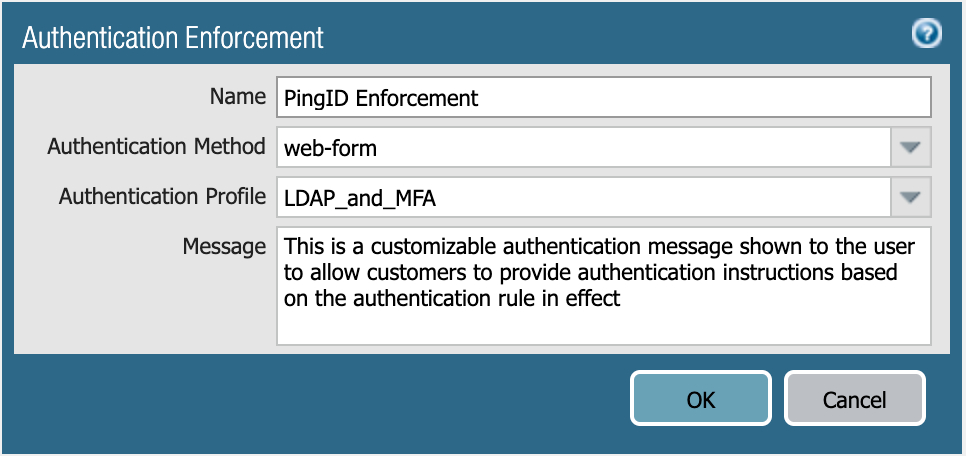
In the Name field, enter a name for the authentication profile.
-
From the Authentication Method list, select web-form.
This example configures authentication to a browser-based application using the authentication portal (web-form).
-
From the Authentication Profile list, select the appropriate certificate profile.
For more information, see Preparing for configuration.
-
Optional: In the Message field, enter an instructional message for the user.
-
Click OK.
Next steps
For more information, see Authentication Enforcement in the Palo Alto documentation.
Configuring authentication policy
Create an authentication policy rule to protect chosen services or apps with the authentication portal.
Steps
-
In the Palo Alto NGFW admin portal, go to Policies → Authentication, and then click Add.
Result:
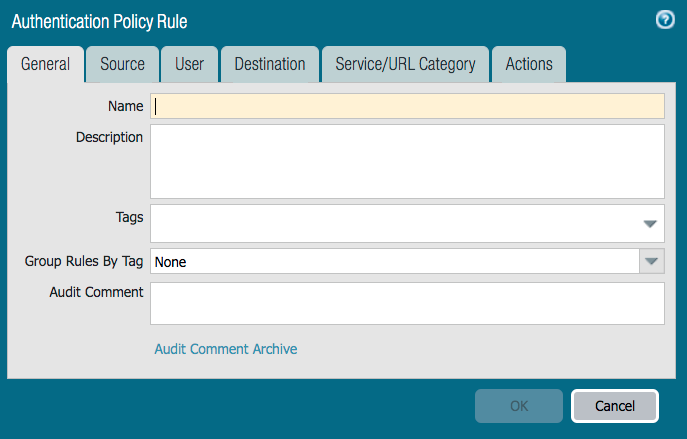
The Authentication Policy Rule window is displayed.
-
On the General tab, enter a name for the rule in the Name field.
-
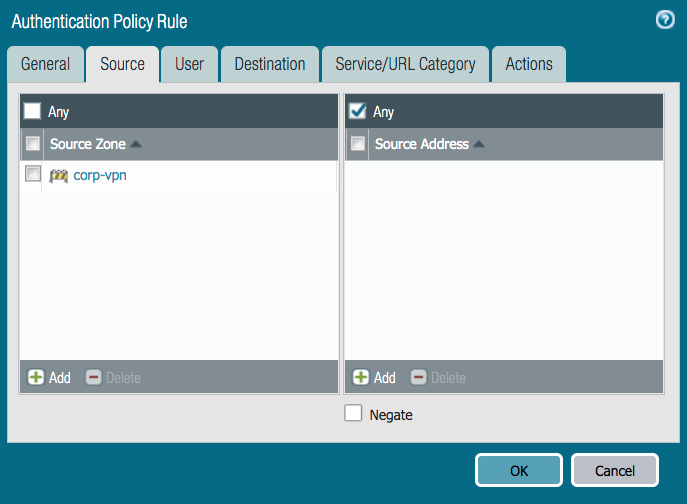
On the Source tab, from the Source Zone list, select an option.
-
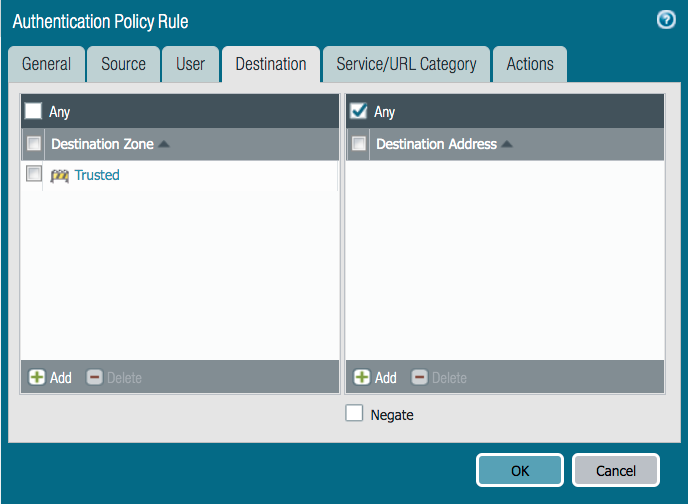
On the Destination tab, from the Destination Zone list, select an option.
-
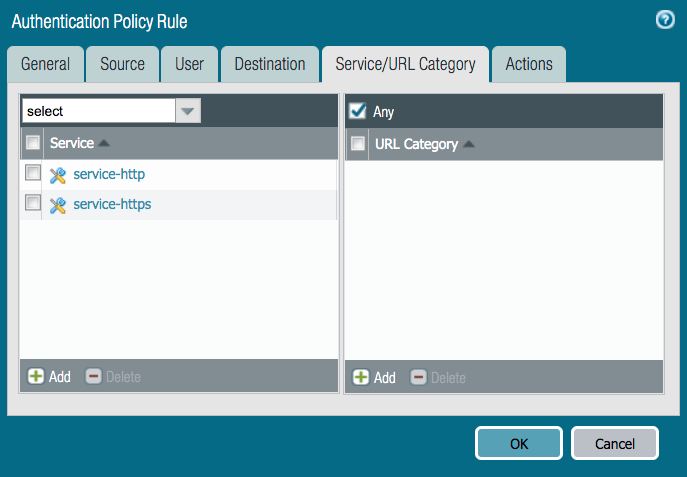
On the Service tab, select the services or URL categories to protect.
-
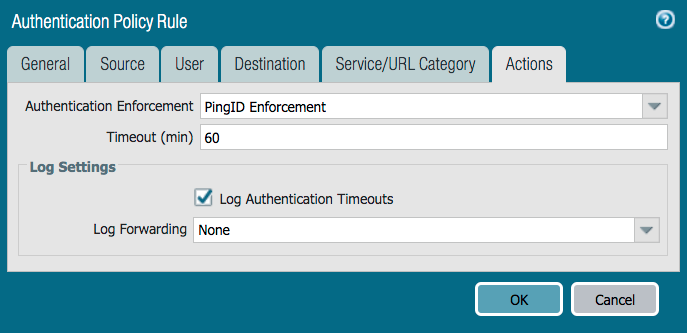
On the Actions tab, from the Authentication Enforcement list, select the authentication enforcement that you created in the previous section. Click OK.
Next steps
For further information, see Authentication Policies.
Enabling the authentication portal
Steps
-
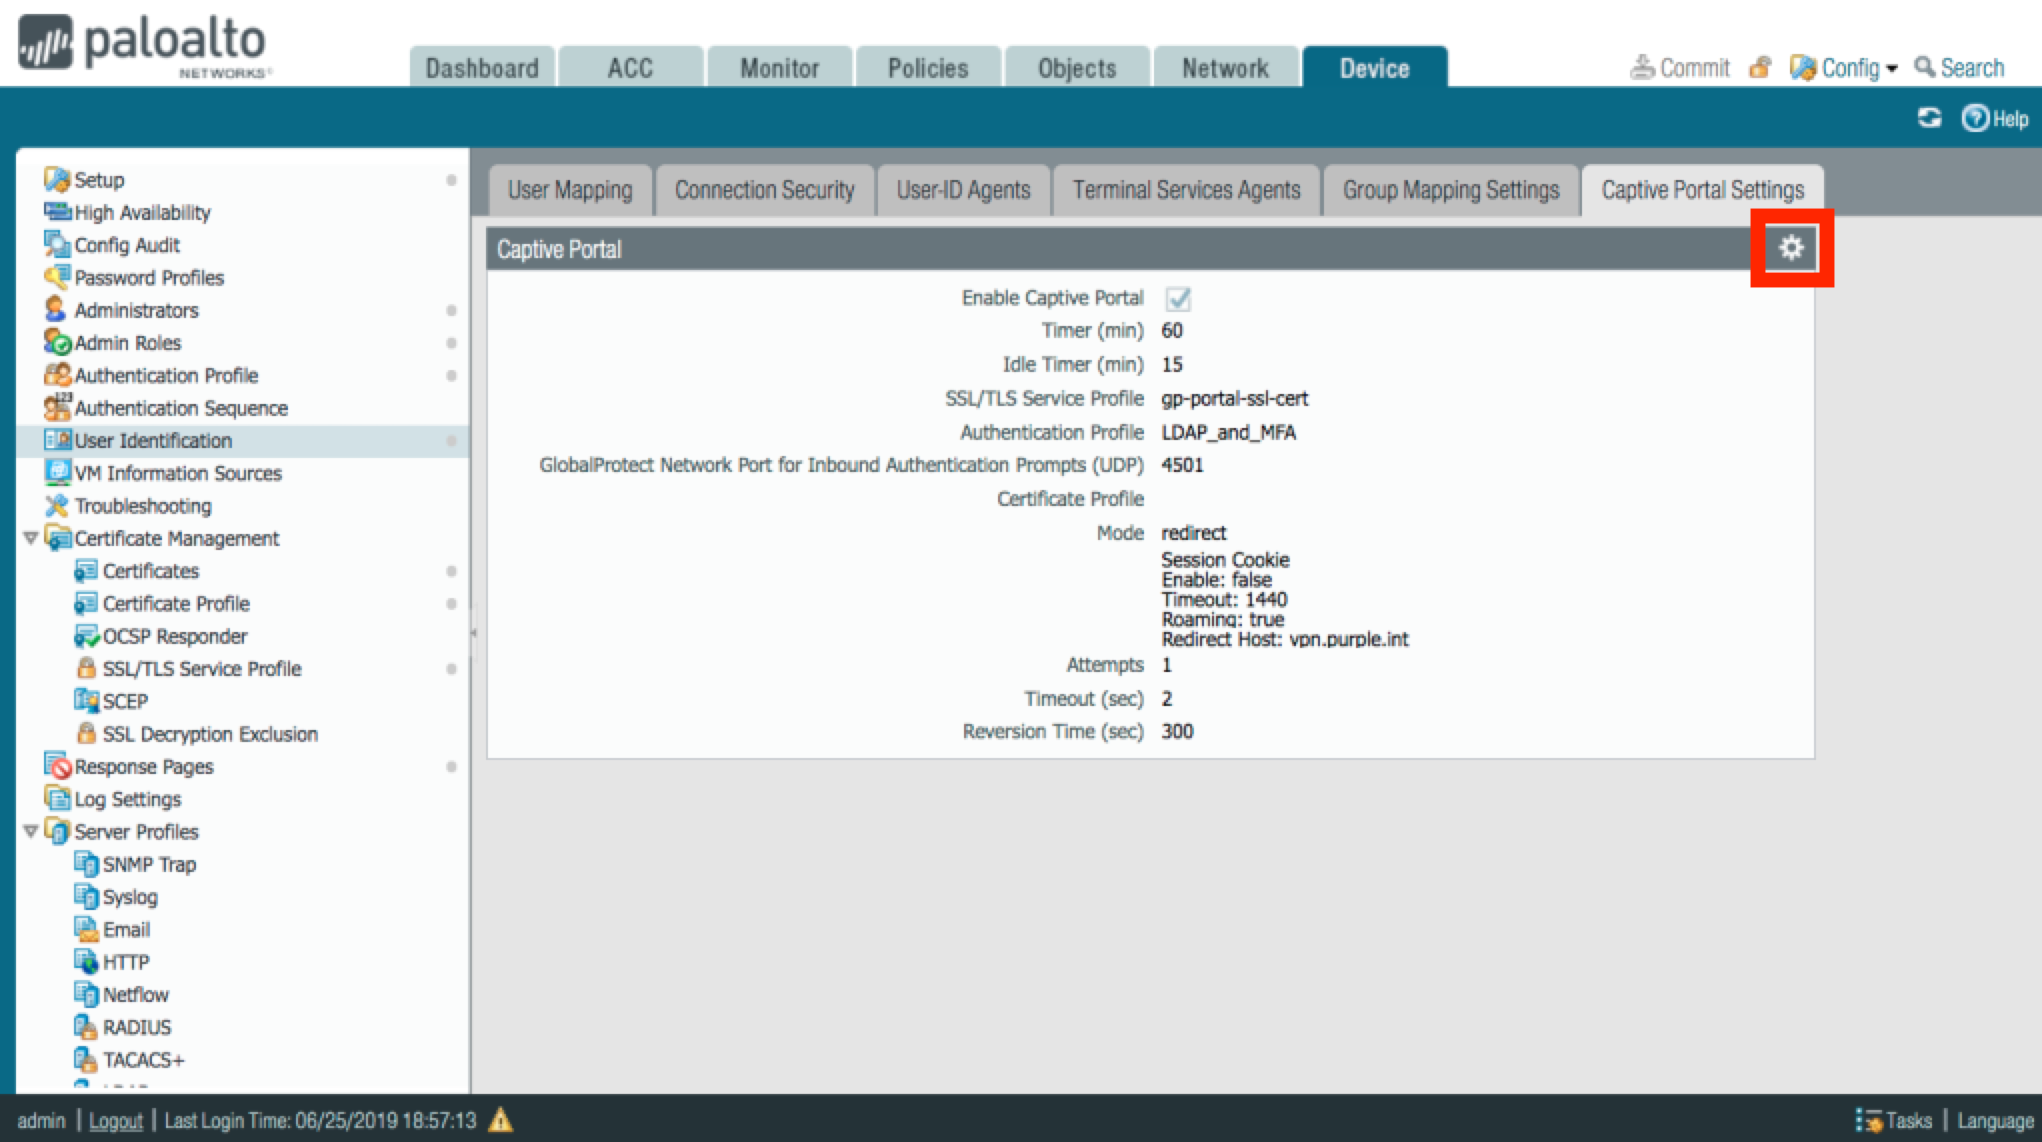
In the Palo Alto NGFW admin portal, go to Device → User Identification → Captive Portal Settings.
-
On the Capture Portal Settings tab, click the Gear icon.
Result:
The Captive Portal window is displayed.
-
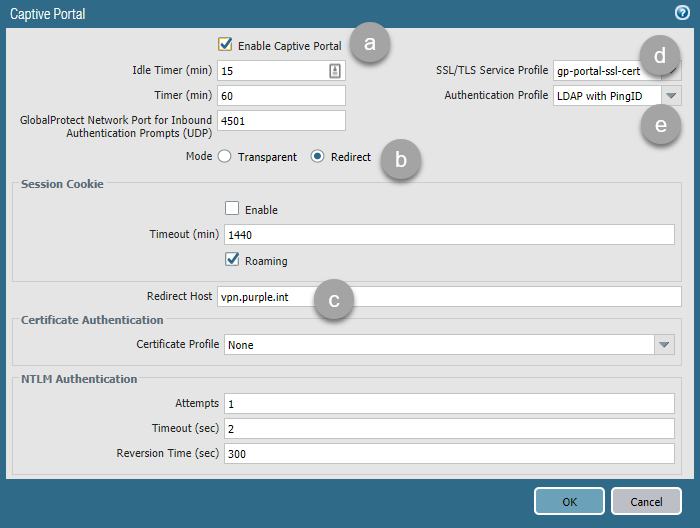
In the Captive Portal window, complete the following fields, and then click OK.
-
Select the Enable Captive Portal check box.
-
In the Mode section, click Redirect.
-
In the Redirect Host field, enter the redirect host name.
The redirect host name can be a URL or interface IP address on your firewall.
-
From the SSL/TLS Service Profile list, select your SSL certificate.
-
From the Authentication Profile list, select your authentication profile.
-
Checking that response pages are enabled
Before you begin
In the Palo Alto NGFW admin portal, go to Network → Interfaces and check that the interface you used for the Redirect Host has a management profile.

If no management profile exists, you must add a management profile for the interface. The following steps show how to edit an existing profile.
Steps
-
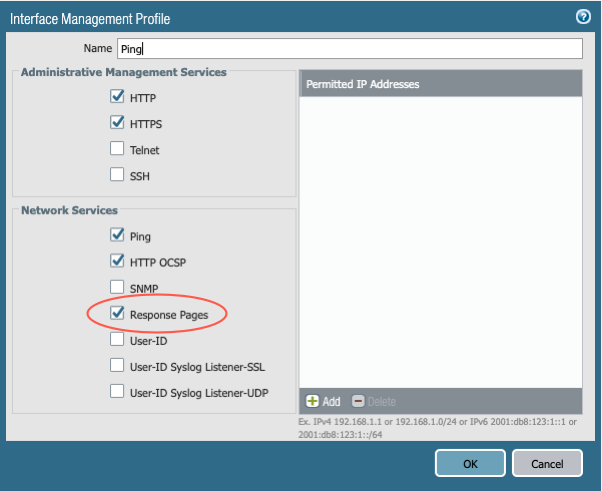
In the Palo Alto NGFW admin portal, go to Network → Network Profiles → Interface Mgmt.
-
Click the Interface Management Profile for the required interface.
-
Ensure that the Response Pages check box is selected, and then click OK.
-
Commit all changes.
Next steps: Creating security policy
To test the authentication portal, set up a security policy. For more information, see Building Blocks in a Security Policy Rule.